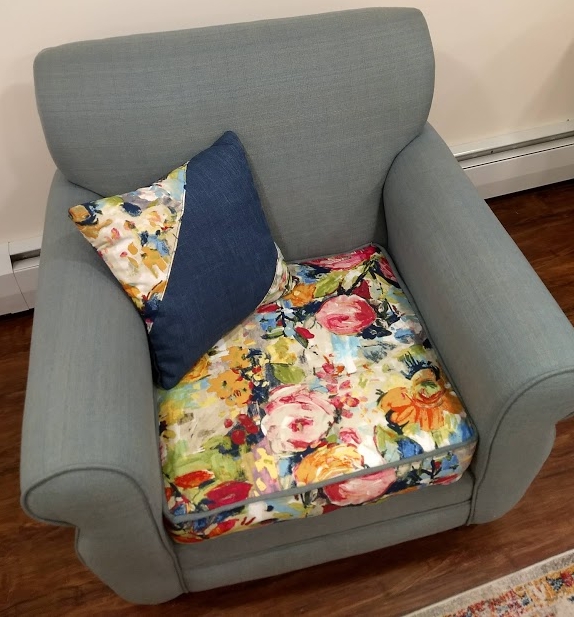
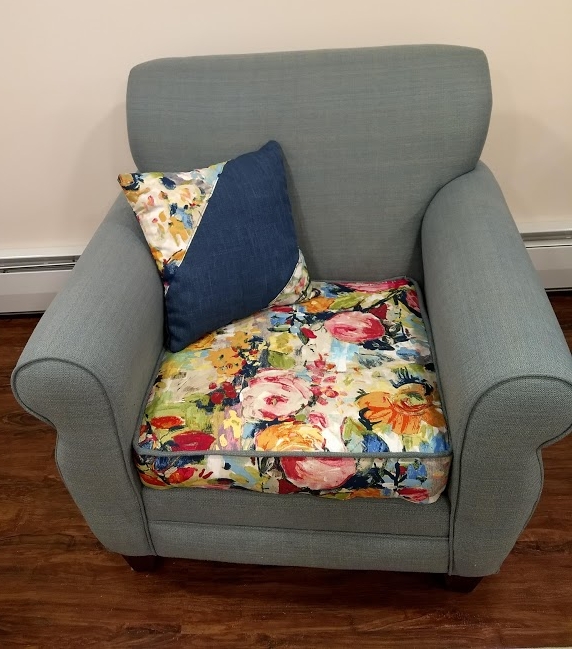
Inspired by this article in HGTV Magazine, I decided to embark on a fabric furniture mod. I know I’m not ready to re-upholster an entire chair or couch (and frankly, I’ve never seen anyone who wasn’t a professional do a half-decent job at that), so I decided to work with my sewing skills to enhance something for our basement reno.
If you didn’t see my ‘from old to blue’ cabinet rehab, you can read it here.
The focal point of the room is the awesome carpet, now accented by the aforementioned blue cabinet. We waved bye-bye to the old couch that had belonged once to my grandmother, then my mother, then me, and I was looking for something to sit on that wouldn’t cost a fortune.
I thrifted around until one day I found this blue chair. (My son really liked it, so congratulations, you have a five-year-old for scale here!) It was in good shape other than the seat cushion being very worn (on both sides).
It was sturdy and was made of real wood, which is always something I look for when I’m buying used. I love myself some IKEA and HomeGoods, don’t get me wrong, but pressboard has a definite life, and I’m not going to get something to last in my active household if it’s pre-loved and wasn’t quality to begin with.
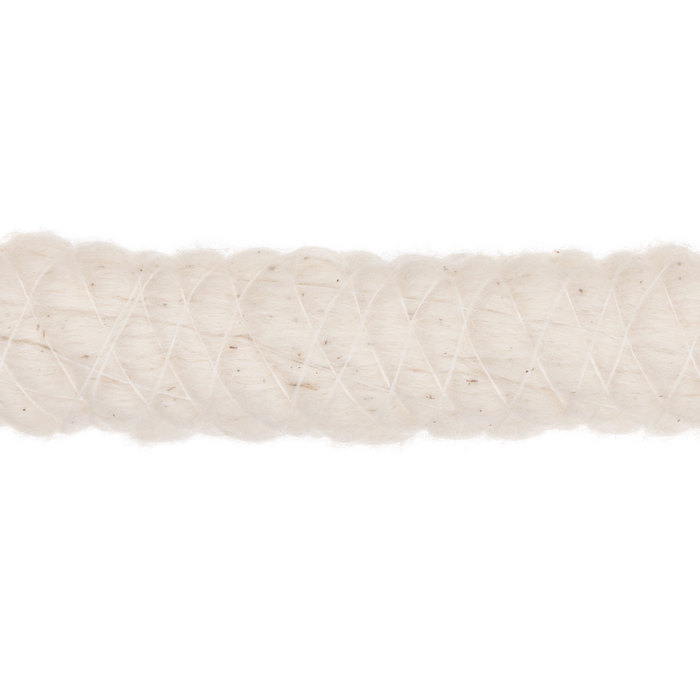
To begin the transformation, my mom and I went to Hobby Lobby where I picked up fabric that was a trendy pattern but still felt like it worked with the rug (2 yards of Martella). I also picked an accent of a solid darker blue (1 yard of Midnight Venice) and a large teal button (Round Teal Oil Color Coconut Button). Finally, piping cord for inside the edge beading (Natural Cotton - 6 yards). All told, $24.
1) Measure and Cut
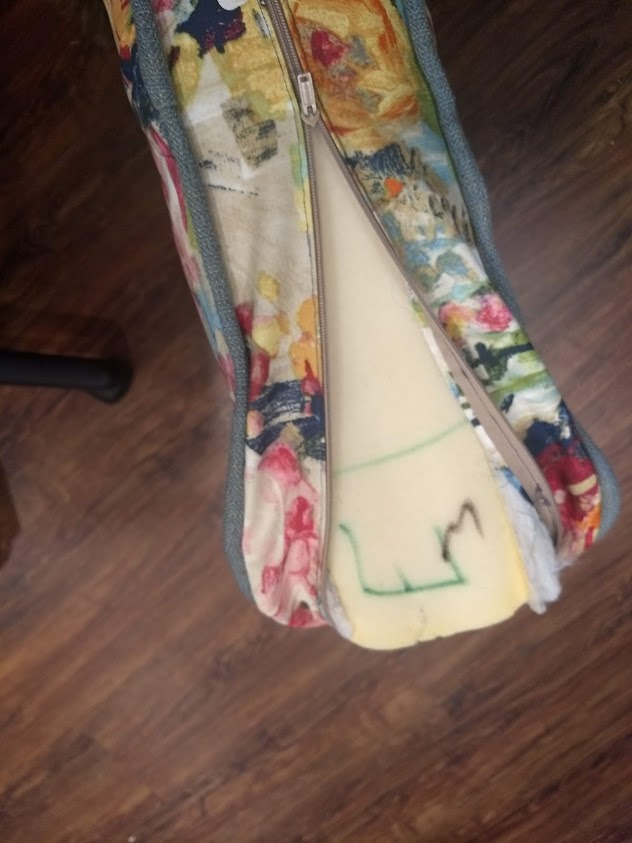
Back at home: first things first. I unzipped the old cushion and measured it. The seat top and bottom were pretty worn, so that fabric got tossed. However, I salvaged the zipper for the new cushion and cut strips out of the vertical sides so the beading on the new cushion would match the chair. I wanted it to look like a chair with a great cushion instead of a chair with a new cushion.
First, using my rotary cutter, I cut out the large square pieces for the top and bottom from the Martella fabric. Next, I measured and cut the side pieces: one for the front and 2/3 of each side, then two for the back and 1/3 of each side to incorporate the zipper. That was cut horizontally in half allowing 1” extra for the zipper seam.
(Note: Boomer loves the rotary cutting mat. I don’t know why.)
2) Zipper
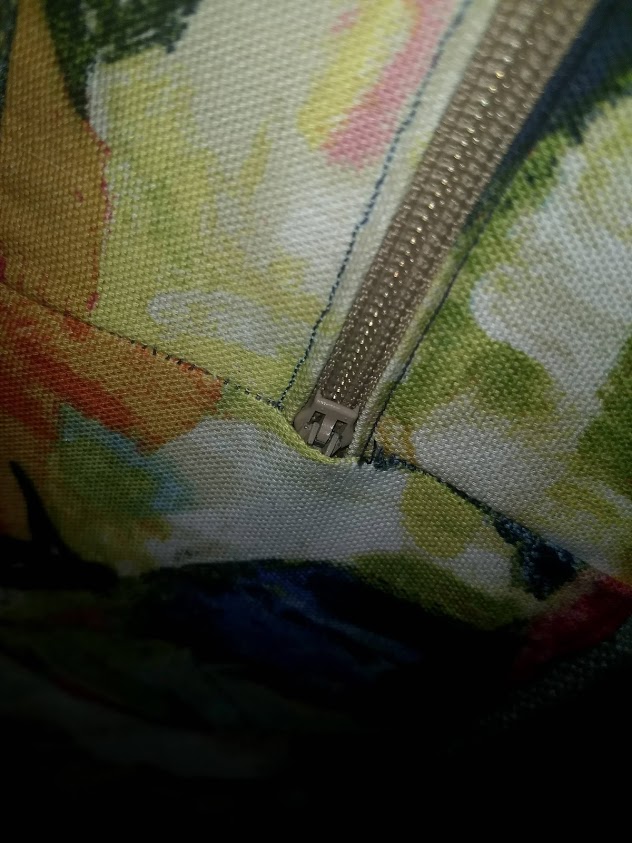
I attached the zipper to those pieces (and managed to un-zip the pull not once, but TWICE—zippers with no stops are maddening!). Then, I started on the side beading.
3) Piping
Using the blue from the cushions, I made long, 2” wide strips. Pinning them tightly around the perimeter of the first square, I lined it up at the 2/3 point of a side to have all the seams begin and end together. In retrospect, I wouldn’t do it that way again, but too many edges can create too many layers and make your sewing machine angry. But—I learned, so you can live it right when you recover your chair cushion. (Let the beading begin and end separately from where the two vertical edges meet.)
4) Attach Top and Bottom to Side
So, status was: pinned—the 6” deep side piece and the top square sandwiching the blue fabric with the cord bead. I used a zipper foot so I could get it nice and close. I wanted the bead pulled as tight as it could go. After I ran around once, it was still looser than I wanted, so I did a second row (extra strength, right?) even tighter.
I will note here that one thing I’m glad I did was wait to sew both ends of the vertical sides together. I sewed the first one but waited until I came within a few inches on my loop of the top. Otherwise, I don’t think I could have gotten the measurement right. Square corners with that many layers are hard to be exact on, and if each one had only eaten a quarter inch of extra fabric, I would have ended up a full inch off. So I waited to stitch the end off the vertical side (the zipper piece onto the rest of the side) until the side was also completely attached to the top.
Once the top was on, I pinned the bottom. Because of the handy zipper, I didn’t have to leave any room for turning and could sew the whole thing by machine. I am very glad I religiously checked the corners. Nothing would have annoyed me more than to realize I had finished and the corners made the whole thing pull itself in a twist.
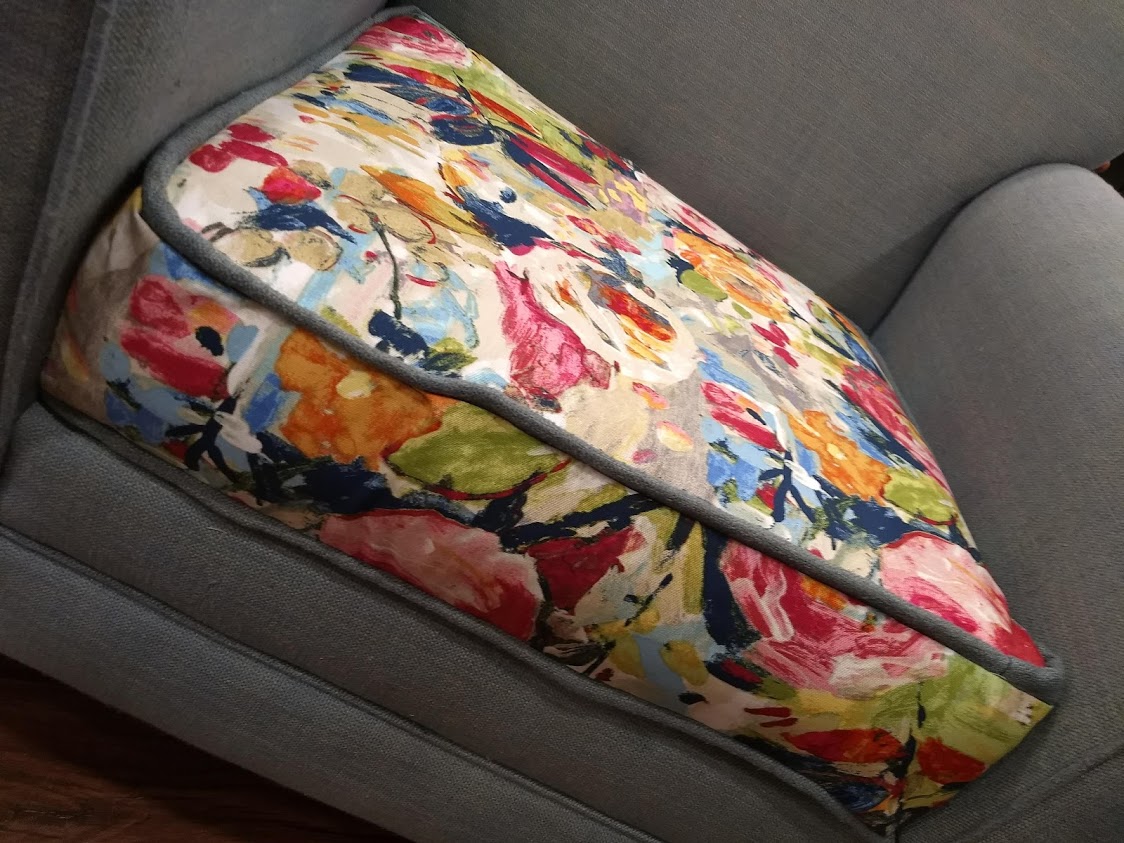
I sewed that around using a zipper foot, then did a second loop to get the beading as tight as I could. When I was done, I stuffed the cushion back in and was pleased to see it was a perfect fit!
5) Accent Pillow
Finally, I started on an accent pillow. Using an old BRIGHT red pillow I’d had from years ago that has seen better days, I measured and cut a fun diagonal of the flowered cushion material. Then, using the blue accent solid, I filled in the rest. I attached the front pieces and top-stitched, then attached the back. I used scraps to make a place to attach the button, then stitched it on with contrasting yellow embroidery thread.
I stuffed in the pillow. I waffled on just stitching the top but in the end decided to invisible stitch the top by hand. I always regret this halfway through but had already committed. The pillow was way to fluffy to stitch half and try to get it in.
Ultimately, despite stabbing myself a couple times, I finished the invisible stitch. When I put the pillow in place, I hated the button. I loved the button by itself, but it didn’t work on the piece.
Snip, snip, bye-bye button. I just wriggled it around a bit until the yellow thread ends disappeared inside.
So, the cushion was done, zipped, and pressed into place. Then the pillow was fluffed and dropped until I liked its level of louchiness.
Final result? I’m very pleased!


![1251065-0117[5].jpg](https://images.squarespace-cdn.com/content/v1/57b64ed6ff7c50cc36780ef4/1540668318125-39S59ZYTU1SJFC9Z8TOD/1251065-0117%5B5%5D.jpg)
![1347749-a-1116[5].jpg](https://images.squarespace-cdn.com/content/v1/57b64ed6ff7c50cc36780ef4/1540668323557-A4T52UI8HAC6QAW6WBNH/1347749-a-1116%5B5%5D.jpg)
![1420595-0417[5].jpg](https://images.squarespace-cdn.com/content/v1/57b64ed6ff7c50cc36780ef4/1540668407876-IMFKG5TTSYUUB5IO0ZNF/1420595-0417%5B5%5D.jpg)
