My Hubs is incredibly long-suffering with my ideas. But I almost lost the battle with hexagon tiles. I really wanted them, both as a huge fan of this trend as an avid player of Settlers of Catan. (Honestly, that might have been what convinced him.)
NOTE: Skip back if you want to see an overview (including “the before”) or previous steps we’ve already completed, or skip ahead if you’re looking for a different step in the process.
For those of you to whom it isn’t immediately apparent (like me) the problem with hexes is that they don’t form any straight lines — which means WAY more cutting than squares or rectangles. Even to lay across an imaginarily-perfectly-straight floor or wall, you’re cutting every other tile.
Our neighbor did ask if we were tiling the entire house because he was growing so accustomed to hearing the tile saw in our driveway by the time we finished…
There are likely many schools of thought on where to begin BUT we decided to do the walls before the floor.
STEP 10: TILING WALLS AND CEILING
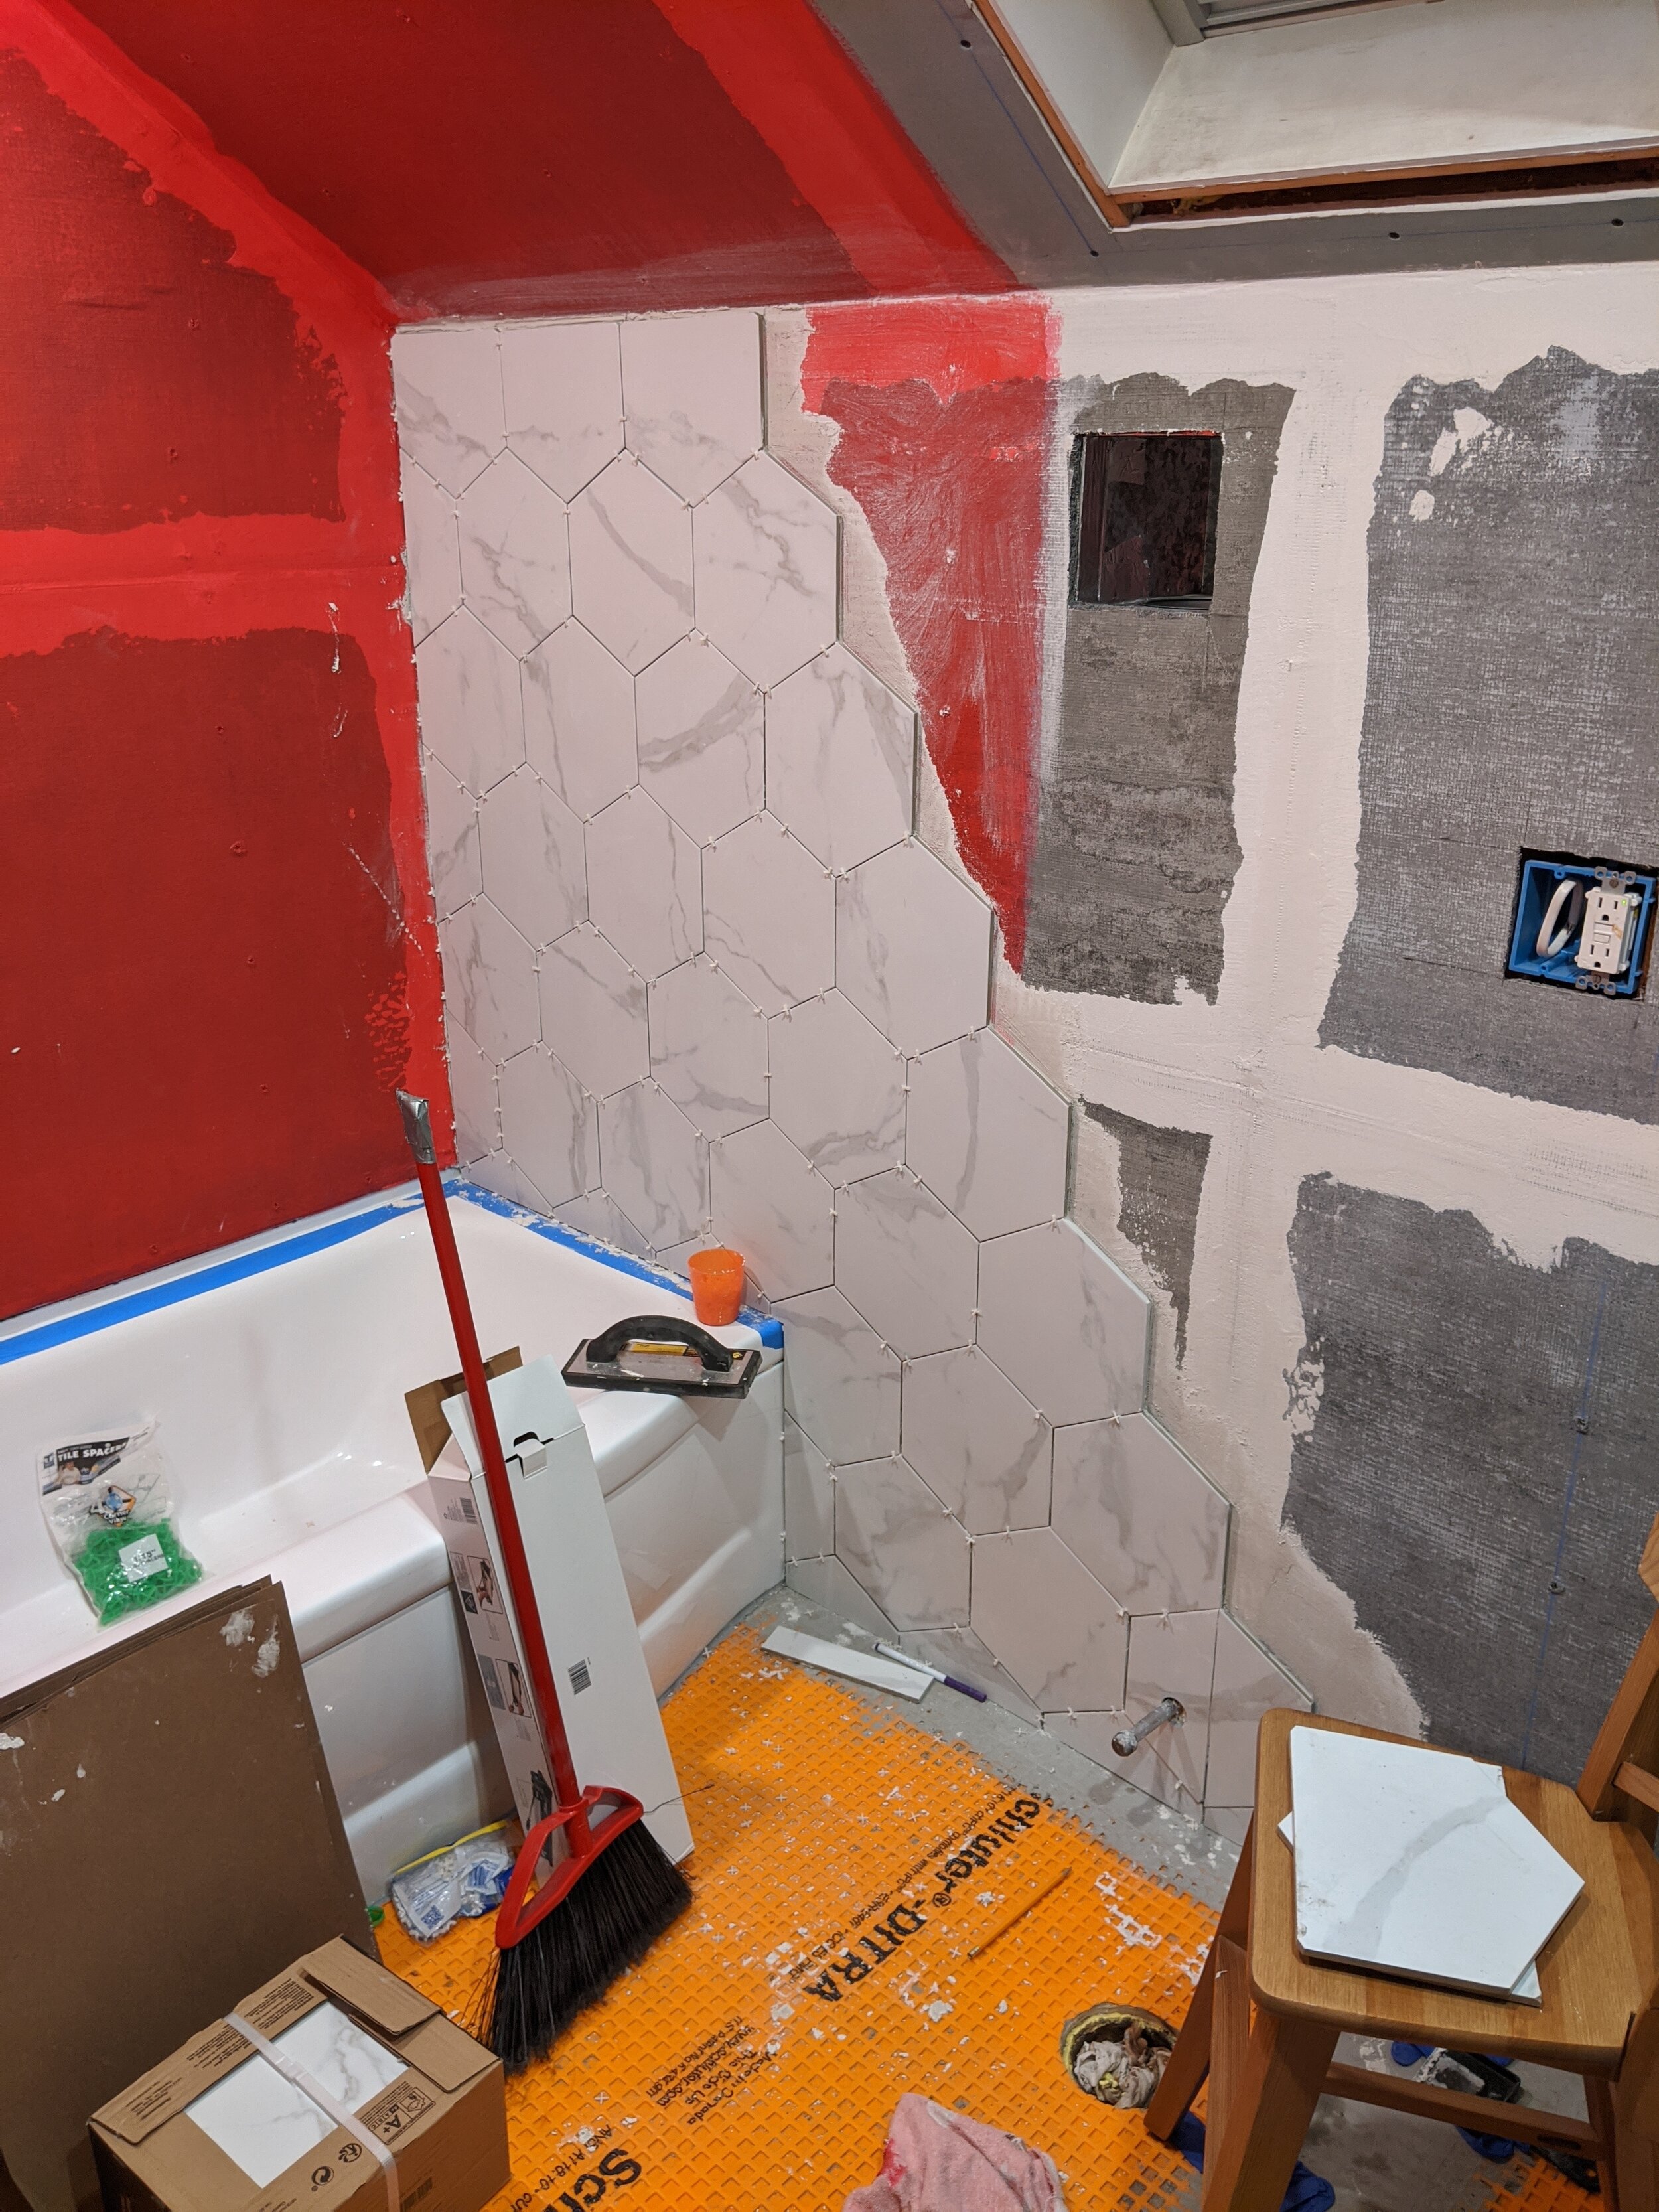
I will talk about the floor tile in my next post, so today, we’re focusing on the walls and ceiling. We did the ceiling, as I mentioned previously, because this bathroom is caped over the shower and we know our kids will splash that part like crazy.
WHERE TO BEGIN
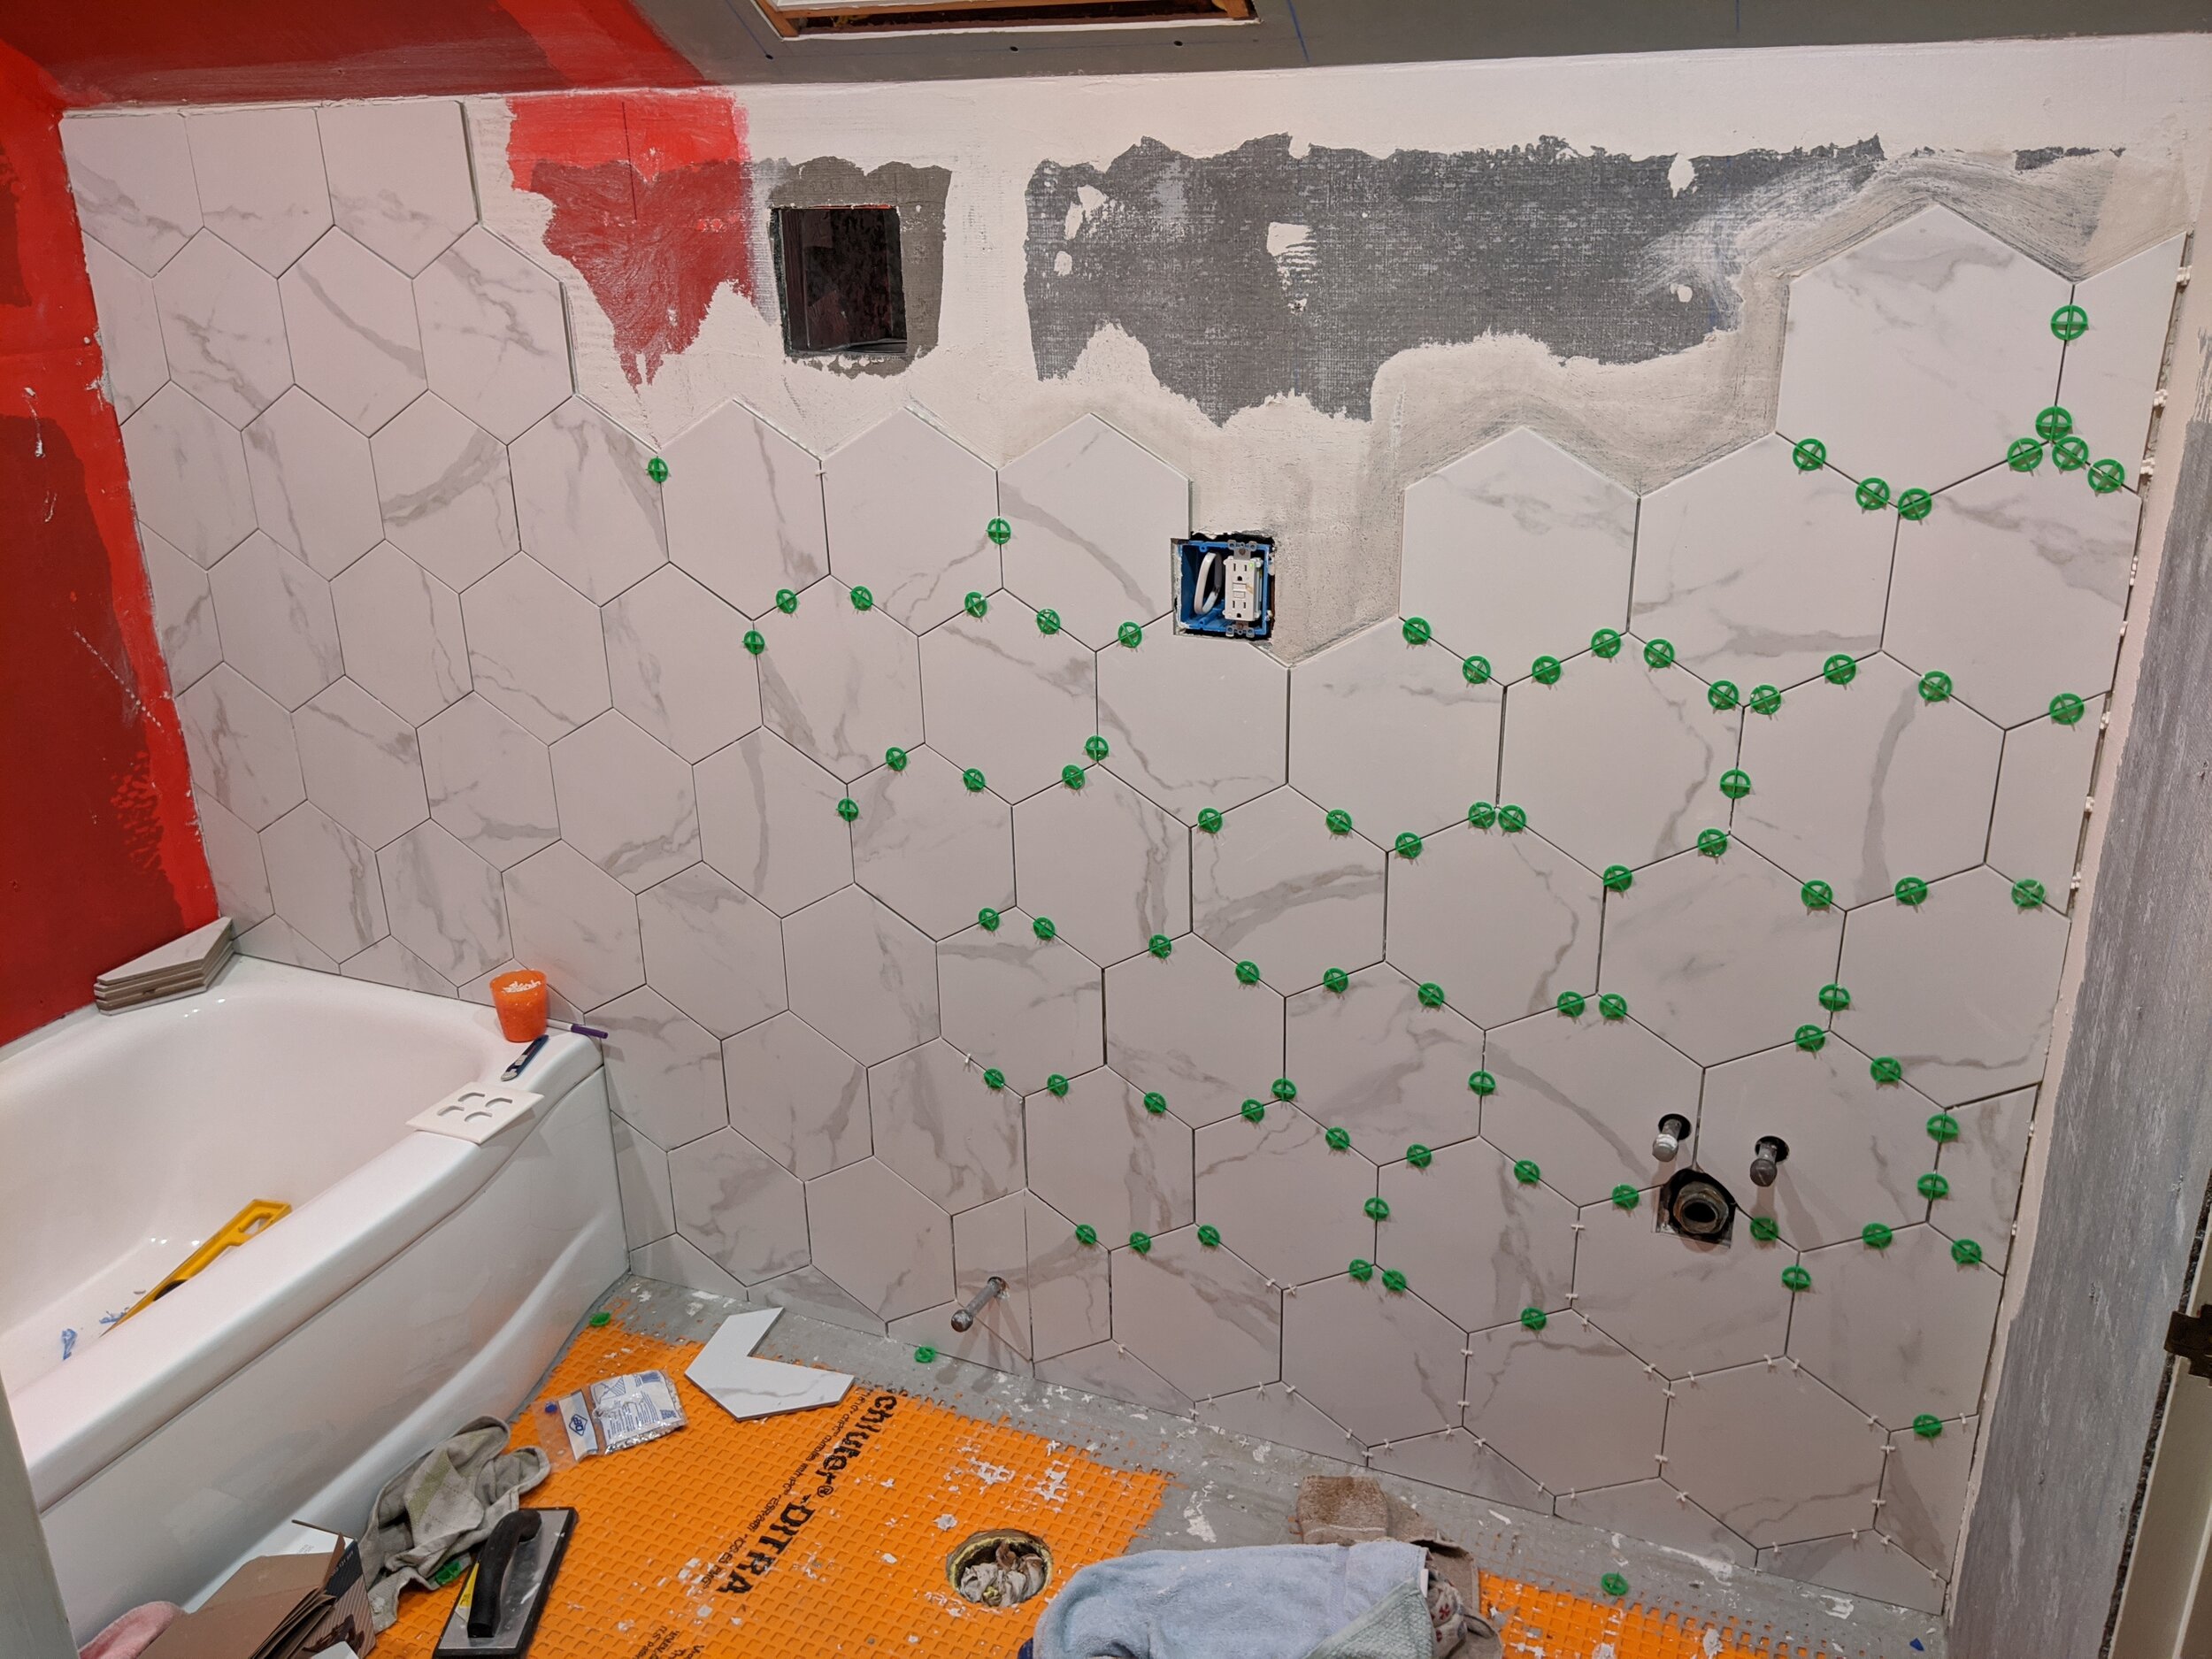
I selected really large 9” or 10” hex tiles, depending on how you measure. If you measure flat to flat, they’re 9” and point to point at the widest spot, they are 10”. You can just start and hope you get lucky, but I recommend picking the most focal wall and trying to get a good line for the top and sides. You don’t want to end up with like 1/2” nubbins right at your towel rod.
Also, decide if you’re laying point up or flat up. I liked the look of point-up.
Please observe the amount of math I did to calculate the best starting spot across ALL my walls. I show you this because I was wrong — I did all of this and impressed myself and got my dear Hubs to trust me, only for him to get most of the way through and point out that I’d forgotten every other row slides up to build the honeycomb. We got lucky and it worked out fine, although not ideal. Don’t be like me. Remember the honeycomb. (Side note: donut cat, drawn by my 7yo son was included for your delight, top left)
The “safe zone” on my hex tiles (meaning where you can cut flat to flat, horizontally) is from appx. 2.5” to 7.75” so that you don’t end up with little triangles to fill in. Measure your tile and determine the “safe zone” so you can finagle that to hit both the top and bottom wall with flat sides. Like, if the bottom is 1” up, where does that leave the top? If it’s out of the safe zone, try 2” or 0” until you get a number where both end up flat.
CUTTING TILES
We decided a tile break would be the way to go. And we were wrong. This only worked cutting the tiles perfectly in half. Anything that adjusted for the slightly leaning walls of an old house or had to go around something and we were shattering and wasting tiles.
So, a wet tile saw became our friend, as scary and loud as it was.
Safety suggestions:
Ear plugs (tile saws are freakishly loud)
Gloves (tile is so sharp)
Goggles (it spits everywhere)
Working on walls, you can’t lay things out and thinset them all at once. You’ll have to cut and thinset as you go, which is irritating if — like us — you have to go up and down two flights of stairs in between.
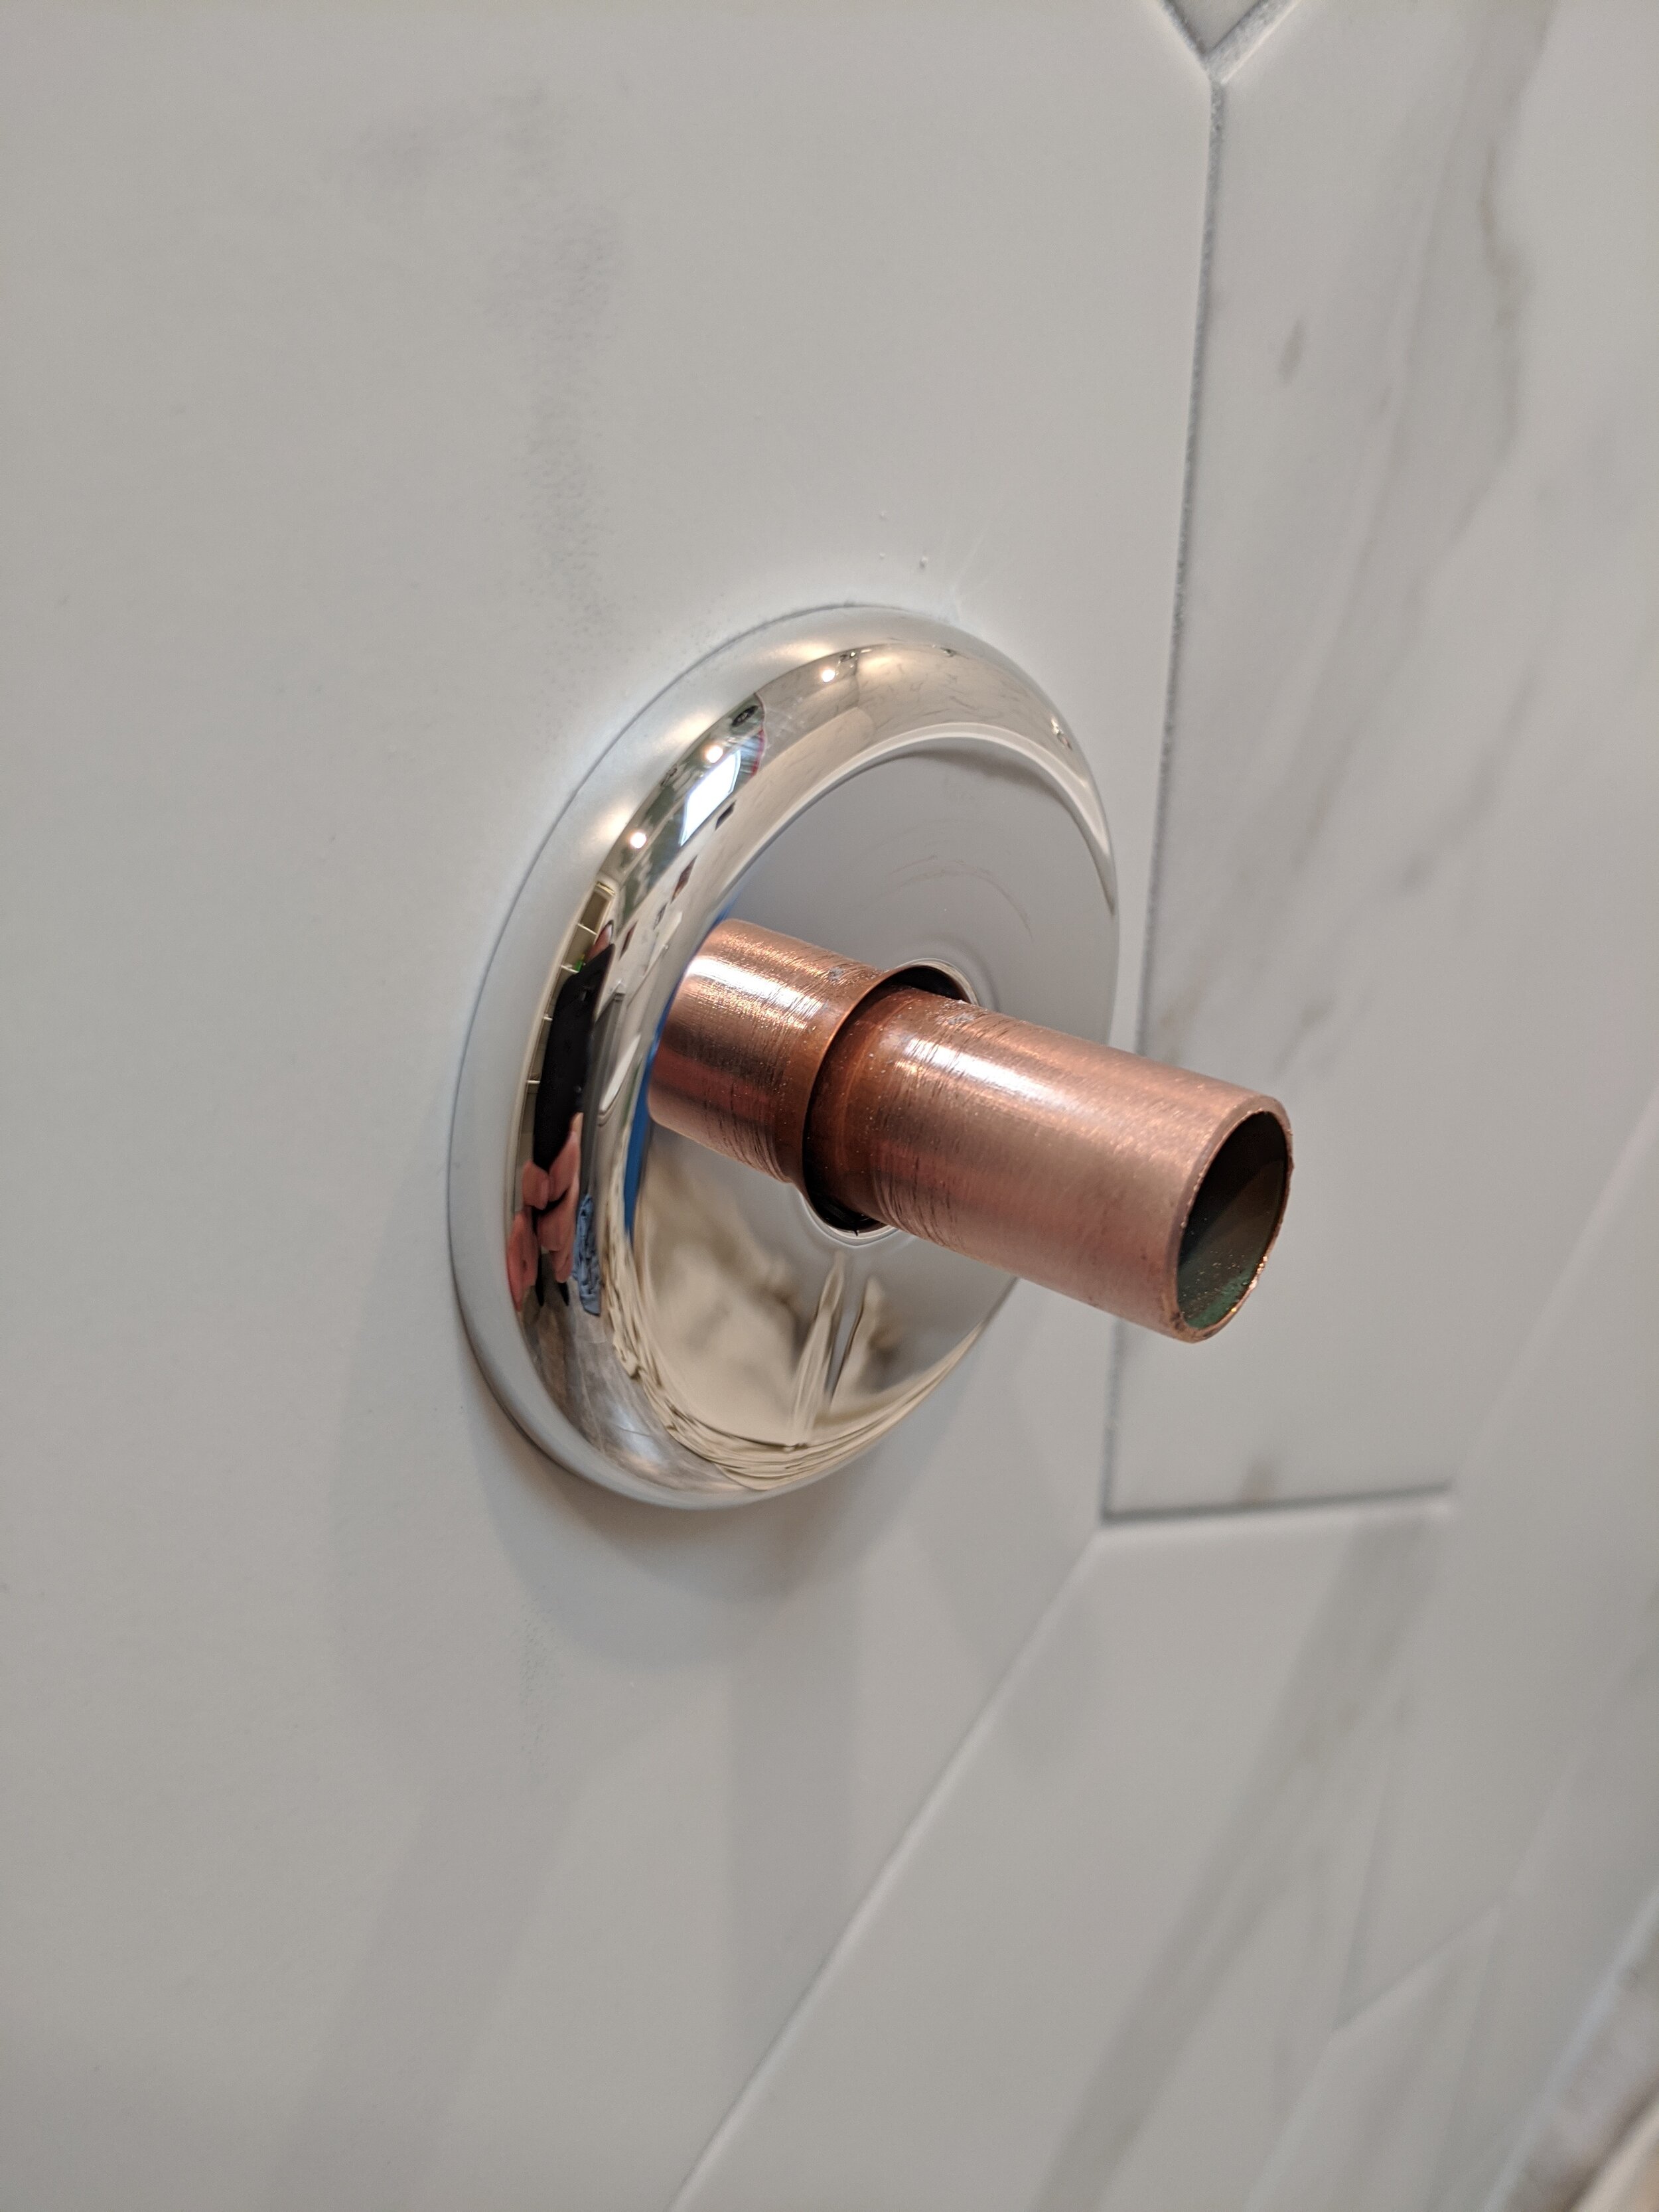
We also used a diamond-tipped tile hole saw that goes on the drill and spins a perfect circle to go around all the pipes. In many cases, we were in the center of a tile, but it still worked if we had to split the hole between two tiles (making a semi-circle on the side of each.)
Our best trick that we started doing halfway through was cutting cardboard in the exact shape we thought we needed, based on our measurements, then placing it into the spot so we could trim/adjust as needed. It’s really hard to cut 1/8 inch off a tile but the precision of a 1/8 adjustment really elevates the work to a professional appearance. Rather than pitching tiles, get the shape and size and angle PERFECT with cardboard and then you can trace exactly onto the tile.
TILE SEPARATORS
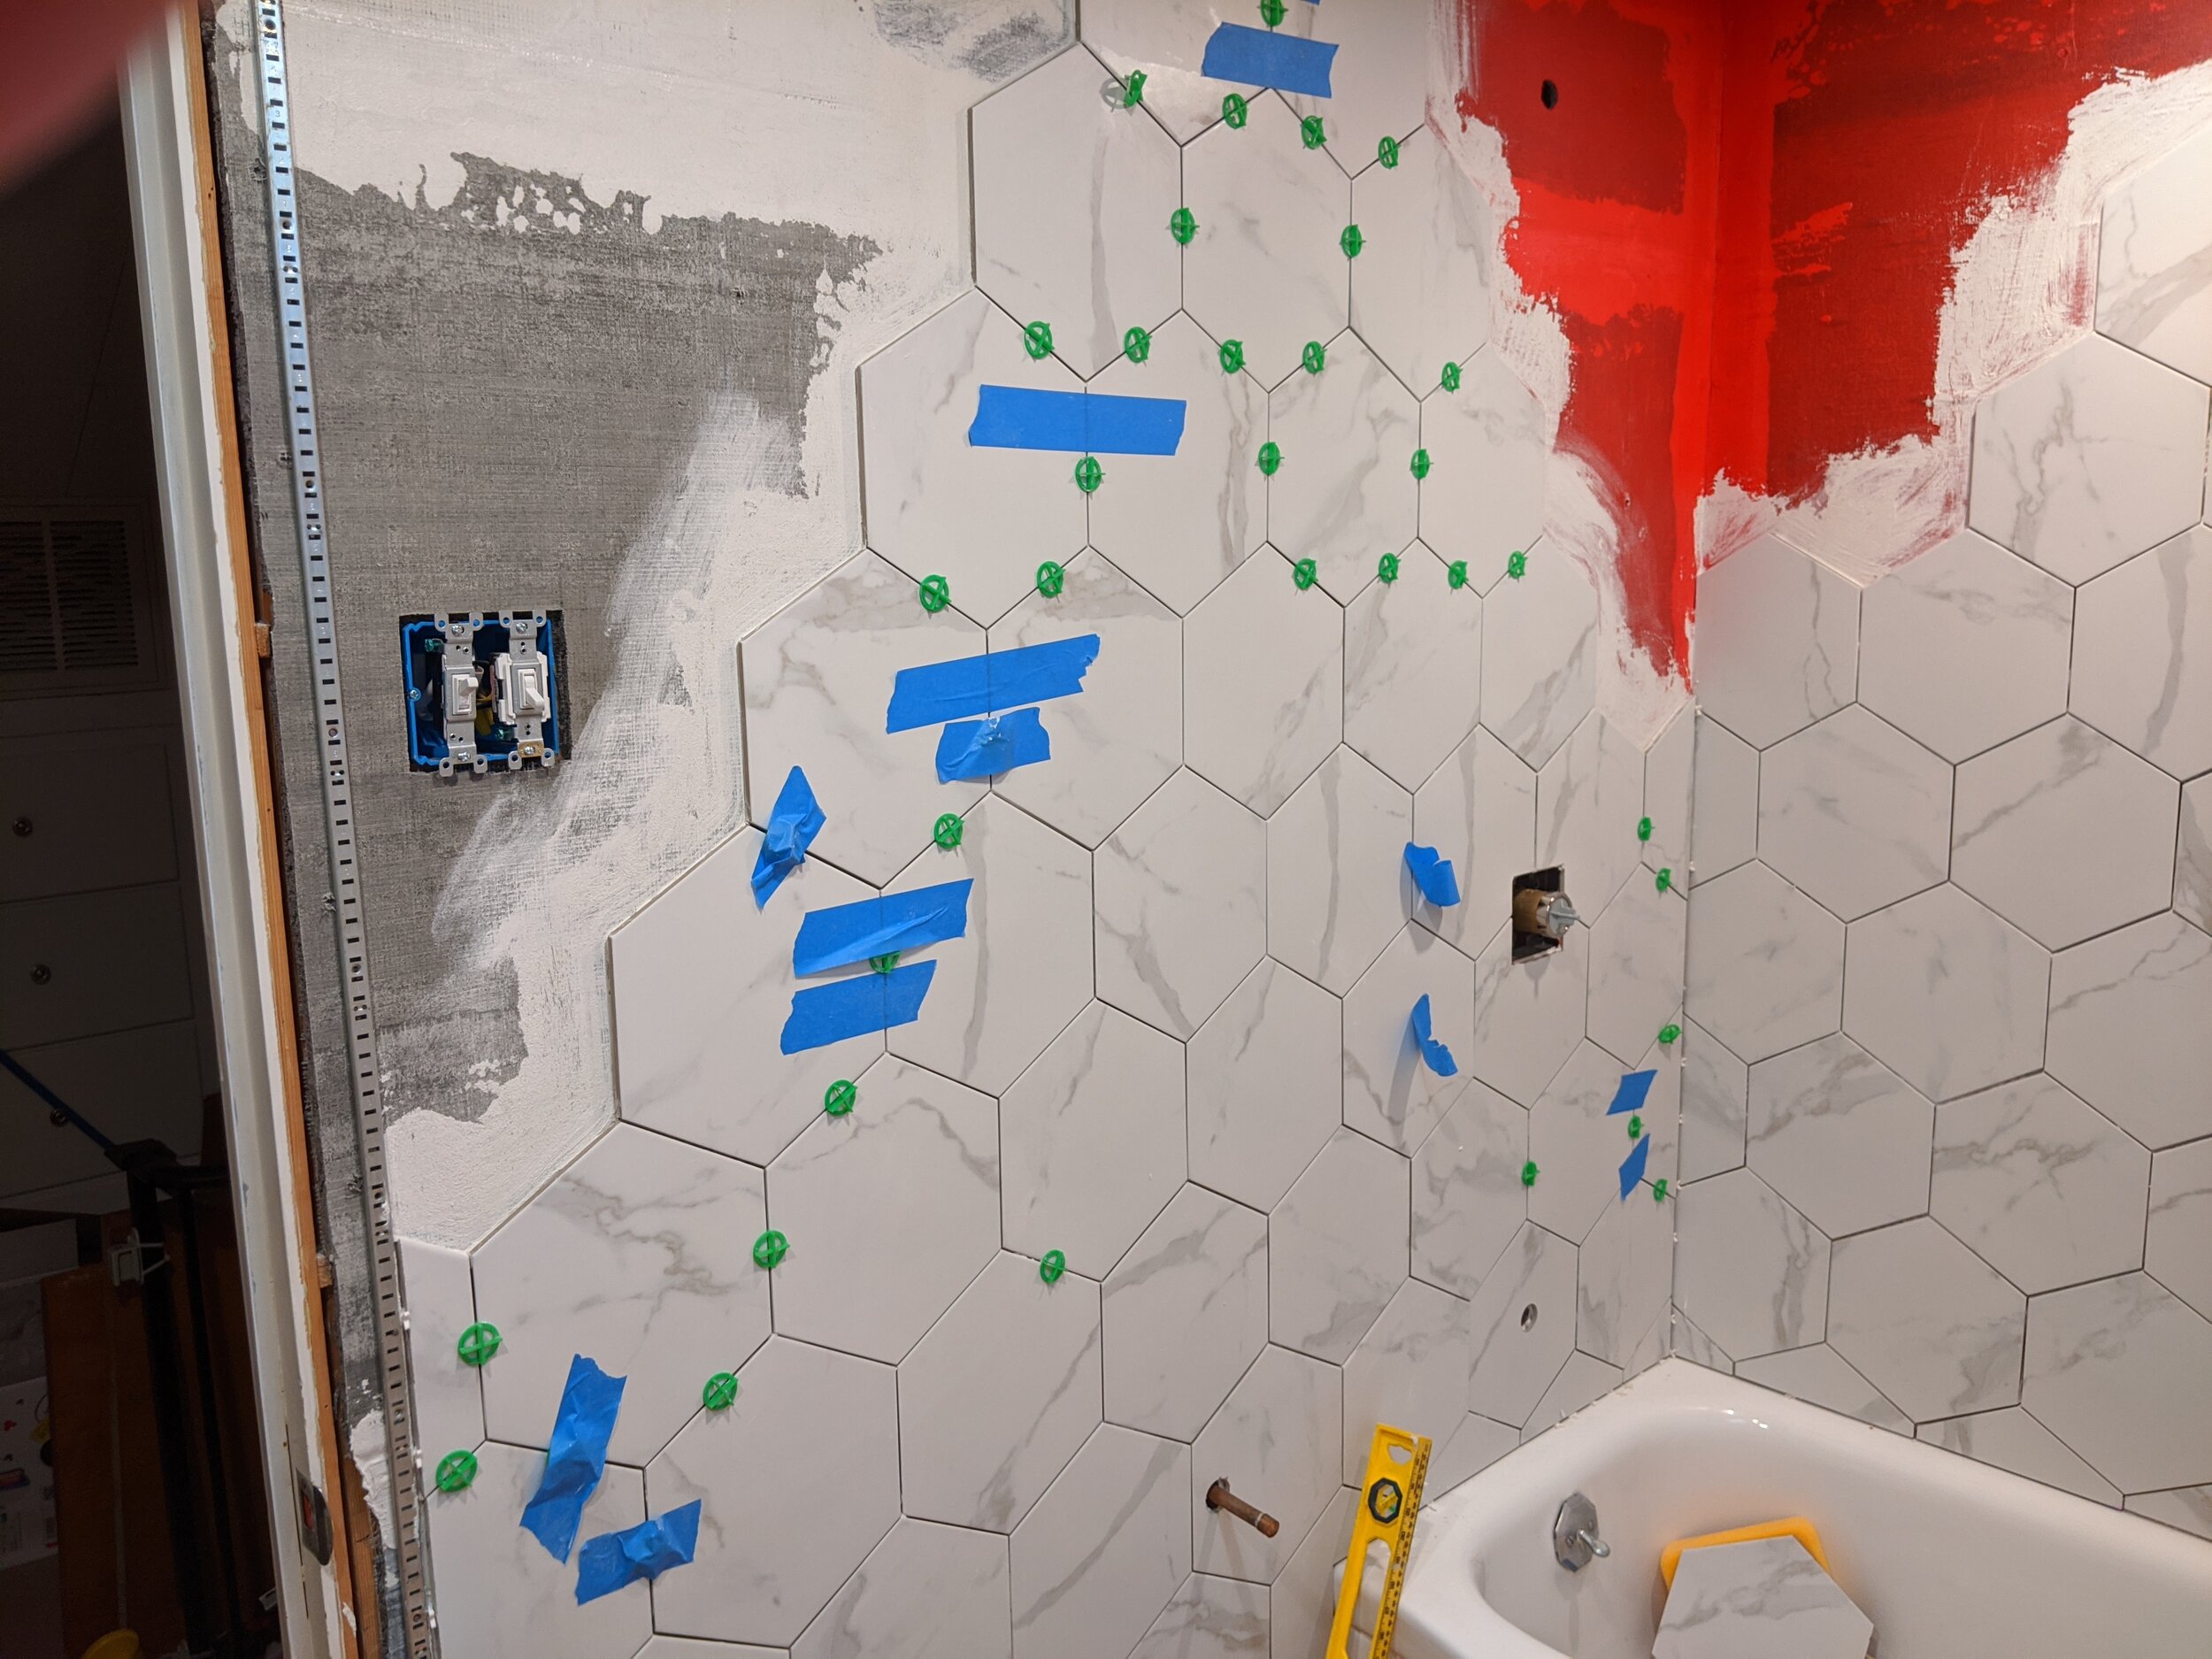
These little plastic guys are super handy (they are green in my pictures). Look for ones specifically made for hexagons as a lot of the corner ones are made for a traditional square tile laid in rows. They keep your rows straight so nothing shifts.
THINSET
We mixed in small batches so we didn’t have to worry about the mortar dying out. The color doesn’t matter at this point since it won’t be visible. Make sure you start covering things; it’s a huge pain to scrape dried thinset off your bathtub or subfloor.
Slop it on, comb it off (leaving ridges so the thinset can smoosh flat beneath the tile without squirting out everywhere. You’ll want to be precise as the tile really grabs right away and they are hard to move. We used a combination of tile separators and tape to make sure nothing shifted.
You can see in the rough plumbing picture (that’s the outlet for the radiator) that we were able to really get precise, professional results.
EDGES
We selected a pencil line edge, but there are metal and plastic edges, as well as bullnose tiles that round off cleanly.
GROUTING
The last step is to pick your grout color (pre-mixed is best so it’s the same color throughout, as you work in batches). You need to clean everything, of course, to make sure there aren’t little scraps of thinset exposed.
Once you’re ready to begin, the grout goes in along all the seams and gets gently wiped off with a sponge. You’ll probably get most of it on the first pass, but rather than discover an air bubble or chunk of grout later, trace your eyes along each seam and look for any inconsistencies.
Next up… the floor!


