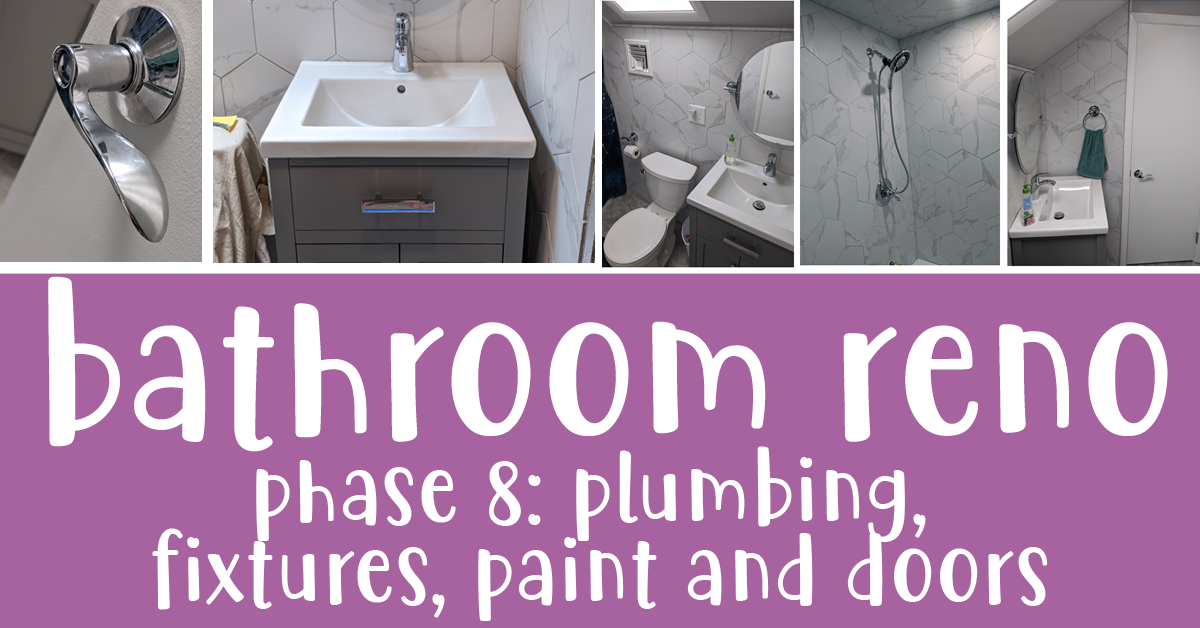
This is the fun step where things finally get usable again! That familiar soothing whirr of the vent fan, the flush of the toilet, the click of a door lock… all the things that make a bathroom better than an outhouse.
NOTE: Skip back if you want to see an overview (including “the before”) or previous steps we’ve already completed, or skip ahead if you’re looking for a different step in the process.
STEP 12: PLUMBING AND ELECTRICAL
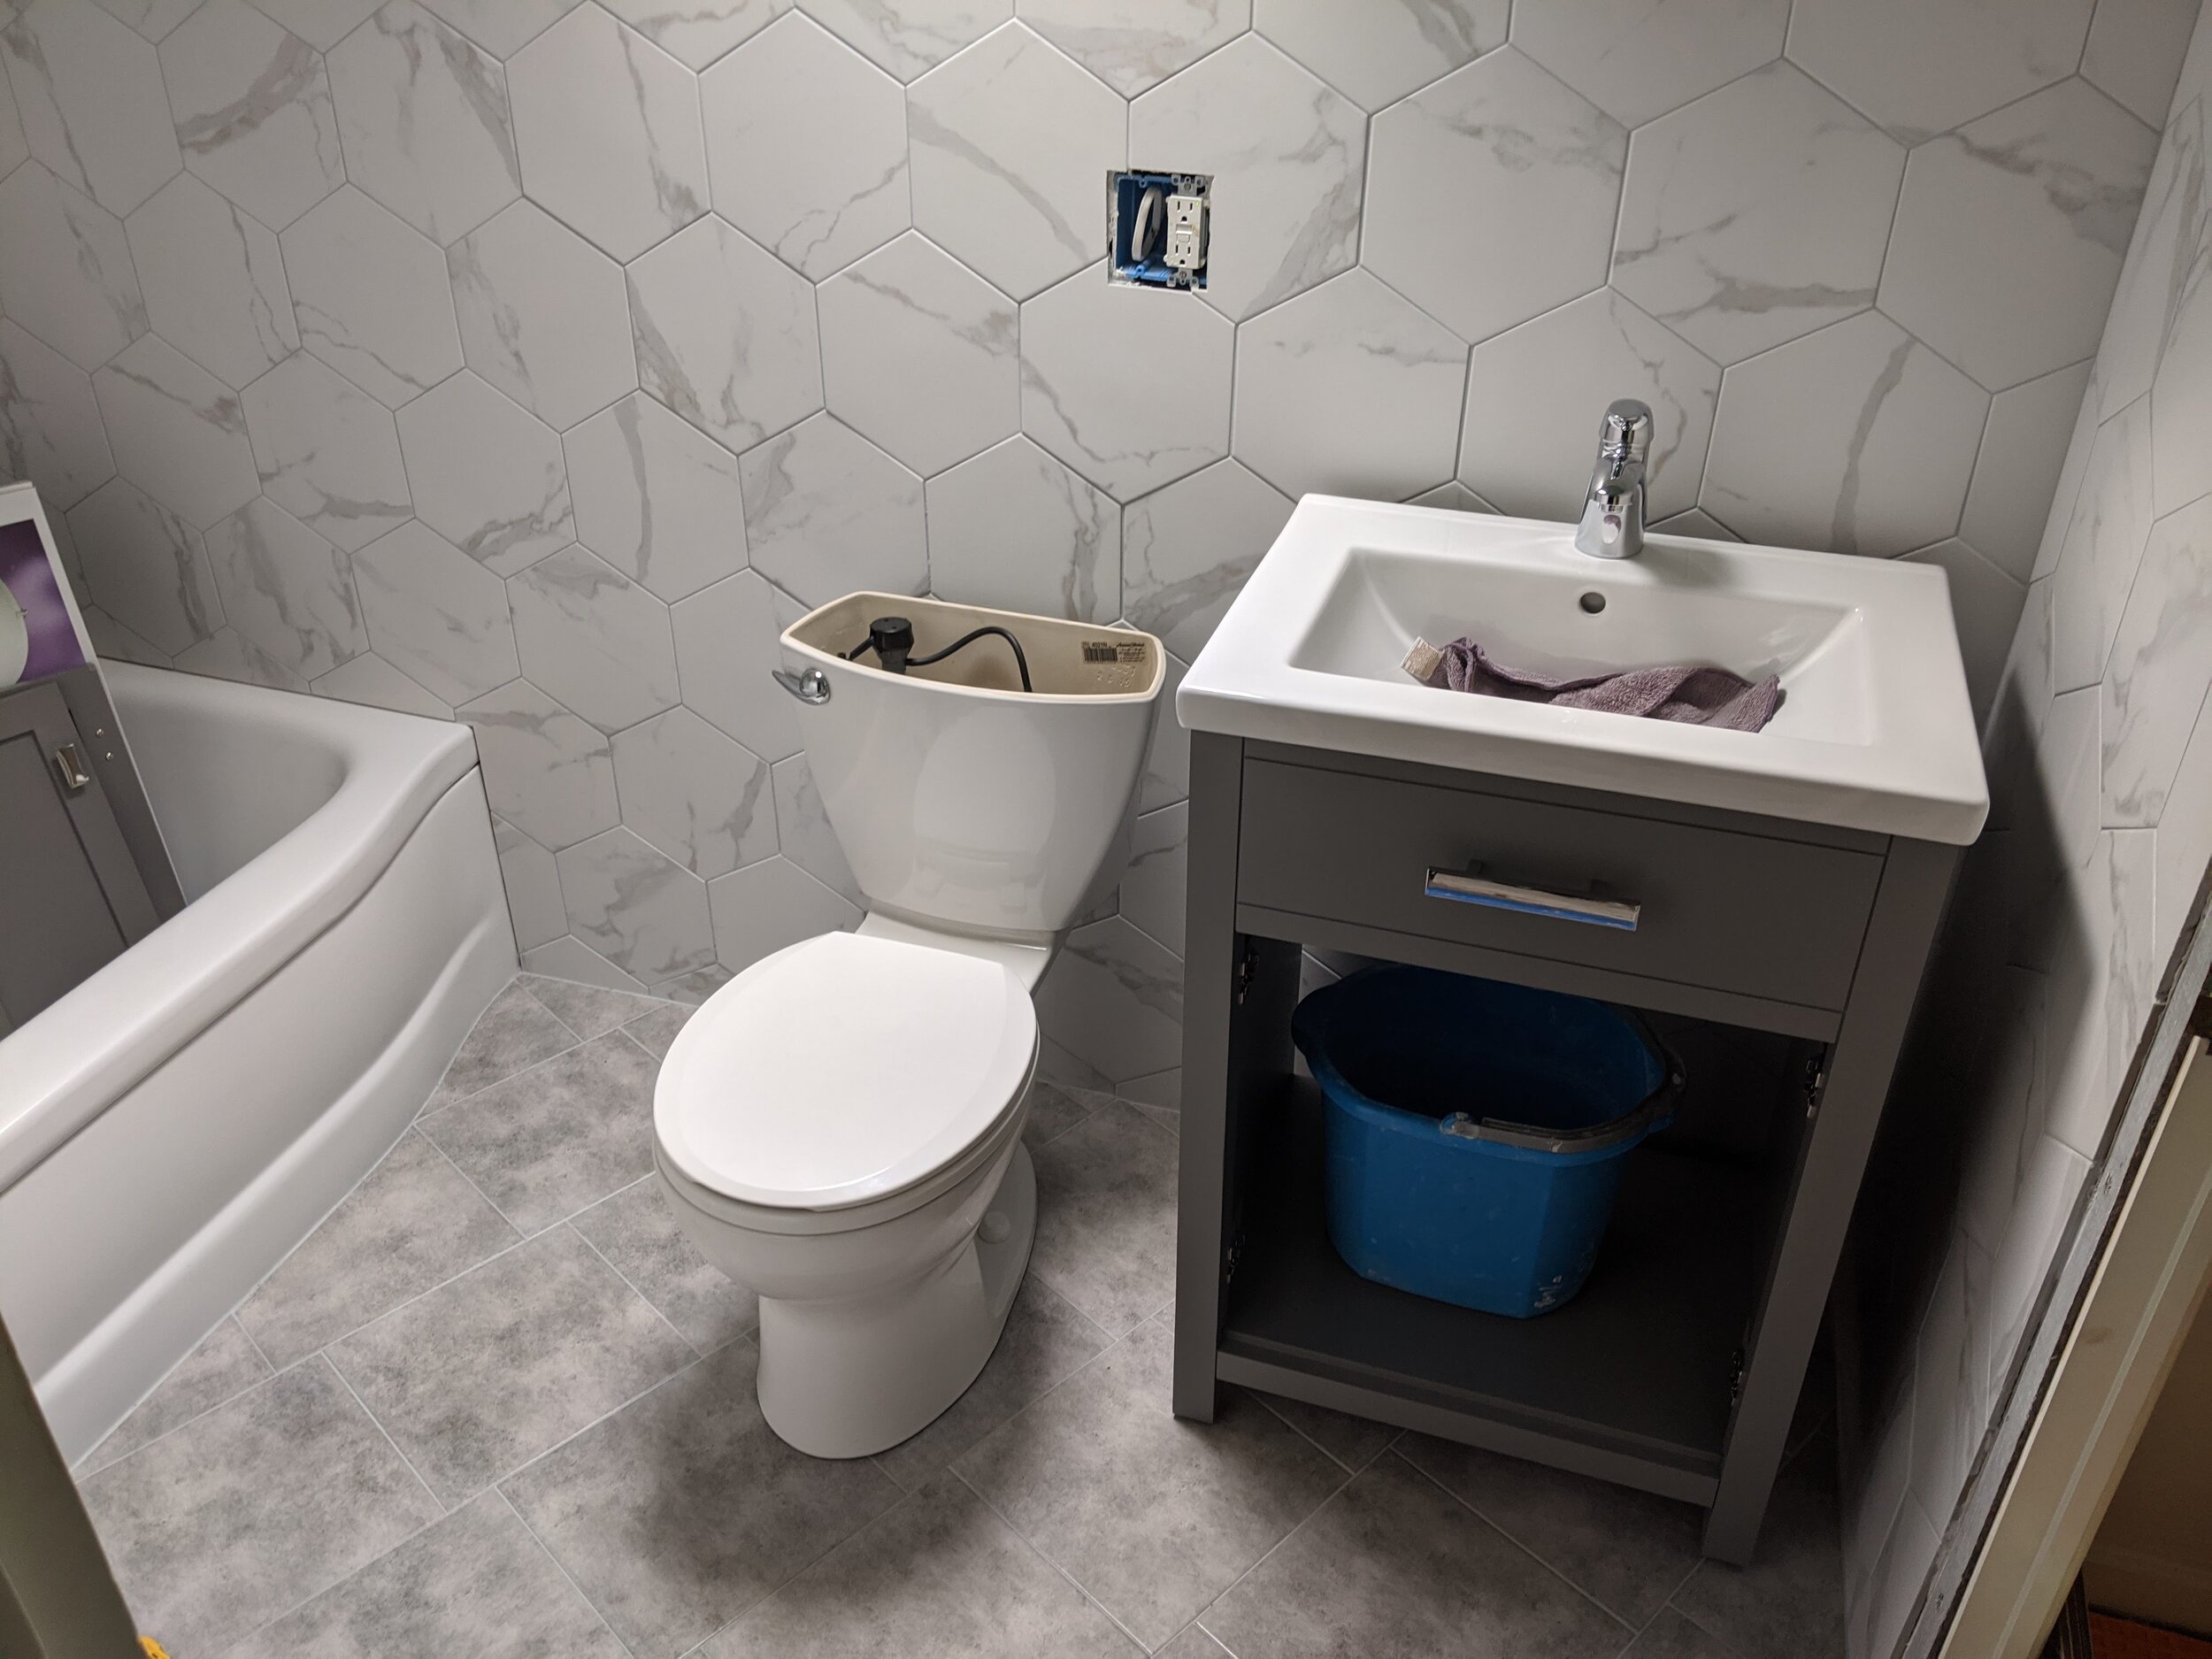
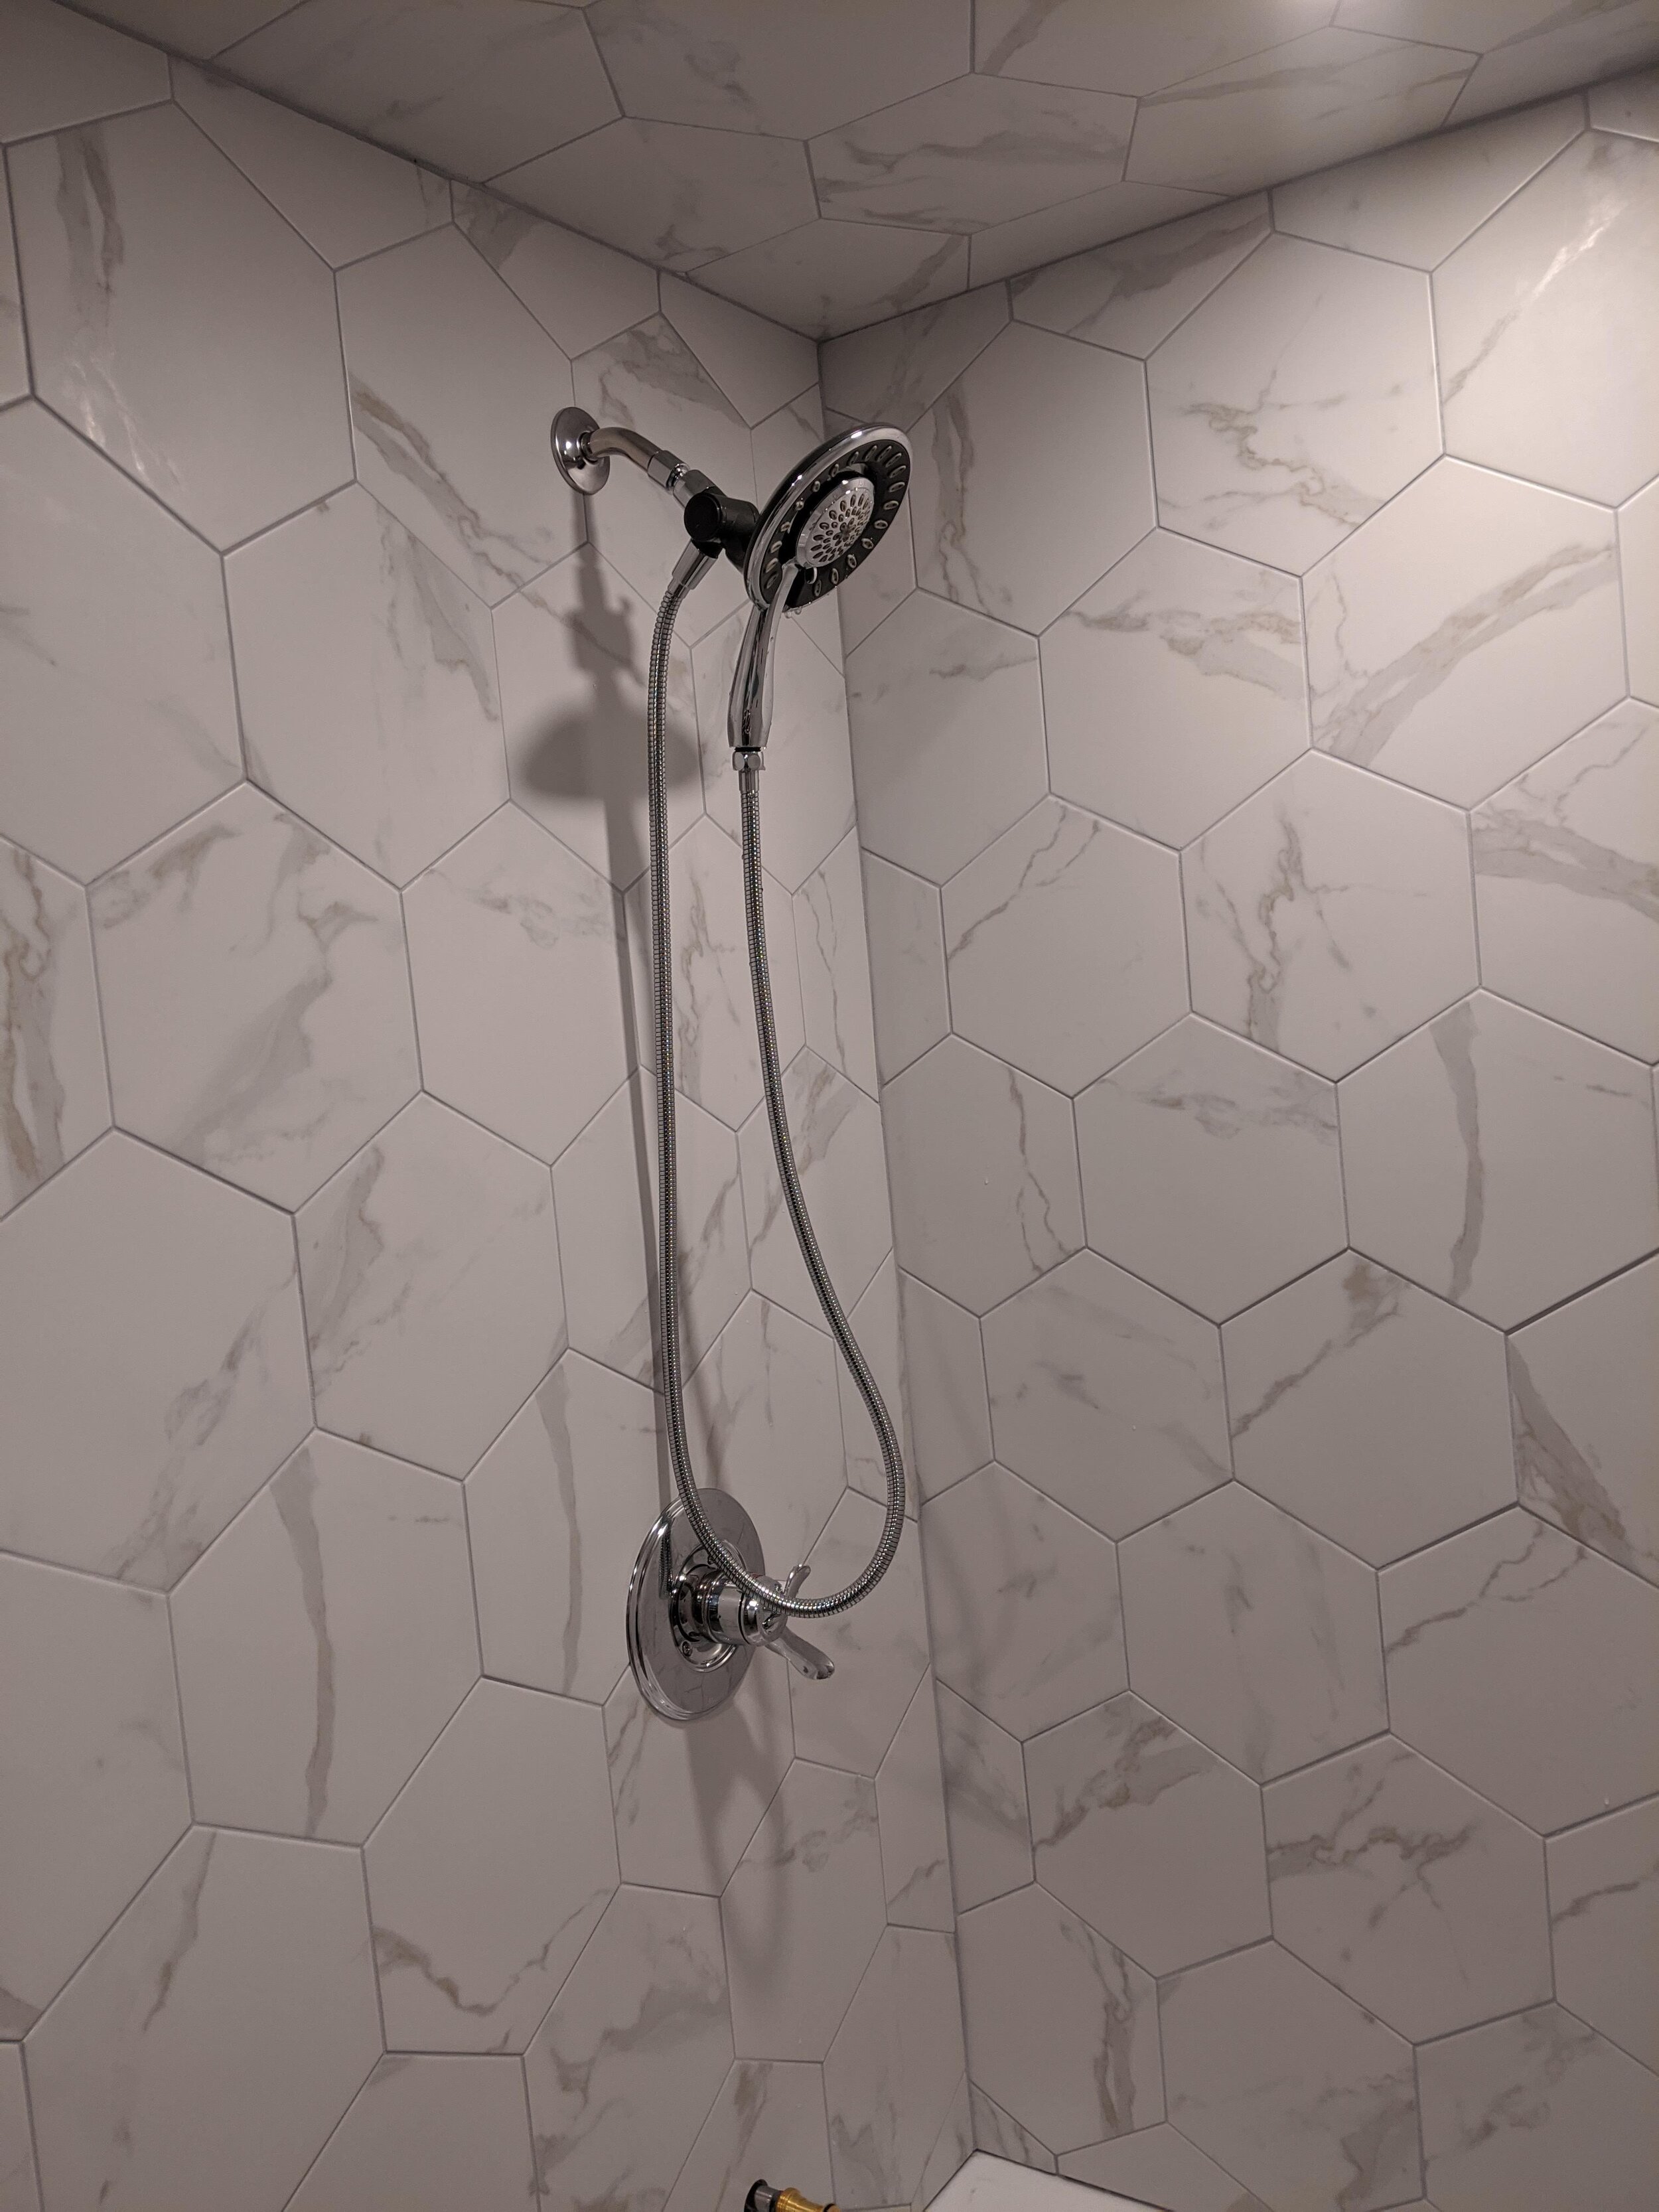
Everything was previously roughed in, so this final plumbing is mostly a matter of properly attaching things. Once again, as previously stated, please get a professional so you don’t end up with ankle-deep water in your basement after botching this step. We opted for a shower head that includes a pull-down wand because my daughter has amazing curly hair that she might need help washing for several years yet. Plus, why would we NOT want a shower head that looks like an old-timey radio mic so the kids can practice their Frankie Valli?
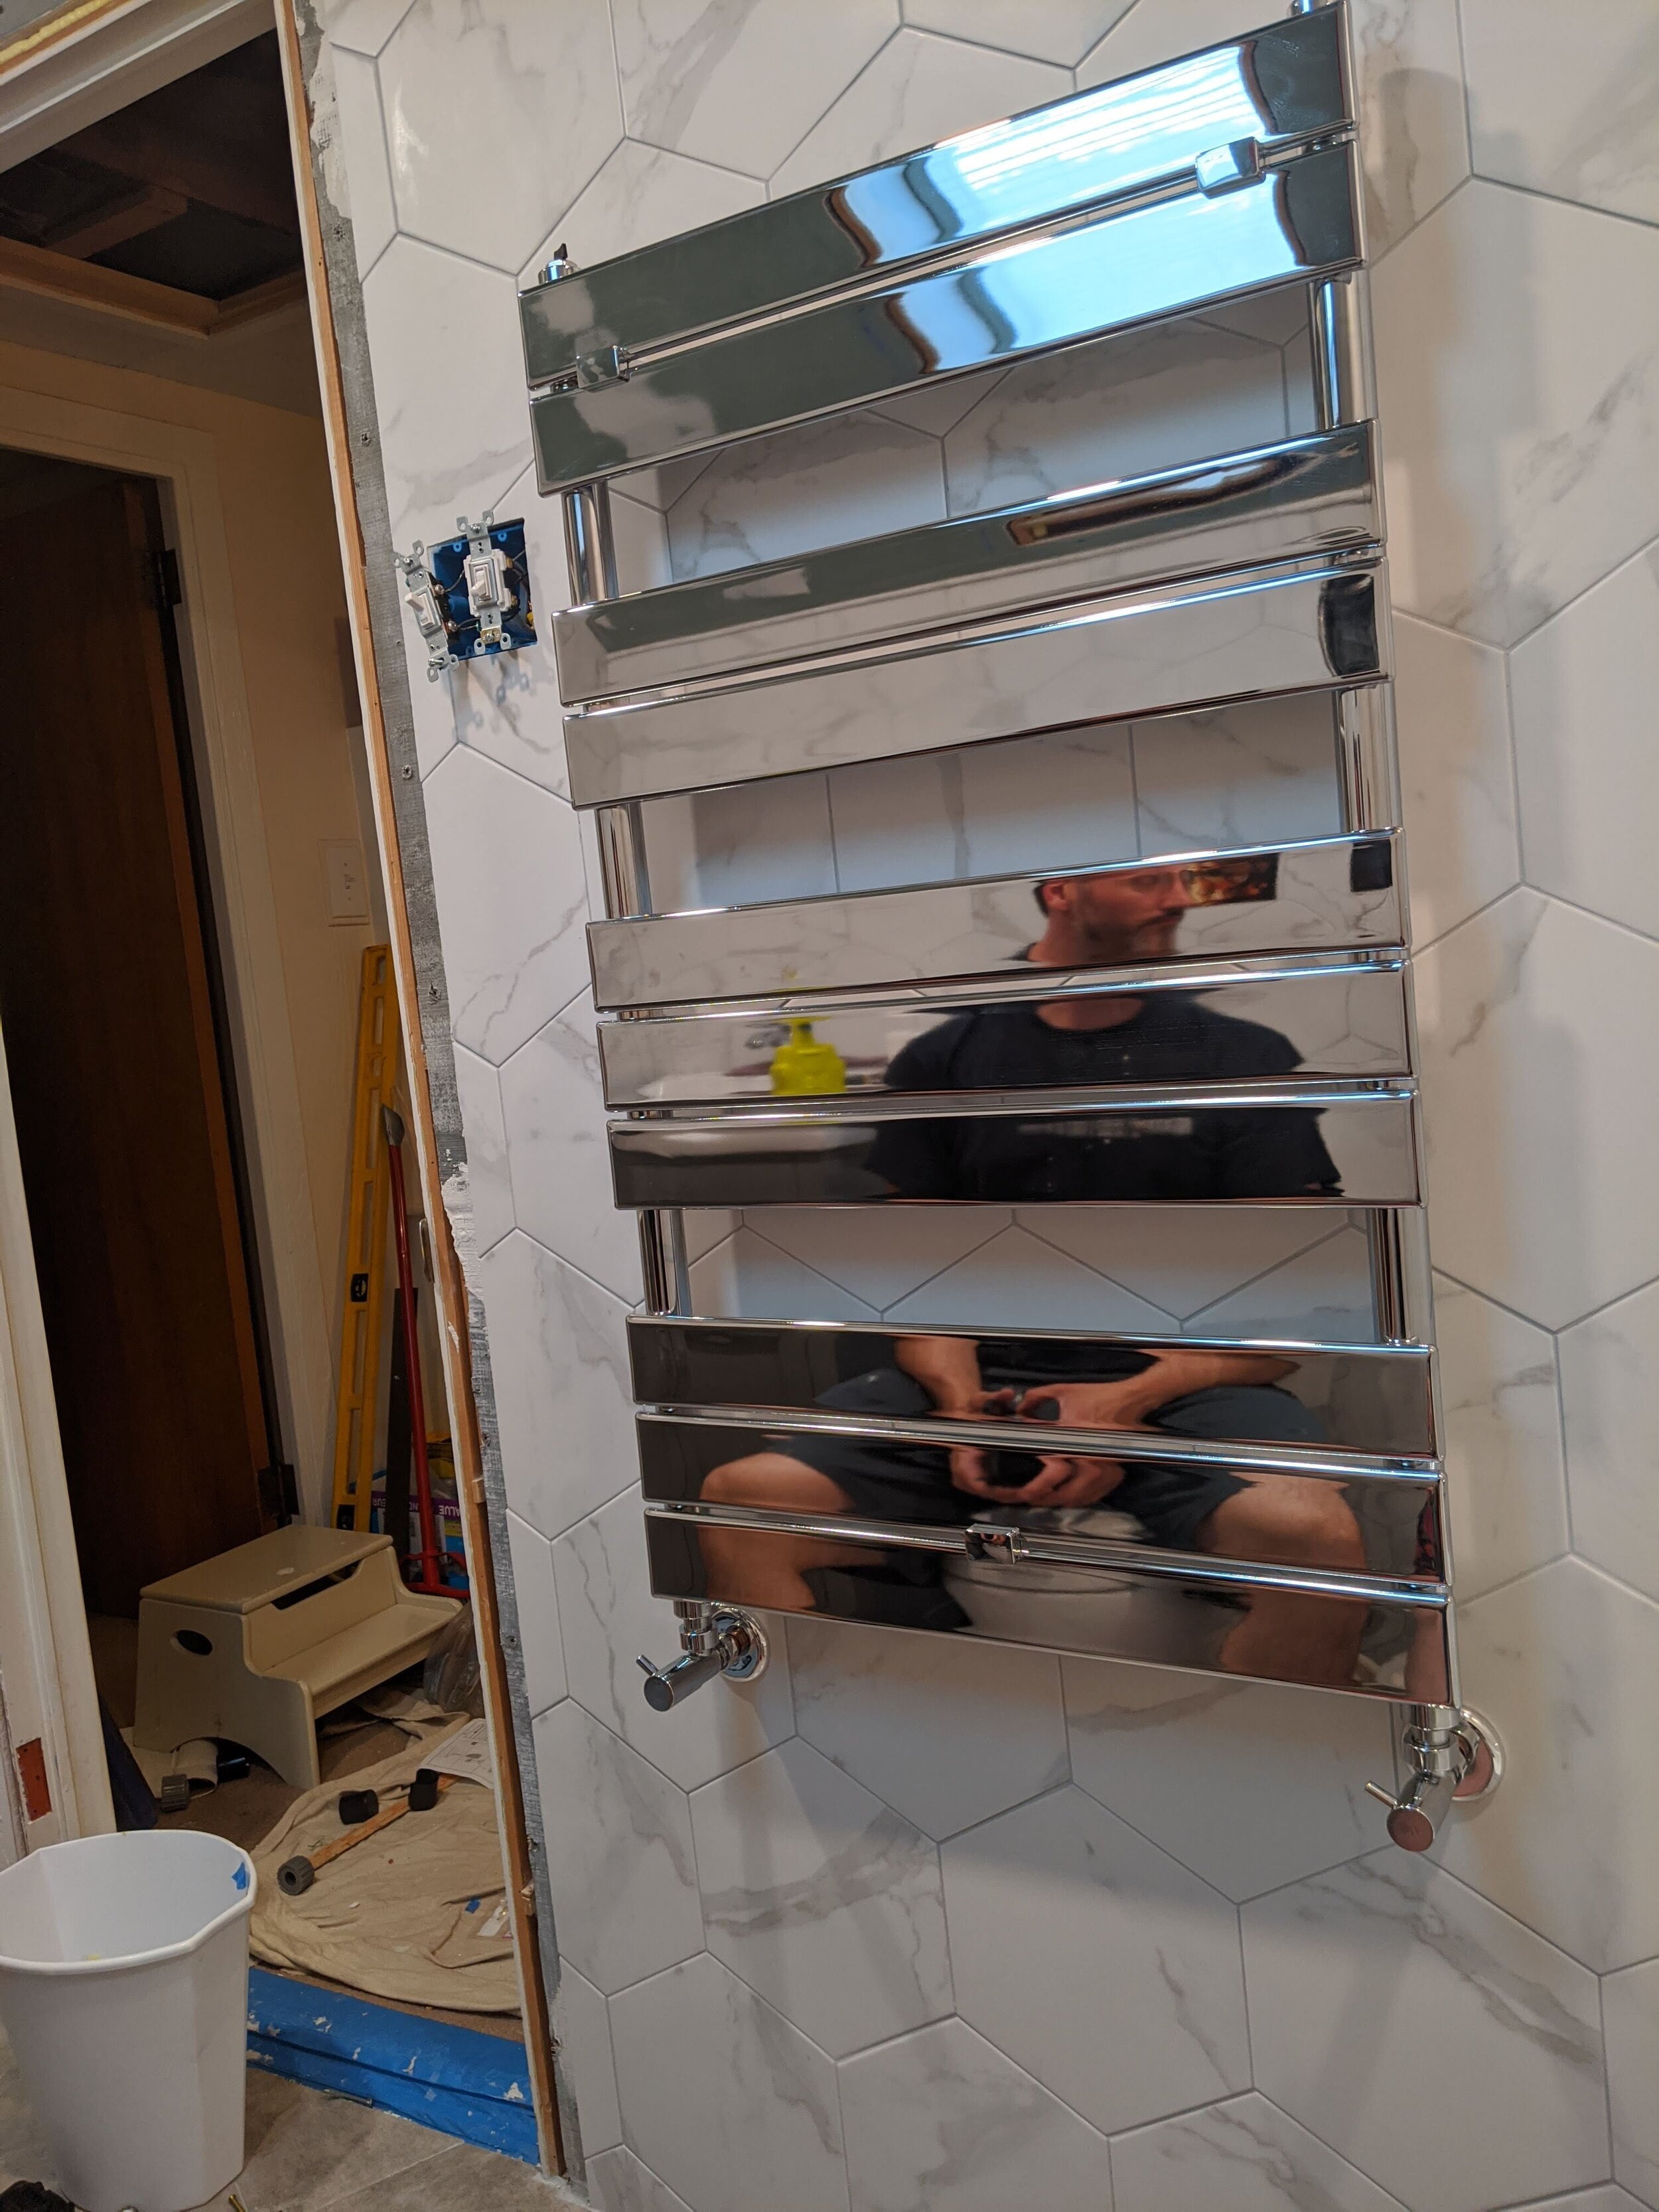
Our project included an extra plumbing step because my husband was determined to give the kids a radiator that doubled as a towel heater/drier. It’s pretty cool looking, and so shiny, it doubles as an awkward mirror facing you when you’re sitting on the potty. Just kidding, there are usually towels on it. Ok, no really, just kidding, I have children so the towels are wet in a heap in the corner. LOL, hung up towels, who ever heard of such a thing?
For the lights, we had the power run already, so it was just a matter of snapping the wafer lights into place. LOVE these lights. So simple.
STEP 13: PAINT
You’re probably seeing that I have a love of neutrals in permanent things so that I can accent with bold colors easily. Same went for the paint in here. It was a very small area, just a little bit of wall and ceiling that weren’t tiled.
STEP 14: FIXTURES
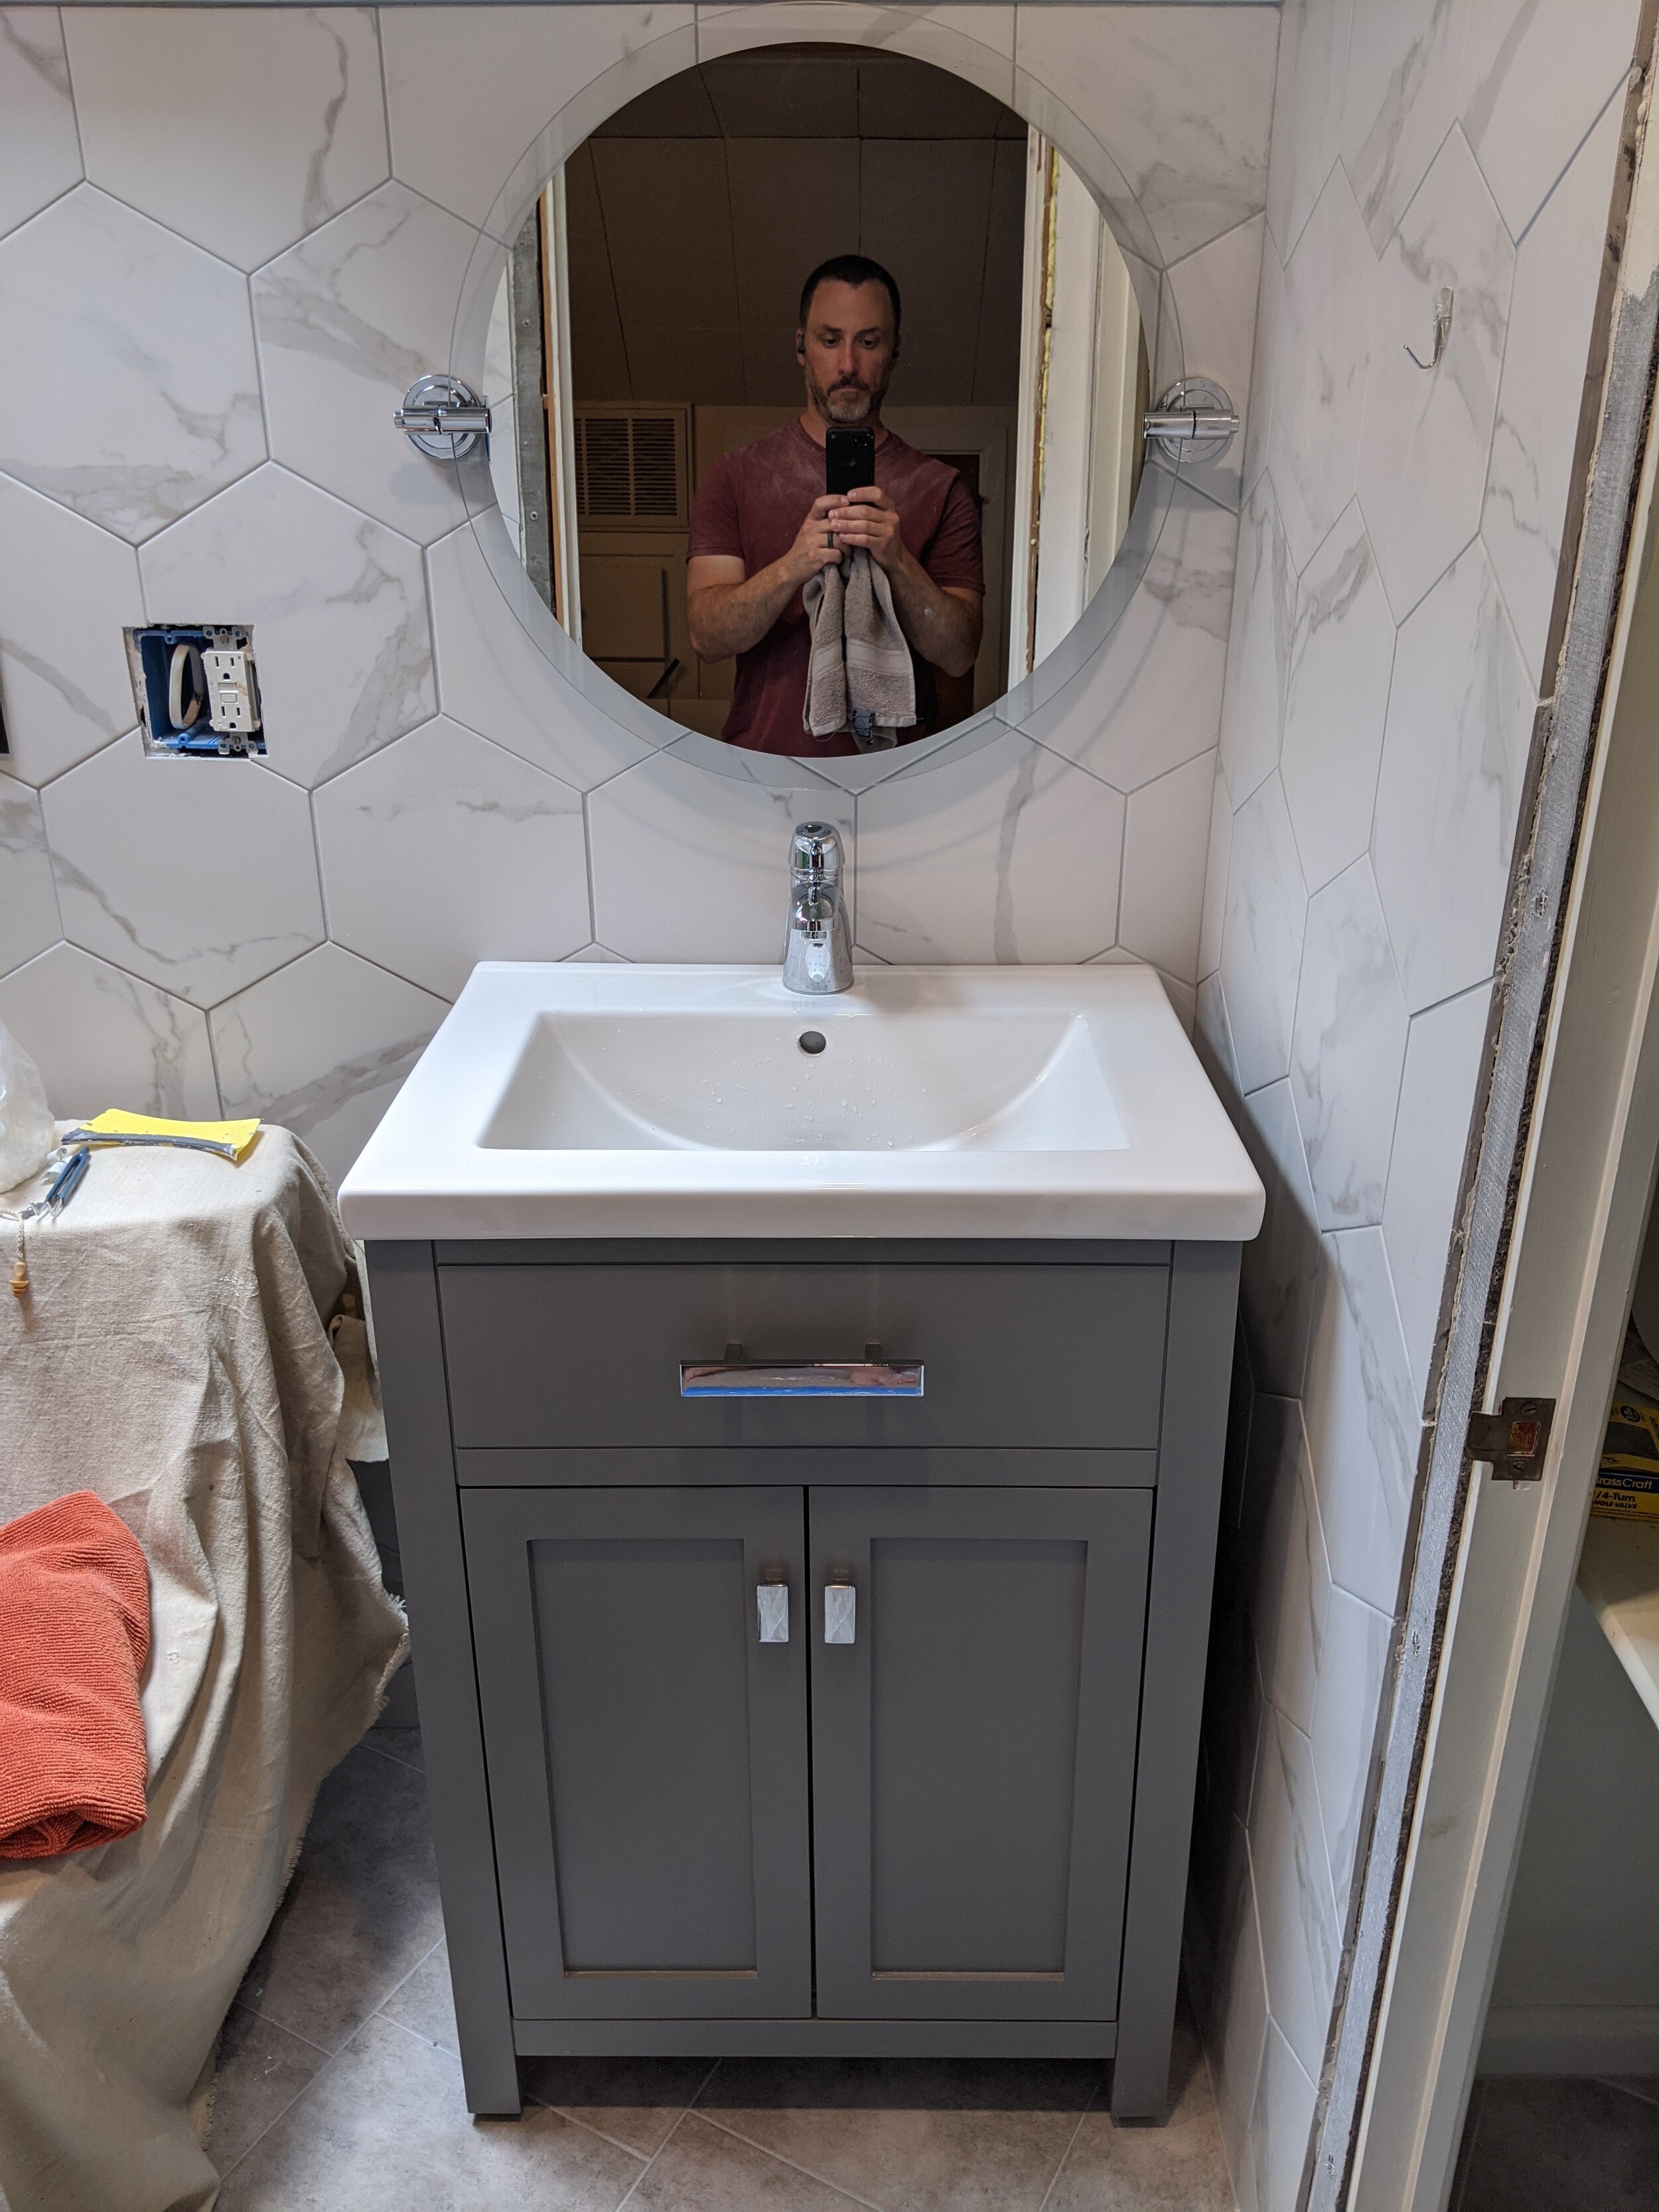
We selected a shallow-depth sink and cabinet that I really like, plus a round mirror that swivels up and down to help the shorter and taller among us. Because our ceiling is caped, the mirror has to hang low which meant even me at 5’ 7” could only see chin down on the old mirror that was mounted flat on the wall.
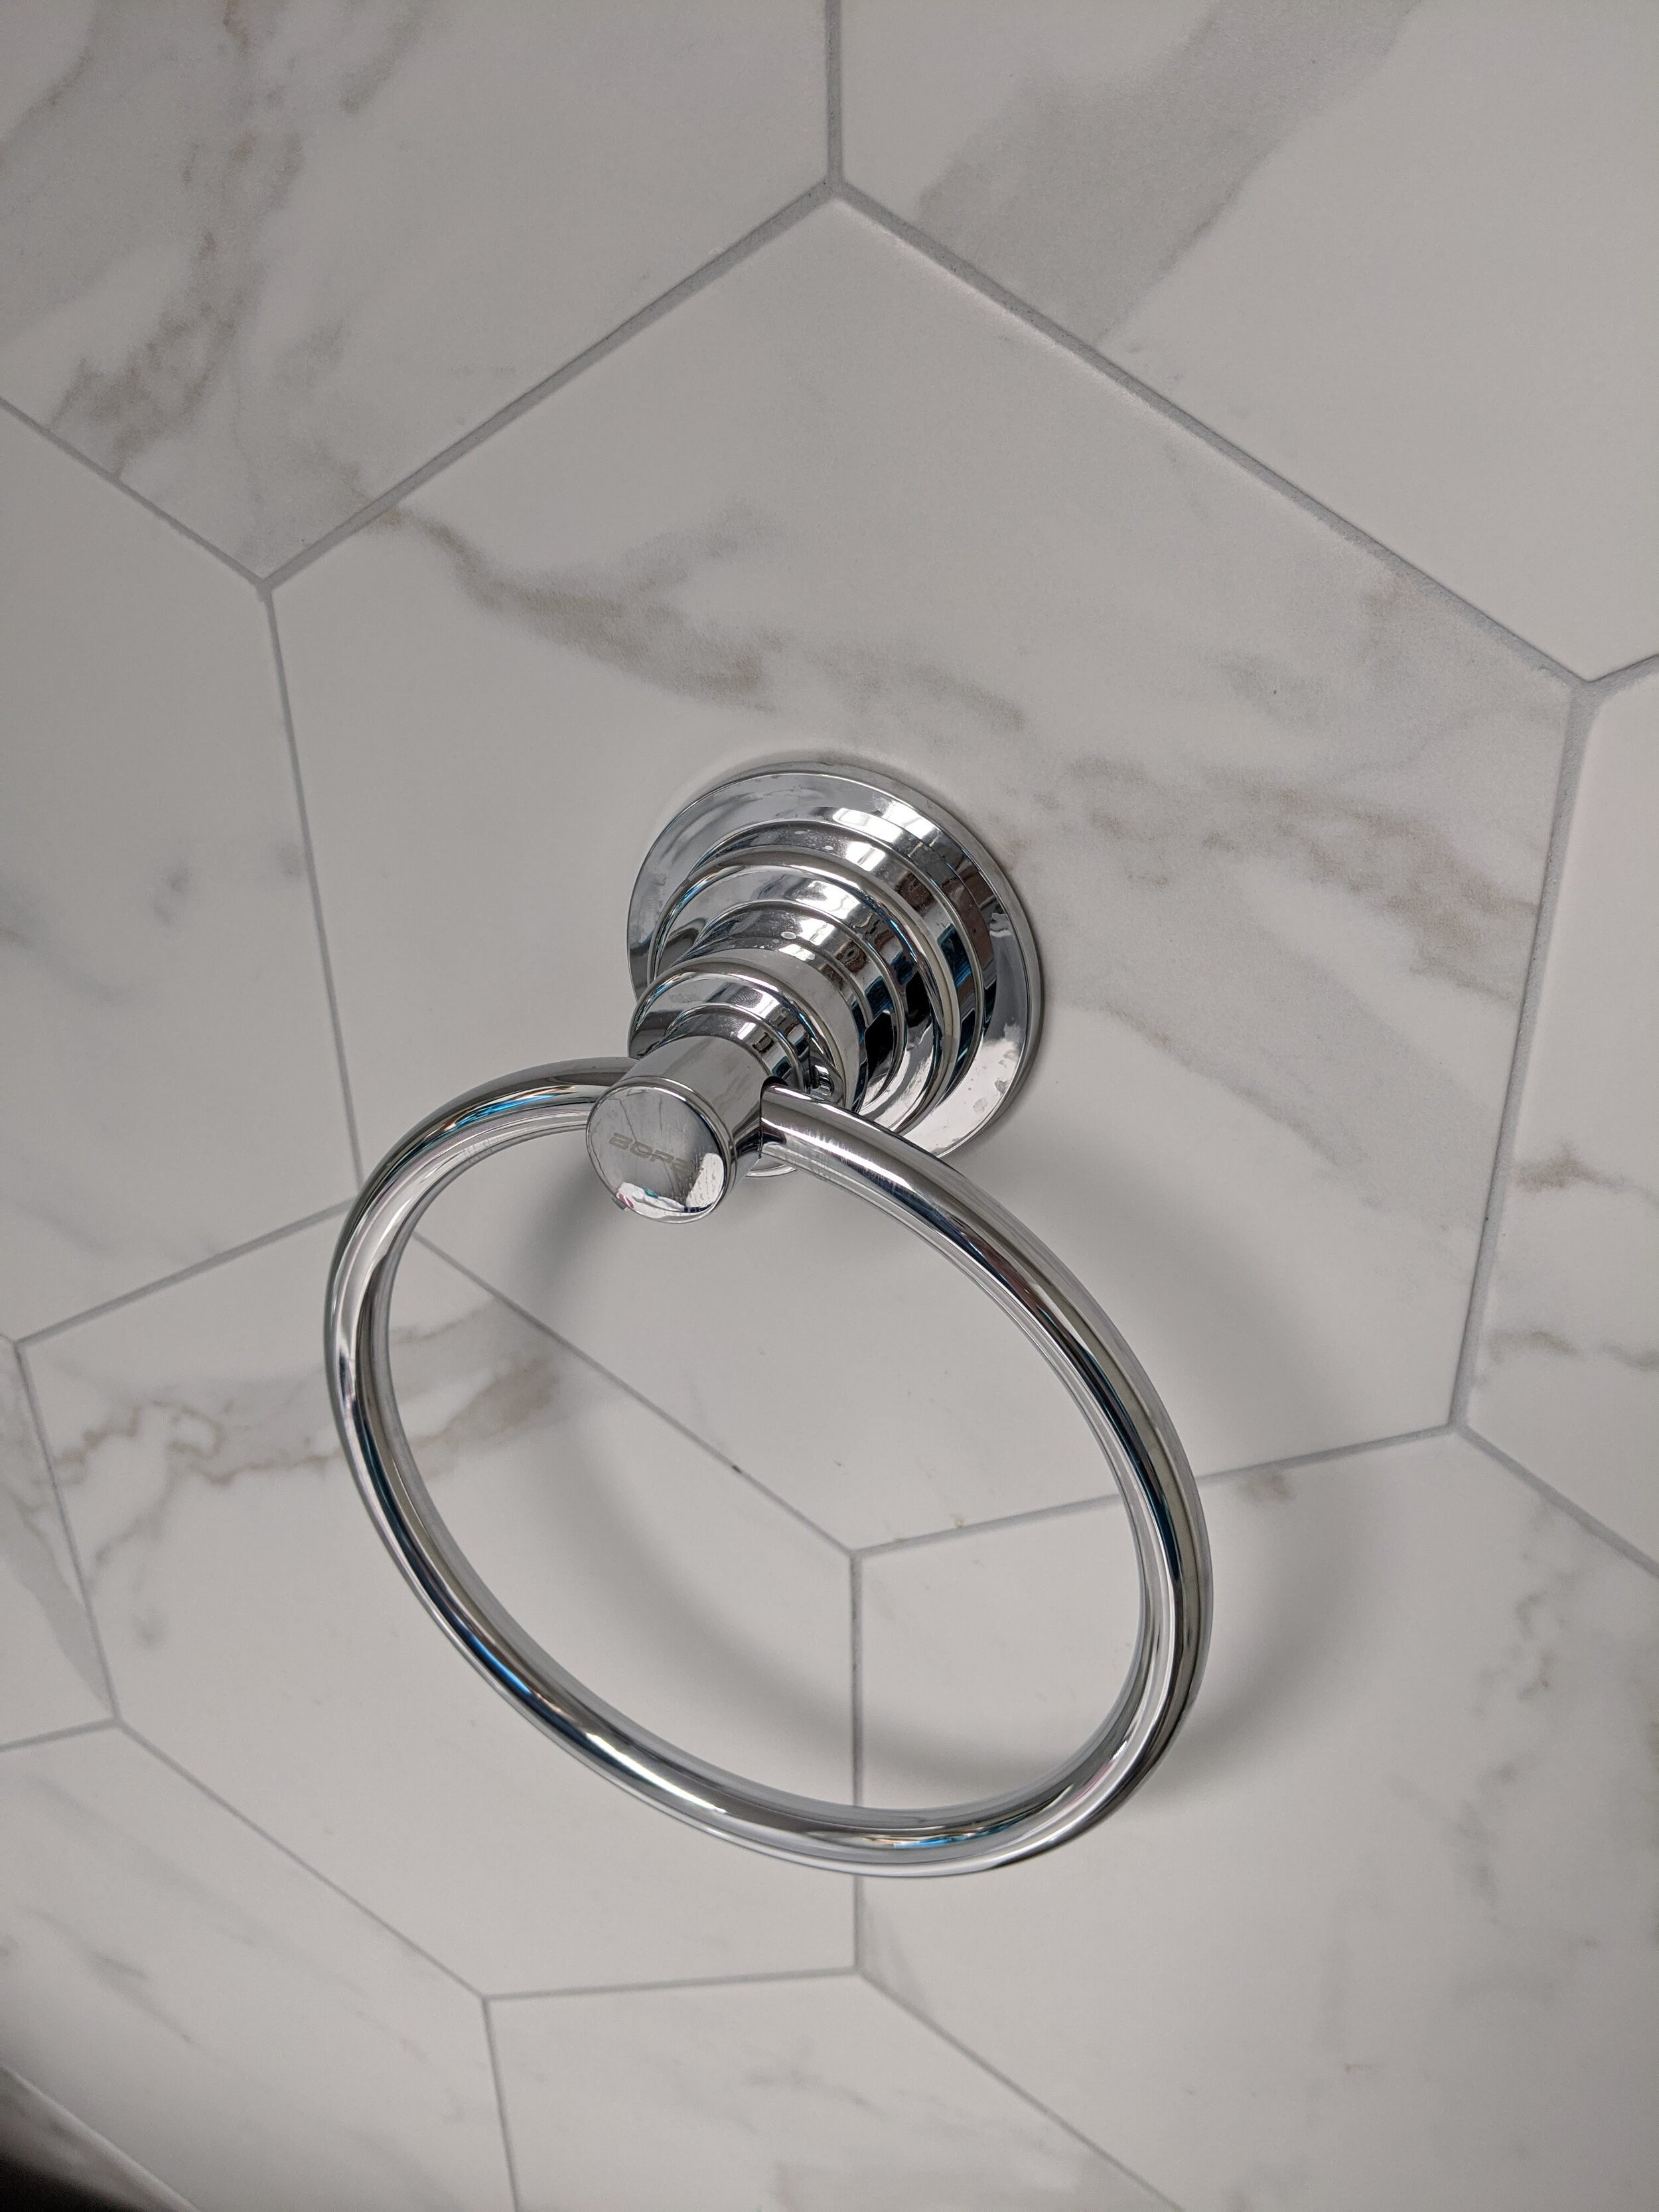
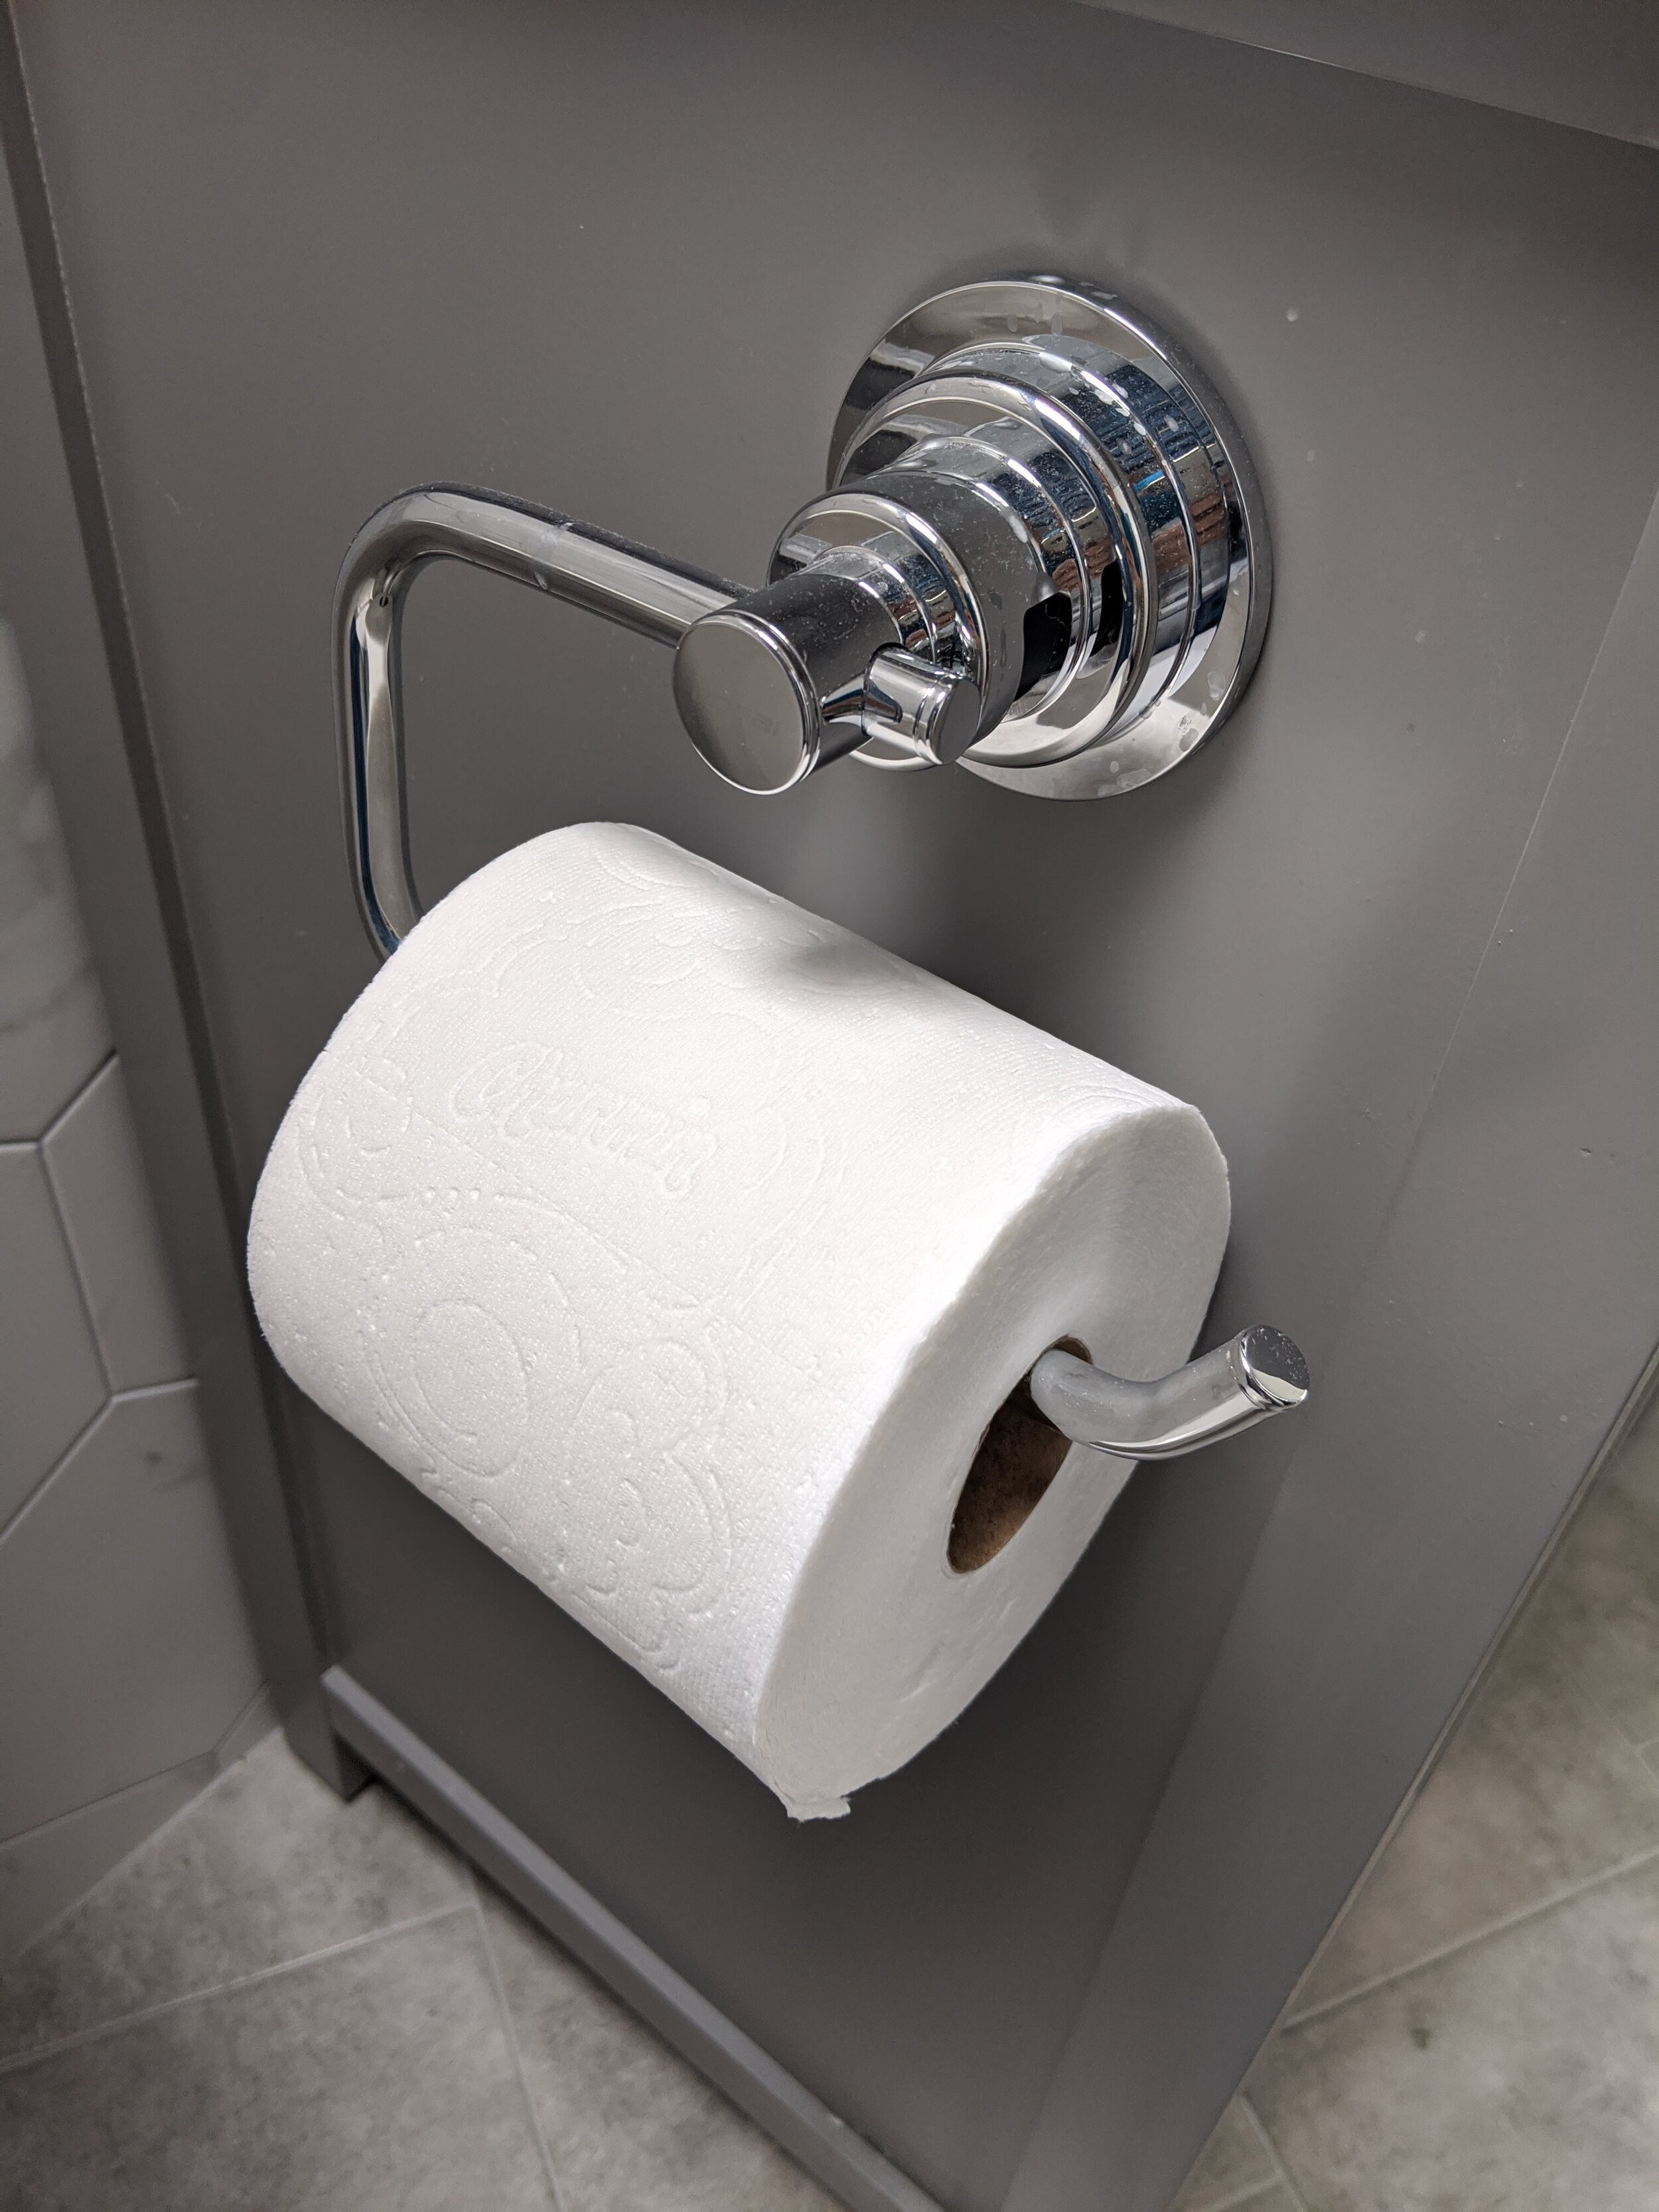
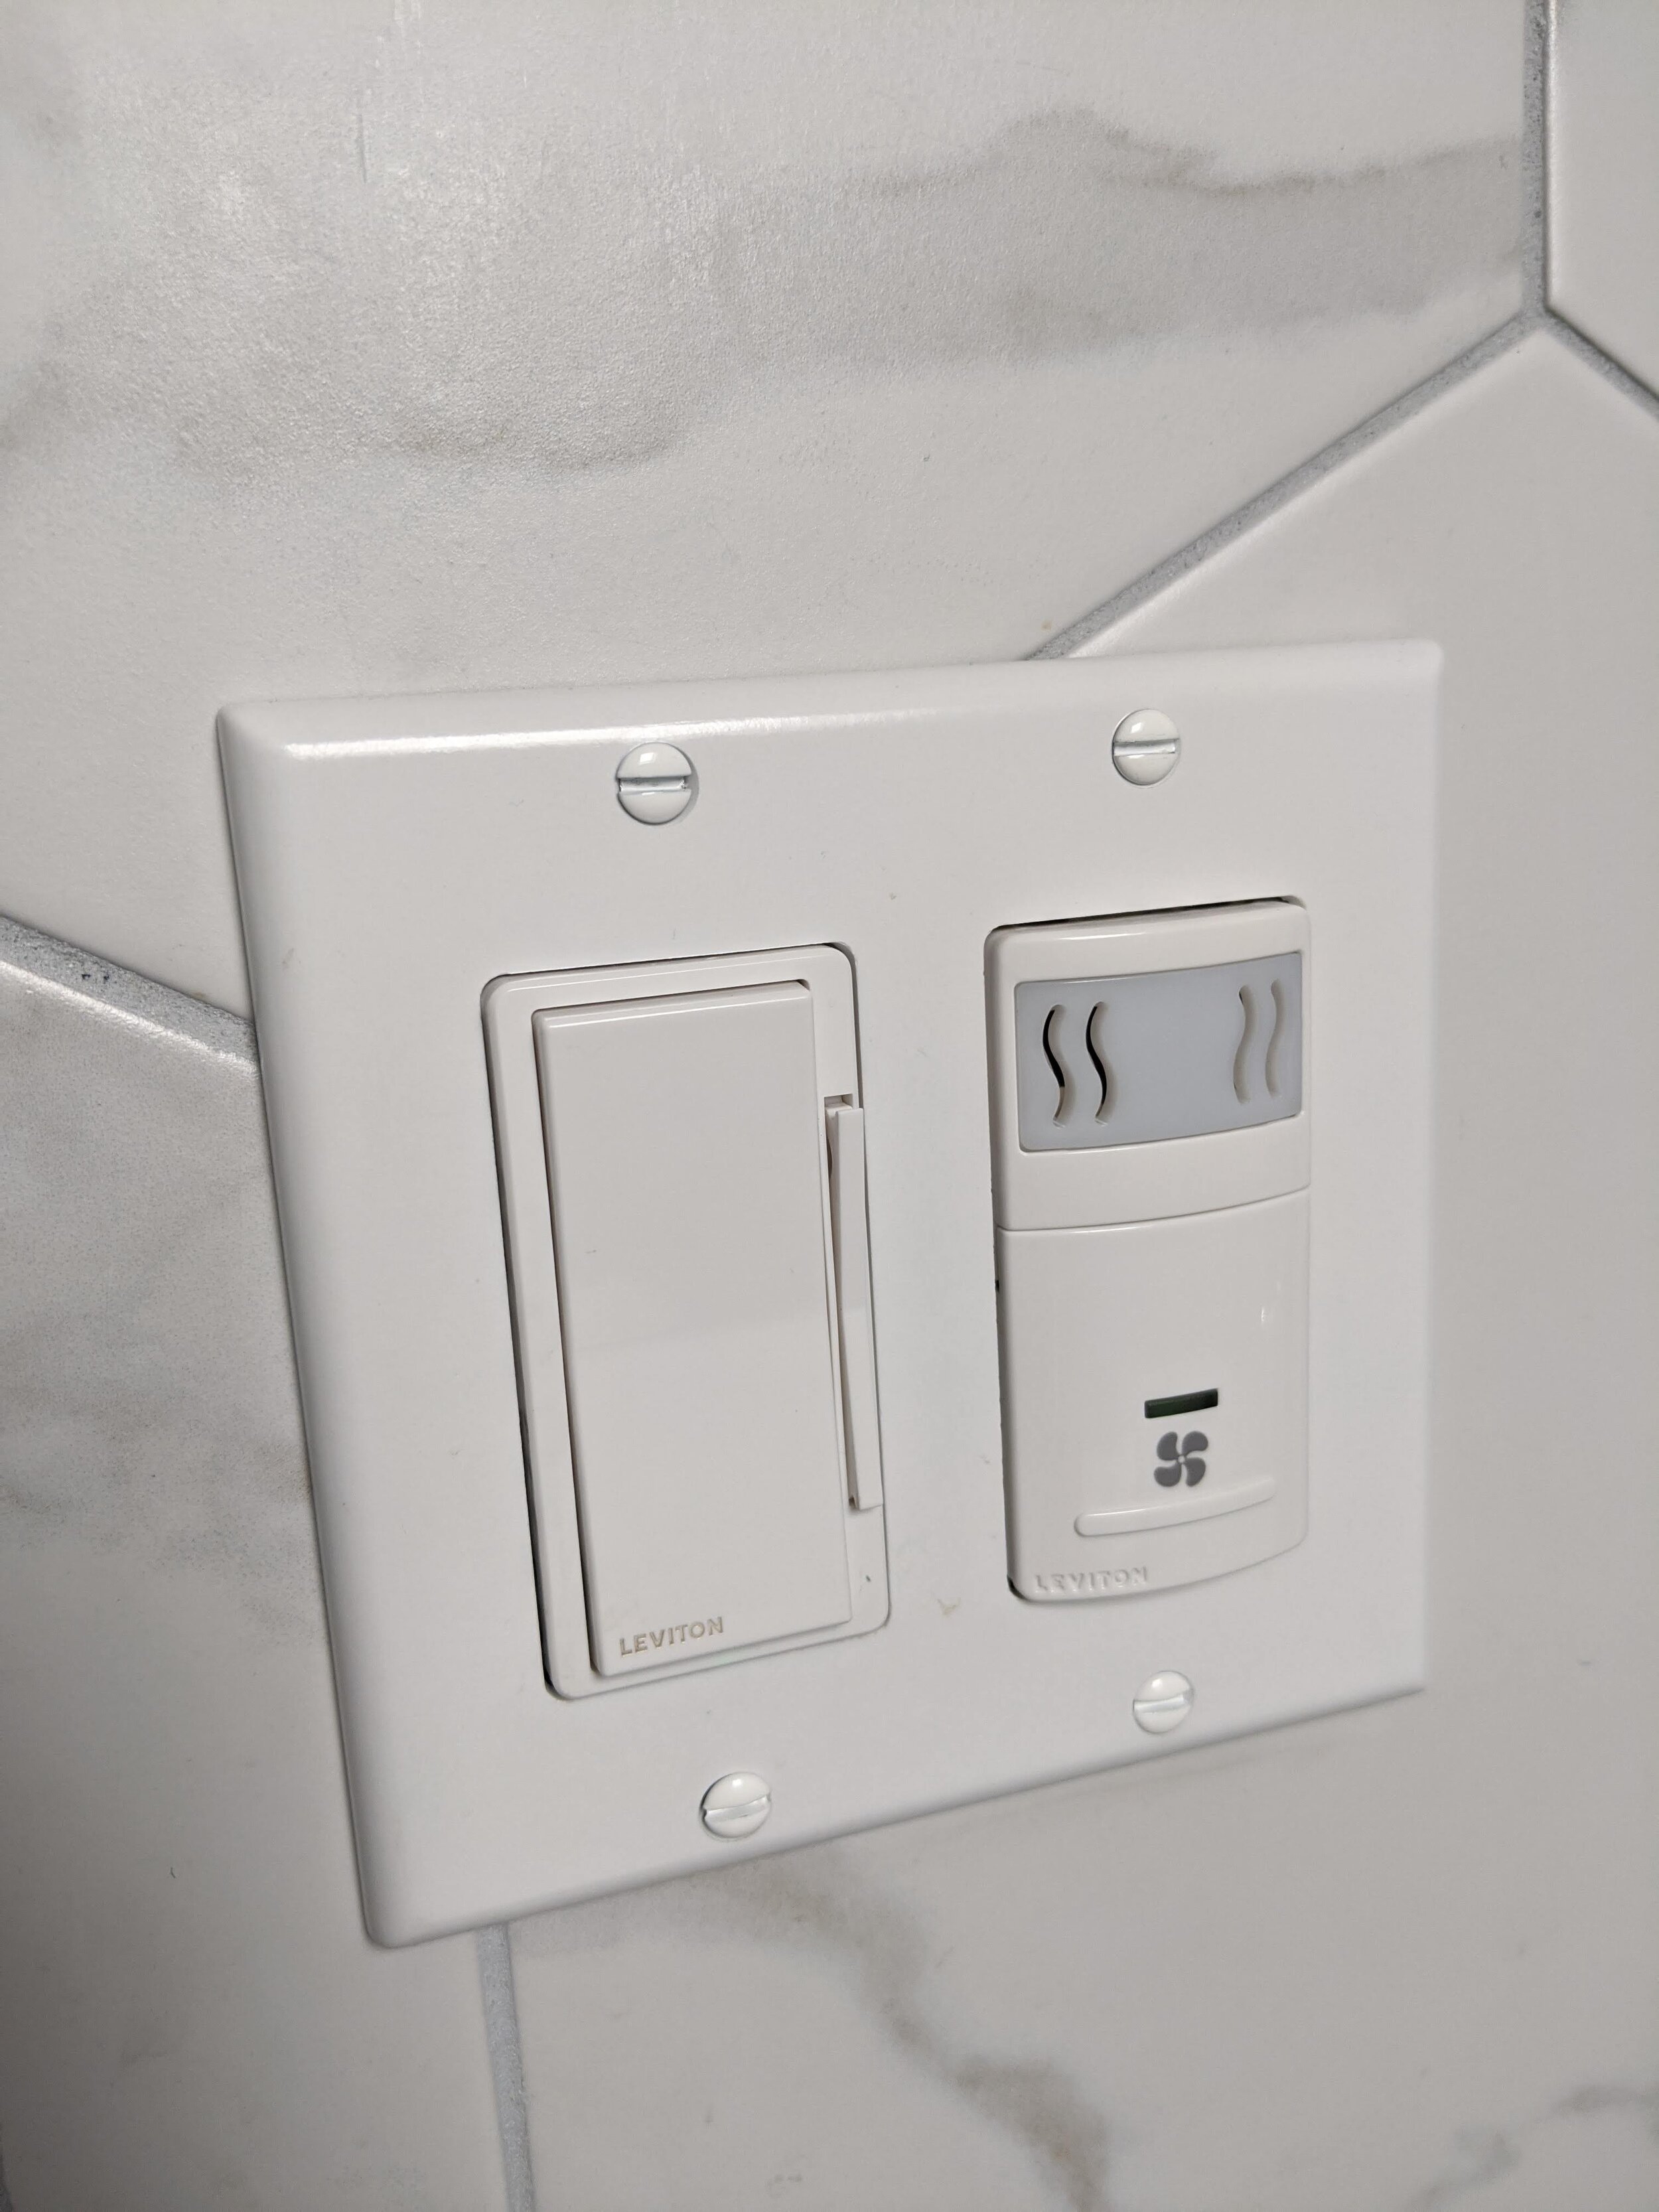
Our final steps were electrical outlet covers, the vent cover, light switch (only the best so it has a fader and can be controlled from my phone, the Google home, and the Alexa because why wouldn’t I want to be able to flash the lights while my son is singing in the shower?), the toilet paper holder, and the towel ring.
These were actually very sneaky. We couldn’t bring ourselves to drill through the beautiful tile we’d just spent a lifetime cutting, so we got metal suction items to hold the towel and toilet paper. Can’t complain — I don’t think you can see the difference at all! Win win.
STEP 15: DOORS
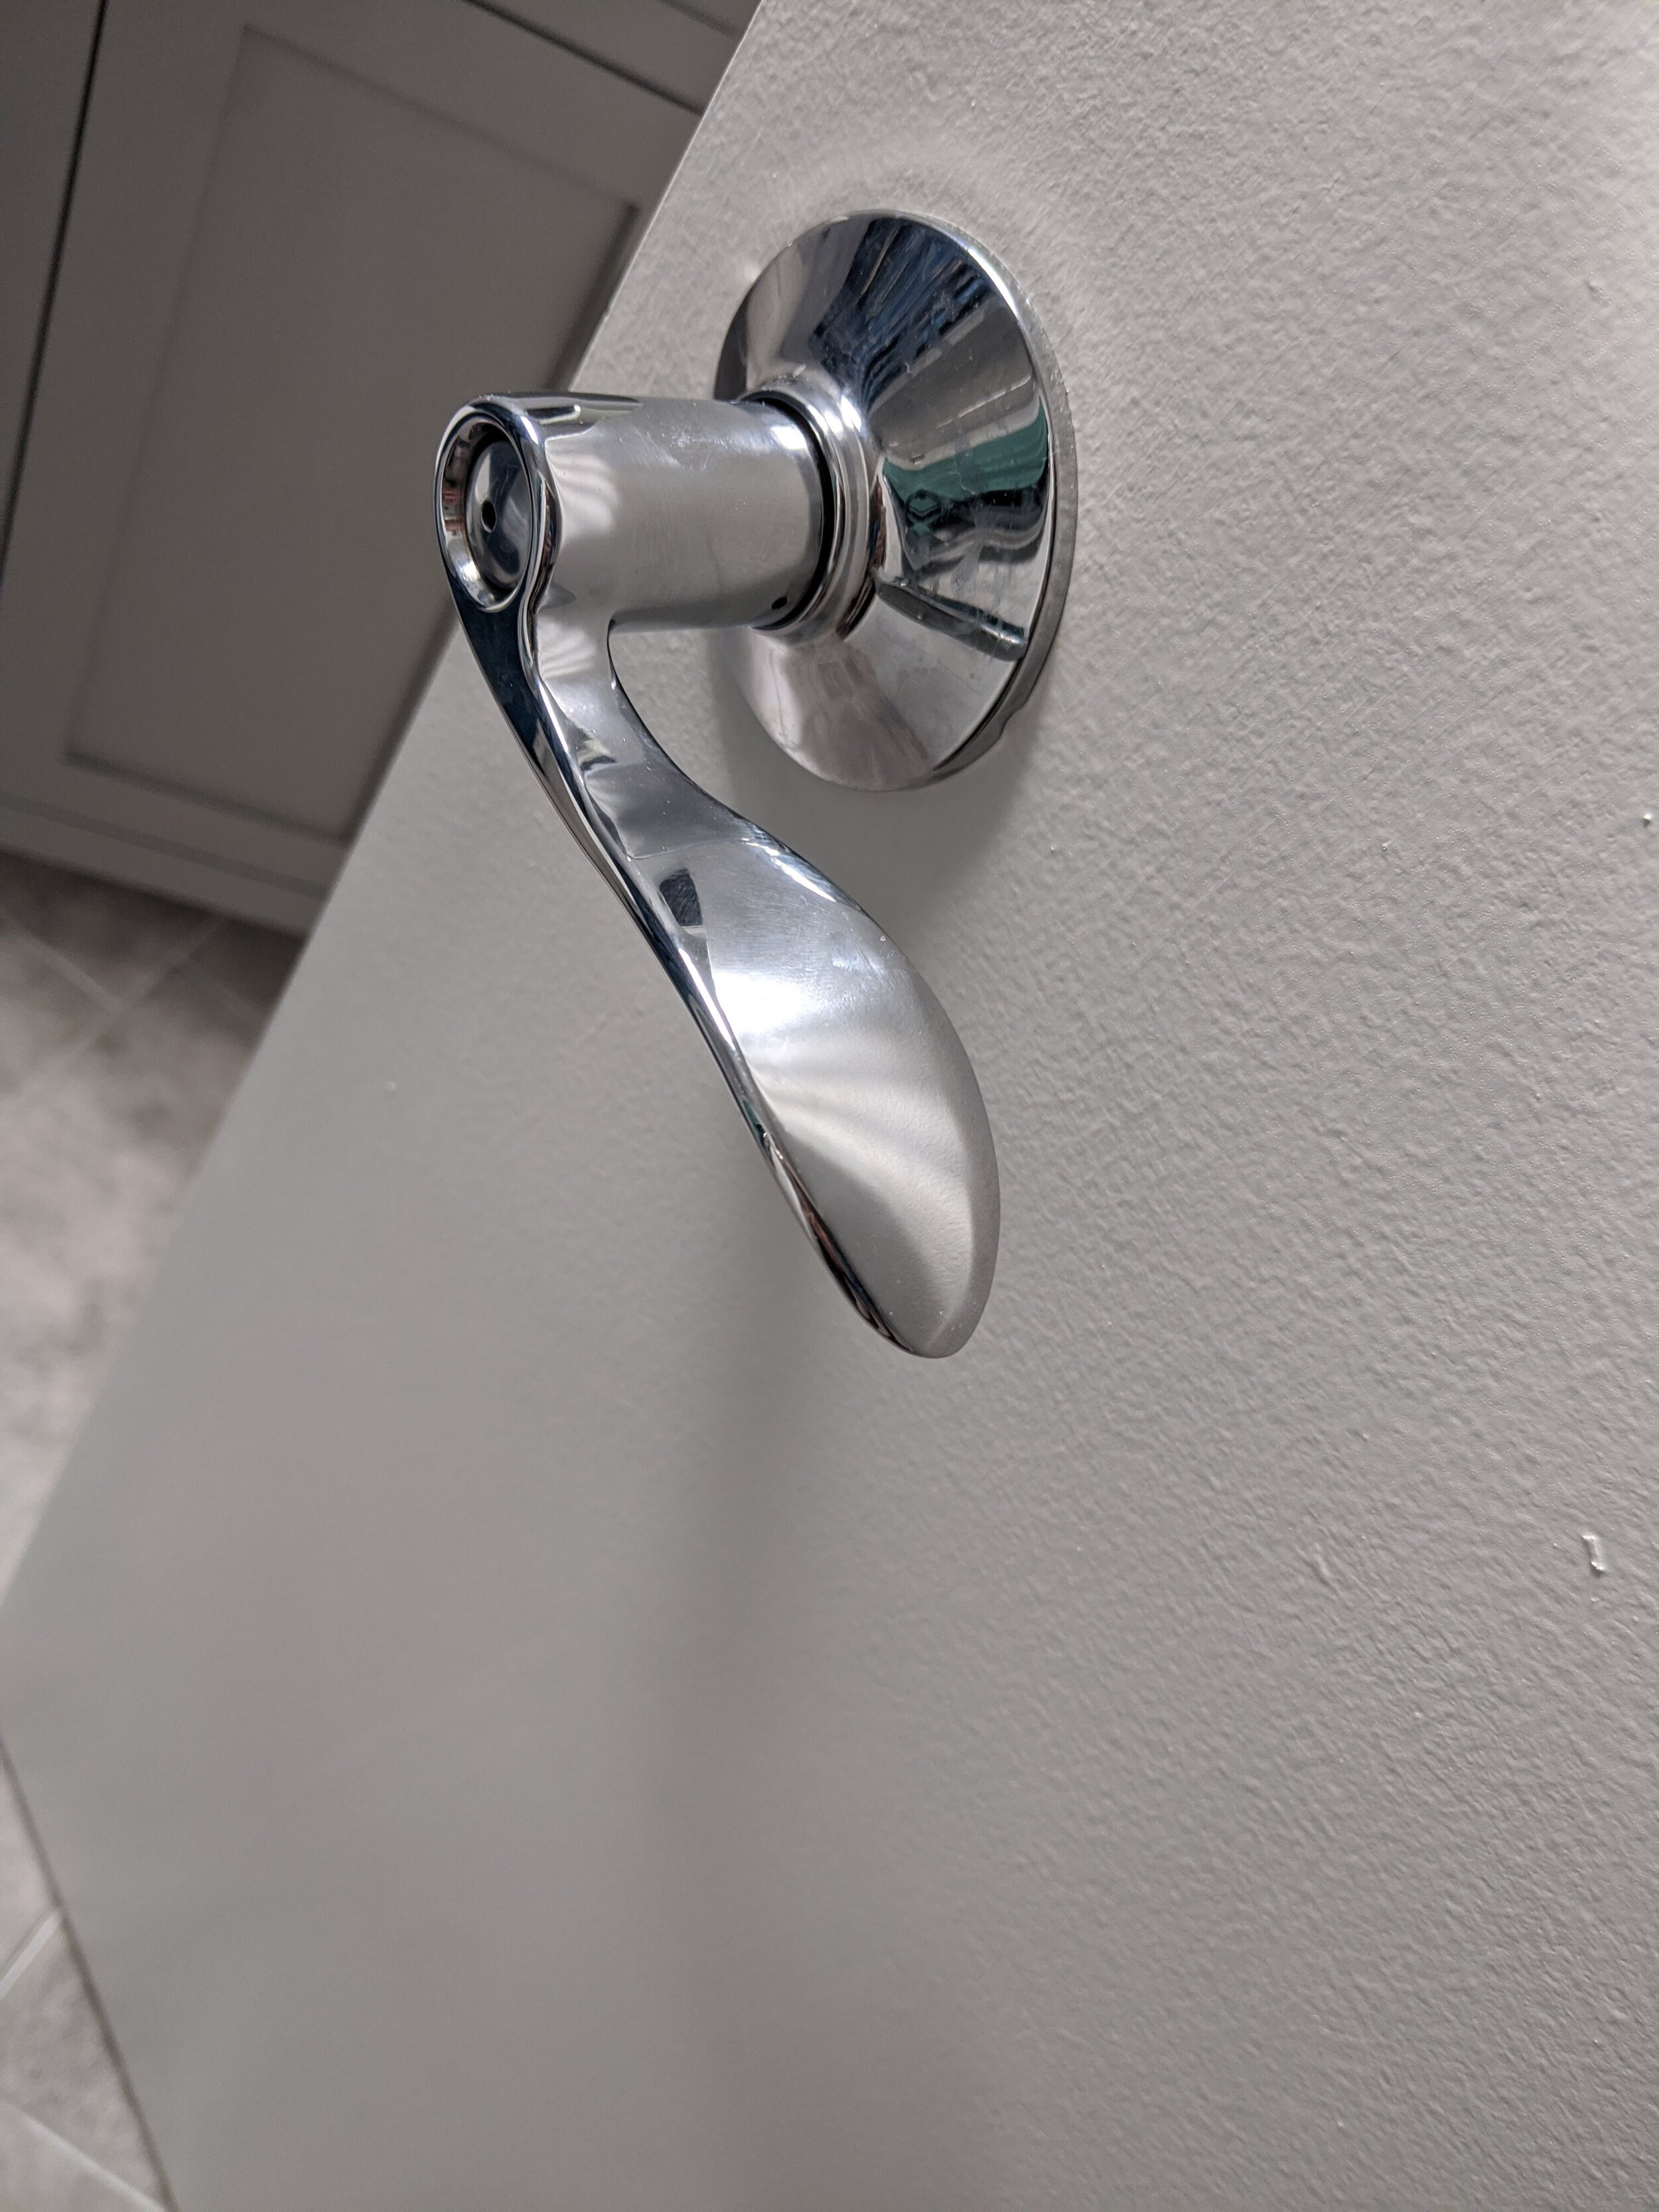
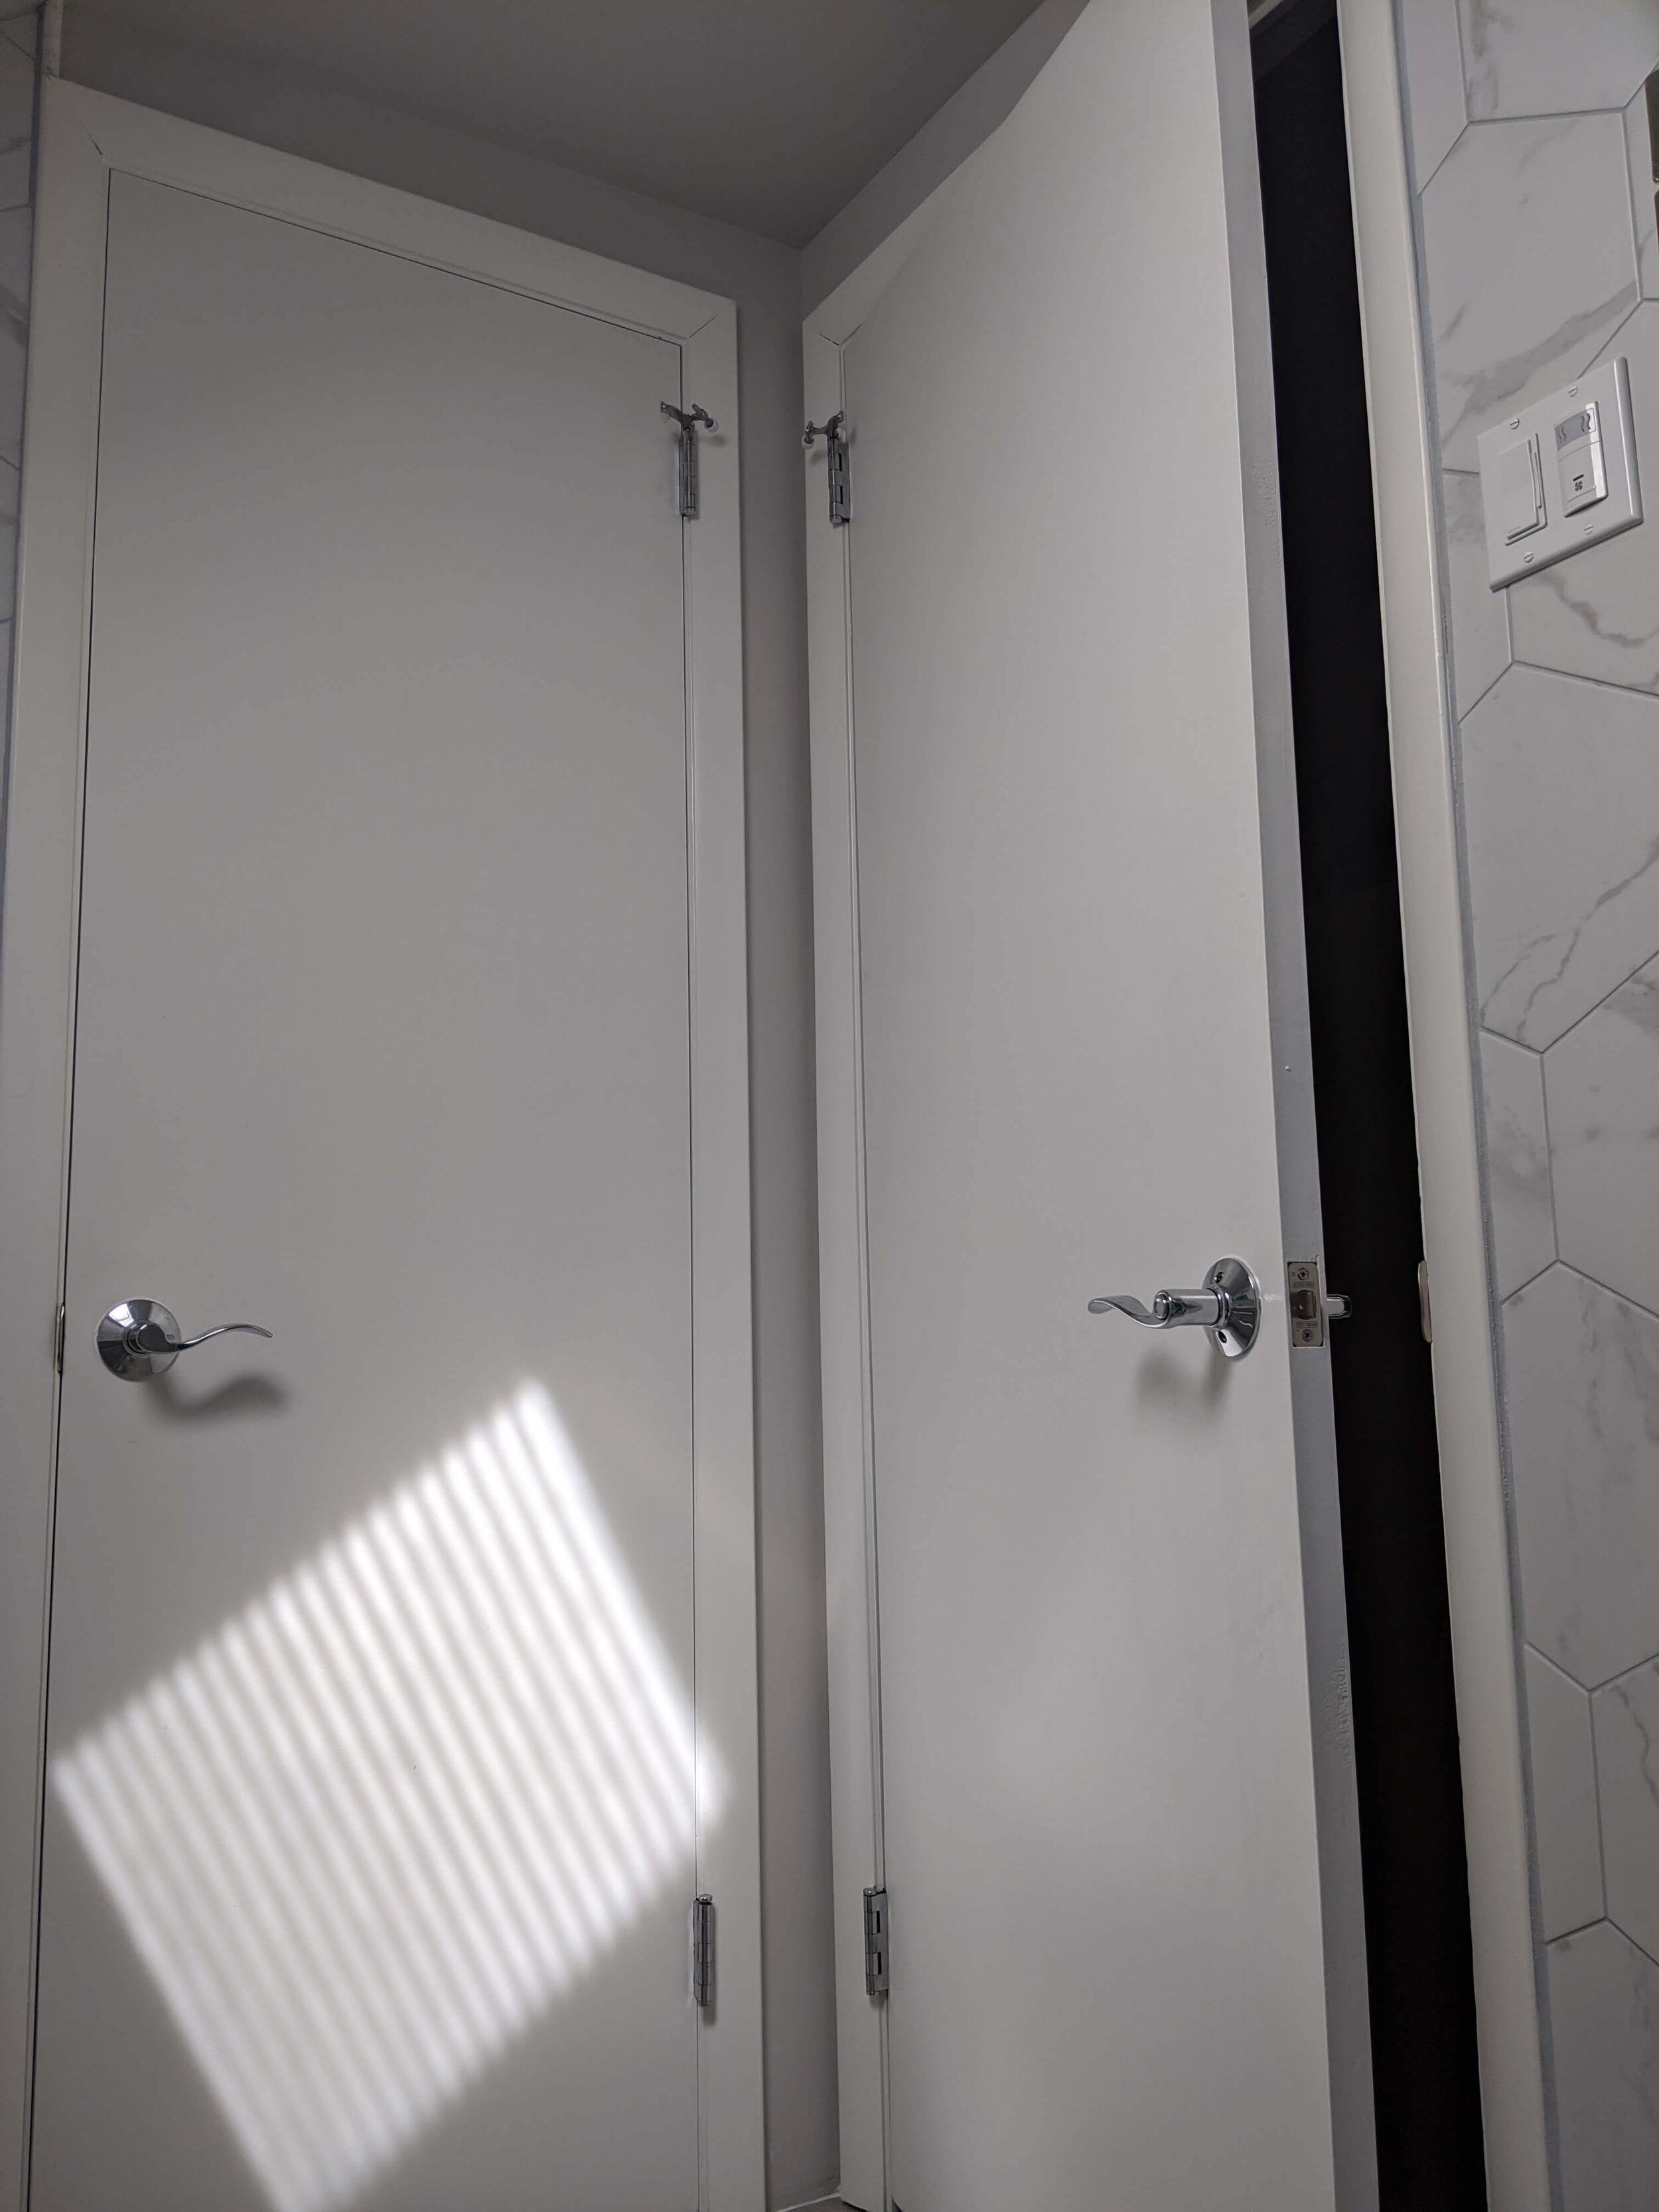
We had removed the doors for space, of course, so they needed a paint job (ugly yellowy wood before) and new chrome hardware to match. We talked about adding paneling to the door, but that will probably be a larger project for the entire upstairs when the time comes.
Only the finishing touches and the grand reveal are yet to come…

