The hunt for subway tile is worse than a needle in a haystack. It’s more like looking for that one black Lego with the triangular doodad on the front in a giant bin of Lego, which I can confidently say is WAY WORSE.
I digress. Subway tile is super popular. Clean lines, tons of ways to install. Hardy for floors or walls, showers and kitchens. The problem is since it’s a simple shape and a solid color, there are about a bajillion options, and buying online is difficult. Fortunately, after only 6 samples, I finally found a set I LOVE that came in a pure white and a lovely blue, with the end cap pieces I knew we’d need (La Riviera Blue Reef and La Riviera Blanc).
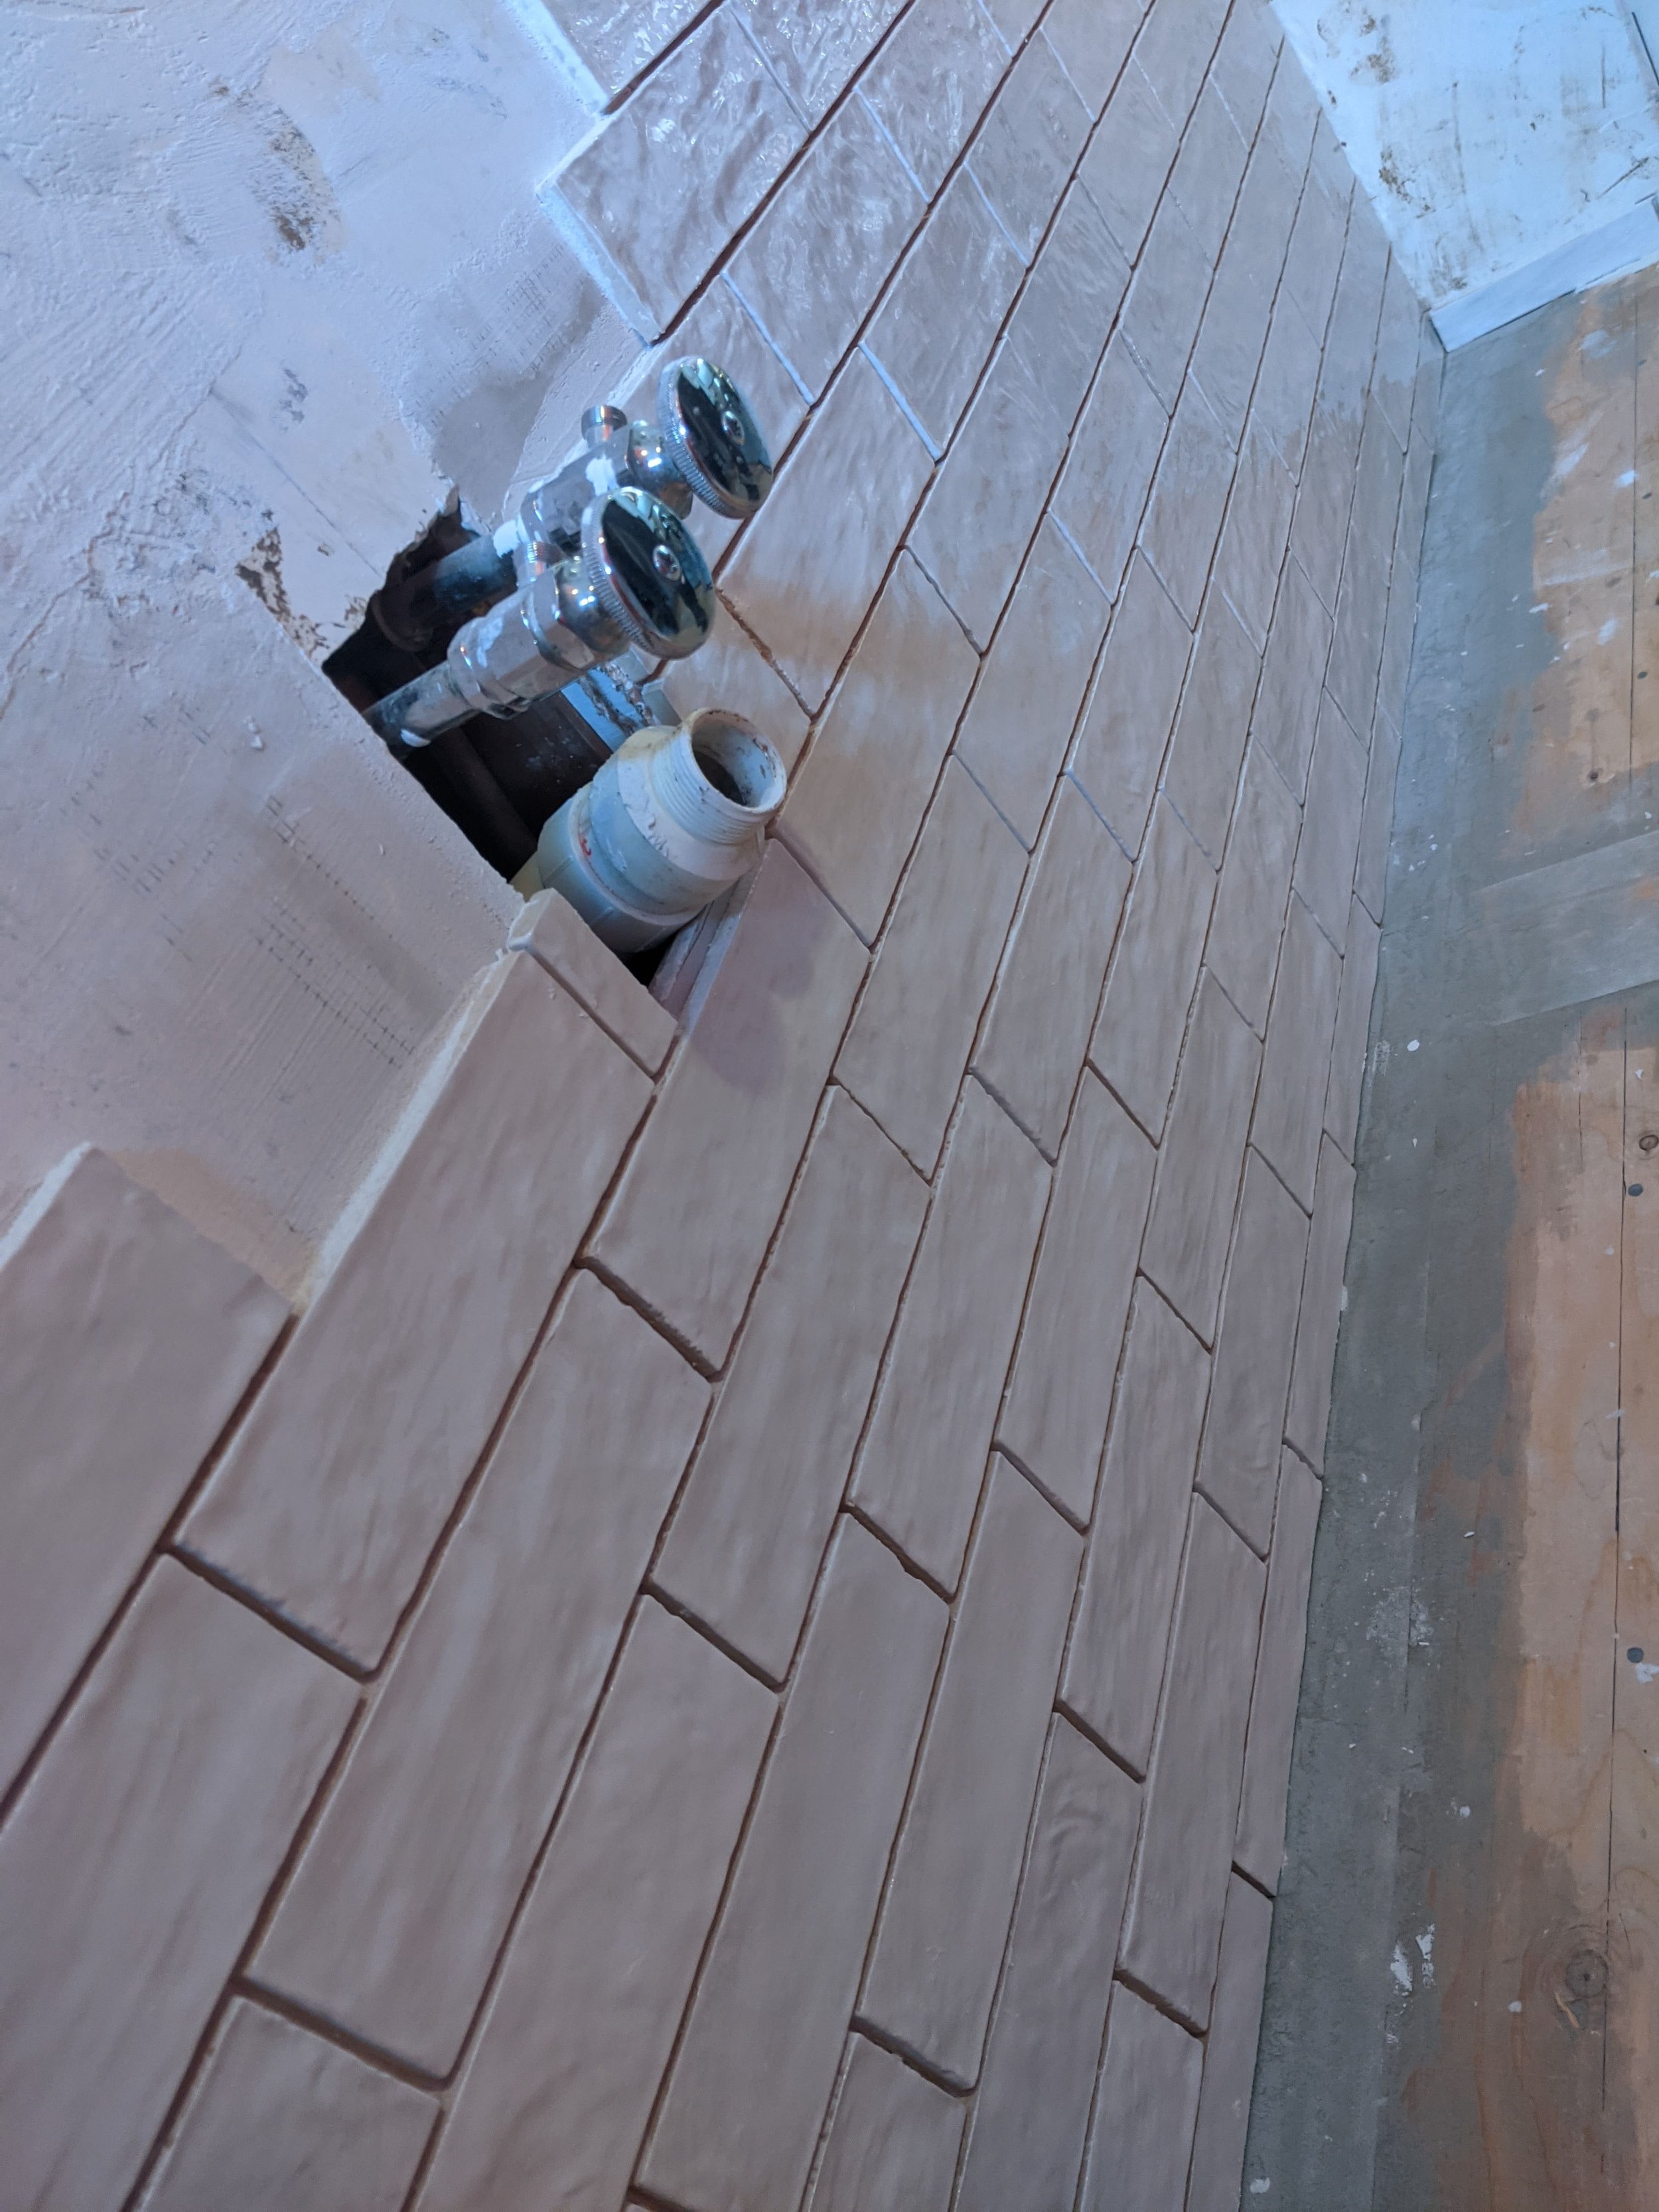
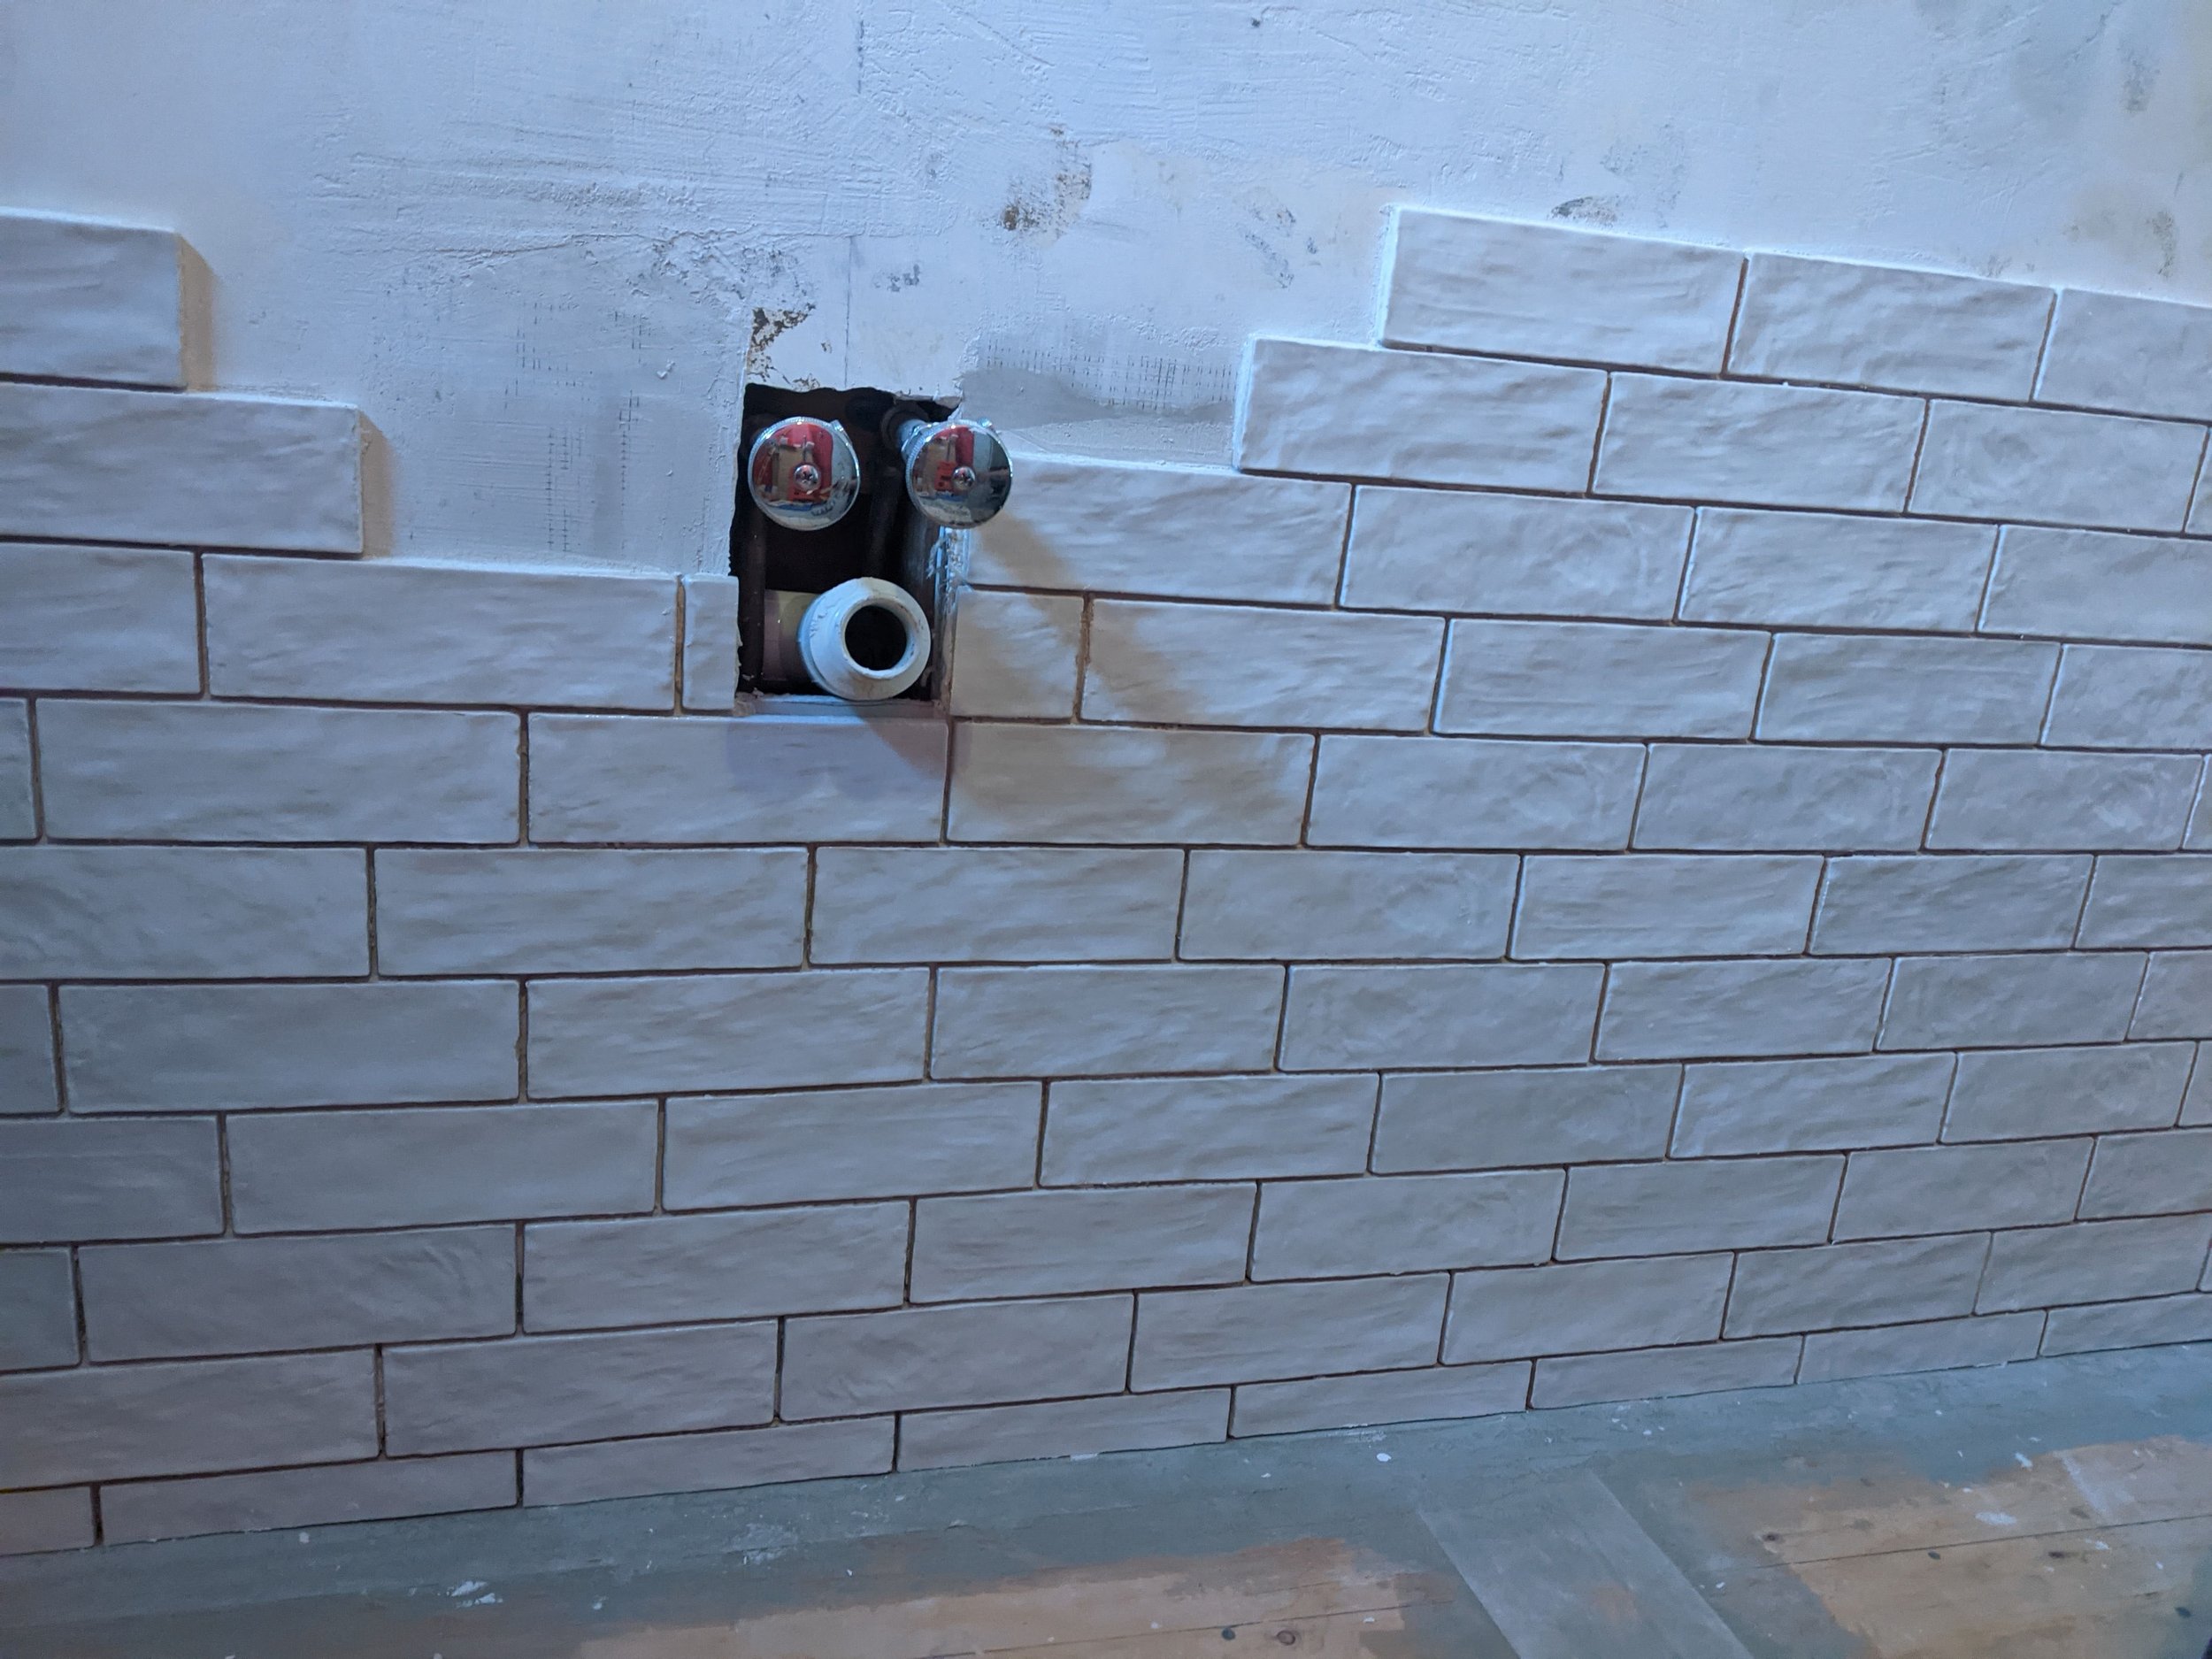
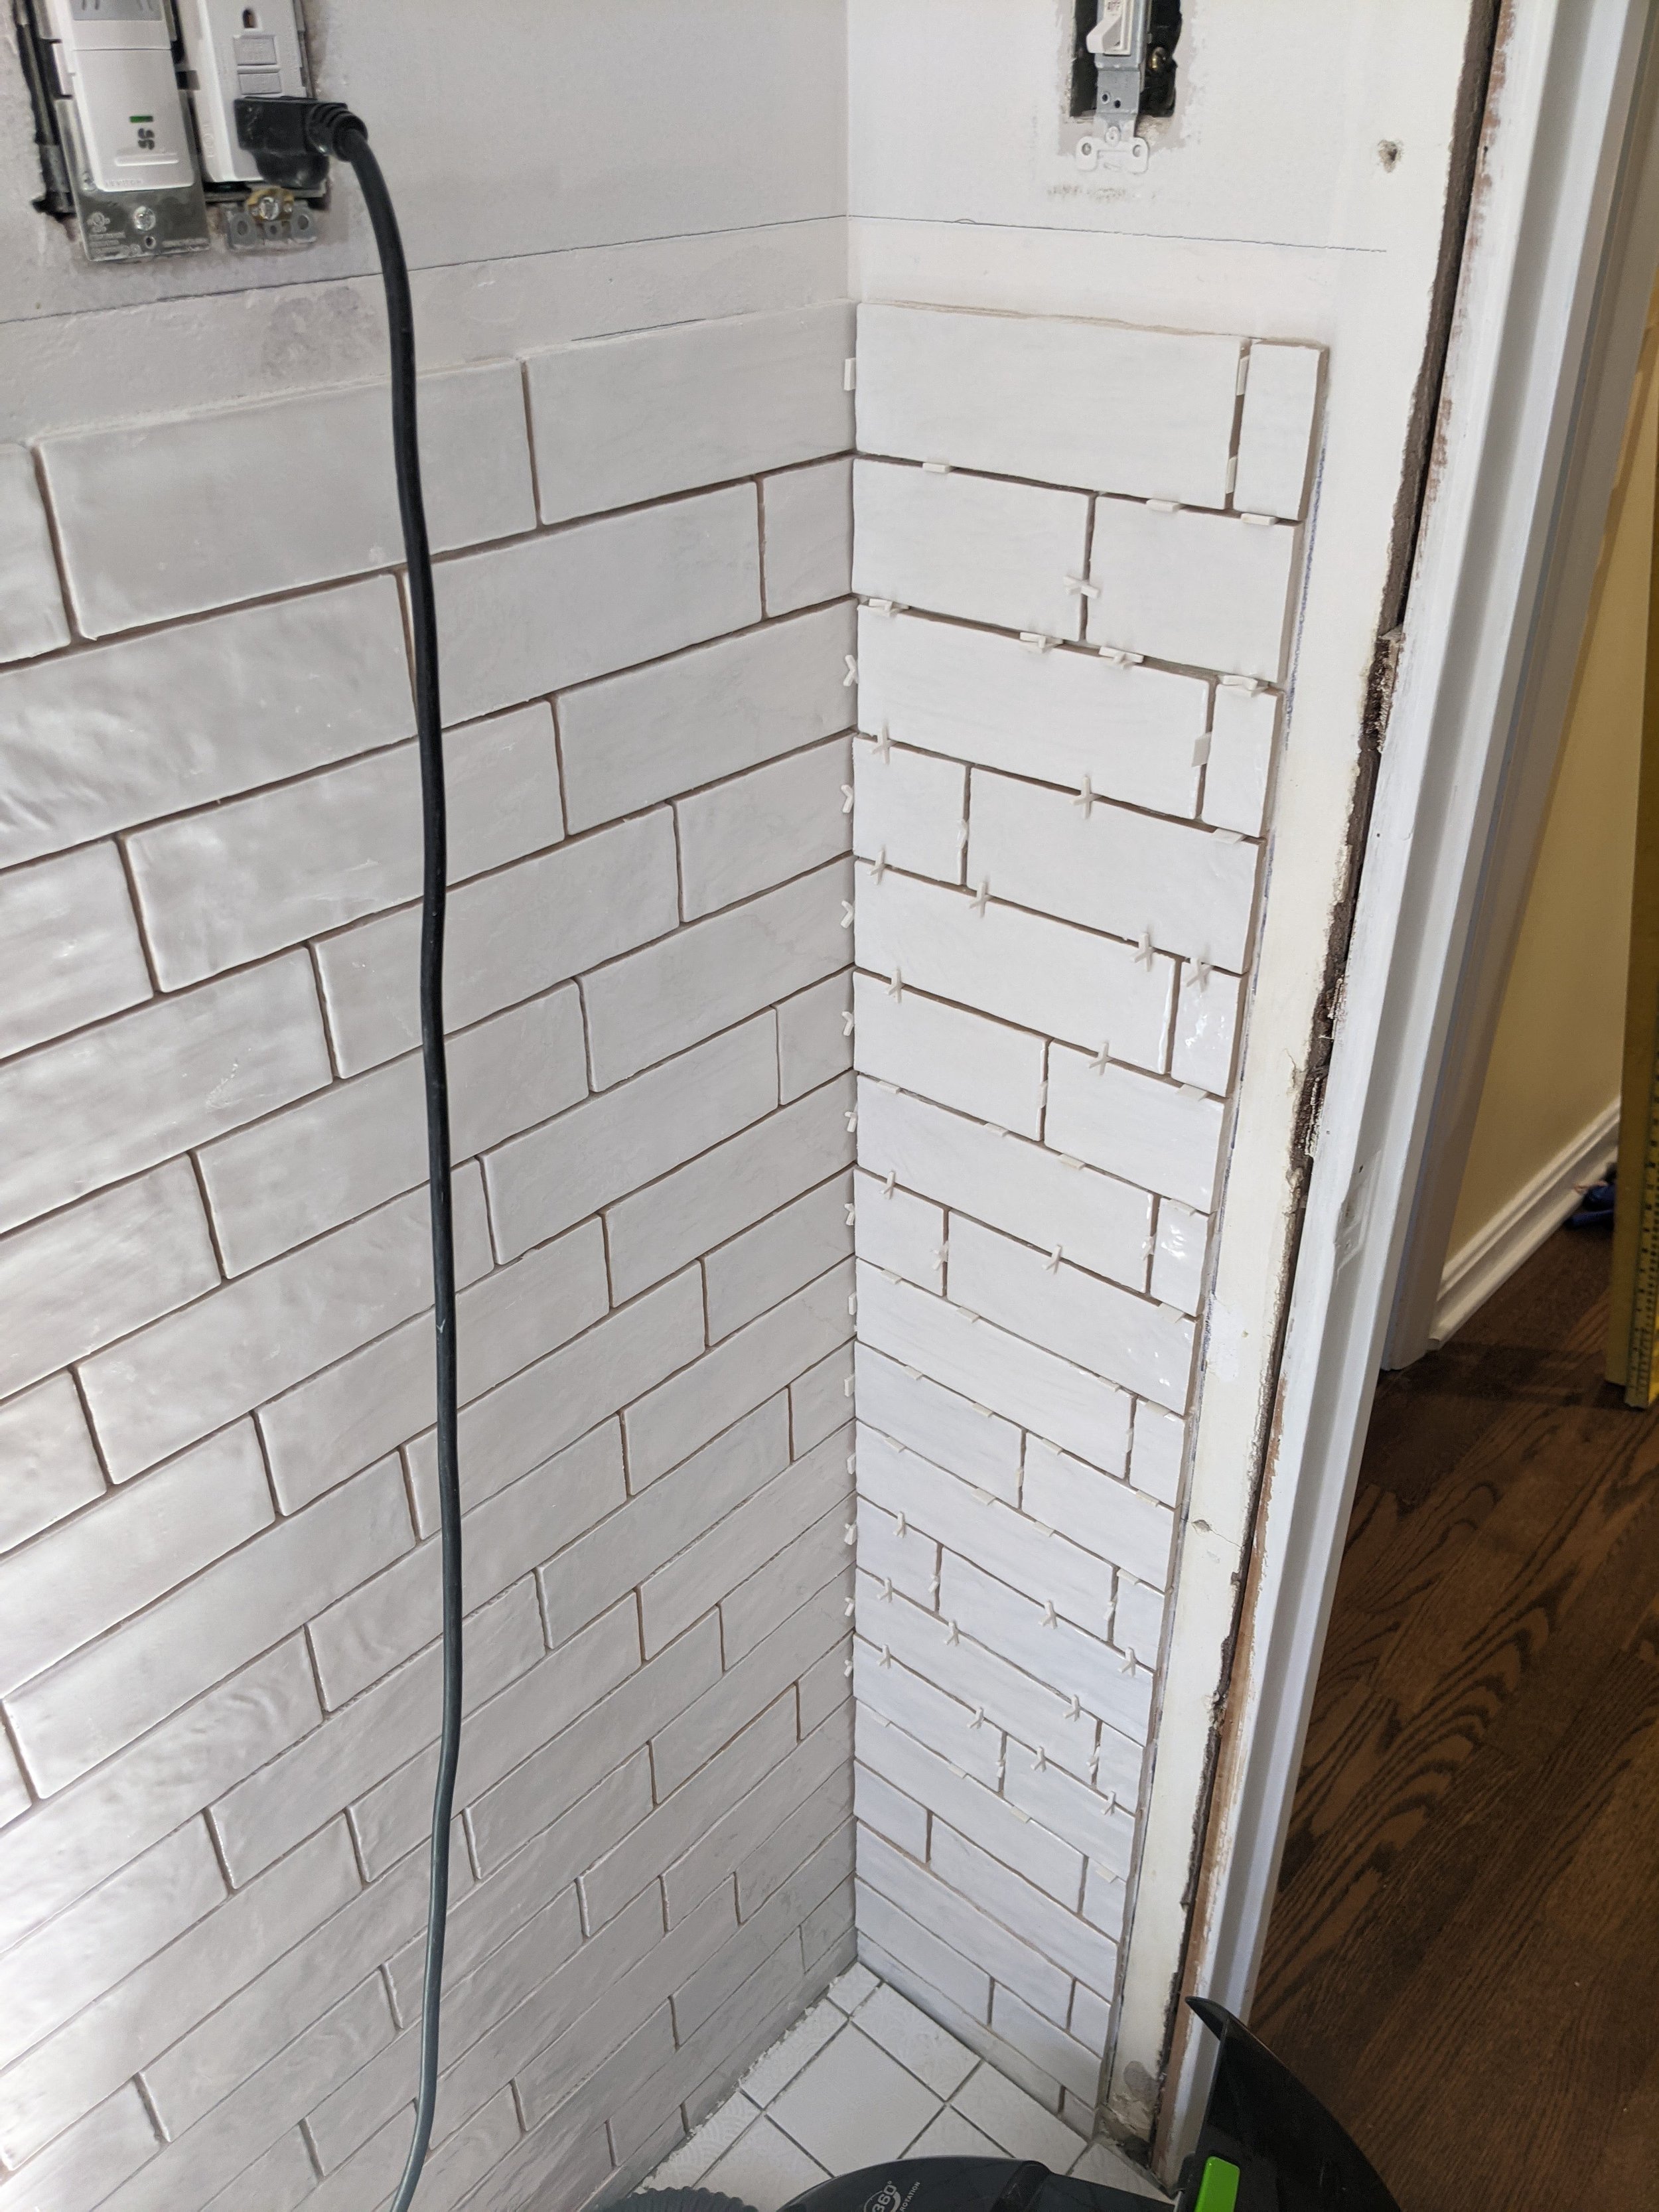
As always, long-suffering Hubs was willing to try creative patterns, so we ended up with a 1/3 offset — BUT since I don’t like the steps that get formed in a typical 1/3 pattern, this is a 1/3 offset vintage or some other weird names I found online.
The trickiest part for us was the transition to the shower color — and truly, it could not have turned out more perfect. Hubs has skillz.
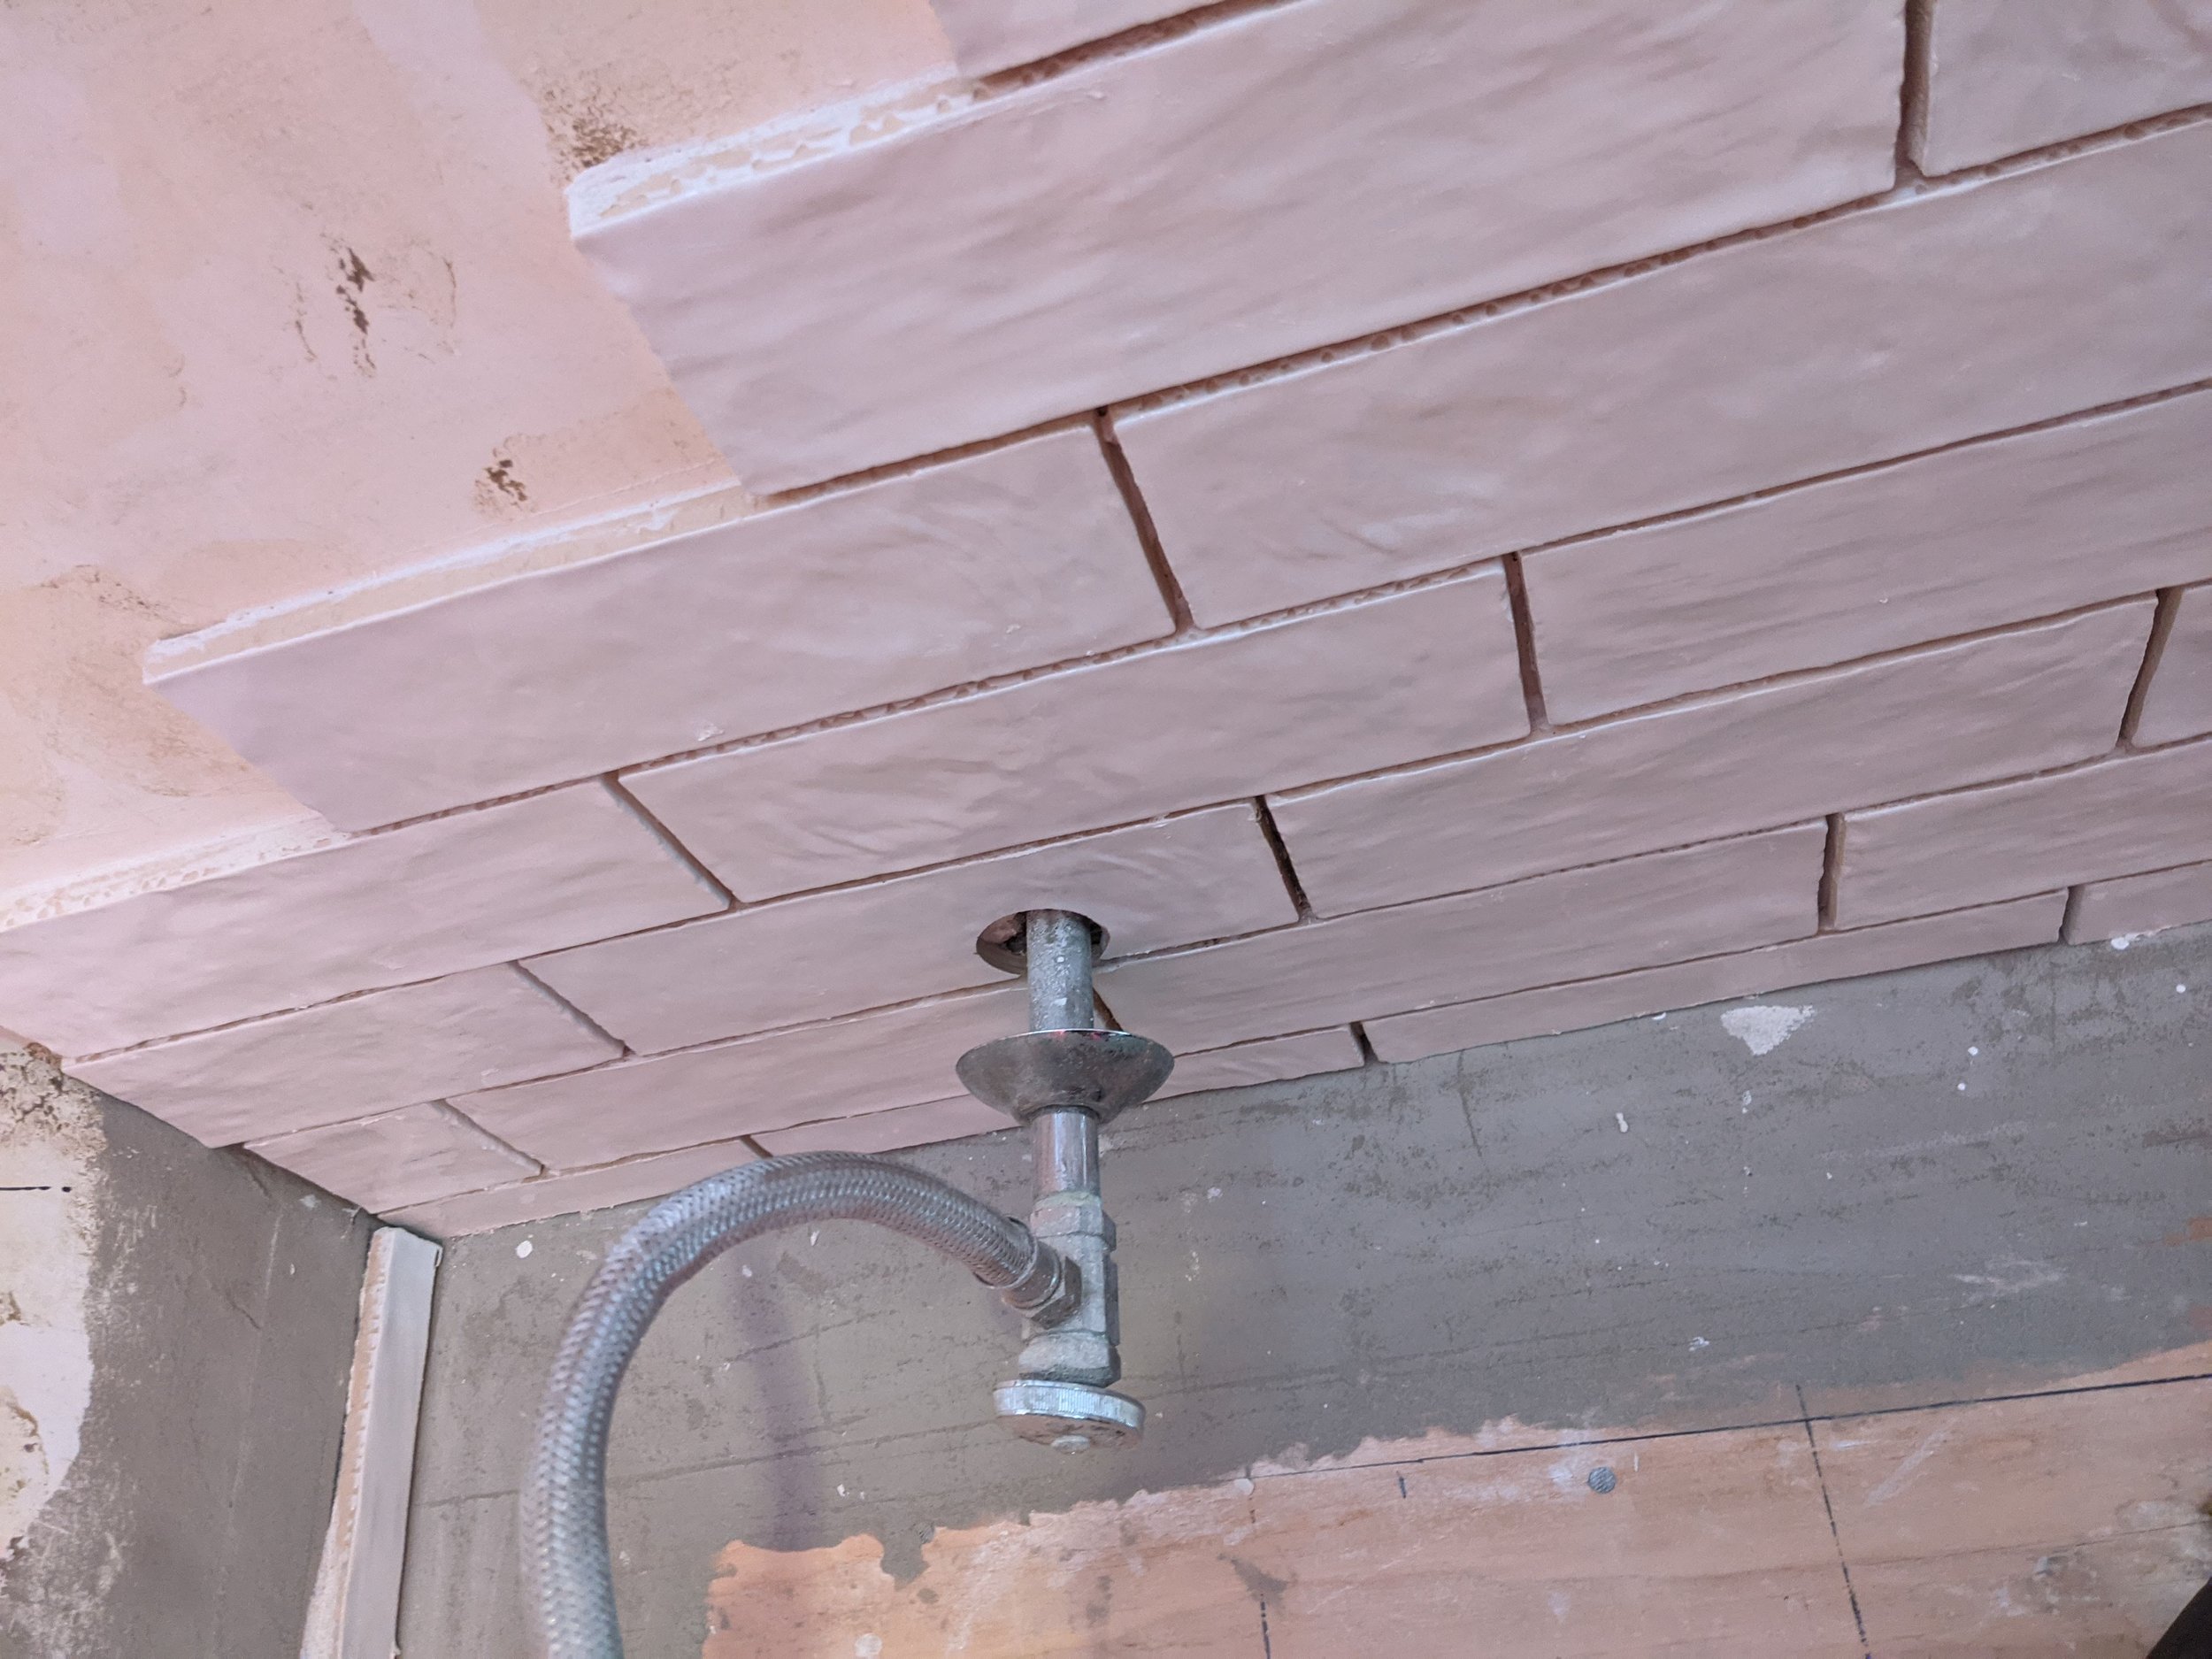
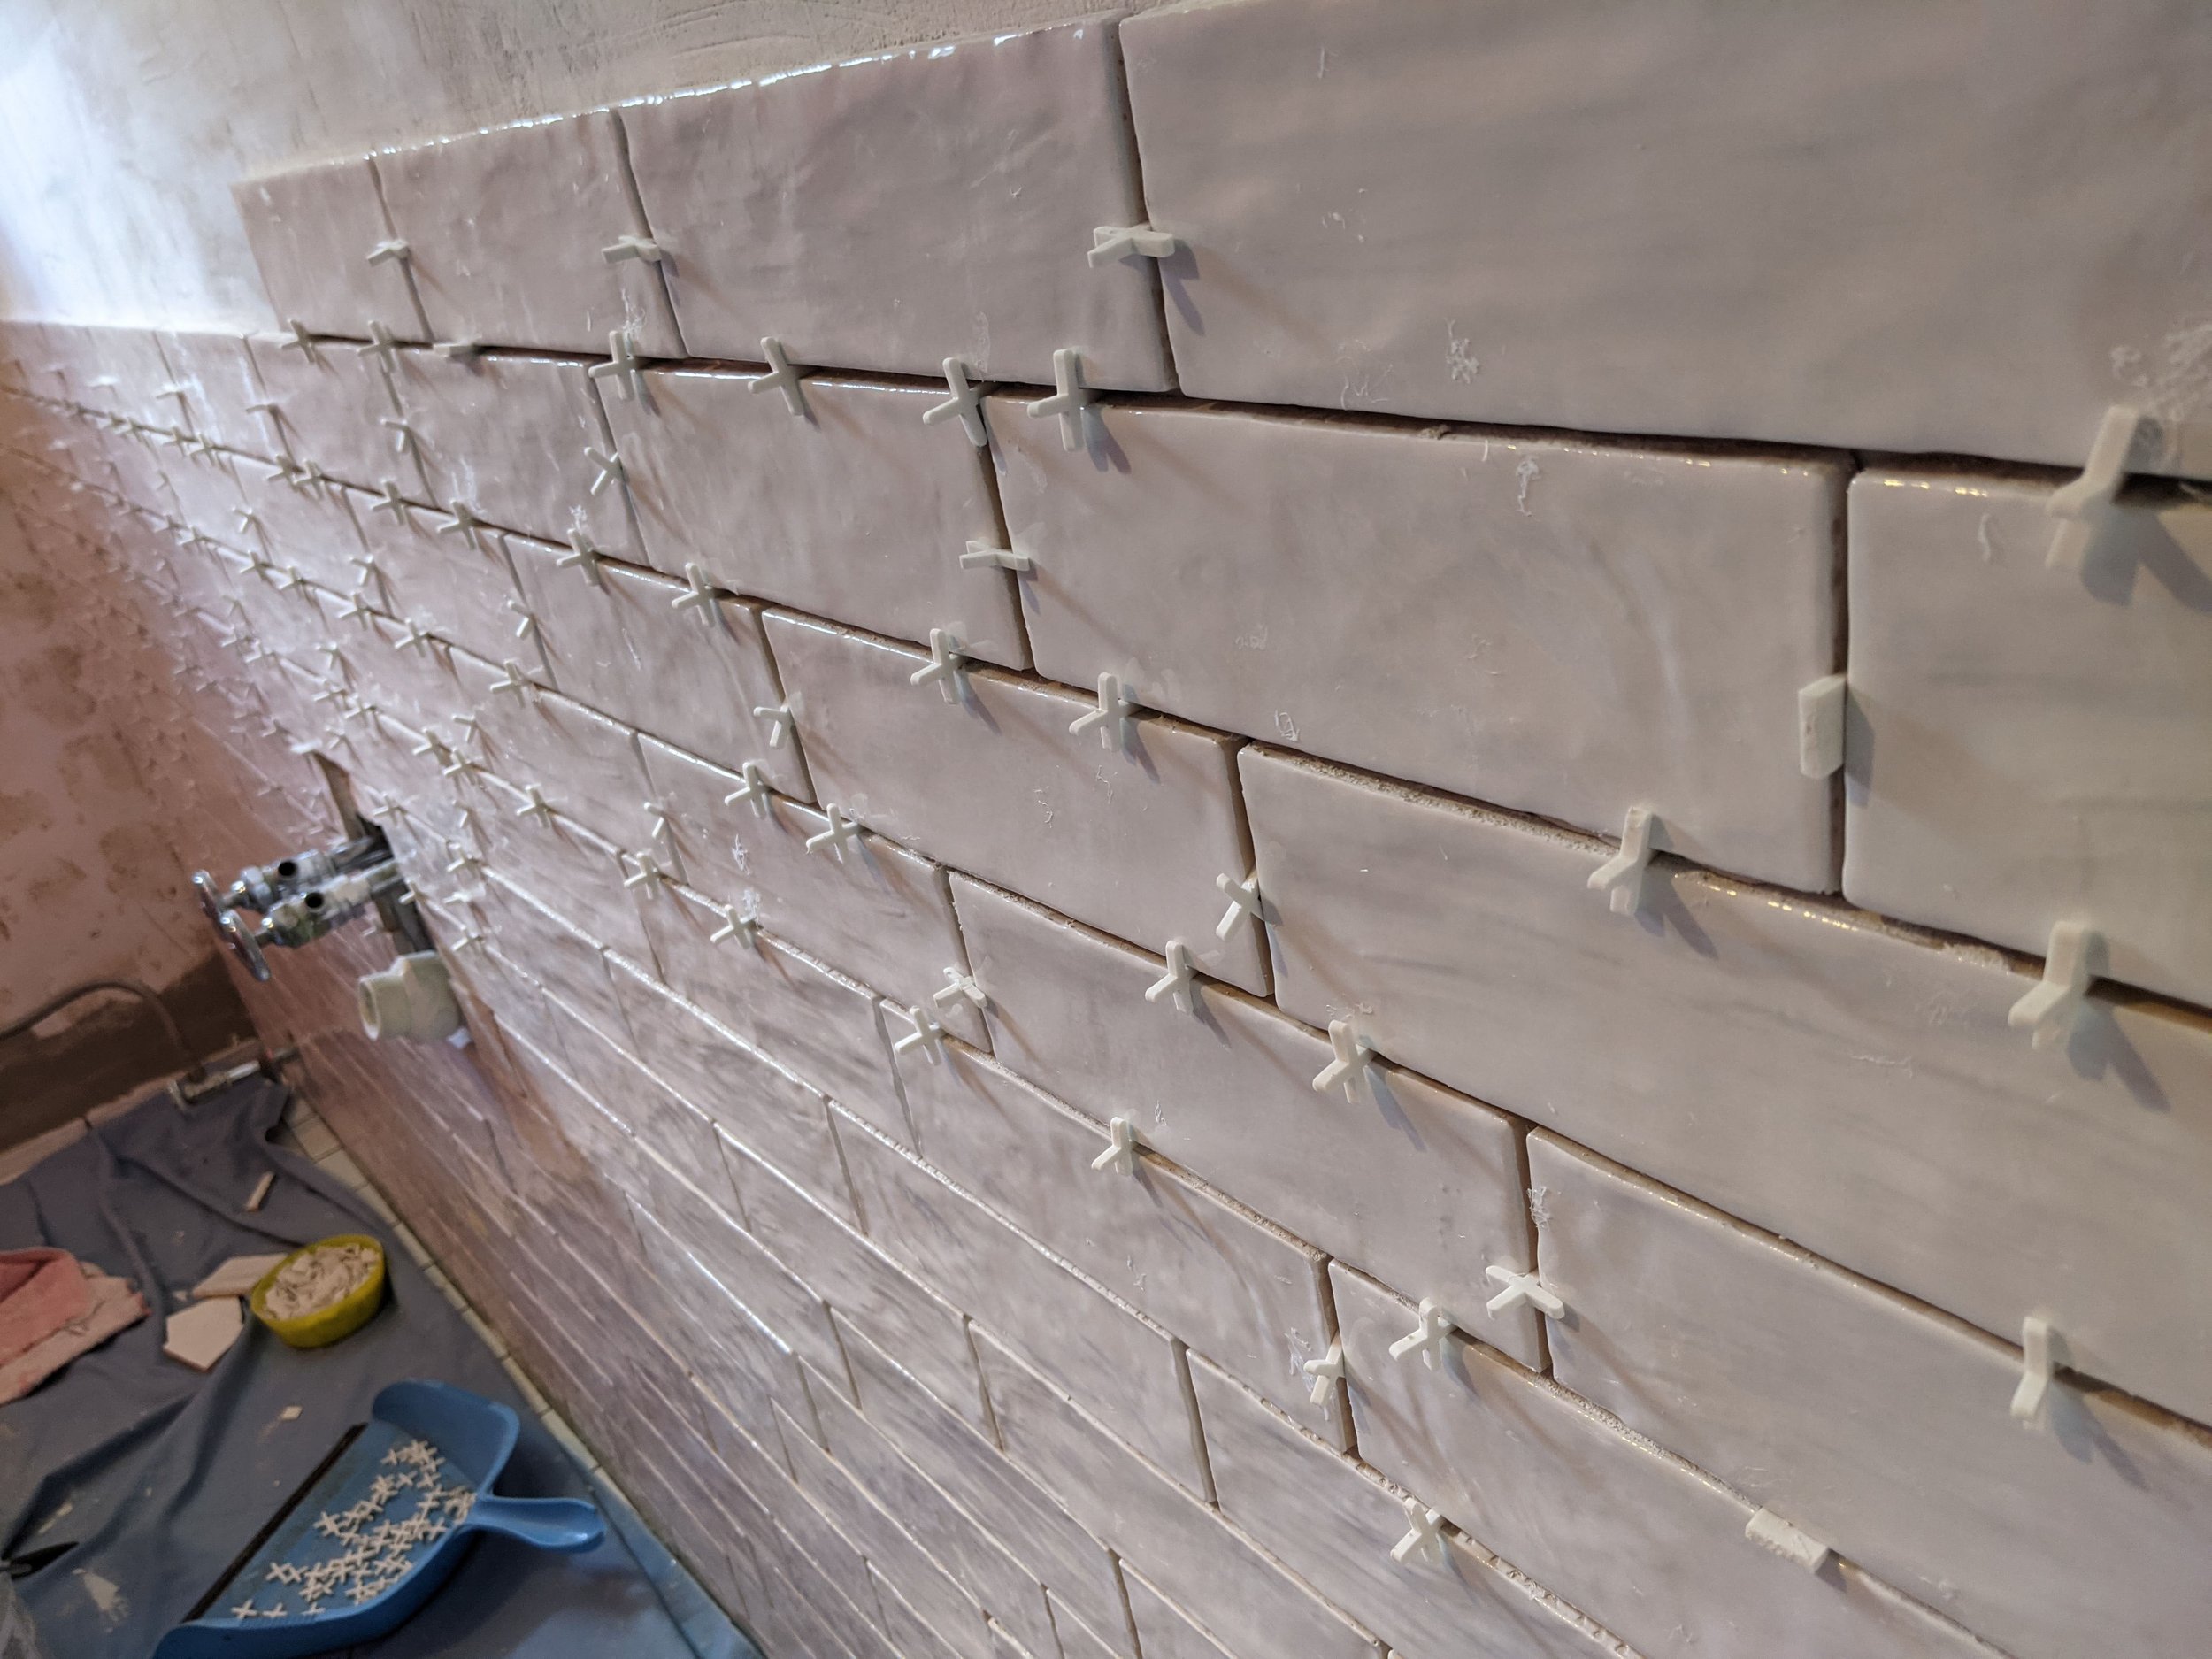
What I love about this tile is the super-shiny finish combined with the heavy texture. It has so much depth with its hand-scraped finish.
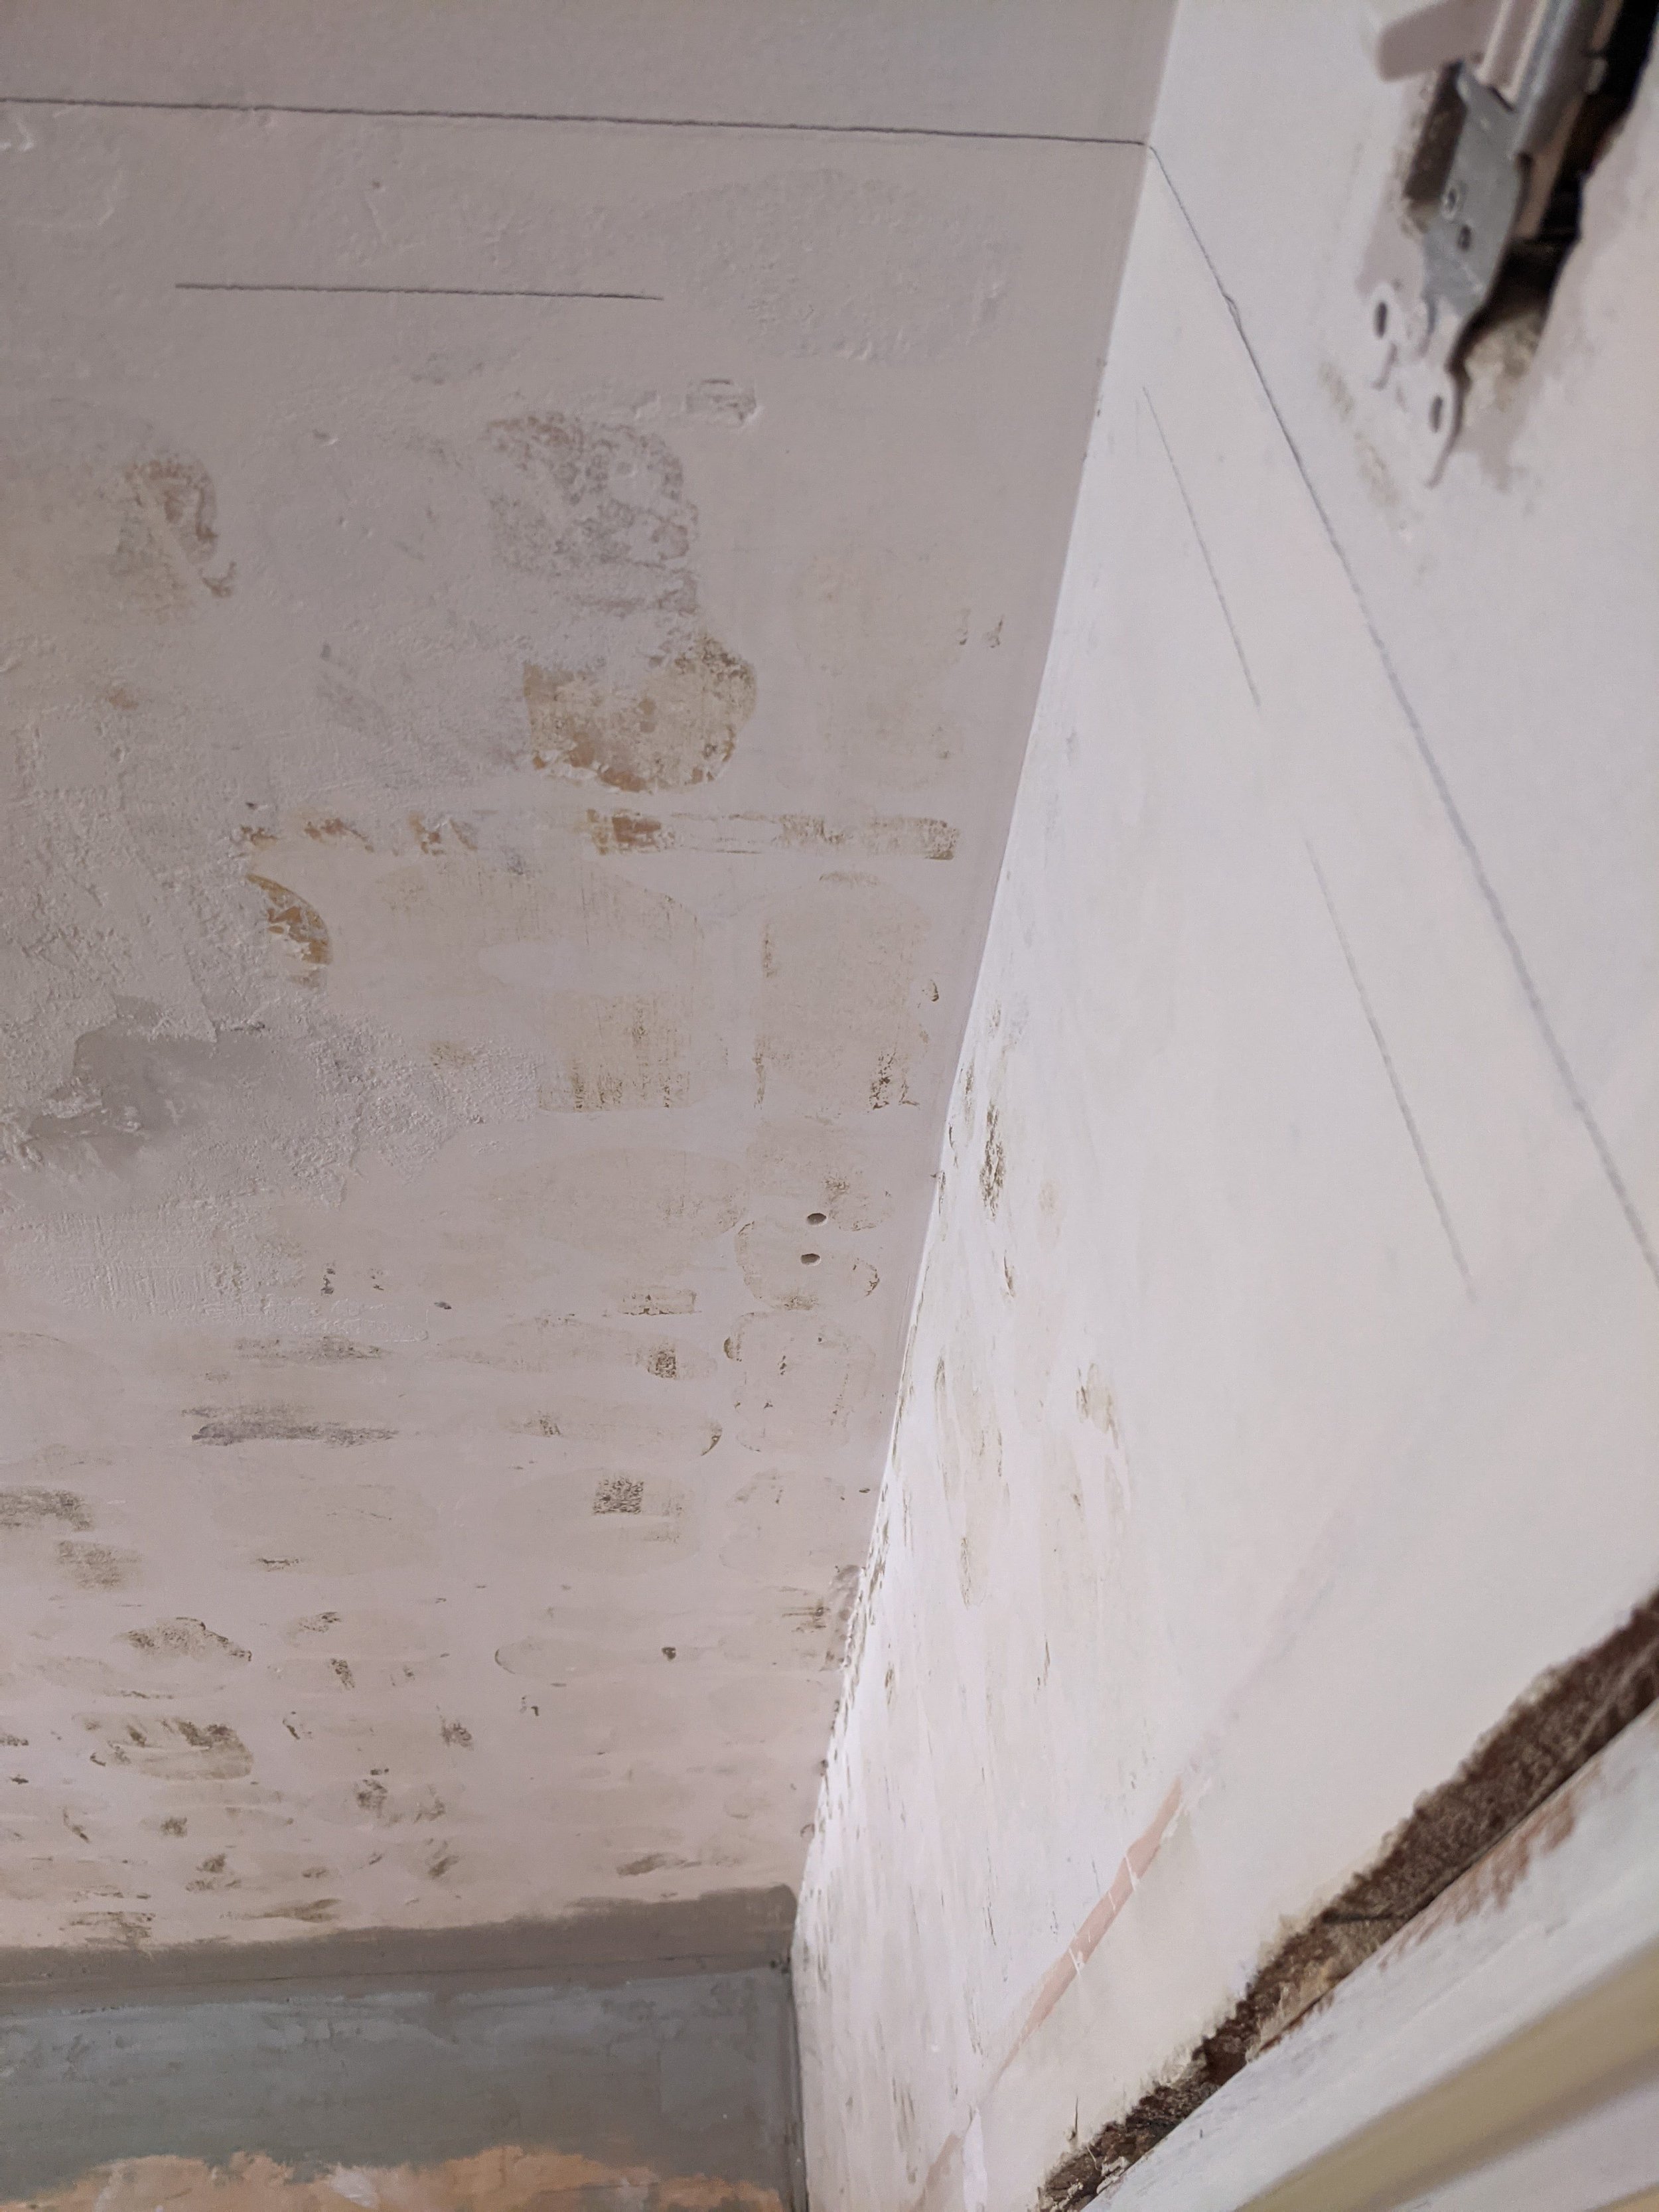
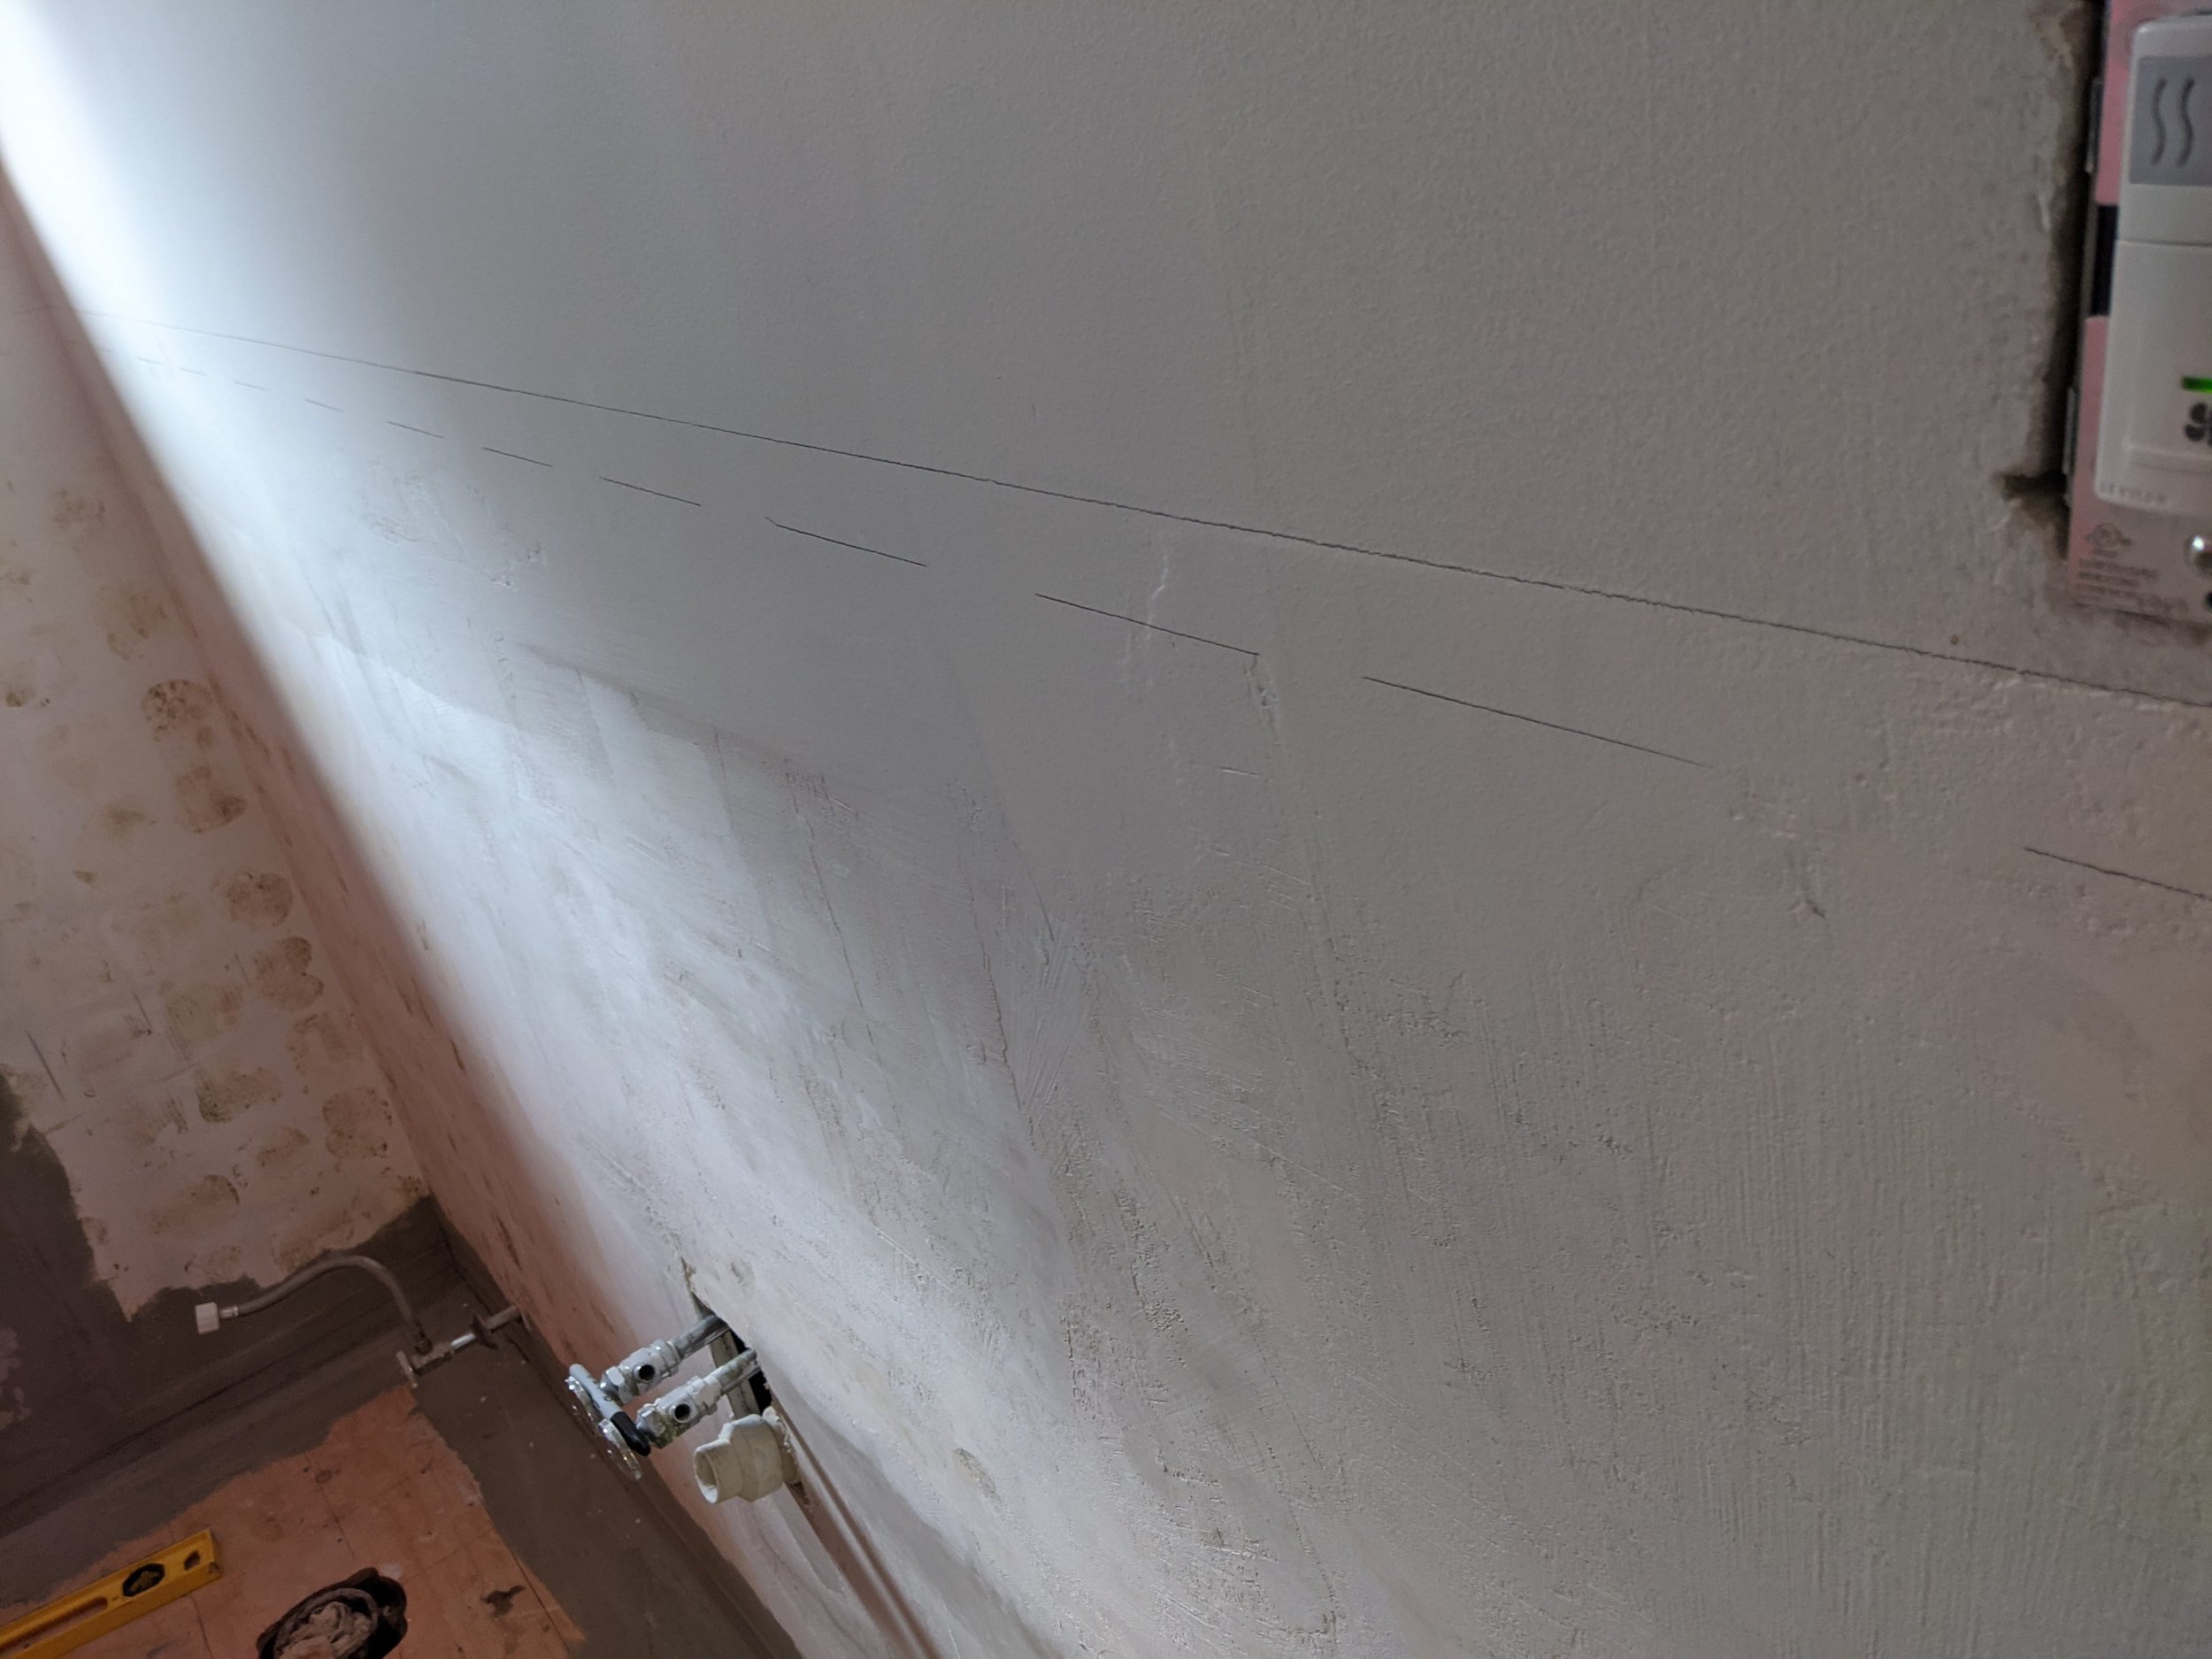
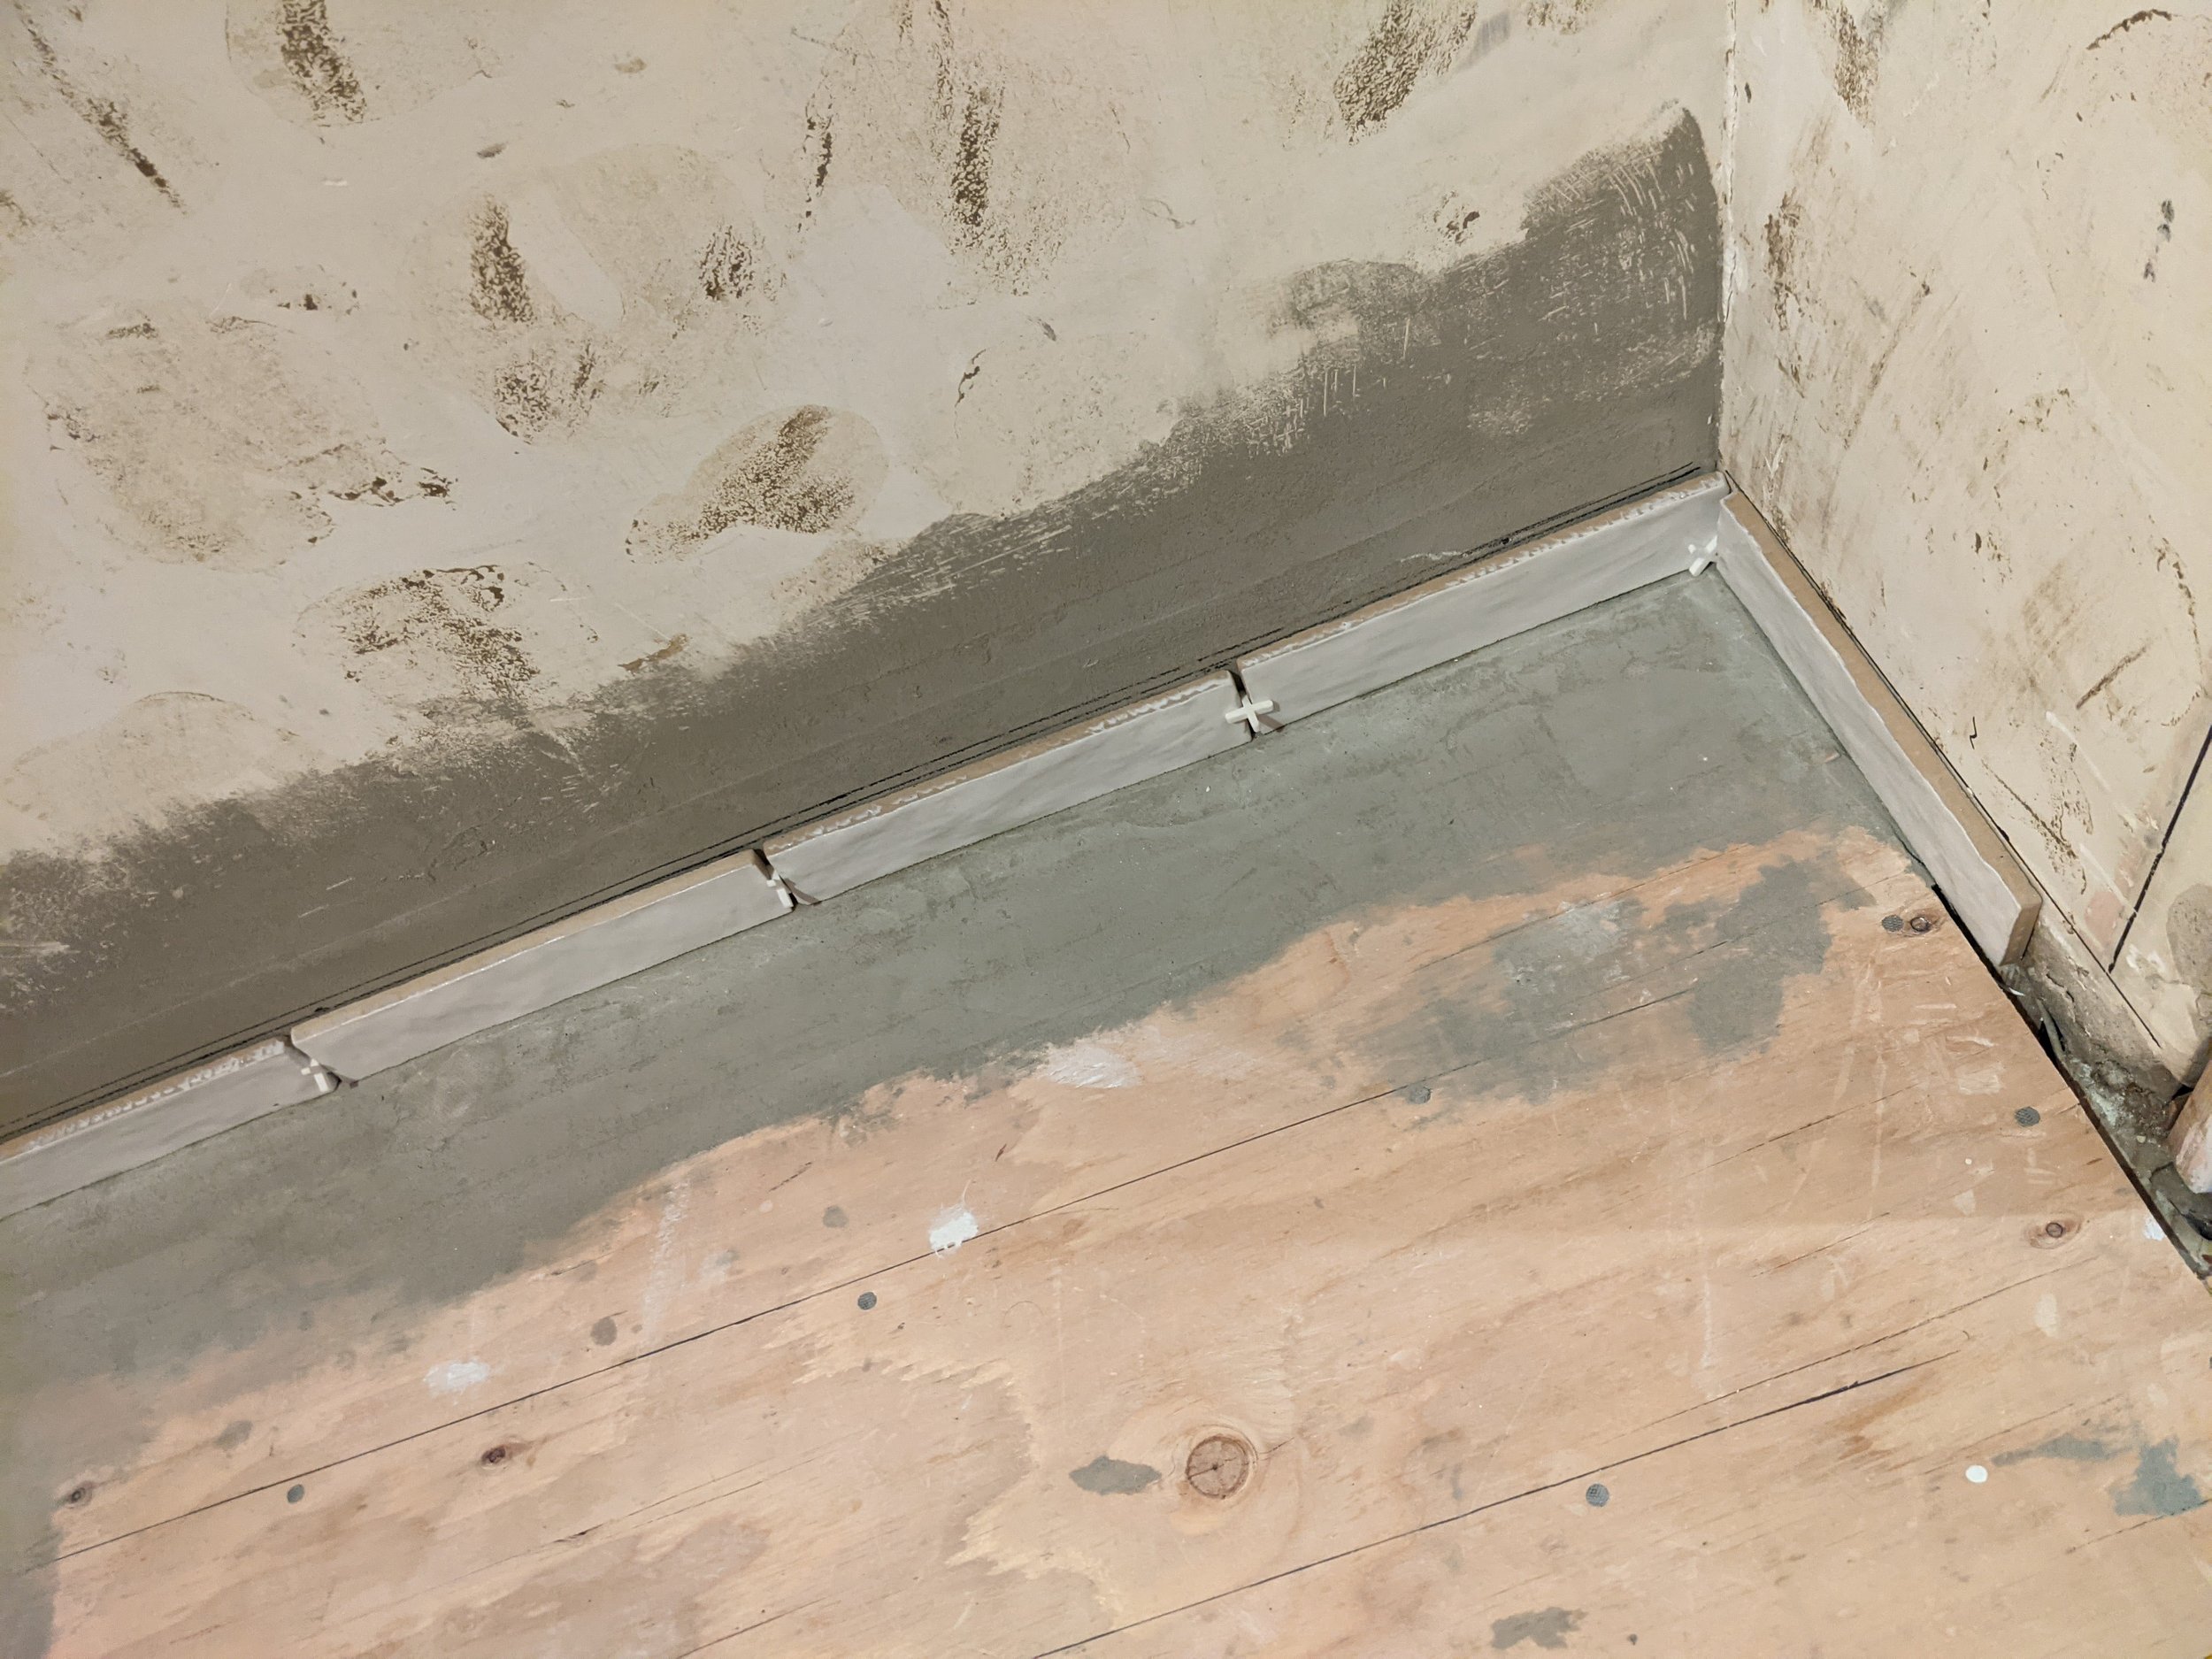
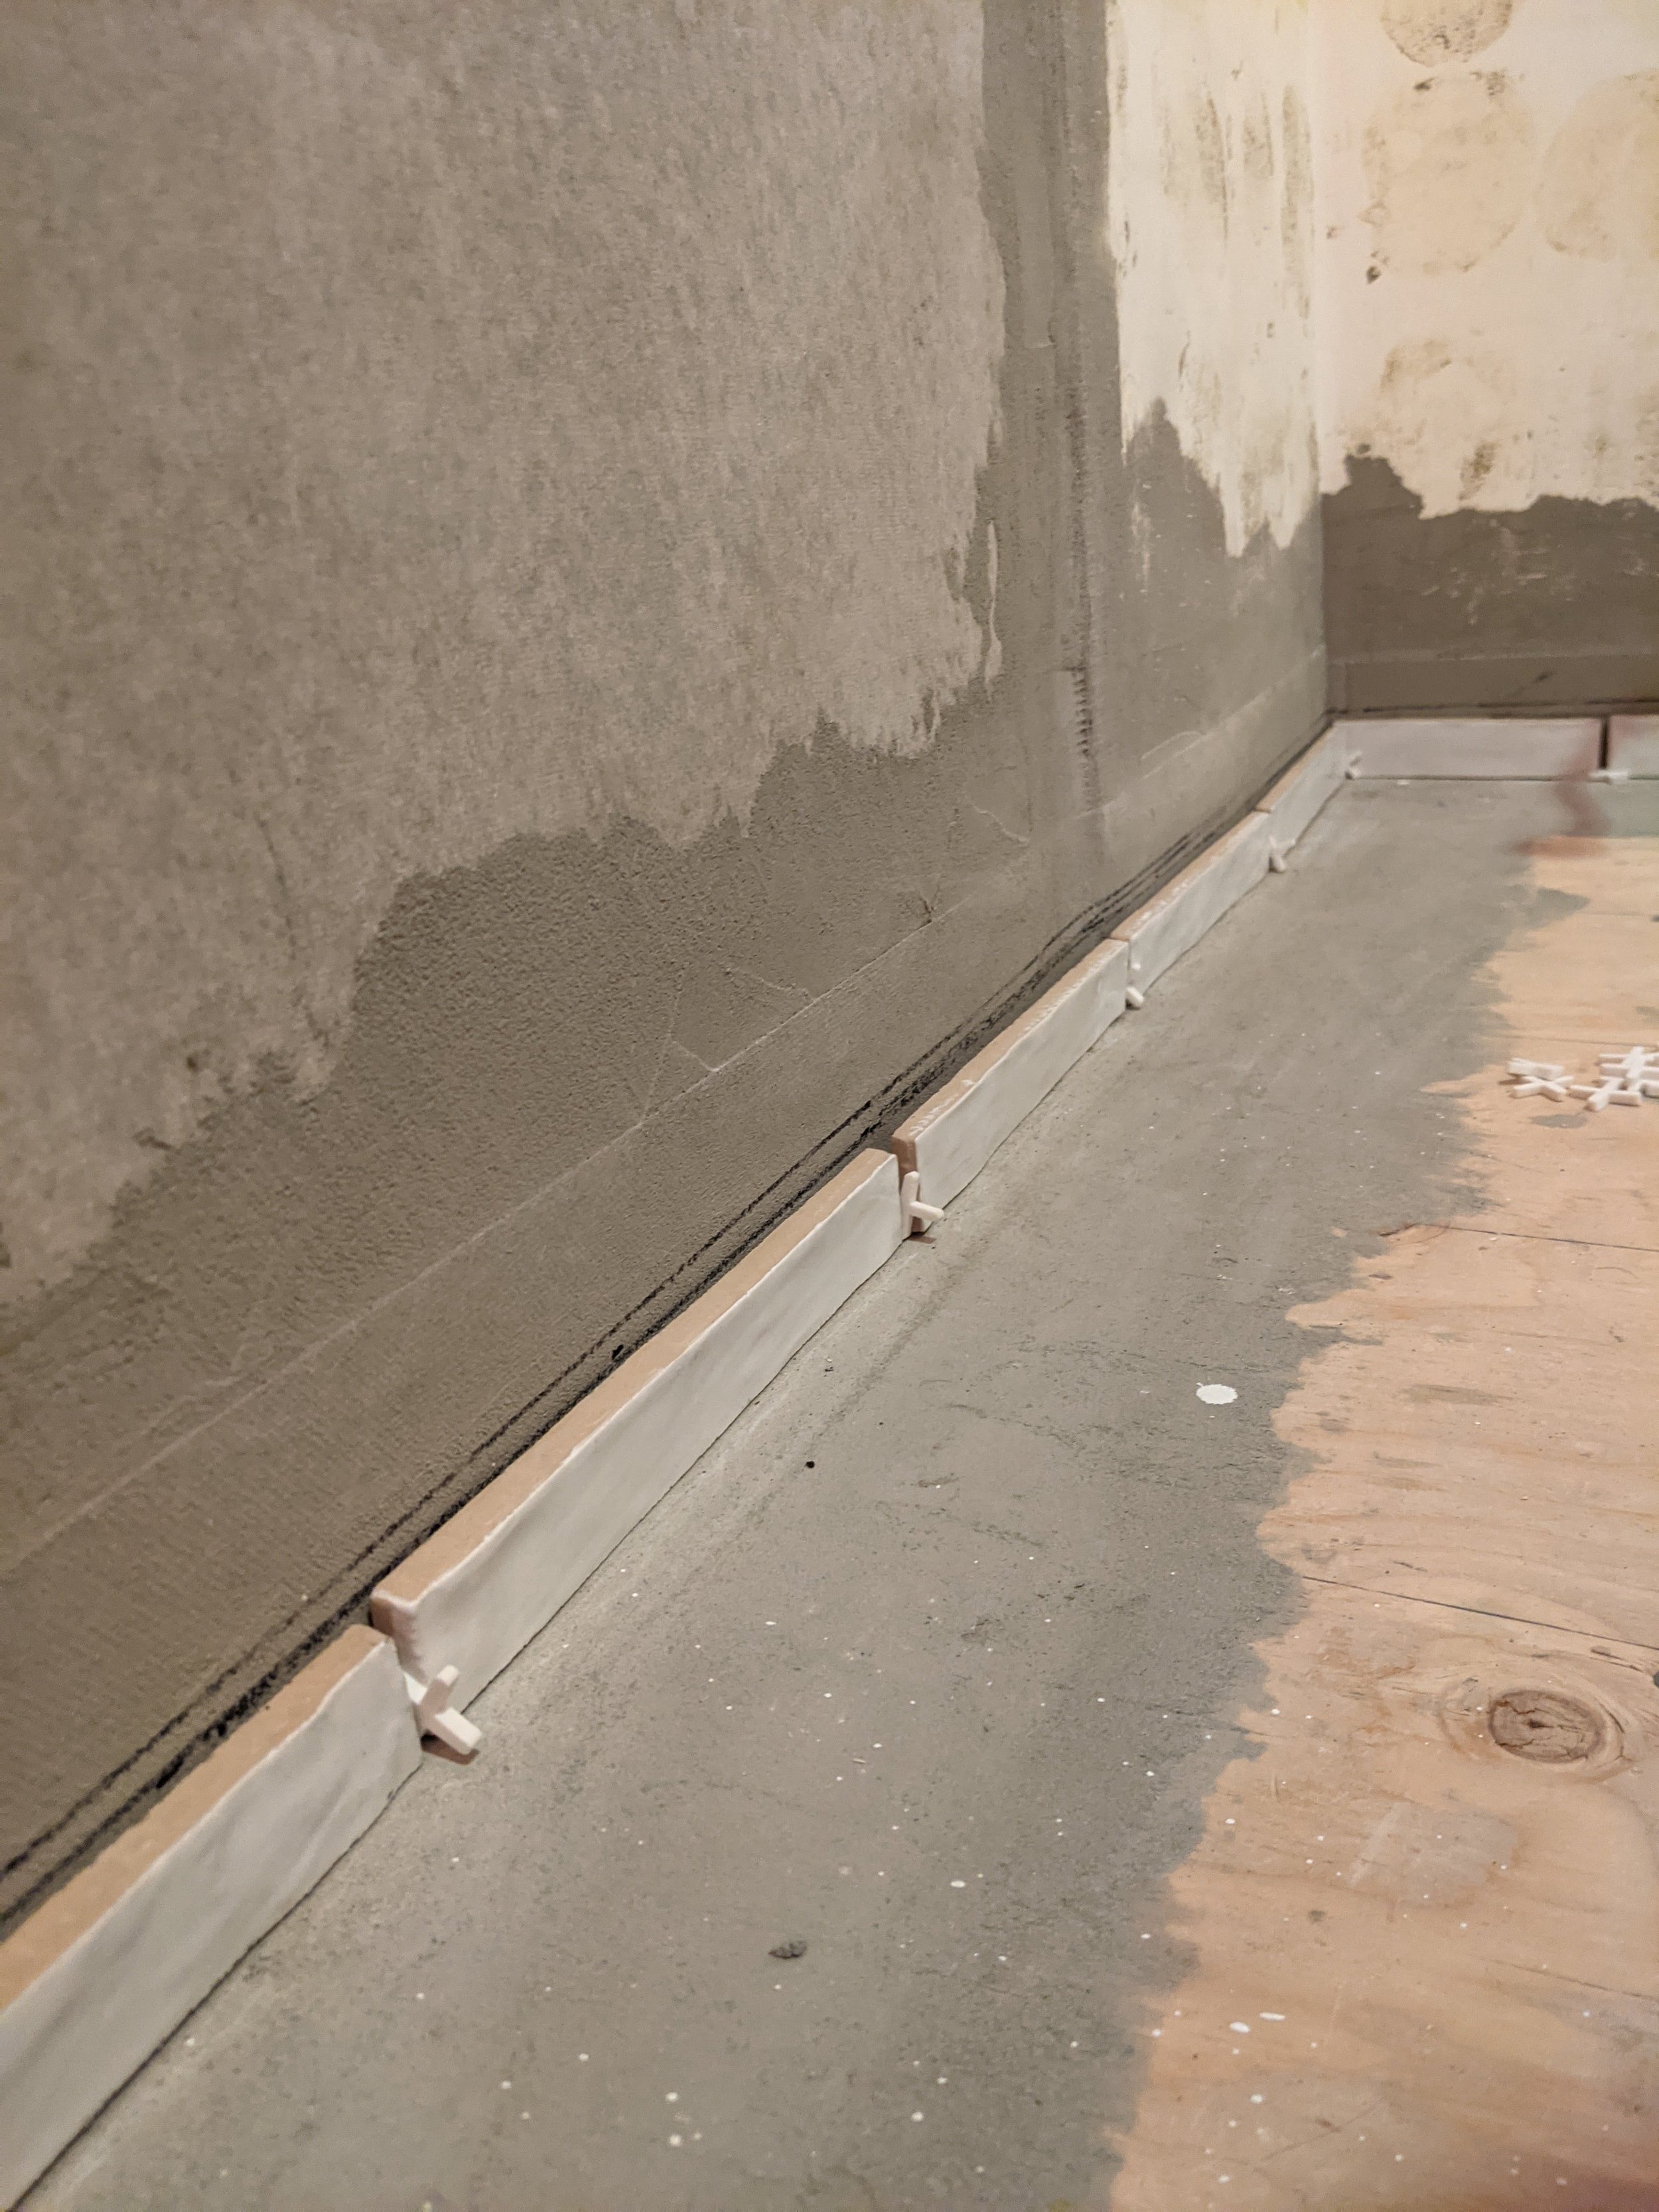
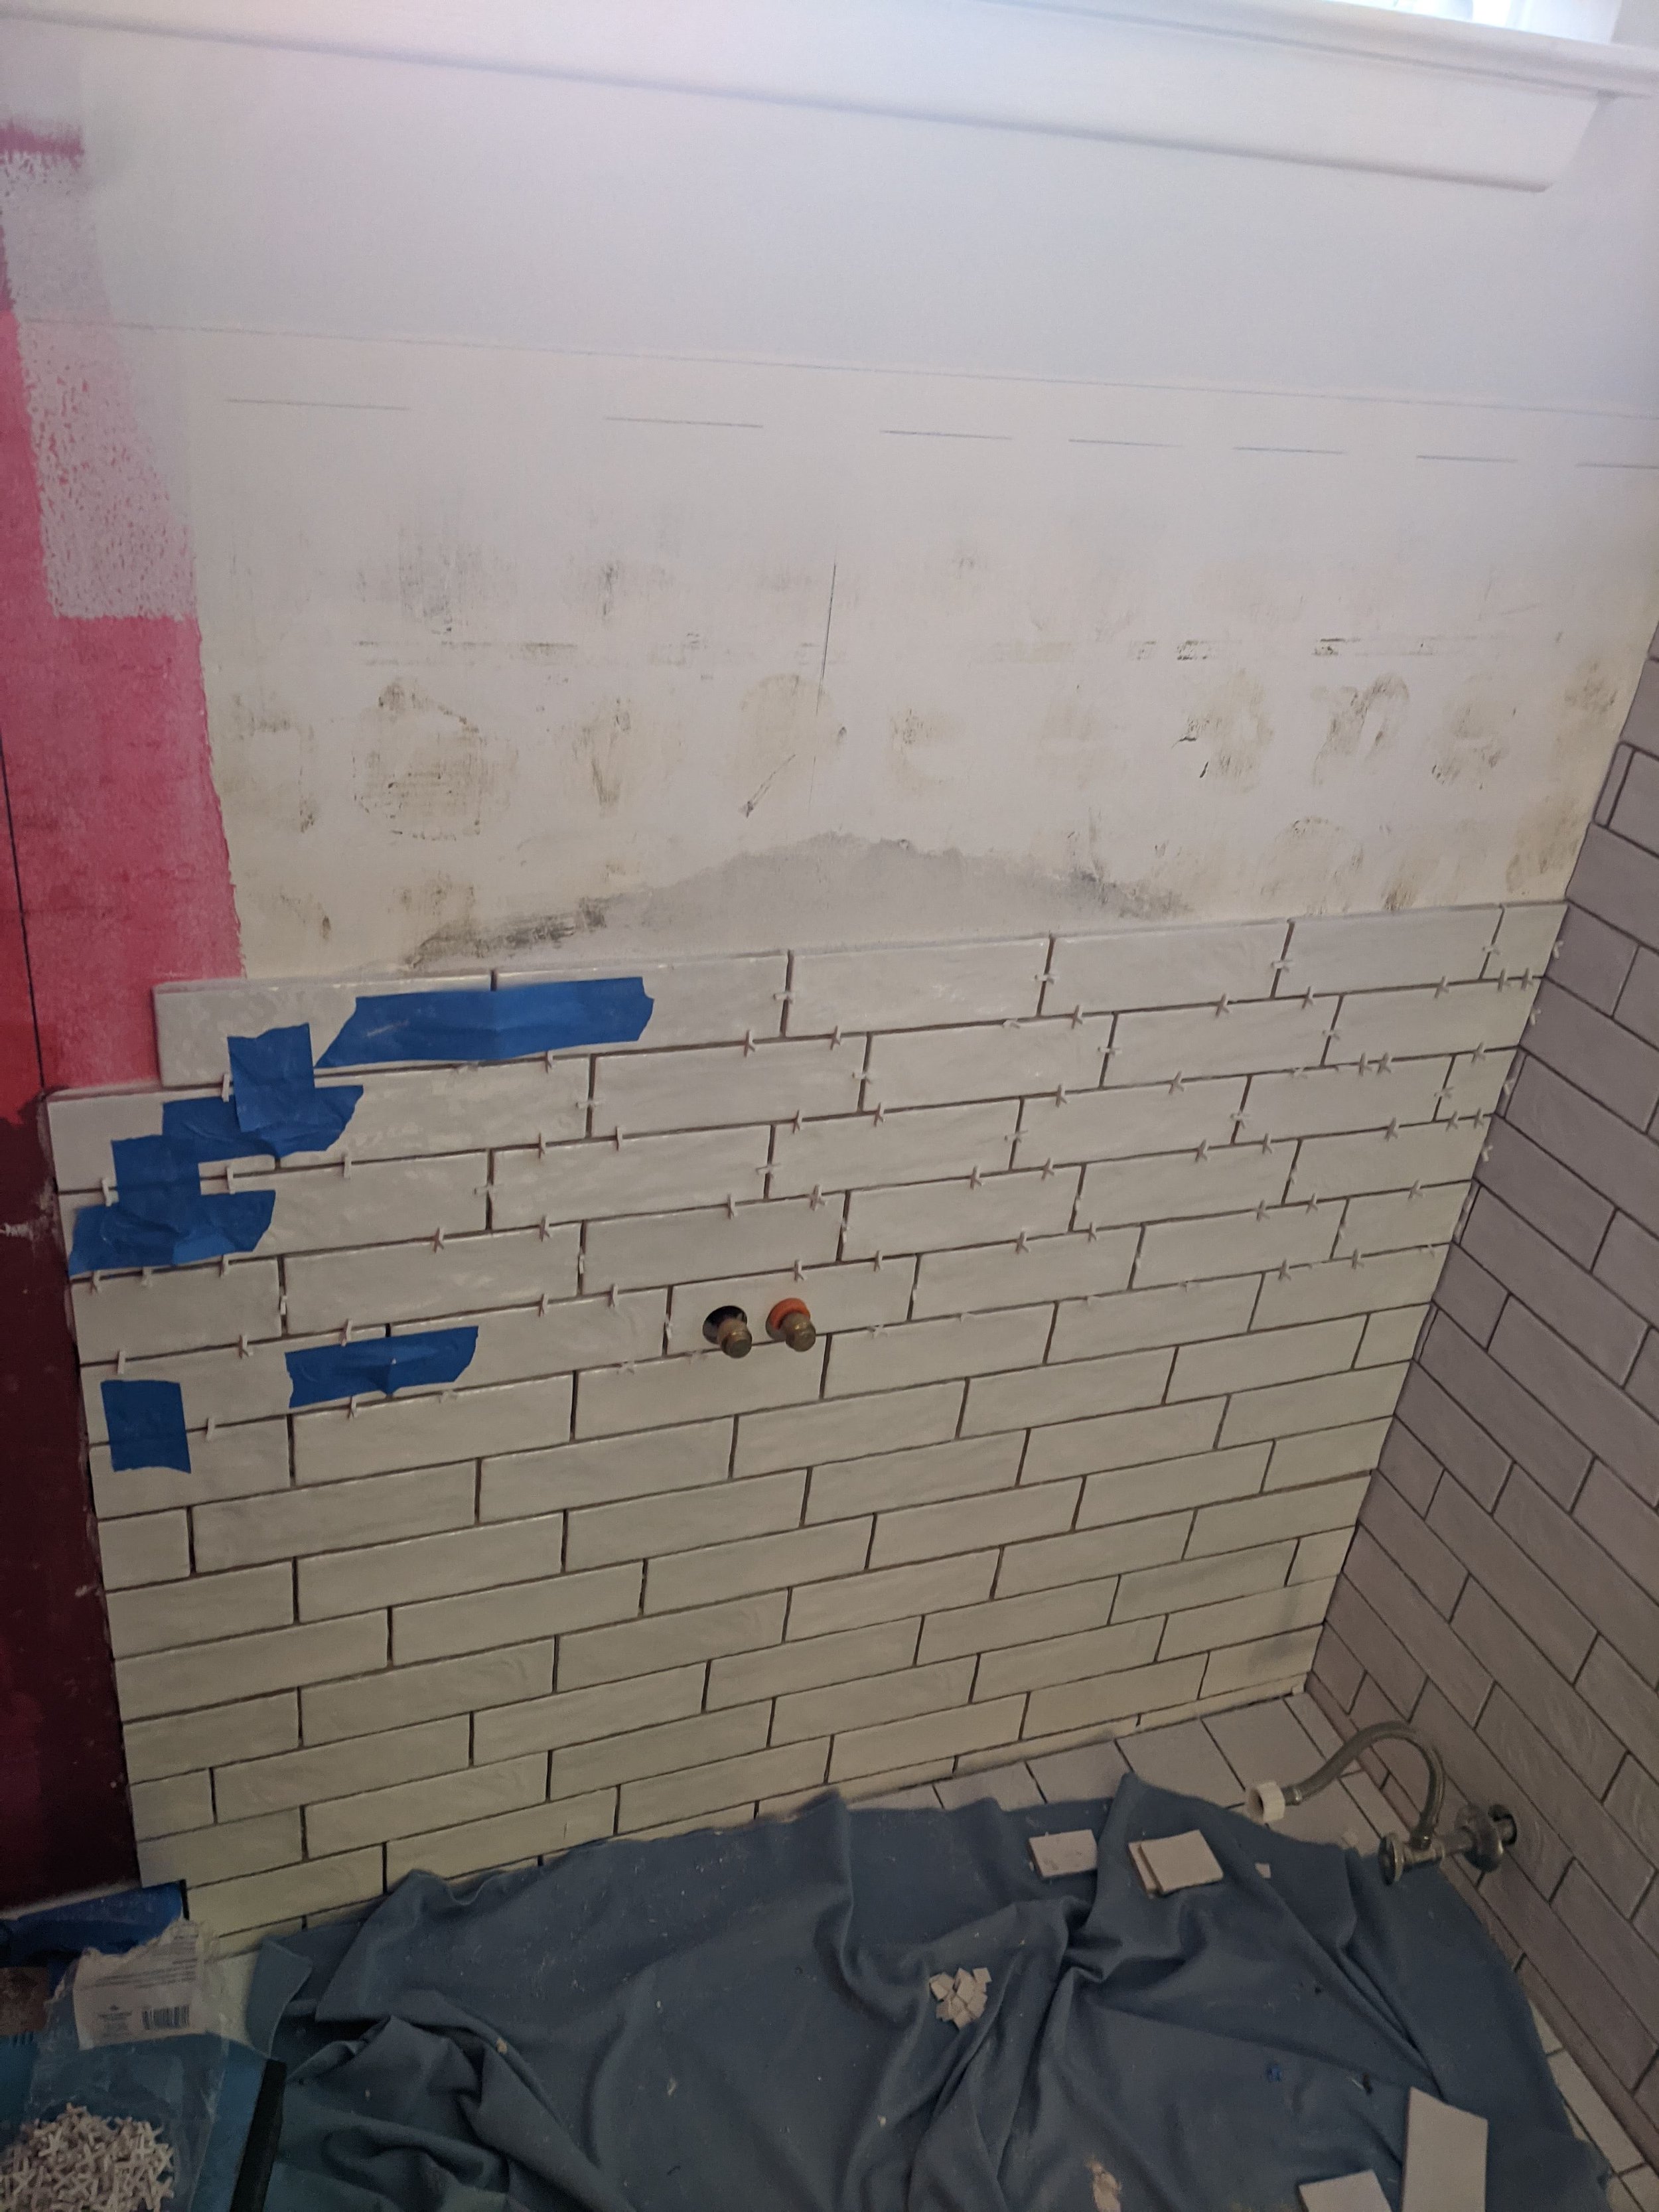
For our first line, we measured from where the top of the tile would be down to the floor and cut the bottom tile so we knew the top line would be a complete tile. Note: when you do this math be sure you include the grout width. Meaning if your tile is 2-1/2” high and you’re grouting 1/16th”, you need to do the math on 16 tiles as 2.5625” x 16 tiles to get to 41”. Otherwise, you’ll be a full inch short and think that 16 tiles is 40”.
Make sure you’re level on the wall and NOT using the floor as your level, because unless your house was built by the Lego company, it isn’t perfectly level. This will catch up with you and ruin your tile.
We are using chair rail caps at the top so you can see we space planned for this as well.
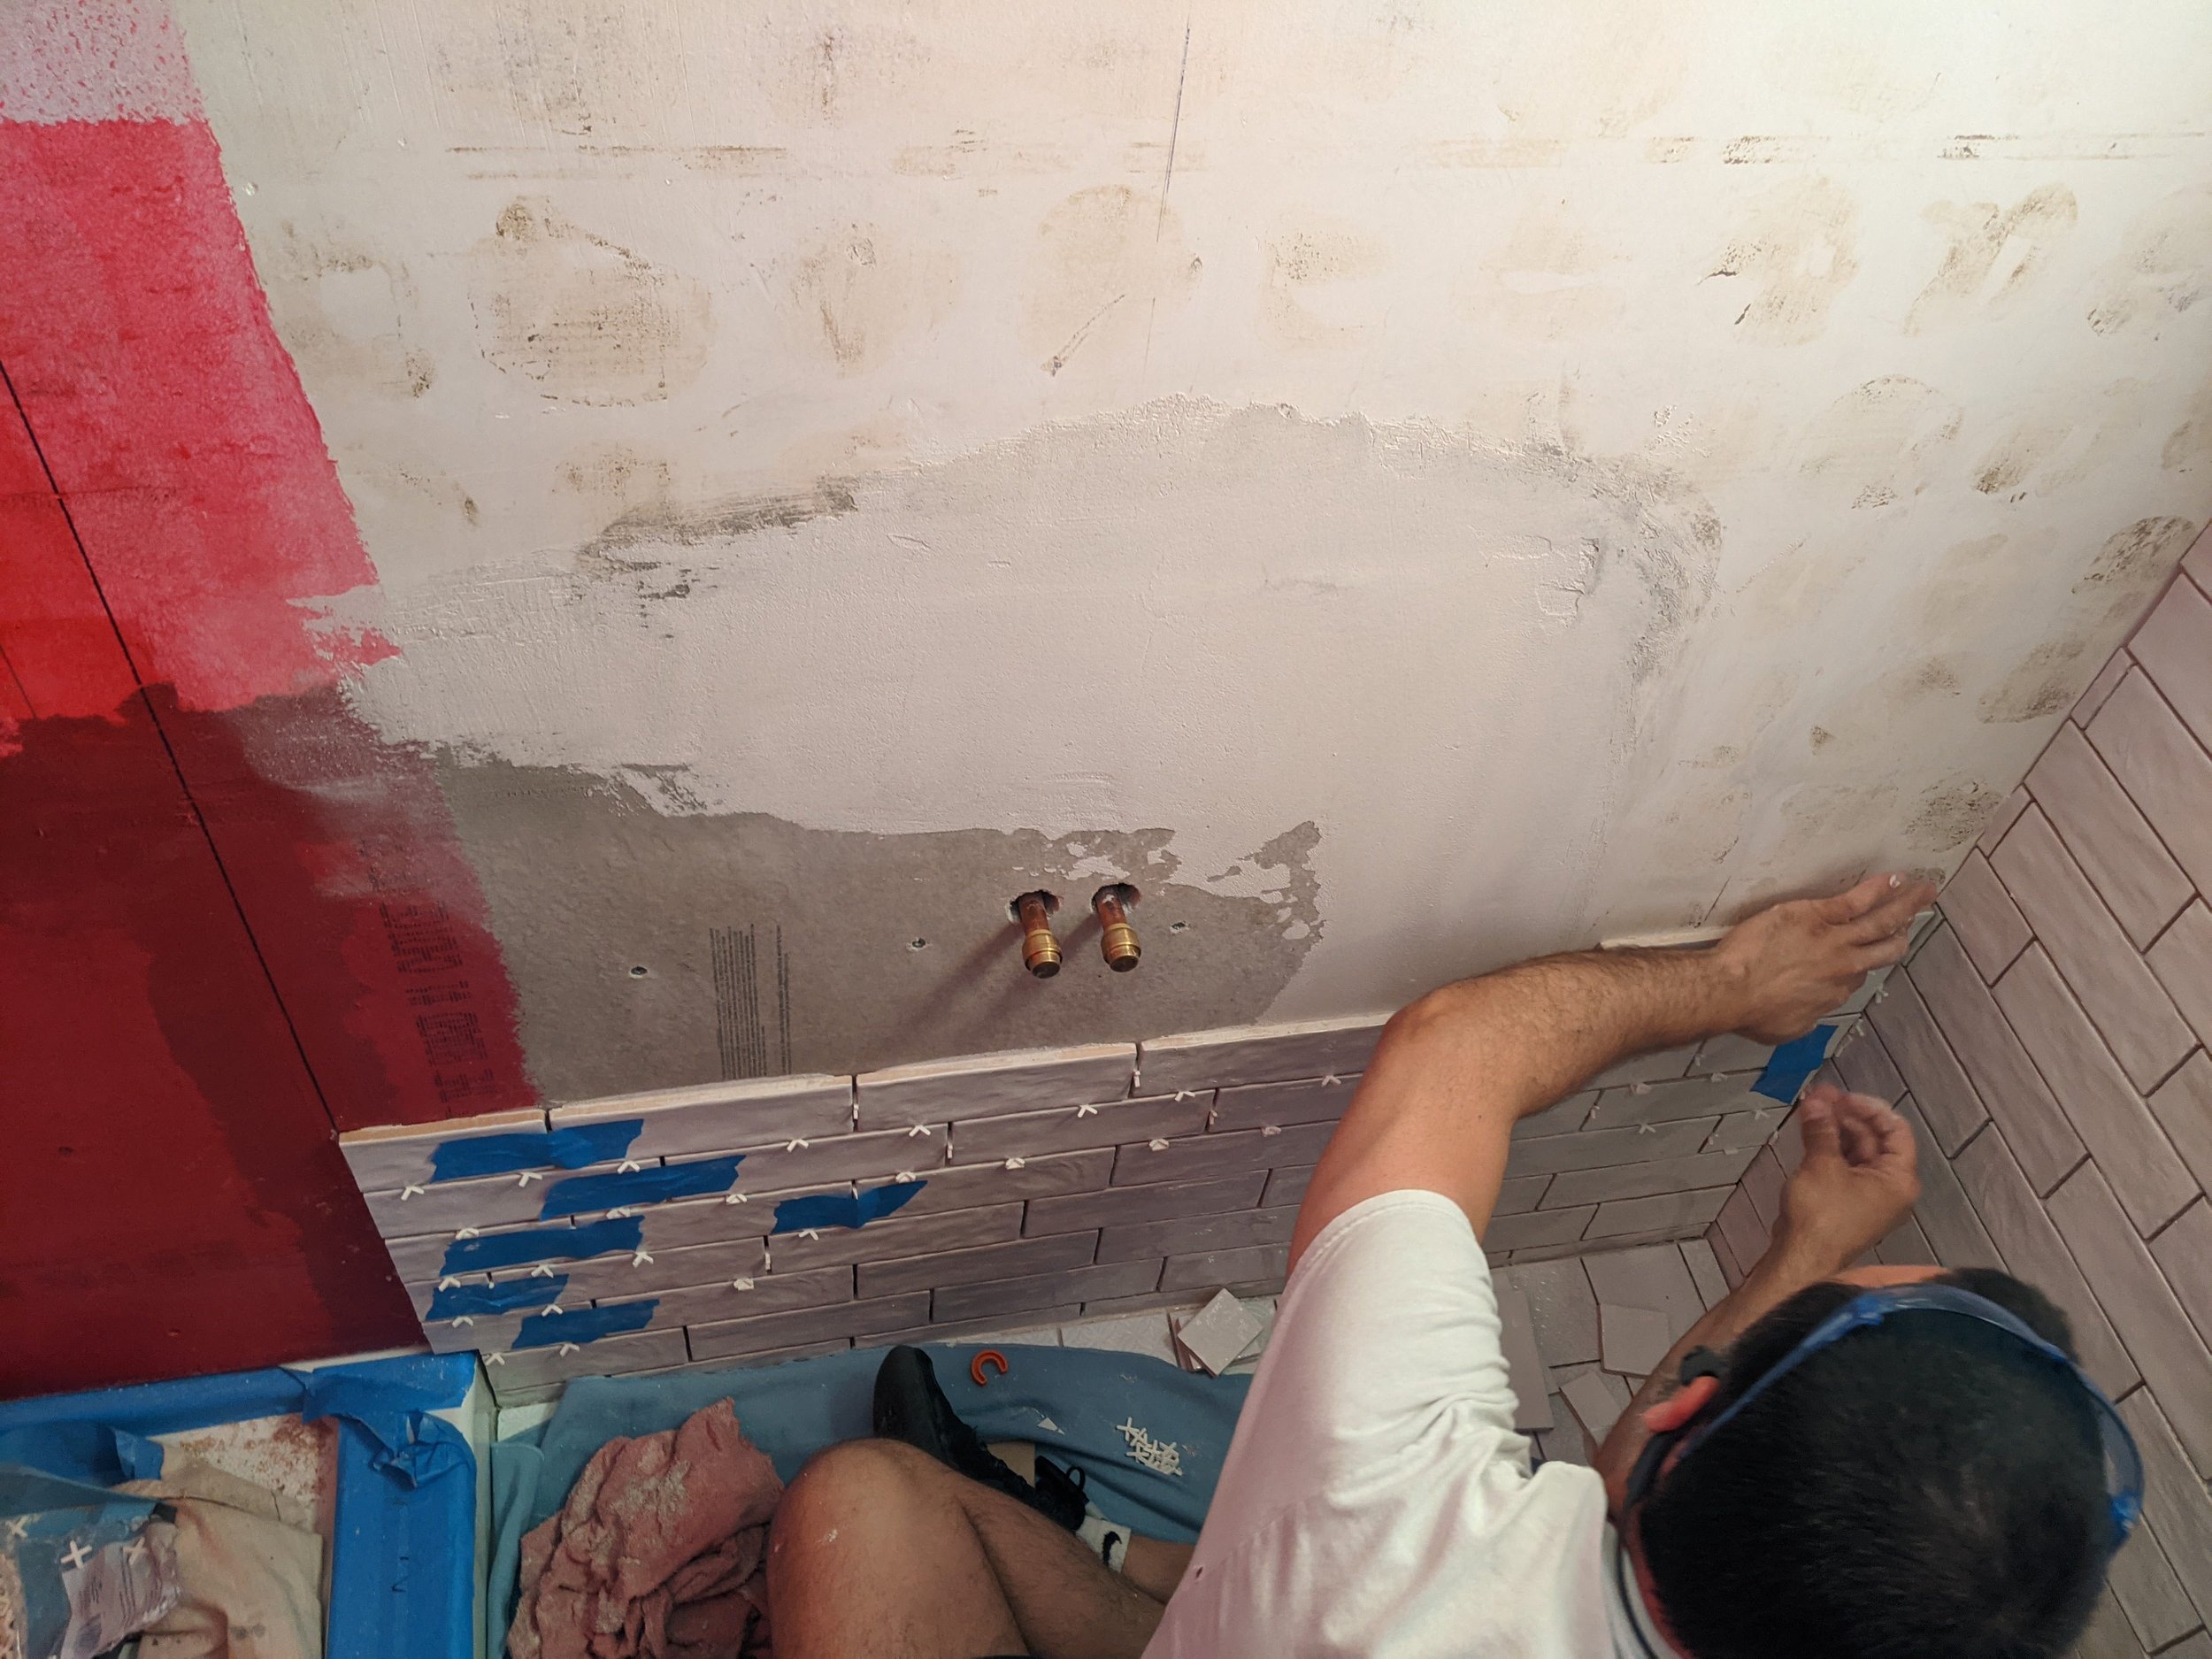
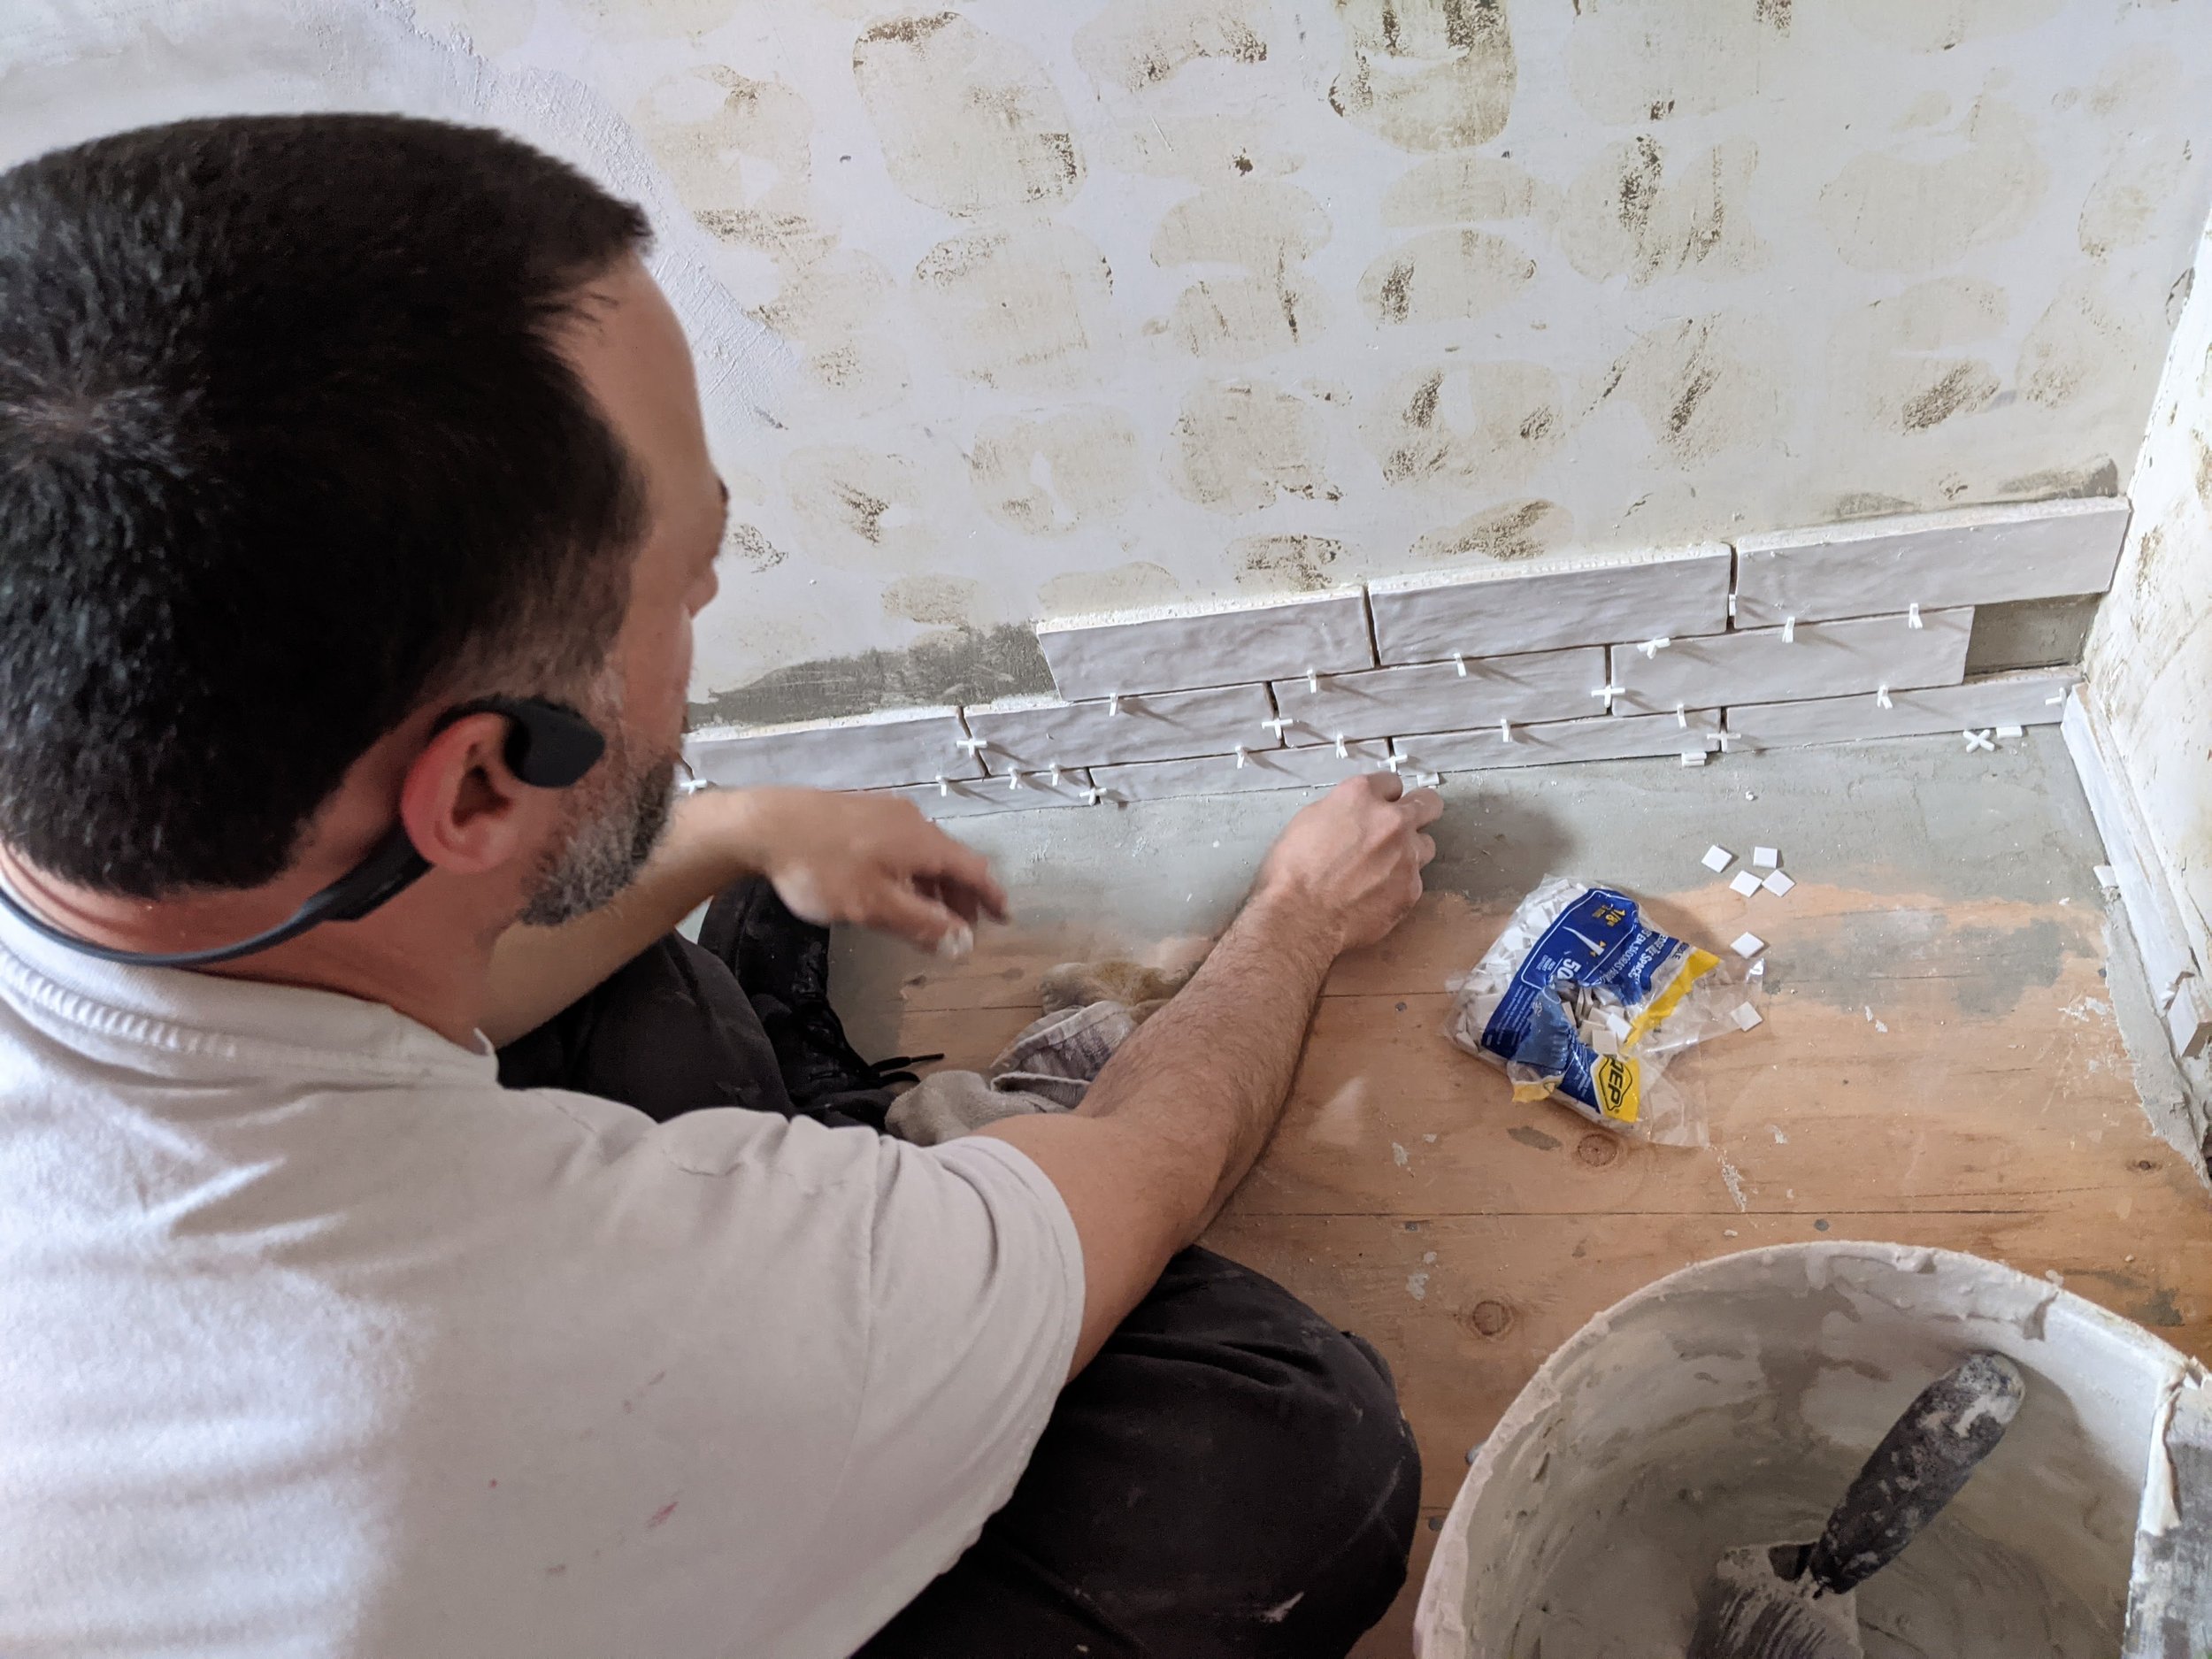
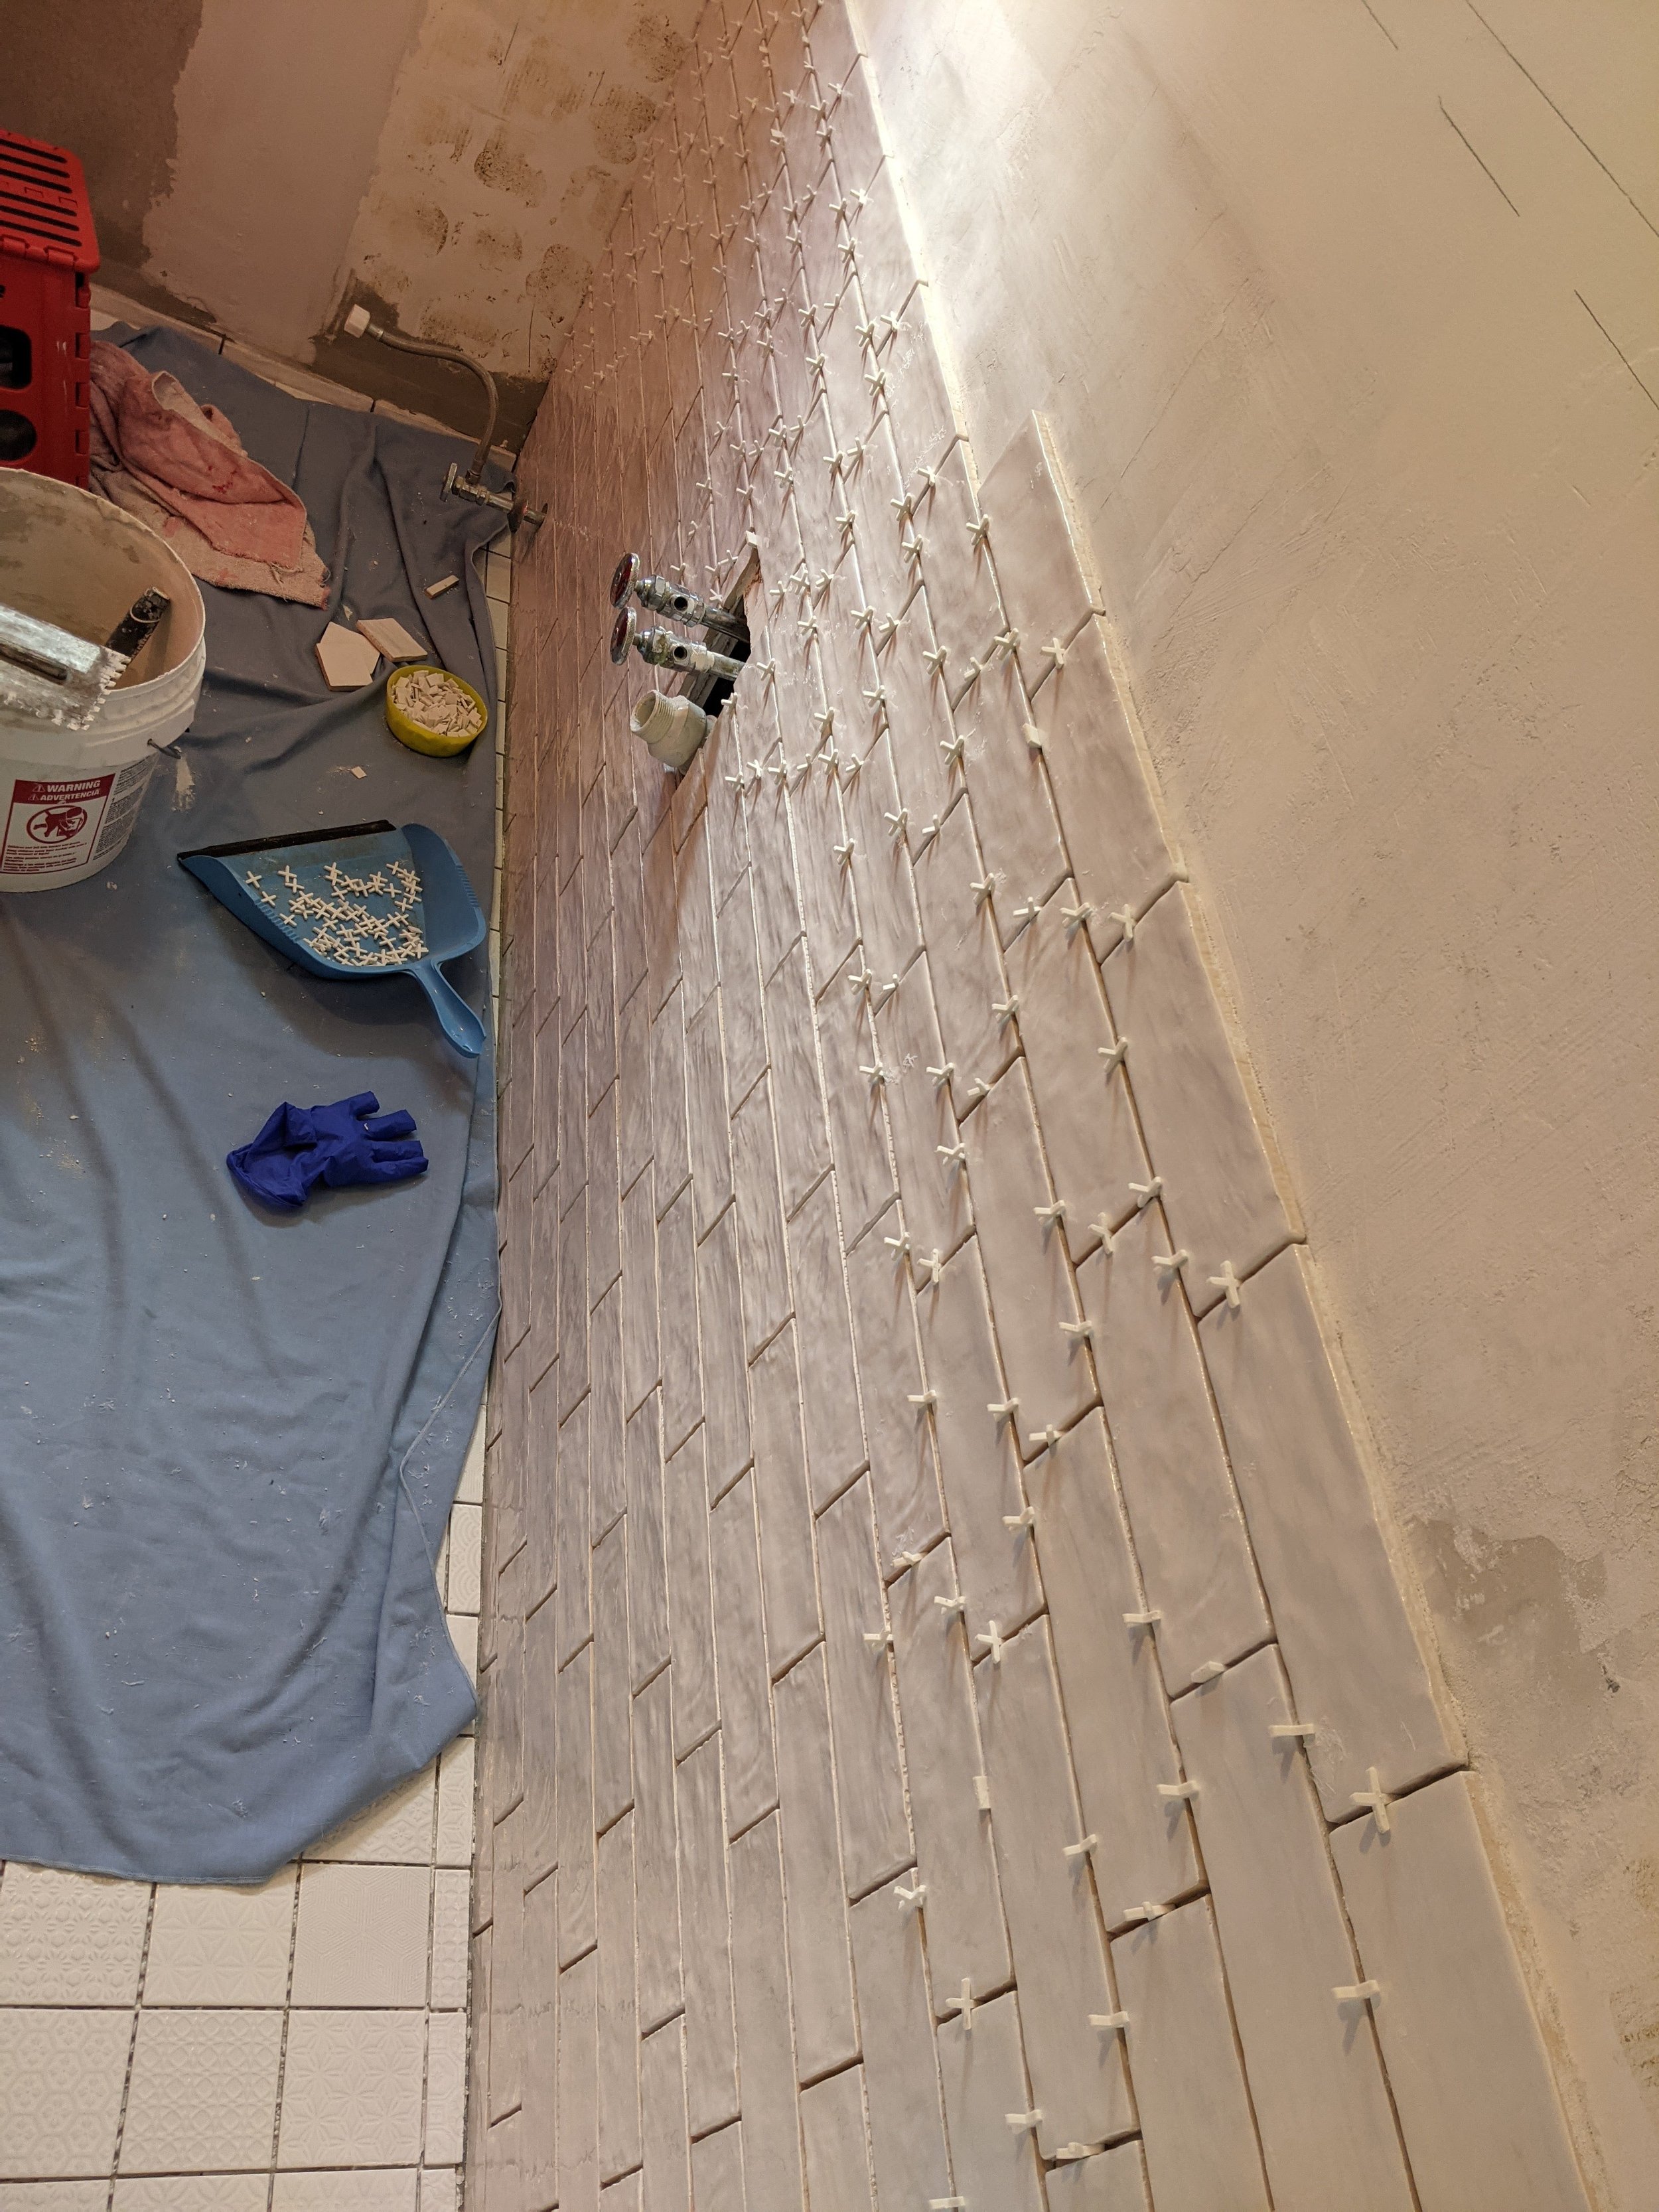
To get the tiles perfectly spaced, we used x-shaped tile spacers. These are really handy to help on long tiles where you could easily end up cockeyed if you don’t put in several. It also reduces tile slide as gravity is always your enemy on the wall tile.
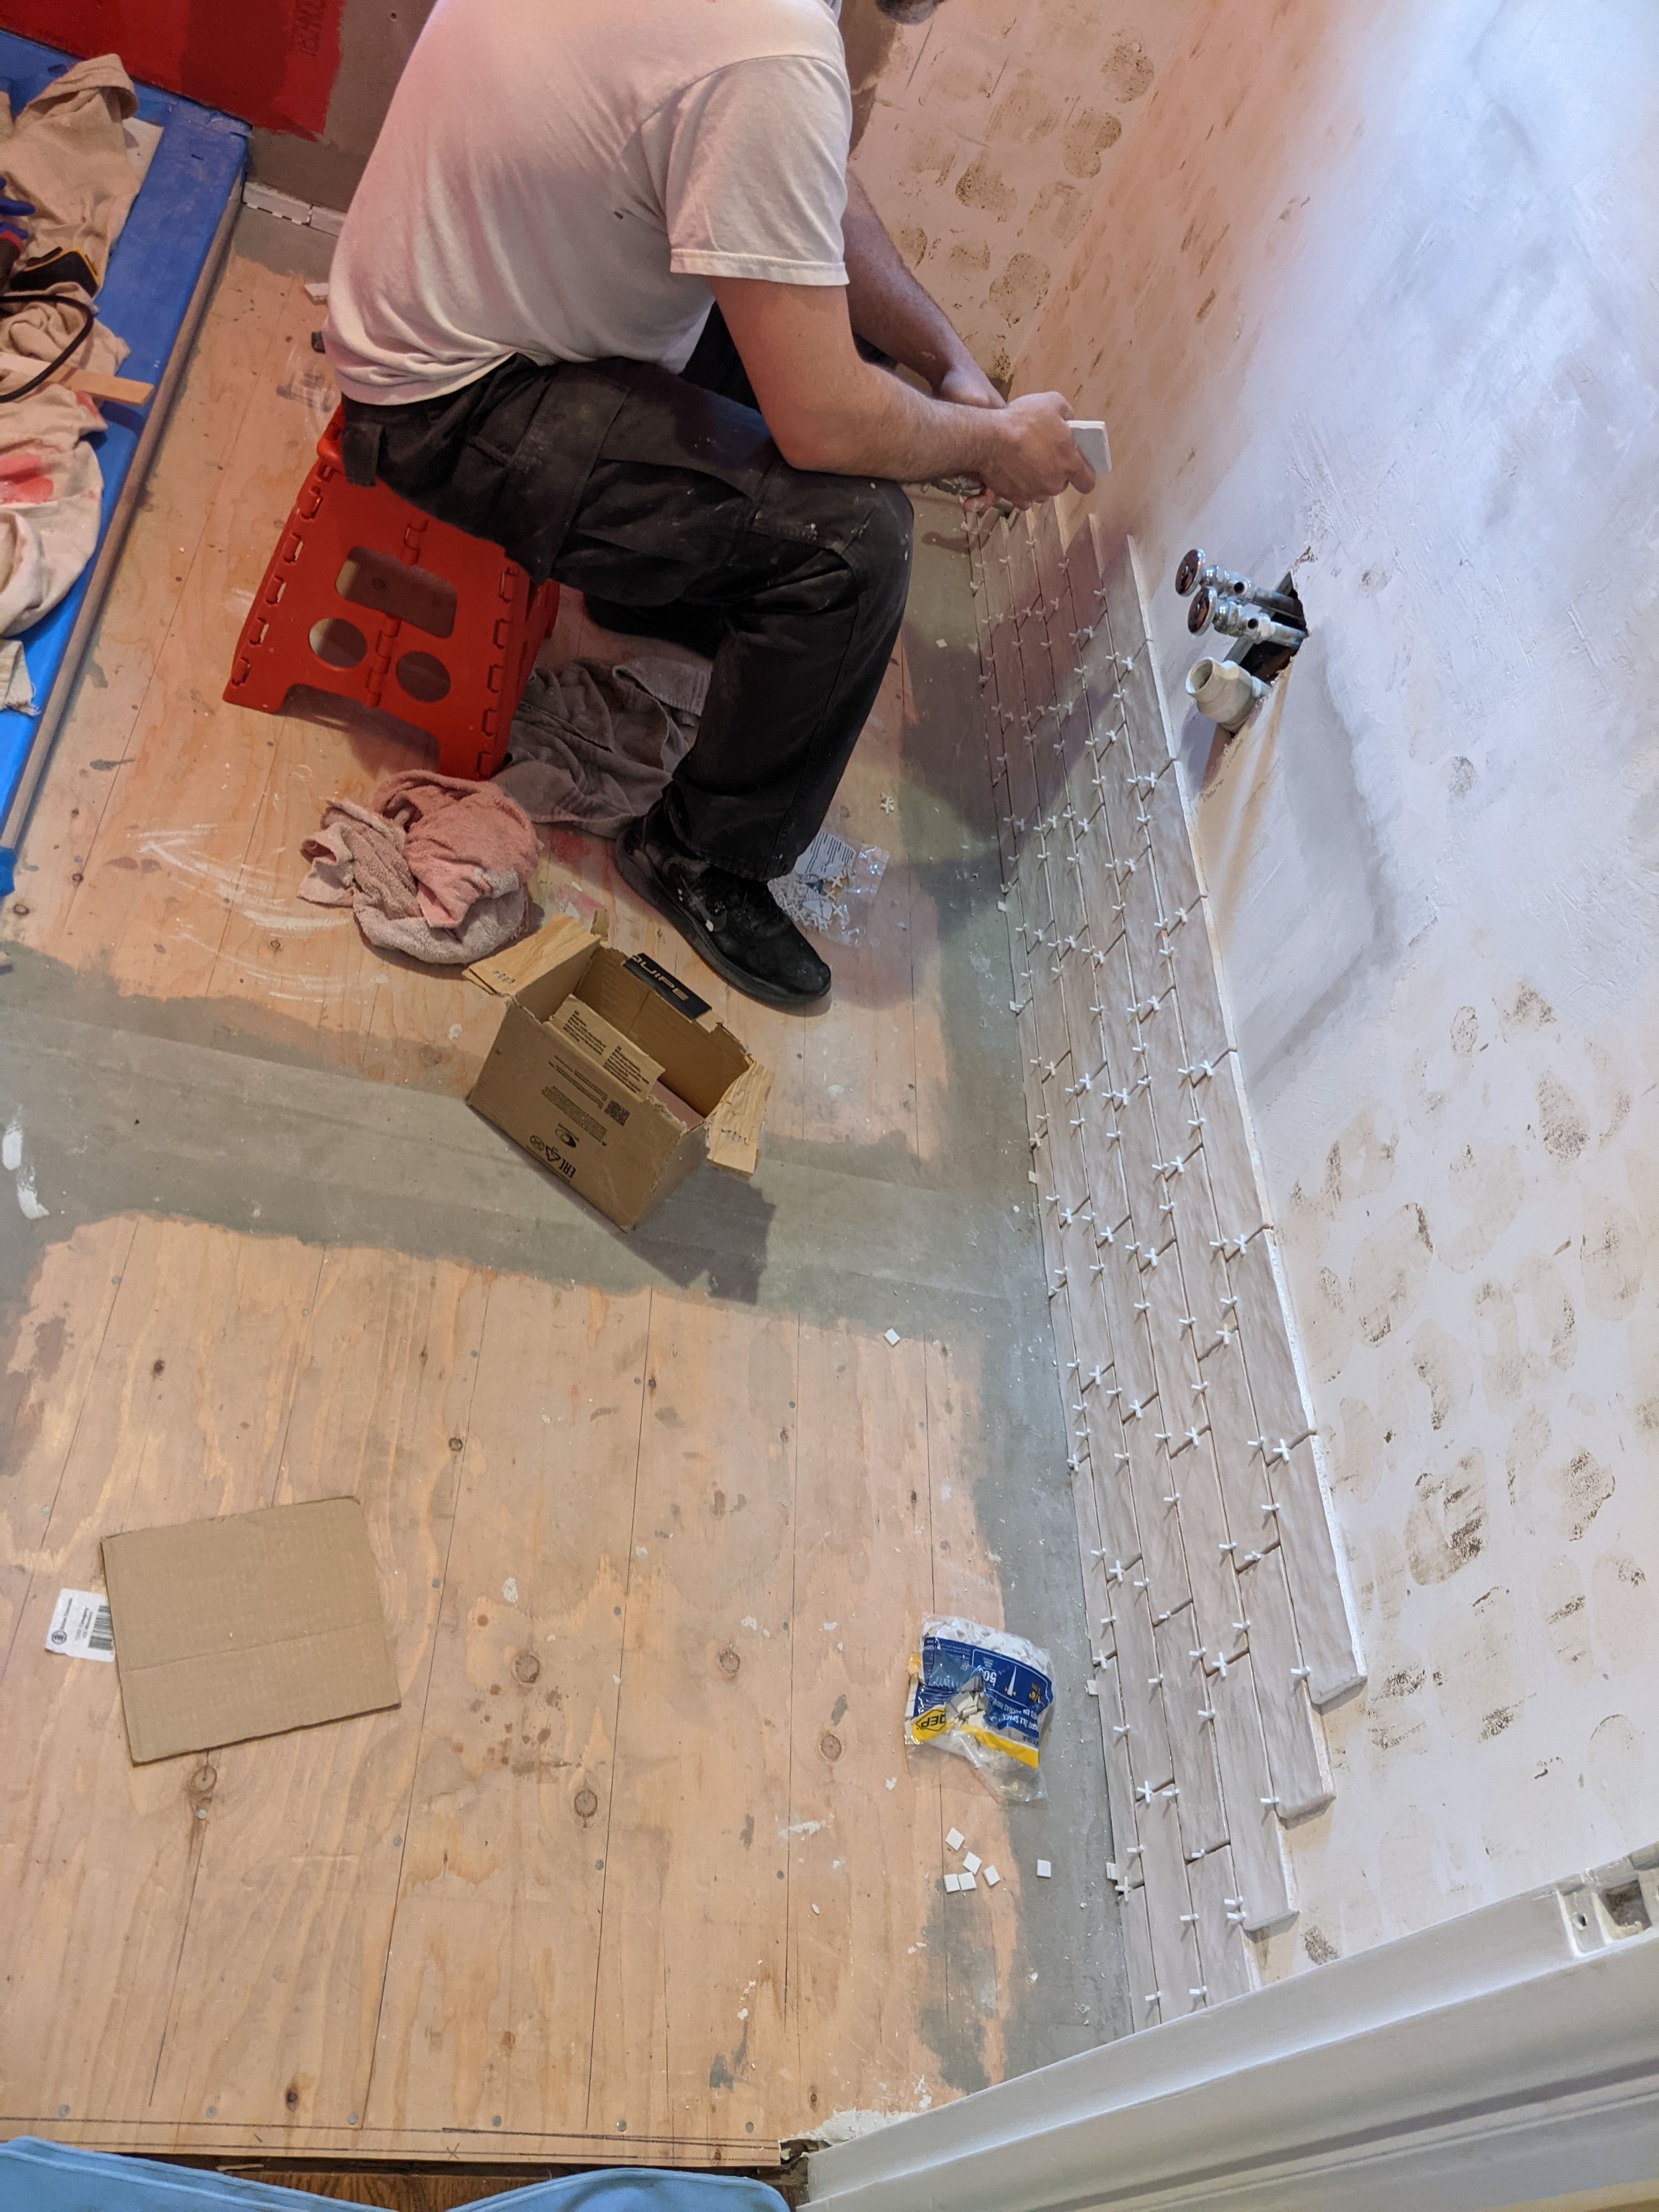
As we worked, we had plumbing to work around, so there was a good deal of trimming. The wet tile saw is still the way to go, like we did upstairs on my hexagon tiles. It makes clean cuts and doesn’t leave the edges all chipped.
The best process for tiles is to get a row going while you have the concrete wet, so if you have a lot of cutting to do, try to cut a few at a time so your grout isn’t up there setting while you run and measure.
For the small pieces, we often put in multiple grout spaces and then used painters tape to make sure they didn’t fall off. There’s just not a ton of grip when the quickset is fresh. You can see that in some of the pictures, but fortunately because he did a lot of planning, Hubs was able to avoid most tiny cuts.
Because we were working during the supply chain disruptions of 2021 , you’ll see we were getting single boxes of tile and were working on the floor at the same time. (That was not ideal.)
After all the tile was up and dried, the tile spacers come up and then you step on them for six weeks, mostly in bare feet, and it hurts like a Lego.
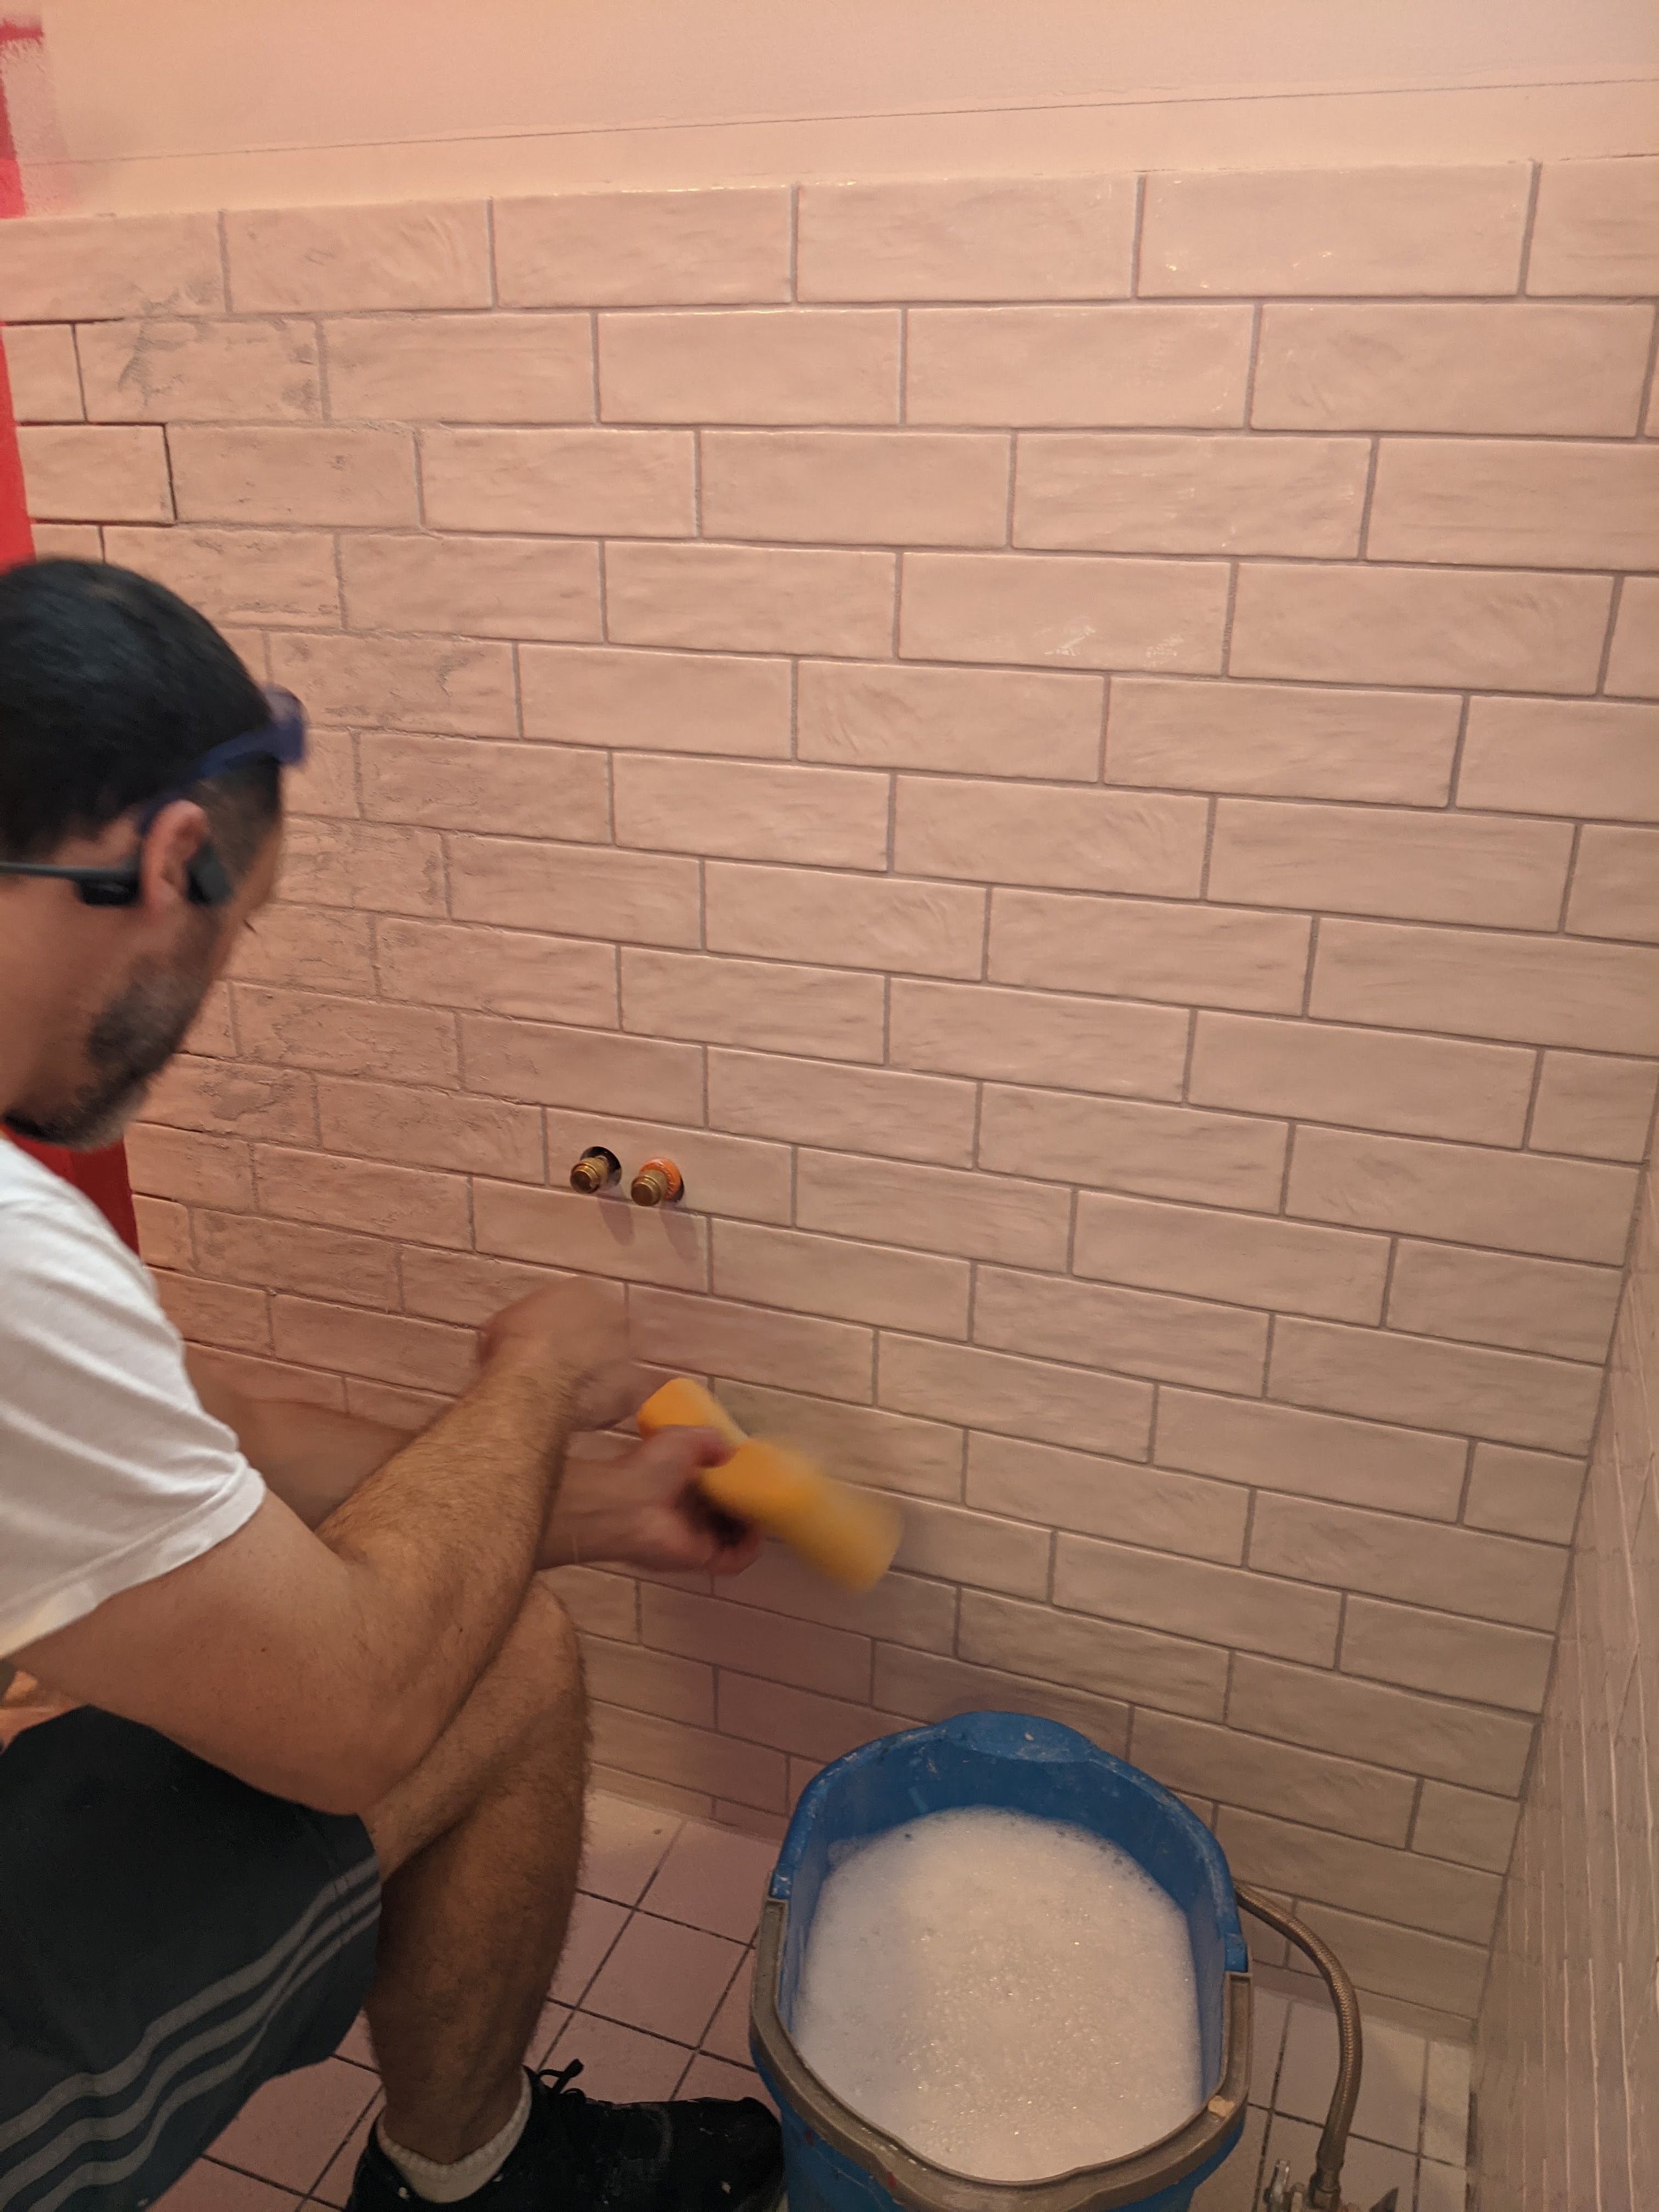
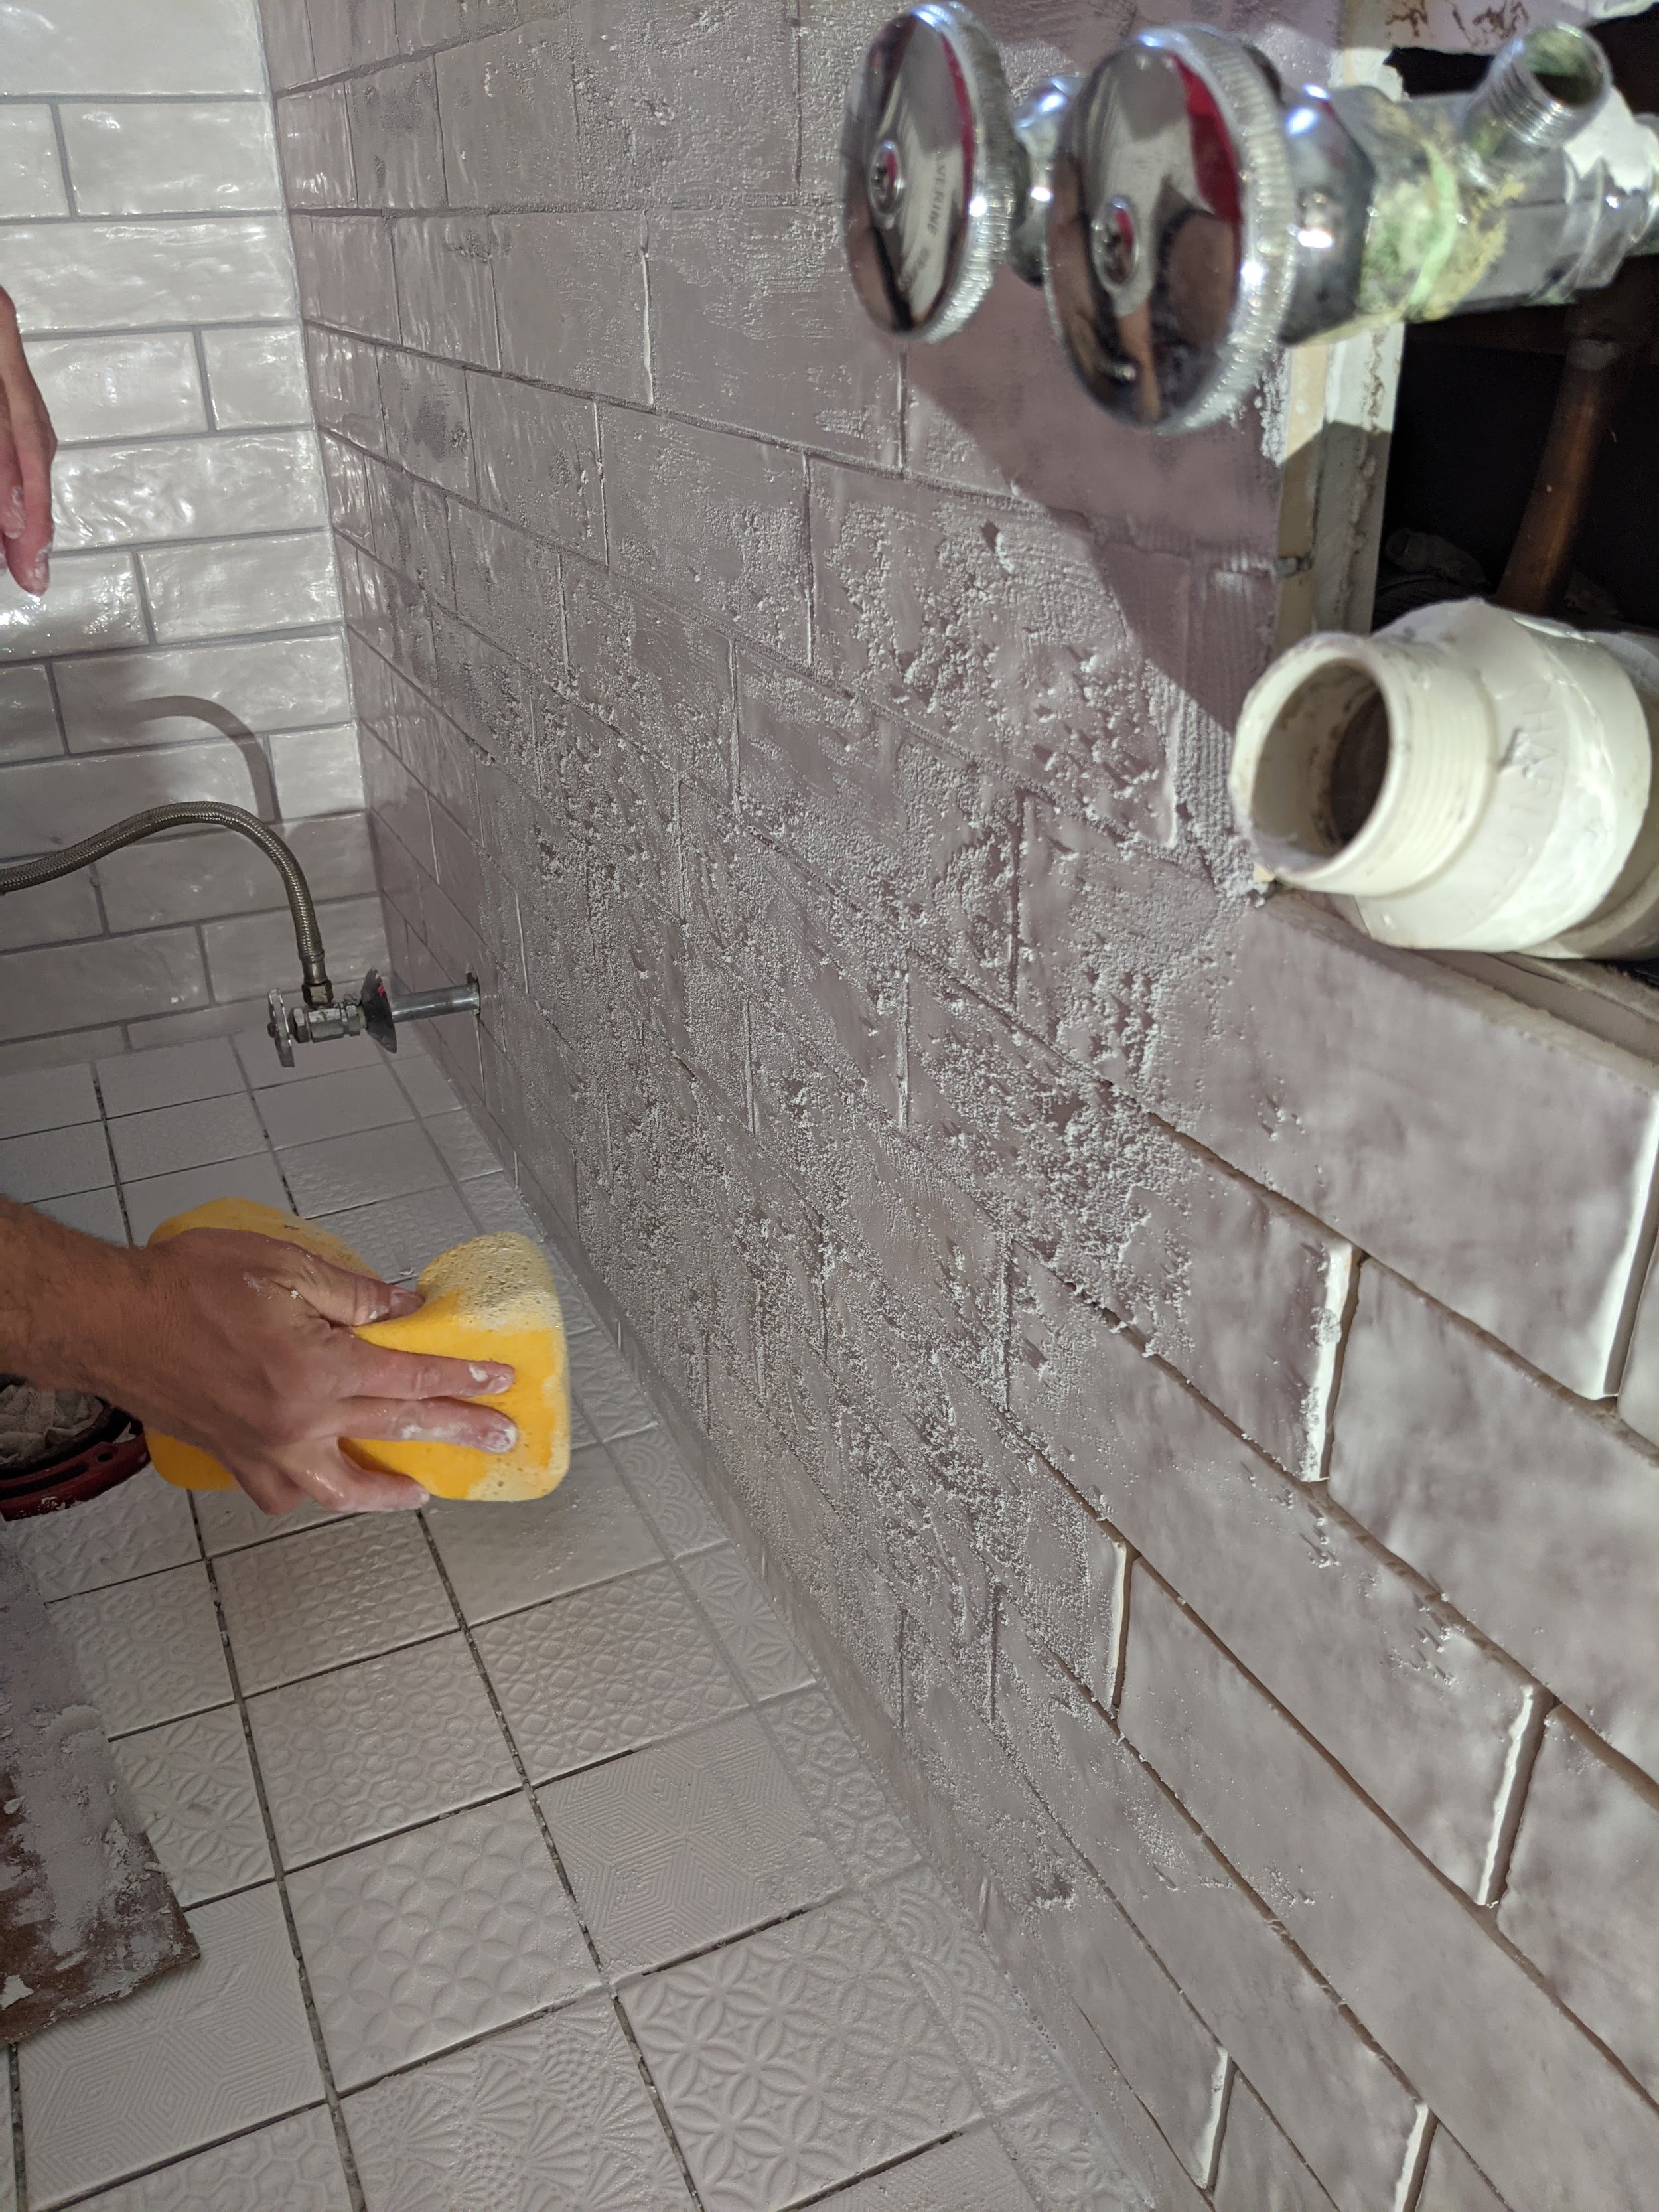
Then all the tiles get a good scrubbie cleaning and you can get on to grout!
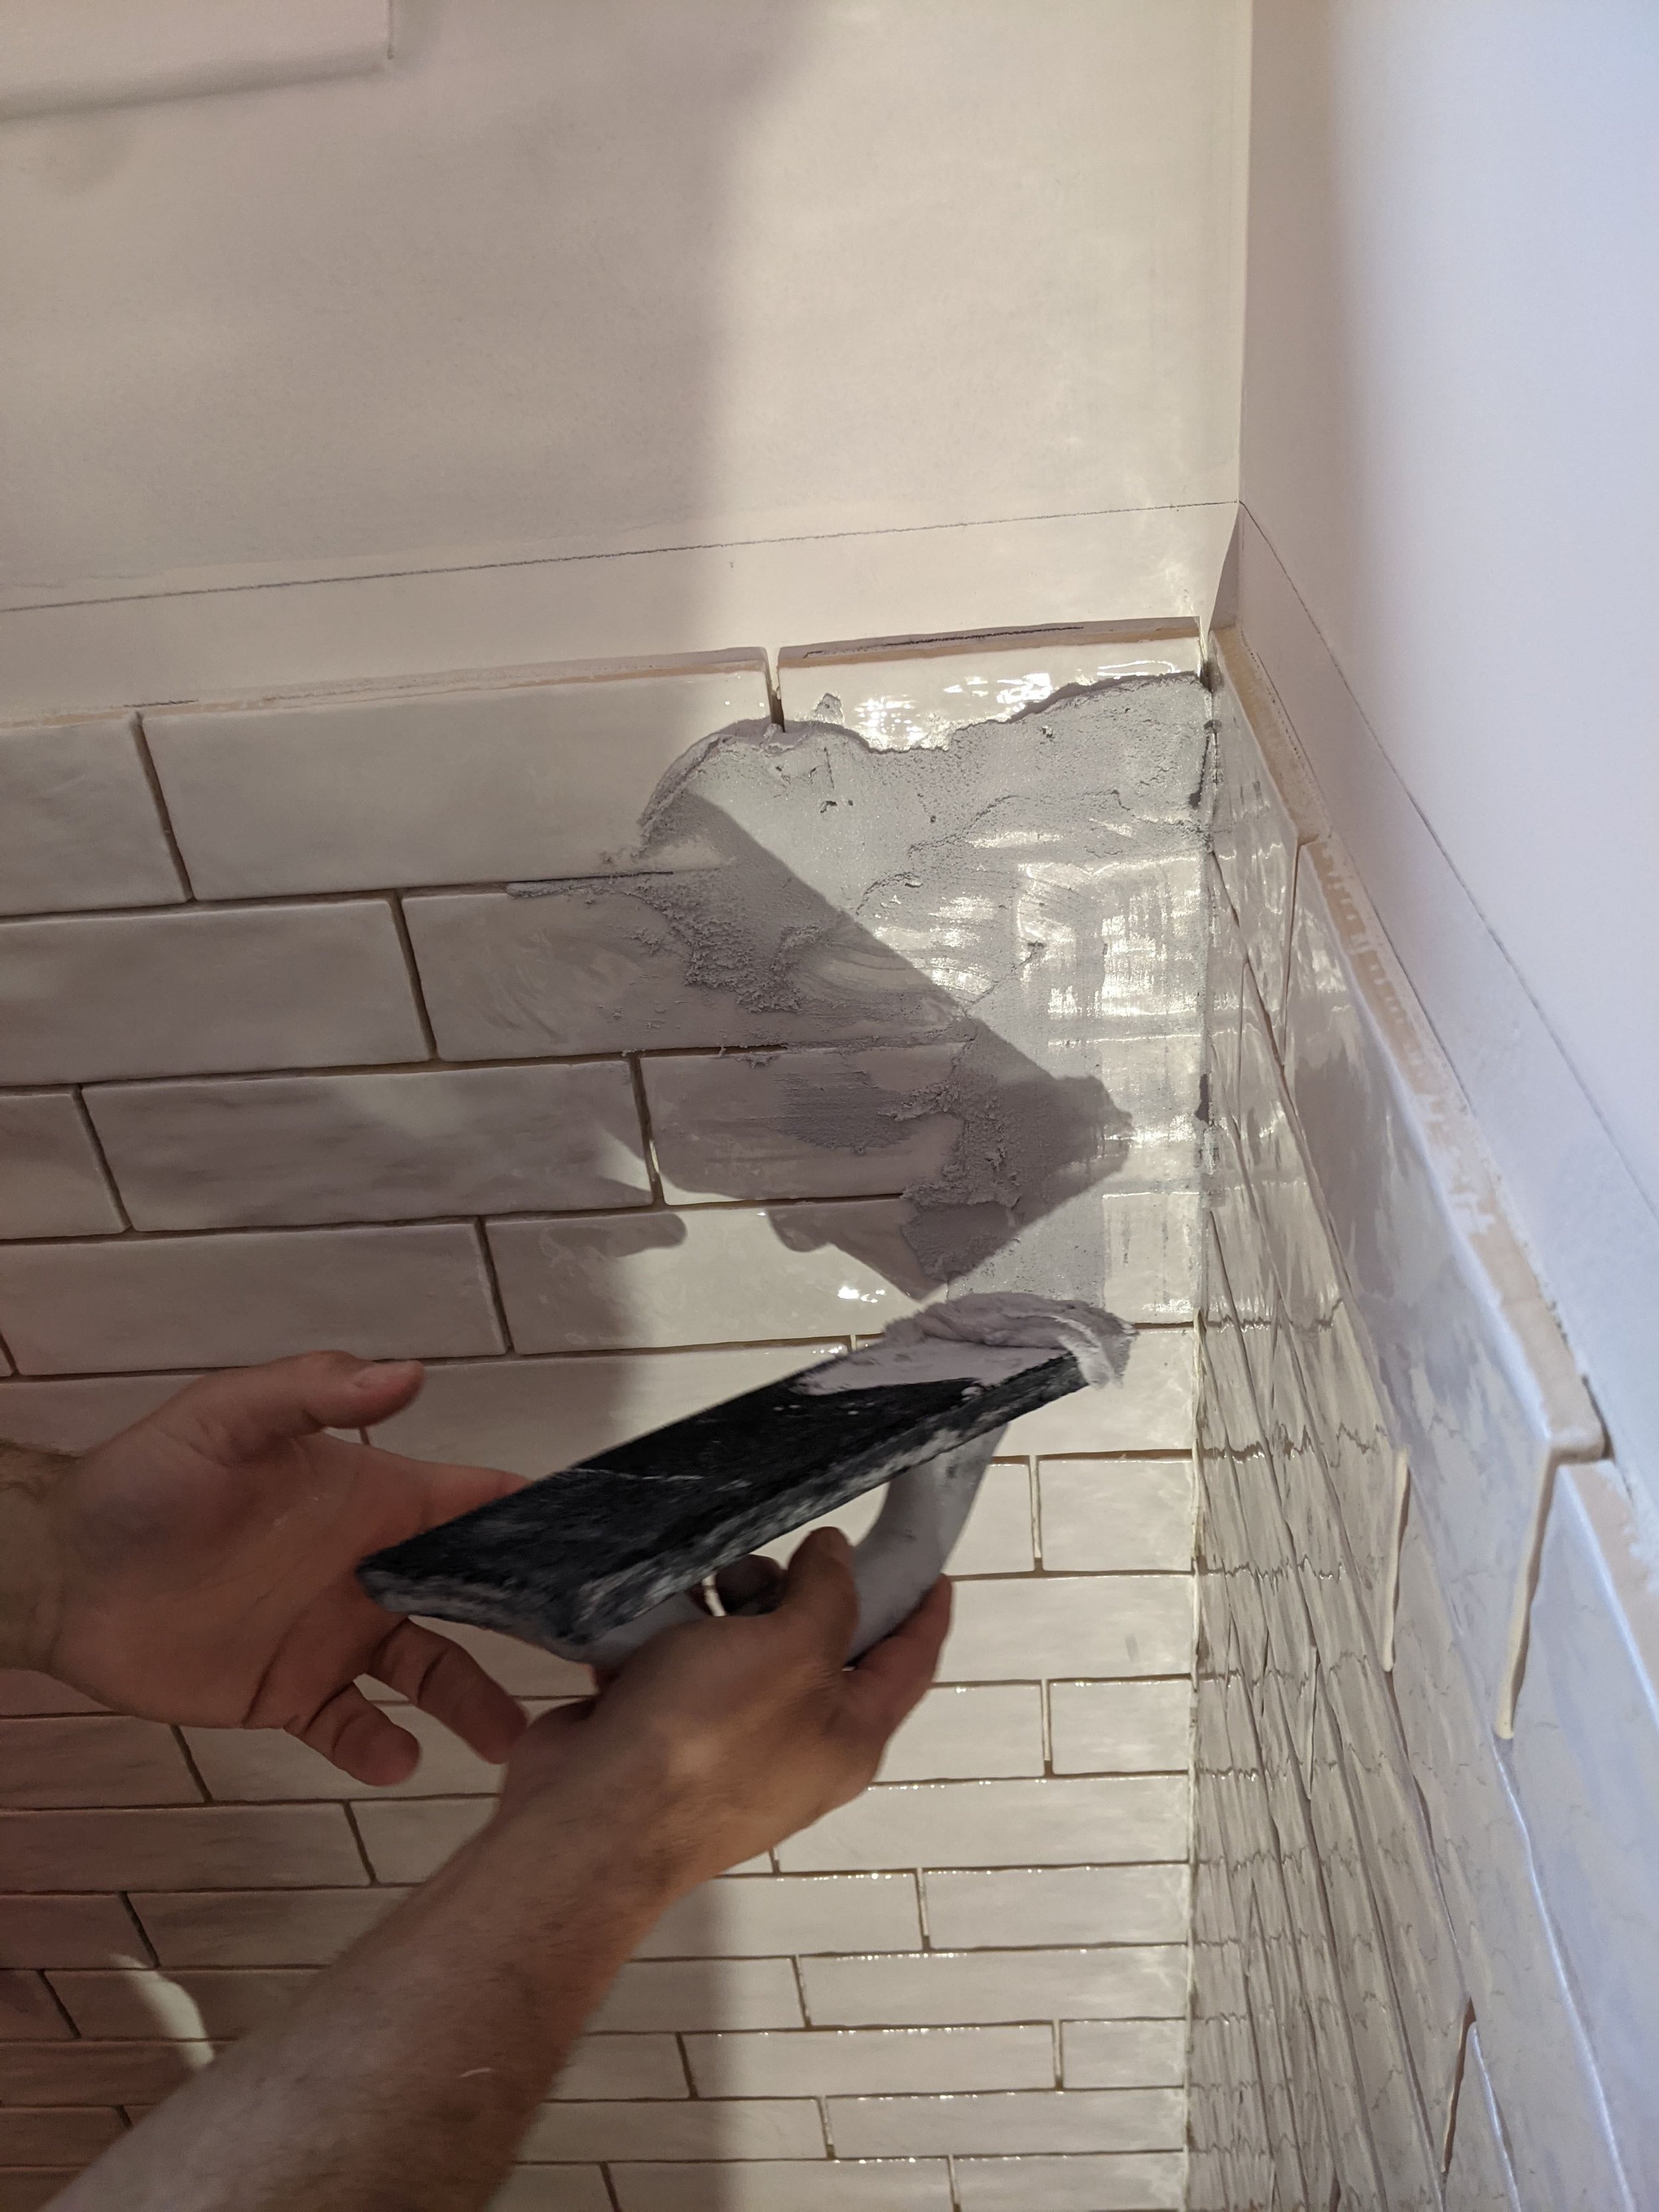
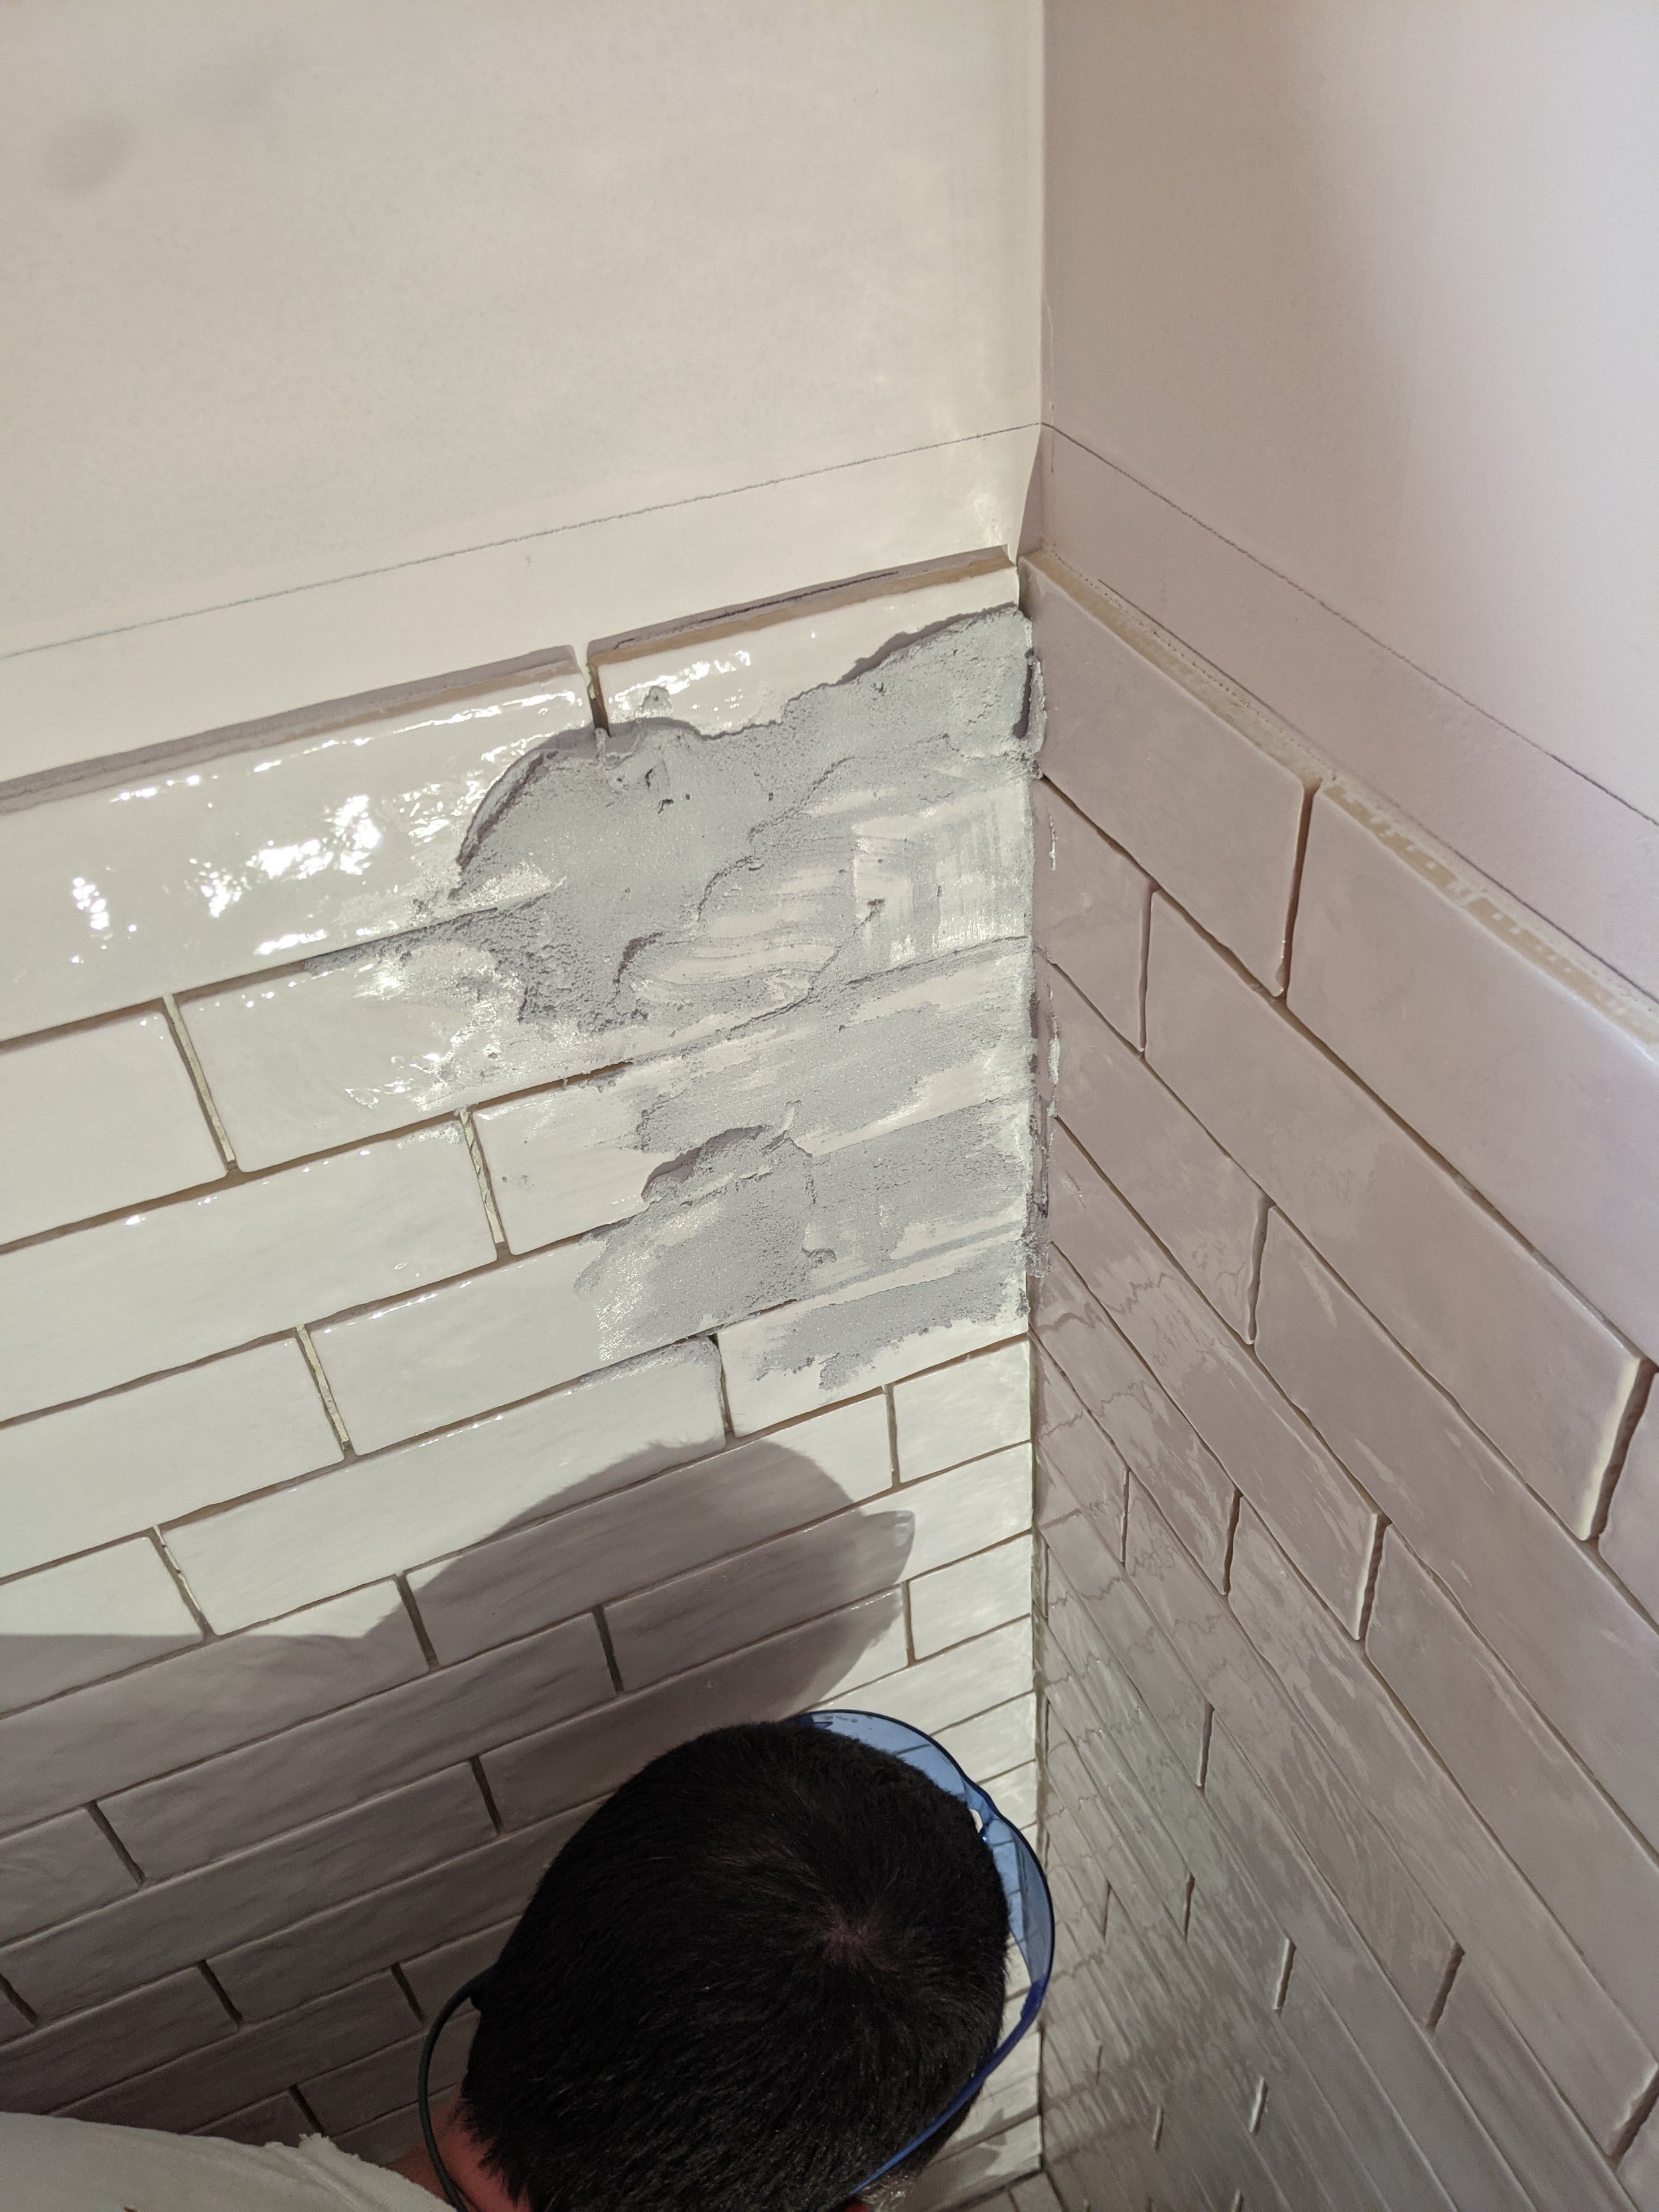
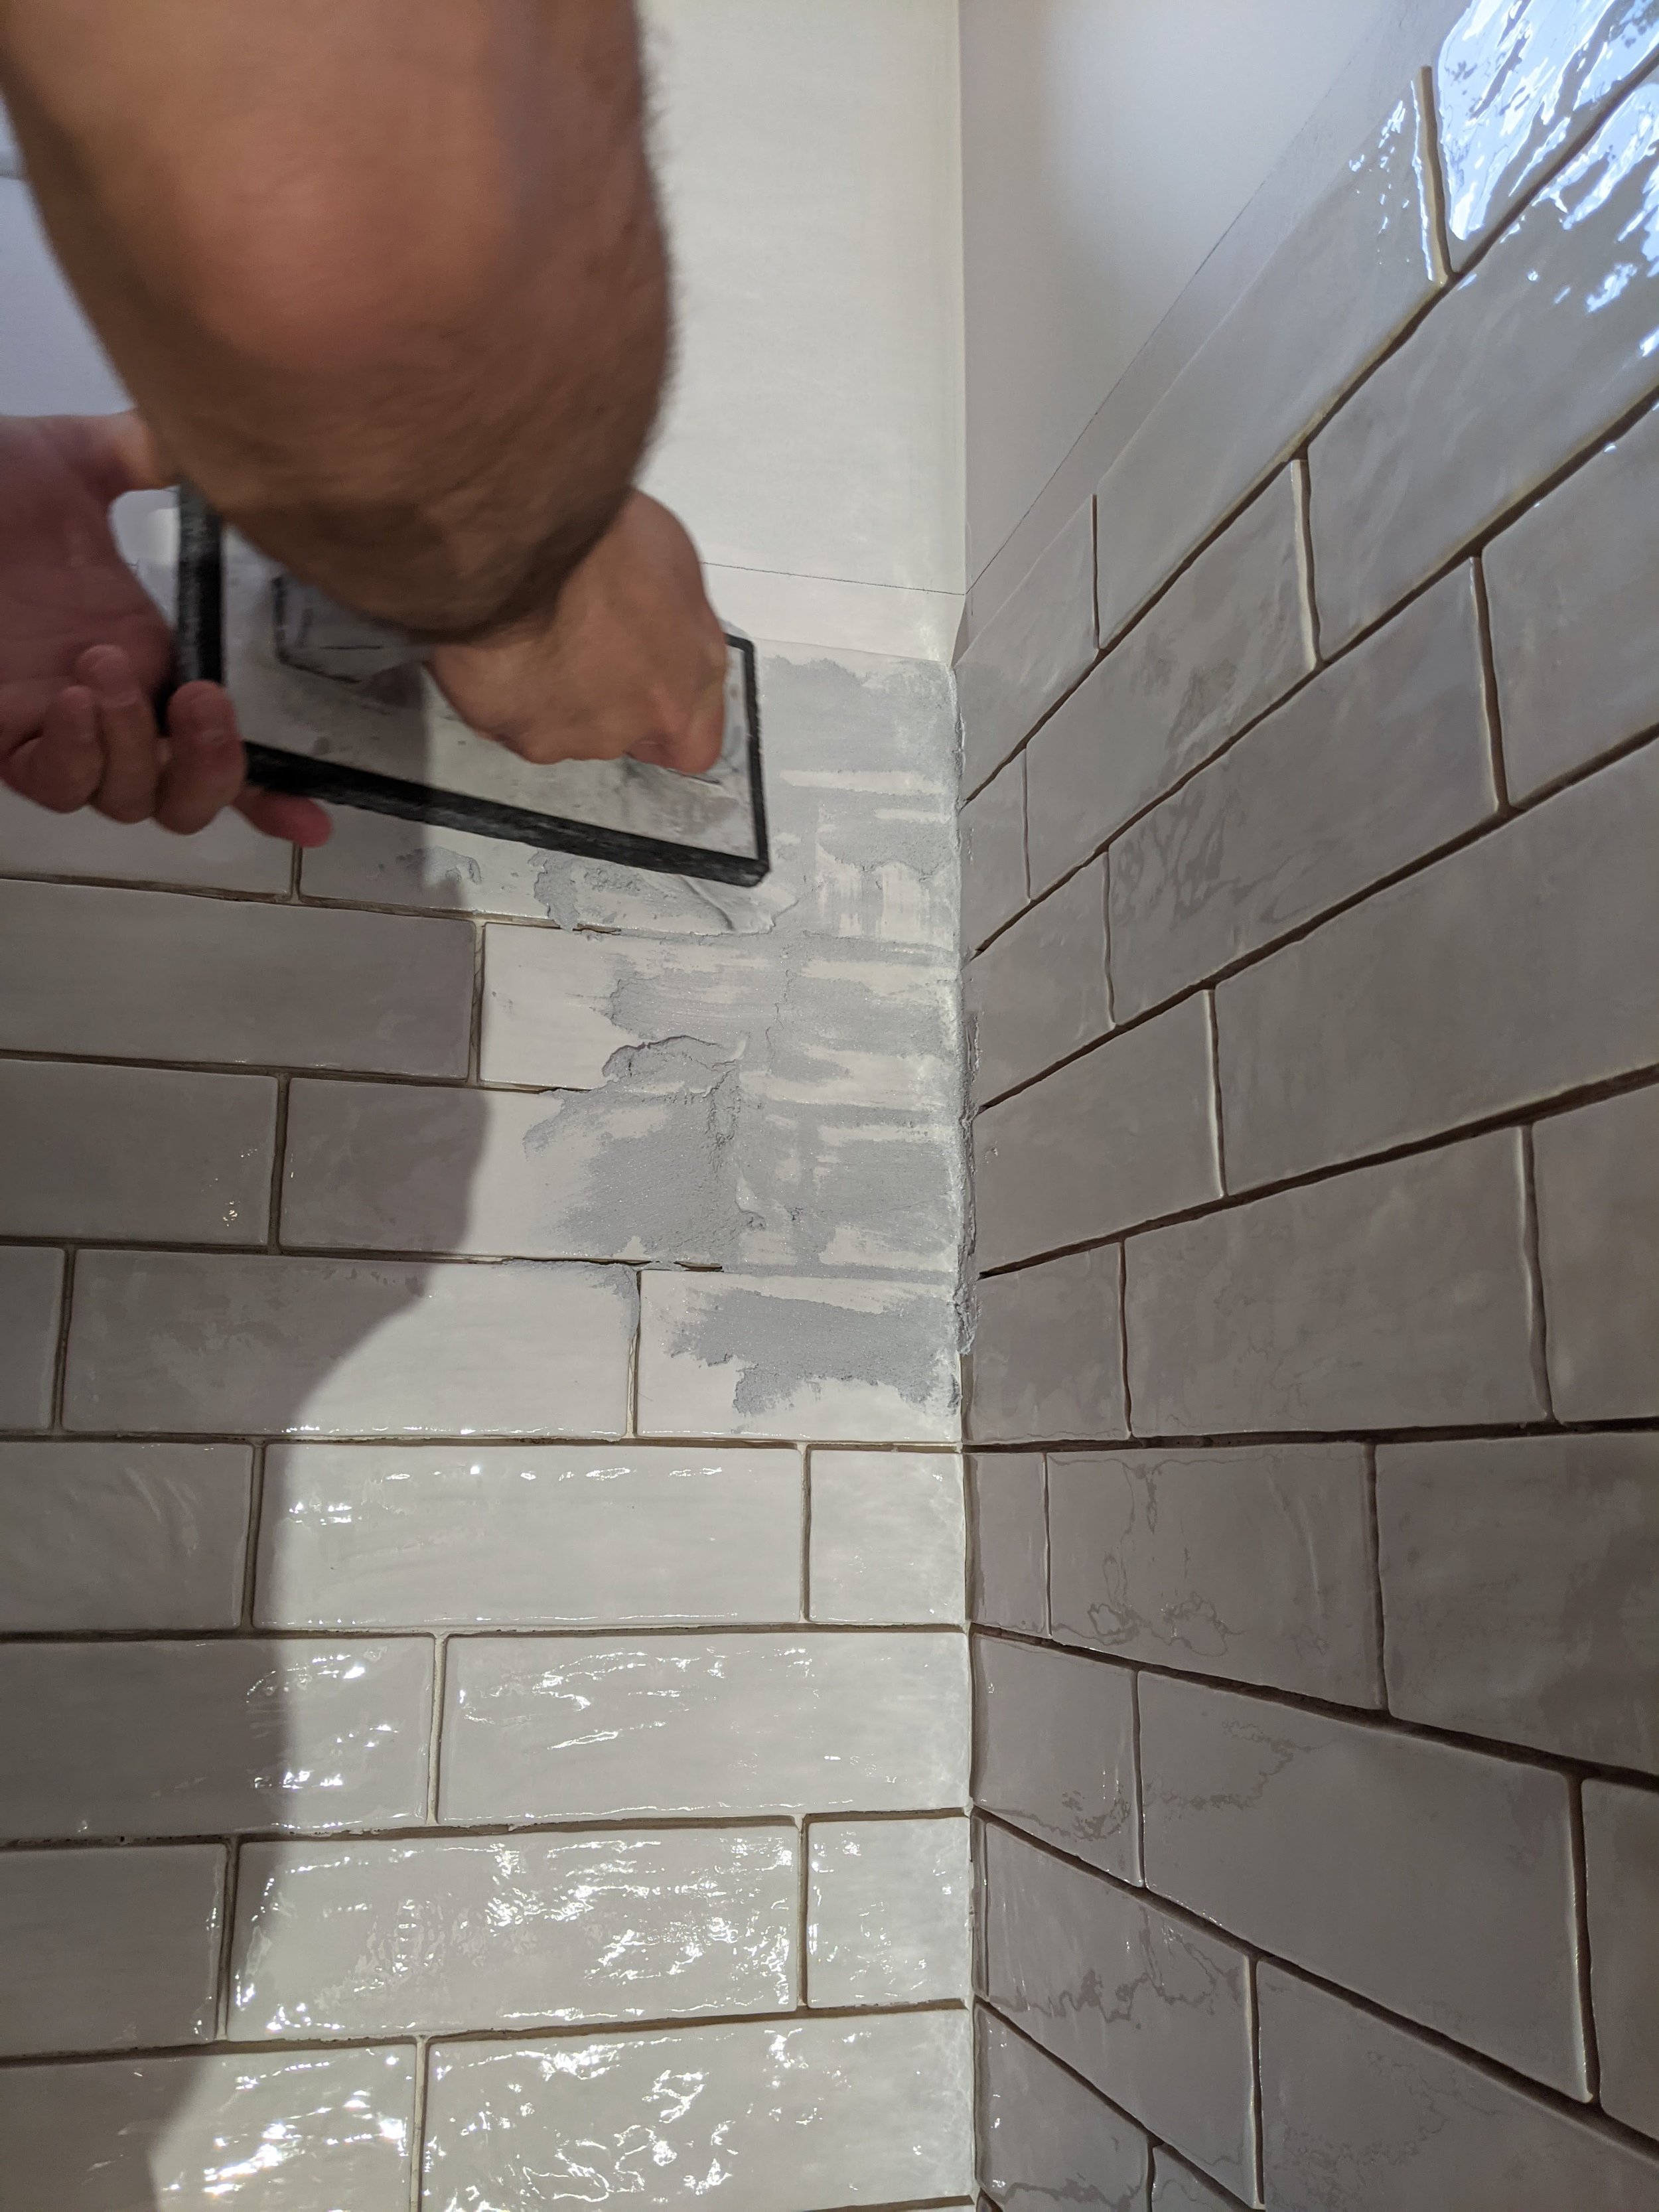
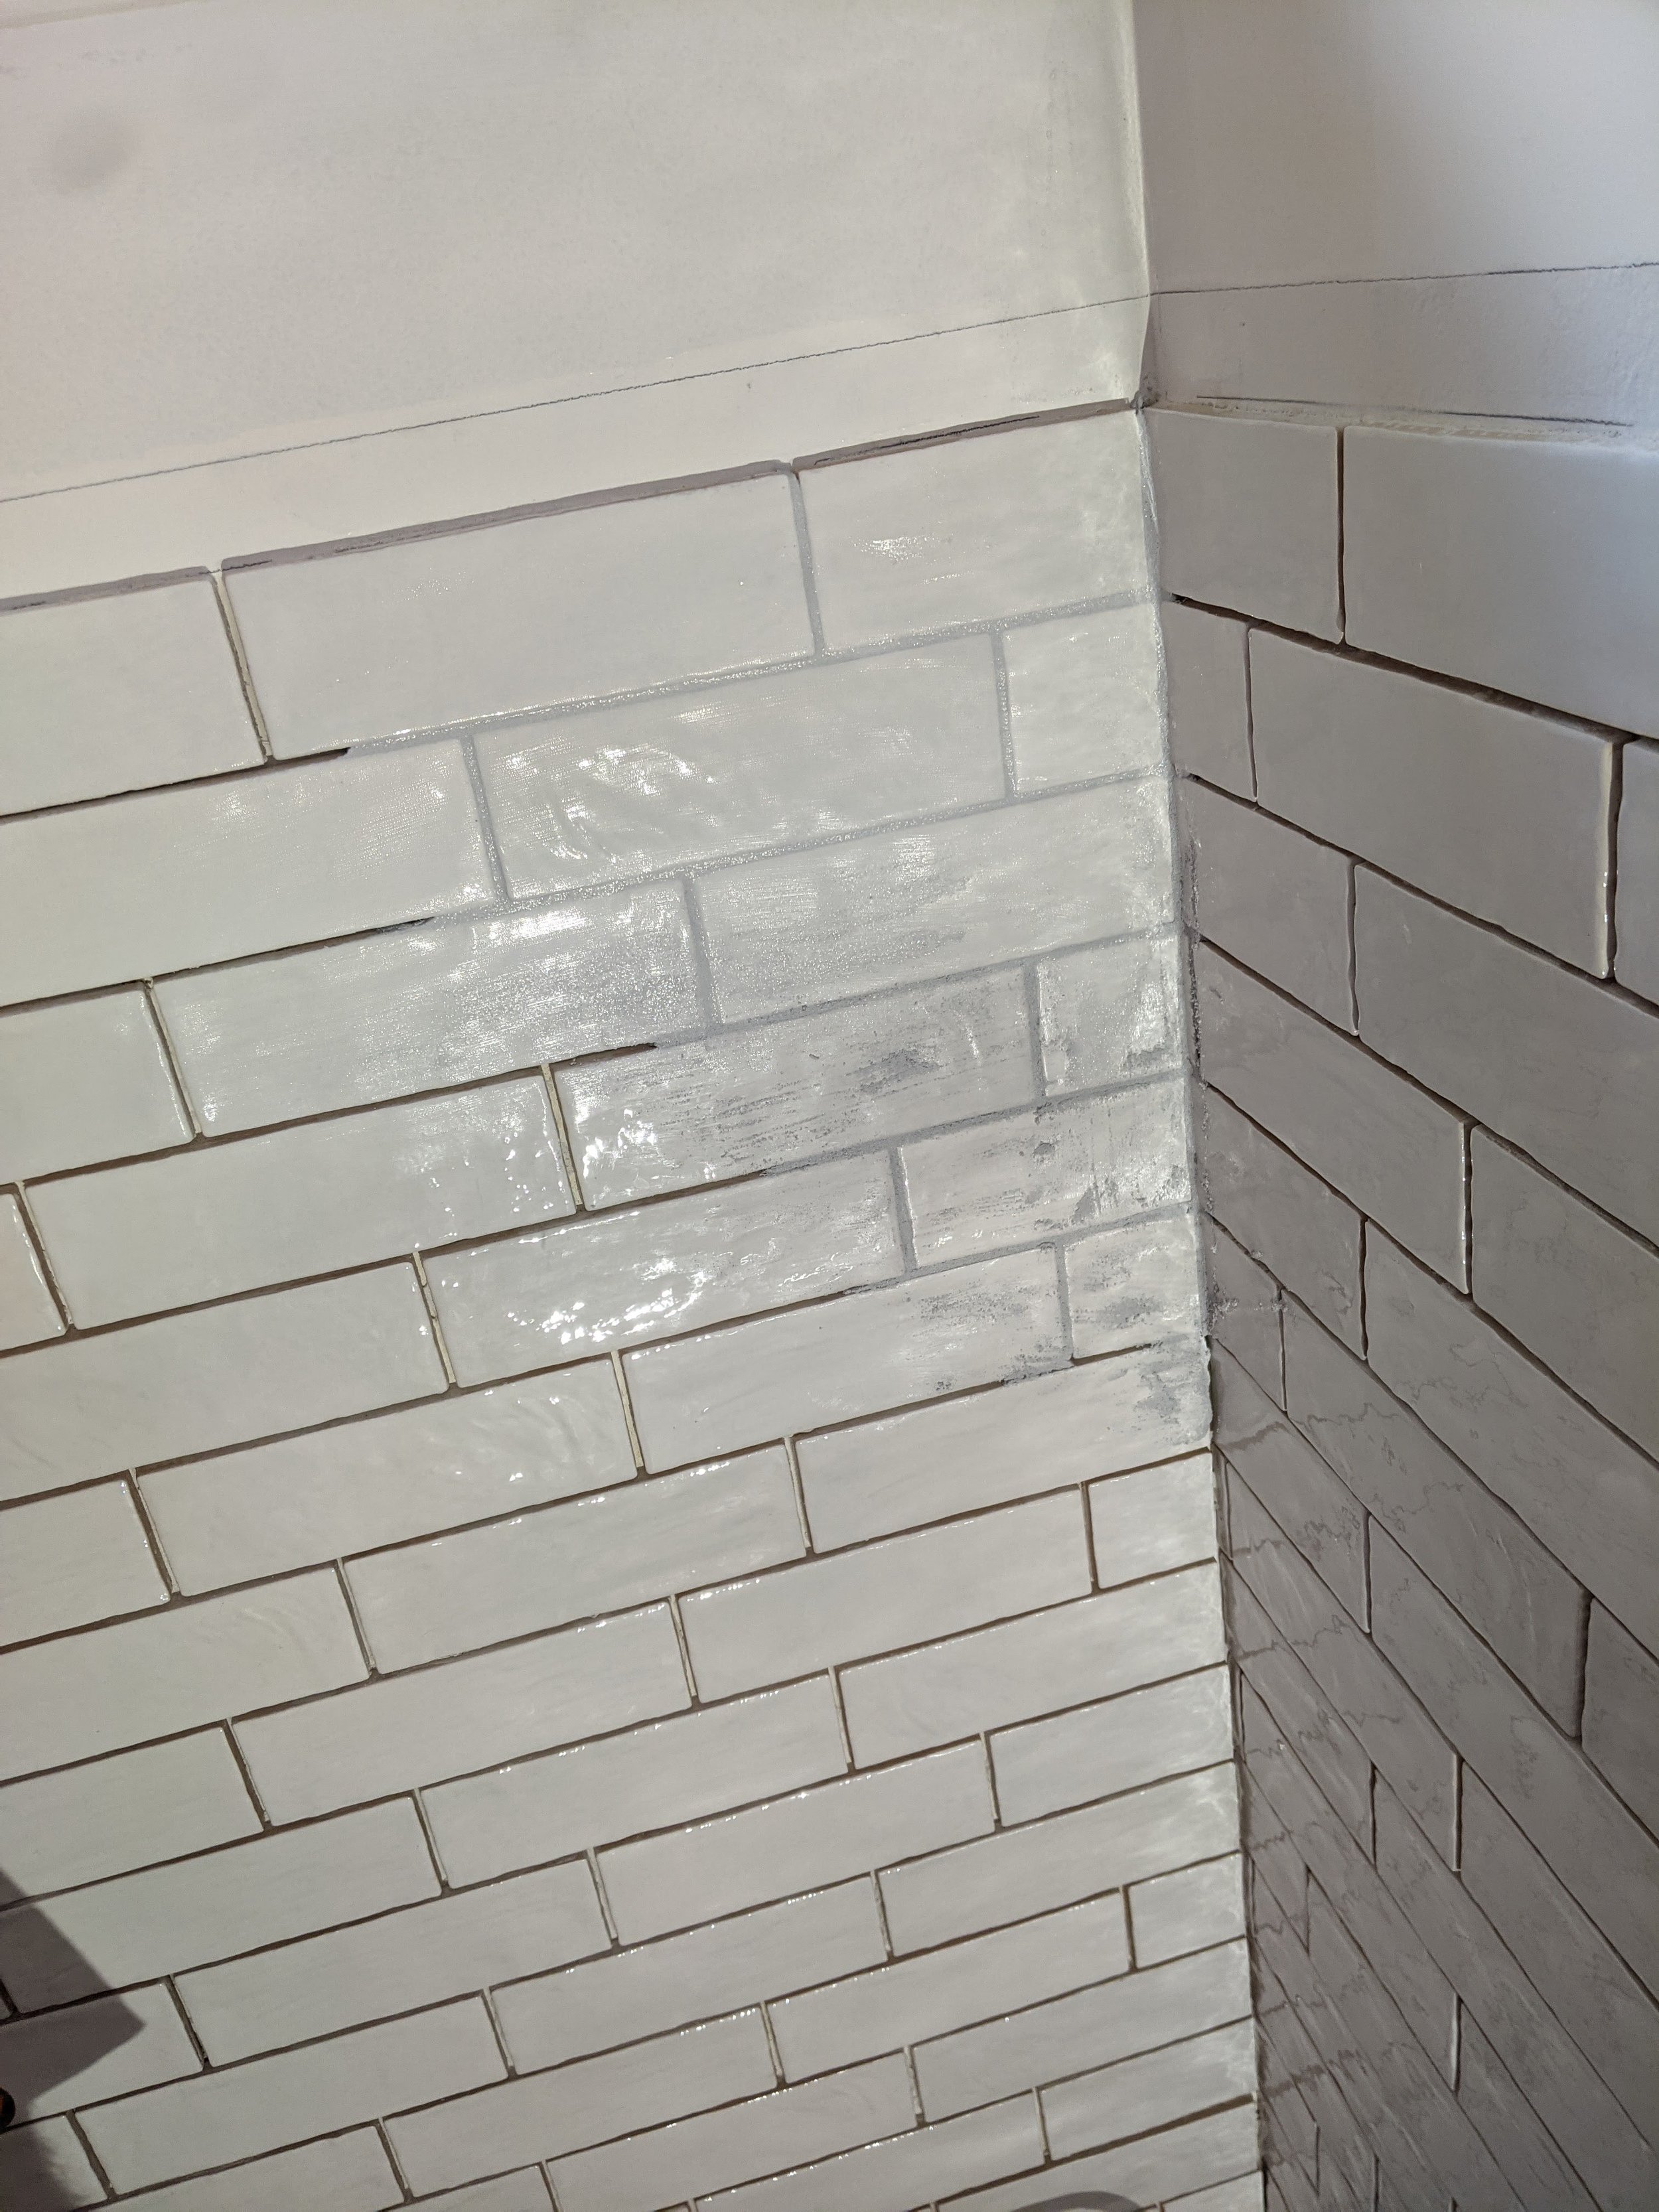
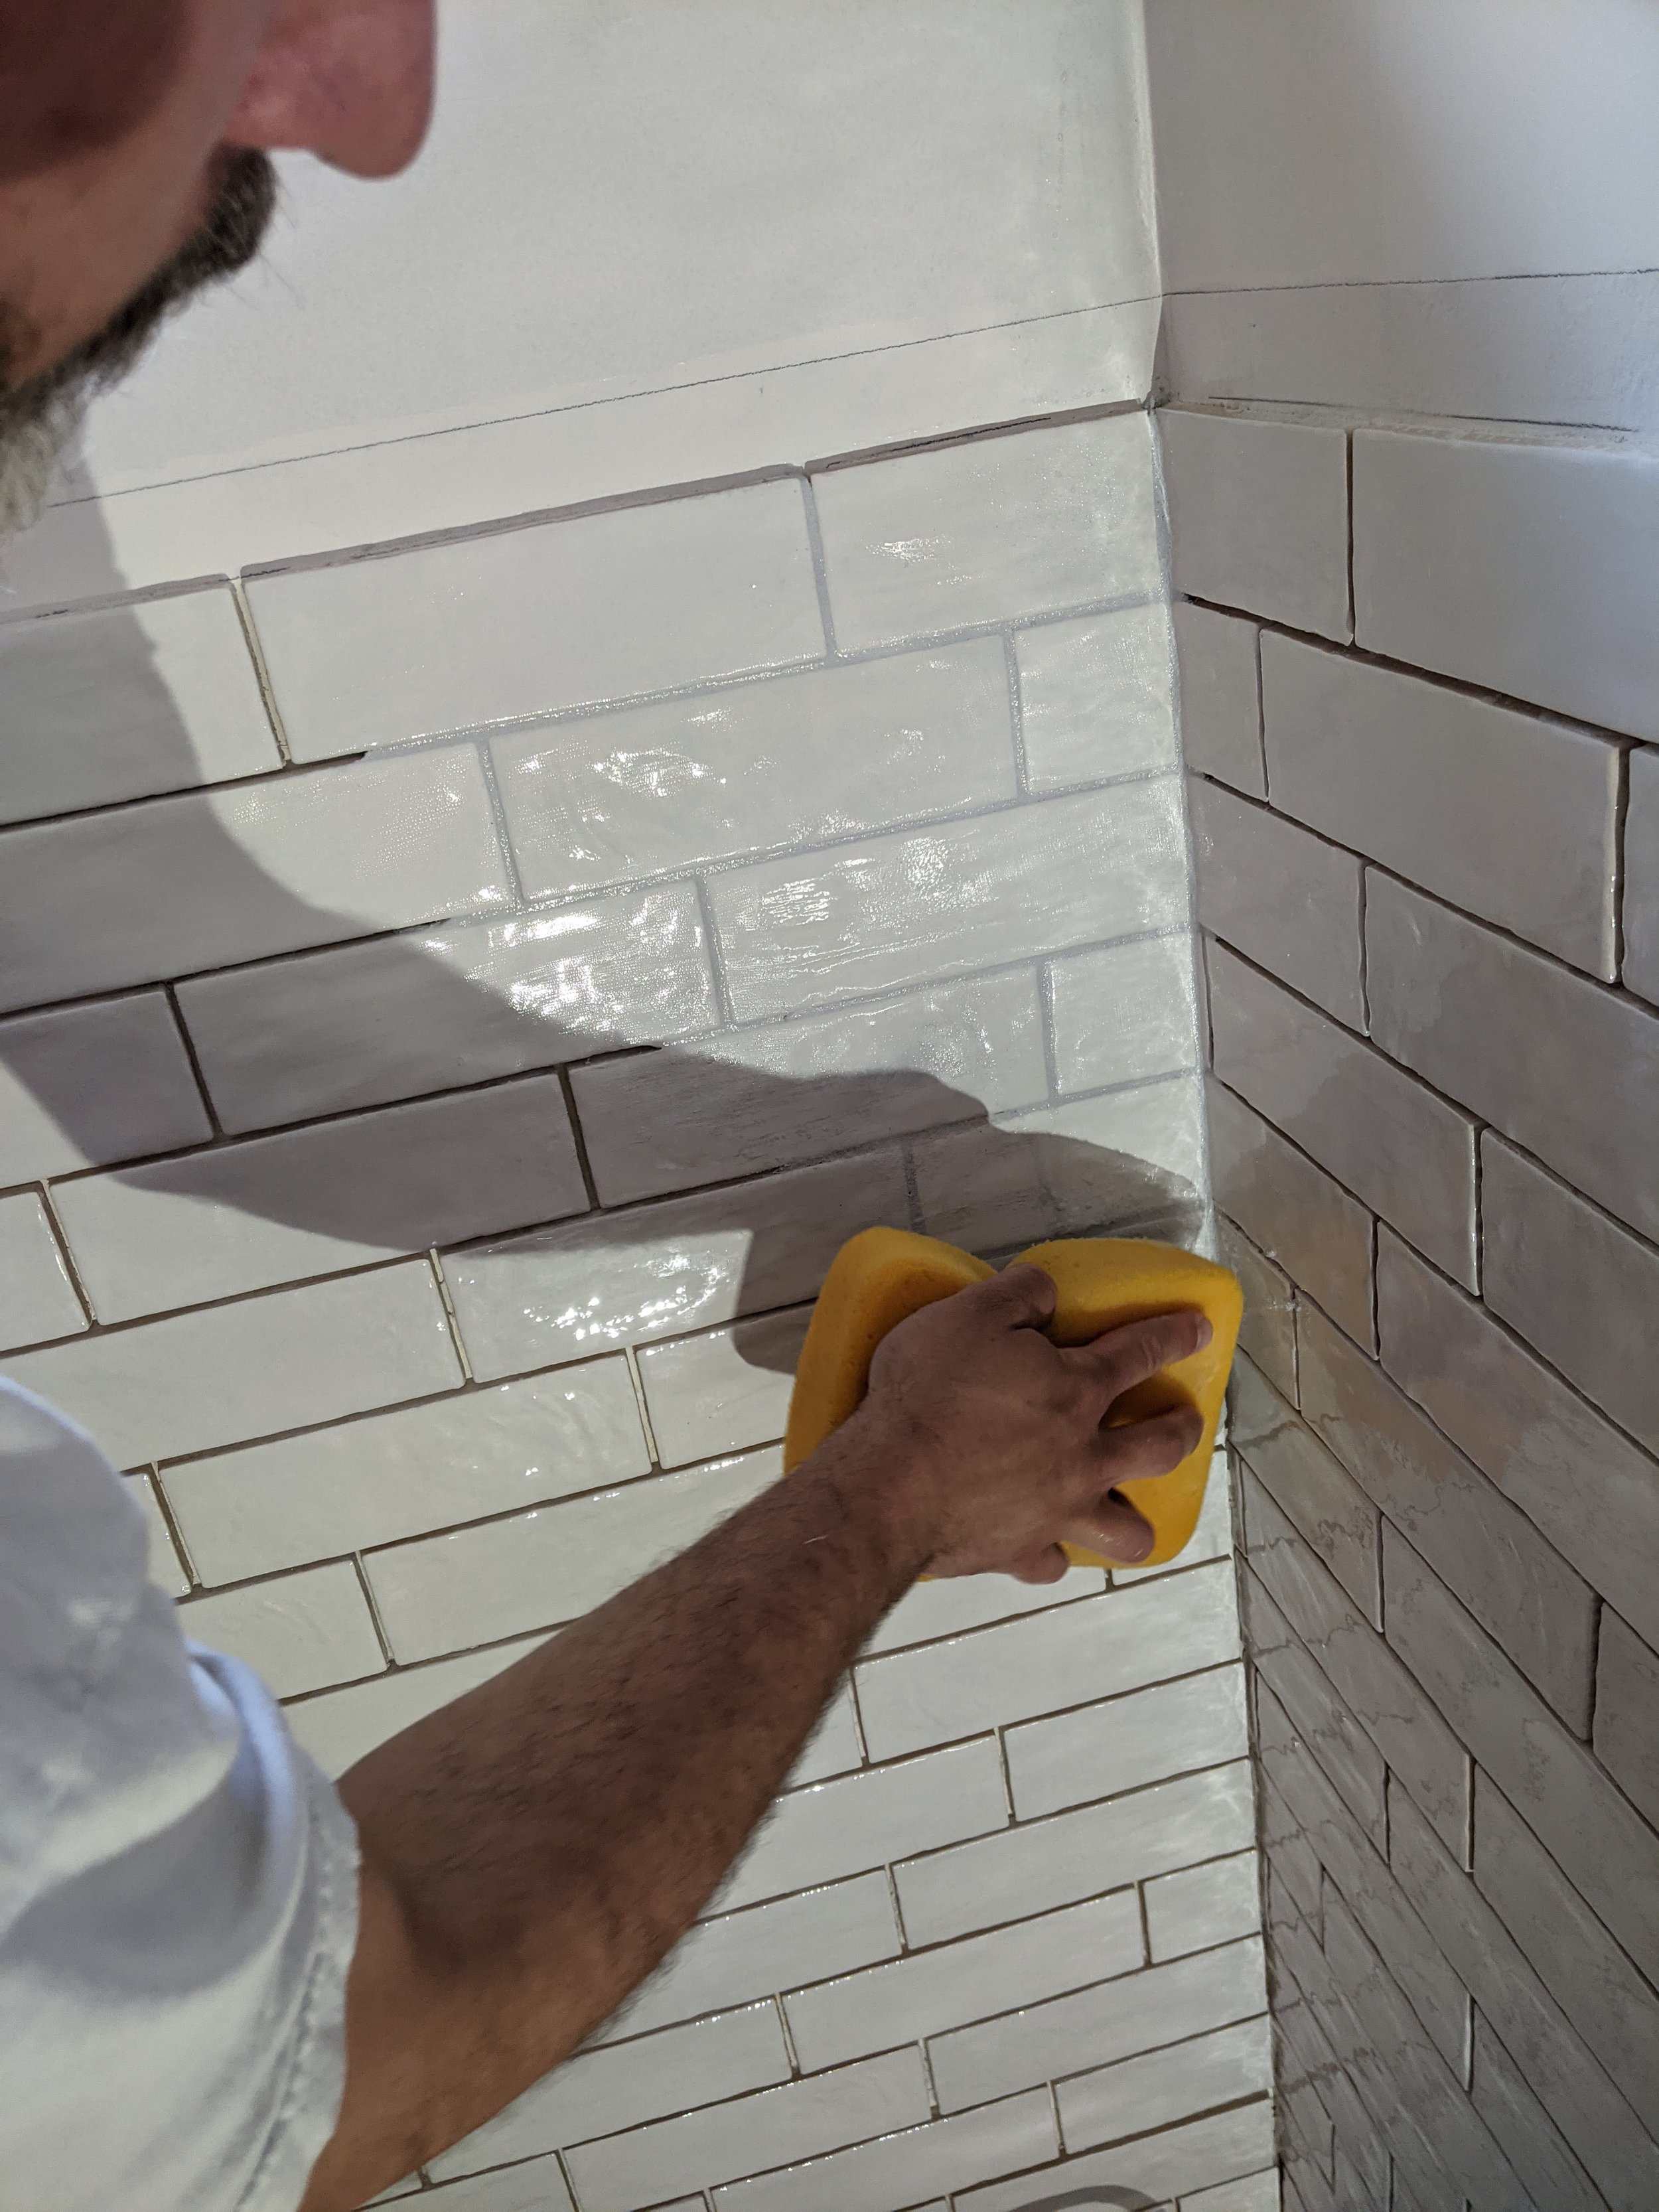
Grout is a lot of pressing. Schlep it on the wall, press it in with a tile float, press it again, wipe it off with a wet sponge, press it again, keep going back, screech a little that there’s still a missing spot, press it again, wipe it again, lean back and rub the top of your head while you inspect. At least that seems to be the process Hubs follows. (Note: at the end there is a lot of grout in his hair.)
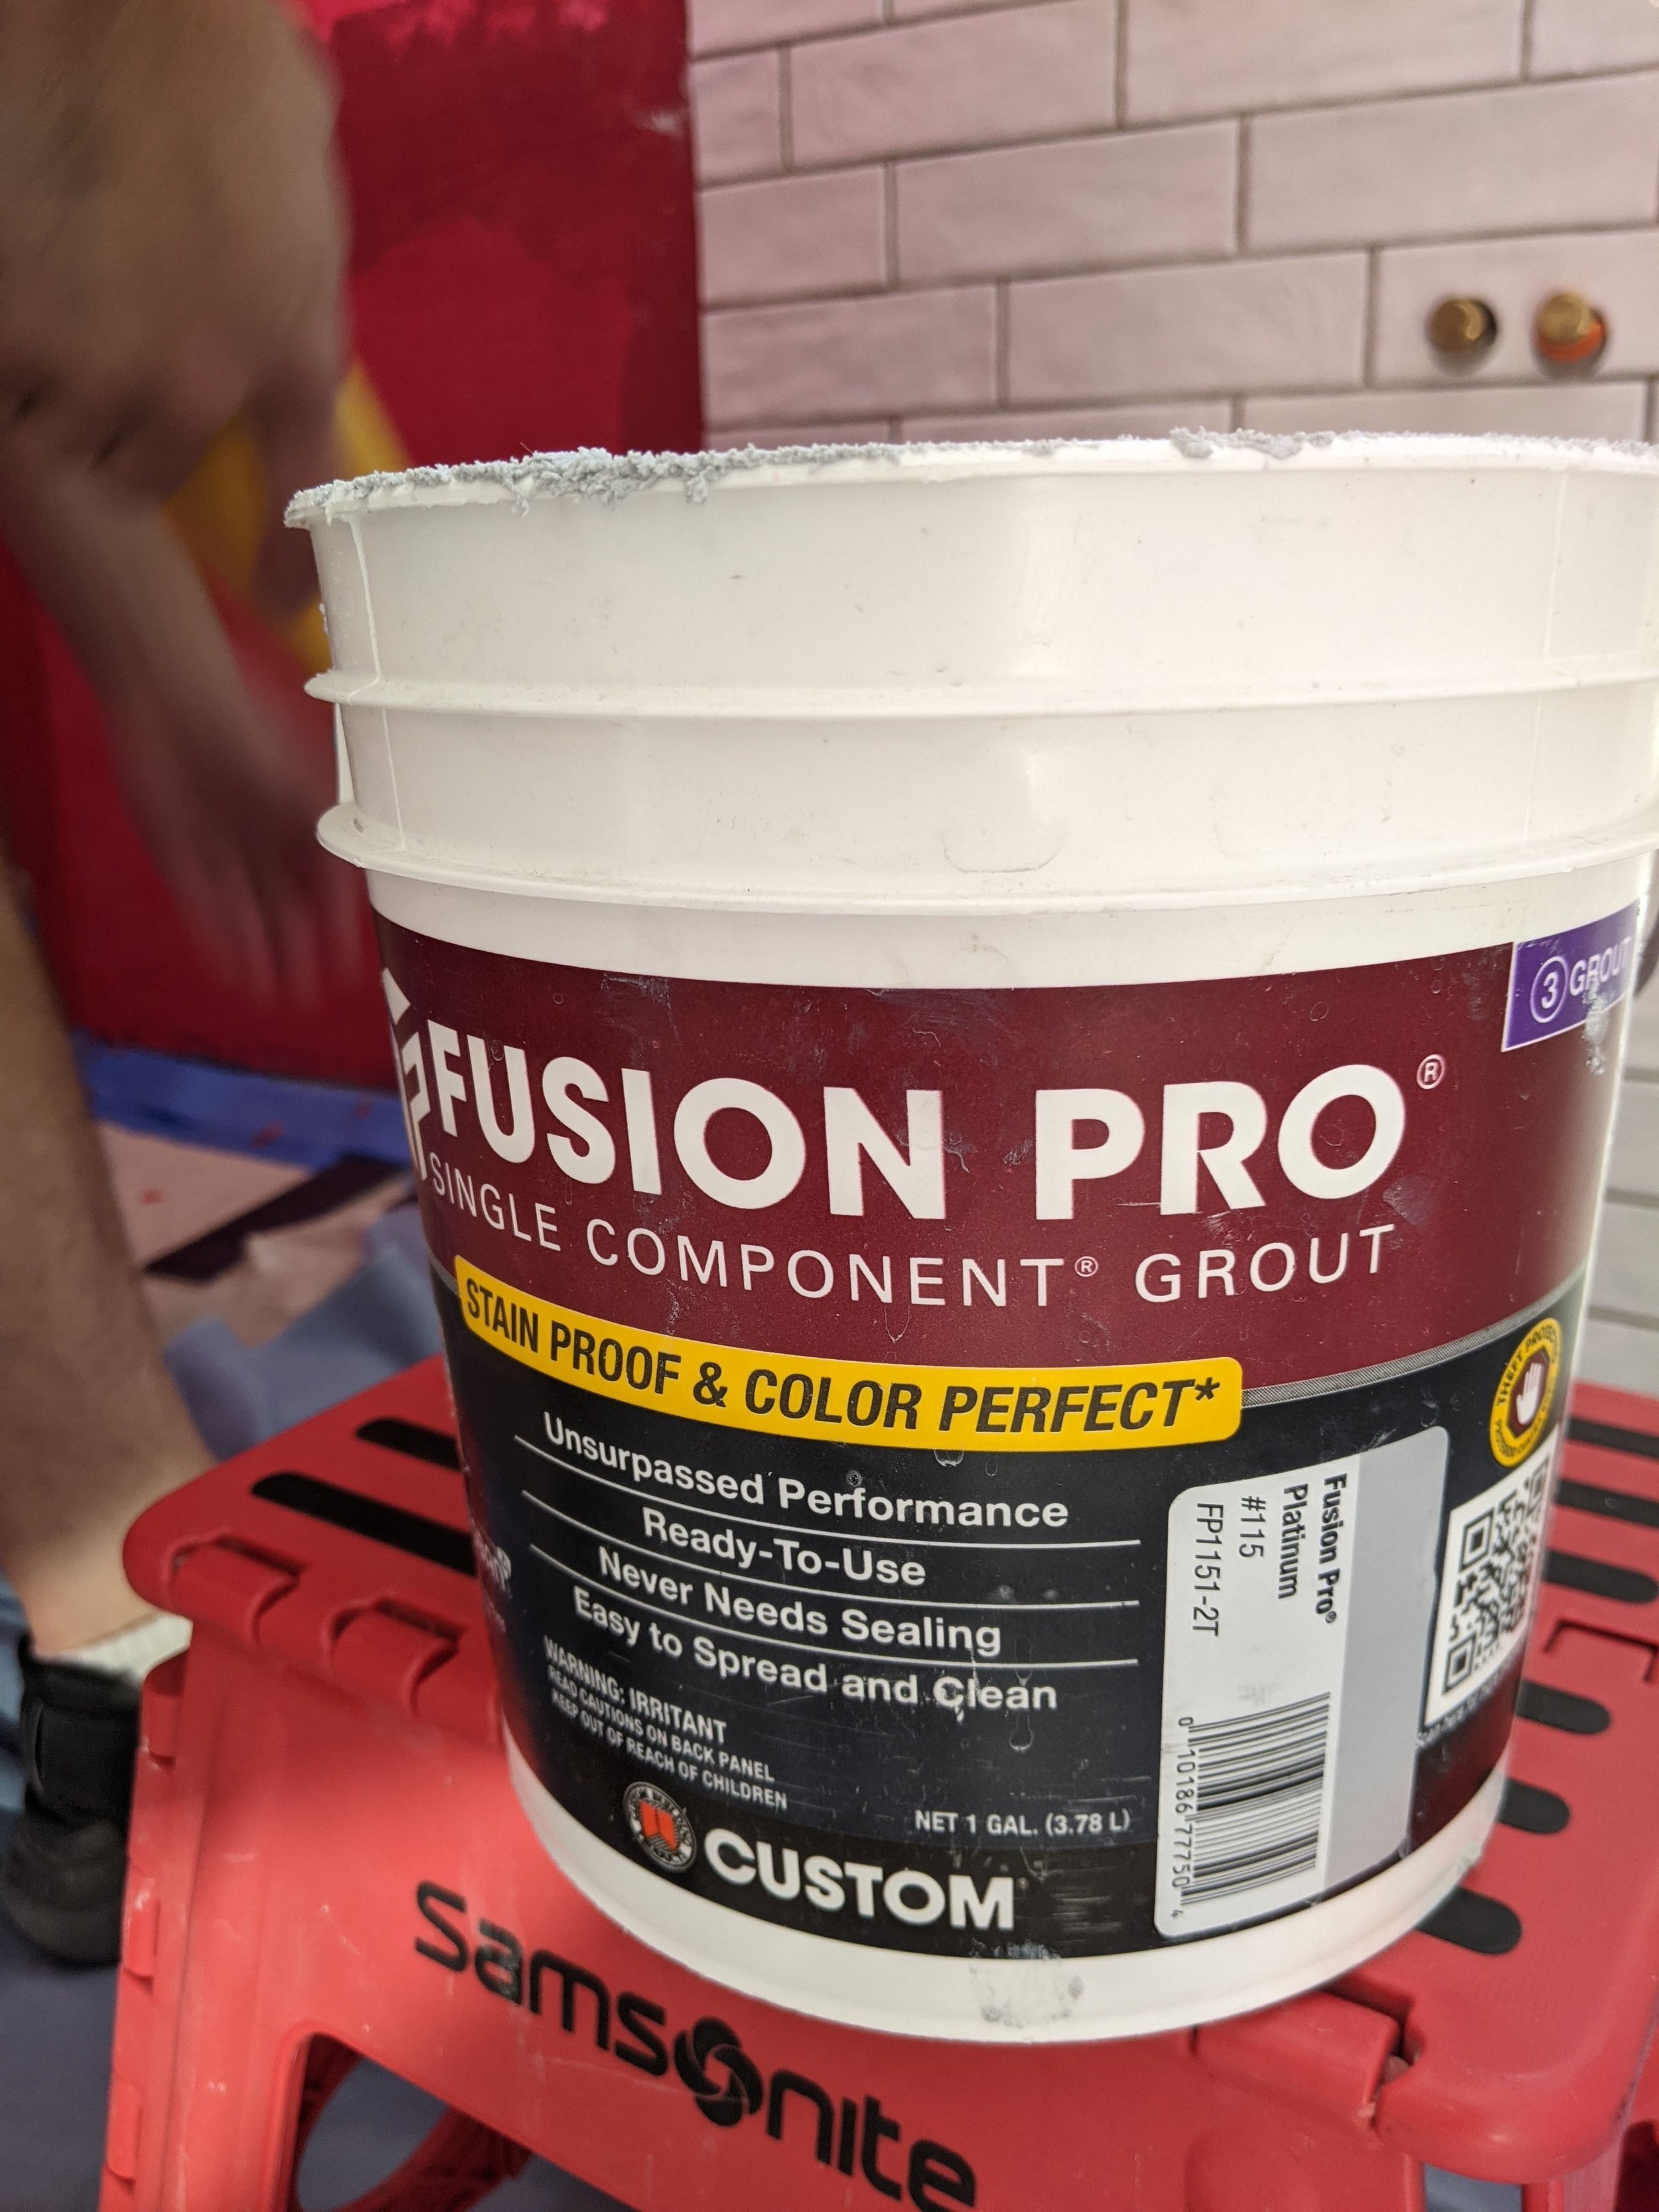
We wanted a medium contrast to the white, so we selected a medium grey. I know people are into bright and super-contrast grout right now, but royal blue or black doesn’t feel timeless to me. I never want to hate our DIY in five years because we were too trendy. Maybe I still will but at least I tried. And it’s still better than the pink cherub butts we took down.
I have a lot of “after pictures” but since you can already see some sneak peeks of the floor even though I’m TRYING to keep is hidden…. you know where we’re headed.
Stay tuned for the shower tile next time! Then the floor… and we’re finally getting back to a functional restroom! And stunningly beautiful, if I can say that about something I had like 0.4% to do with creating…


