If the hardest part of writing is getting past that first blank page, the hardest part of a home project is the same thing. (By the way—fun fact—when I write my books, I usually start with chapter 2 or even somewhere in the middle and then come back to the beginning later.)
WHERE WE STARTED
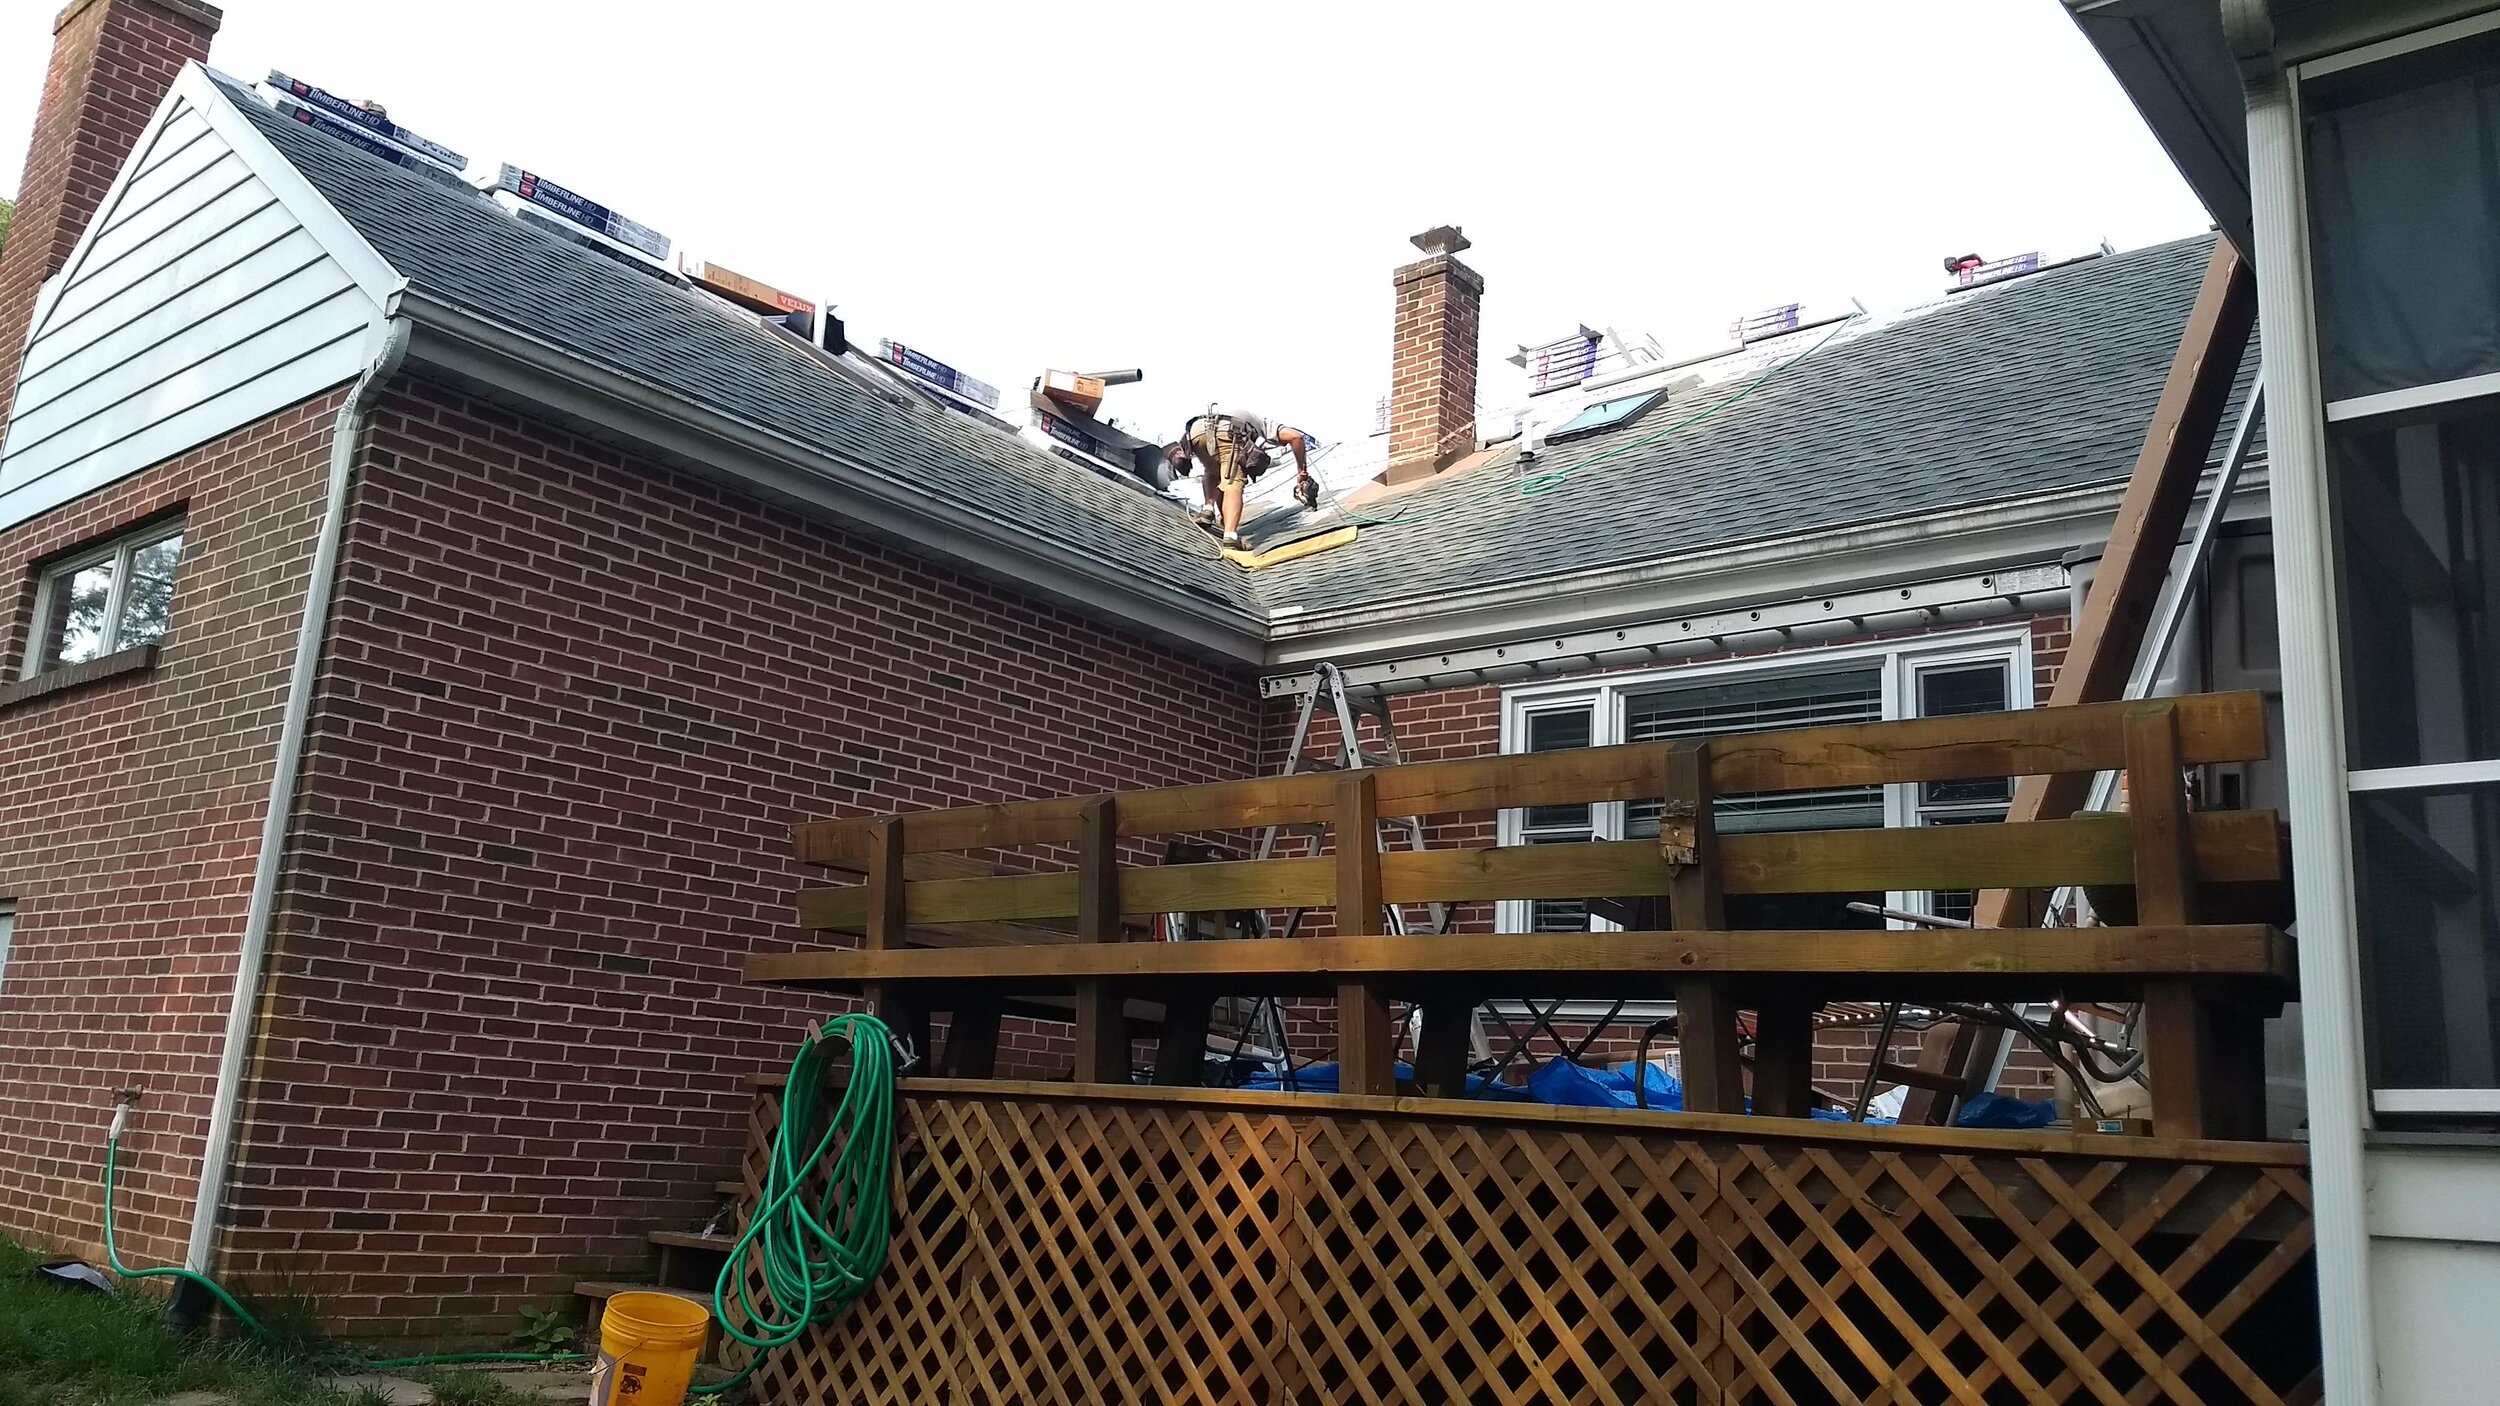
Our deck was old and prone to giving splinters. A few of the boards were going bad. There was a built-in bench around the whole front side and corner, which meant there was no place to put the grill without block a bench. The lattice was breaking. And once we got underneath, we found out it was borderline dangerous as many of the supports weren’t properly attached. (Oye.)
These pictures are from when we redid our roof a few years ago because I NEVER remember to take ‘before’ pictures.
WHY WE STARTED
We had a large family event coming up, and I suggested Hubs should replace “either that board or the whole deck.”
Don’t think I didn’t know which one he’d choose!
WHERE WE ARE NOW
I don’t blog as we go because I want to make sure if we mess something up, we have the benefit of hindsight to warn you. (You’re welcome.)
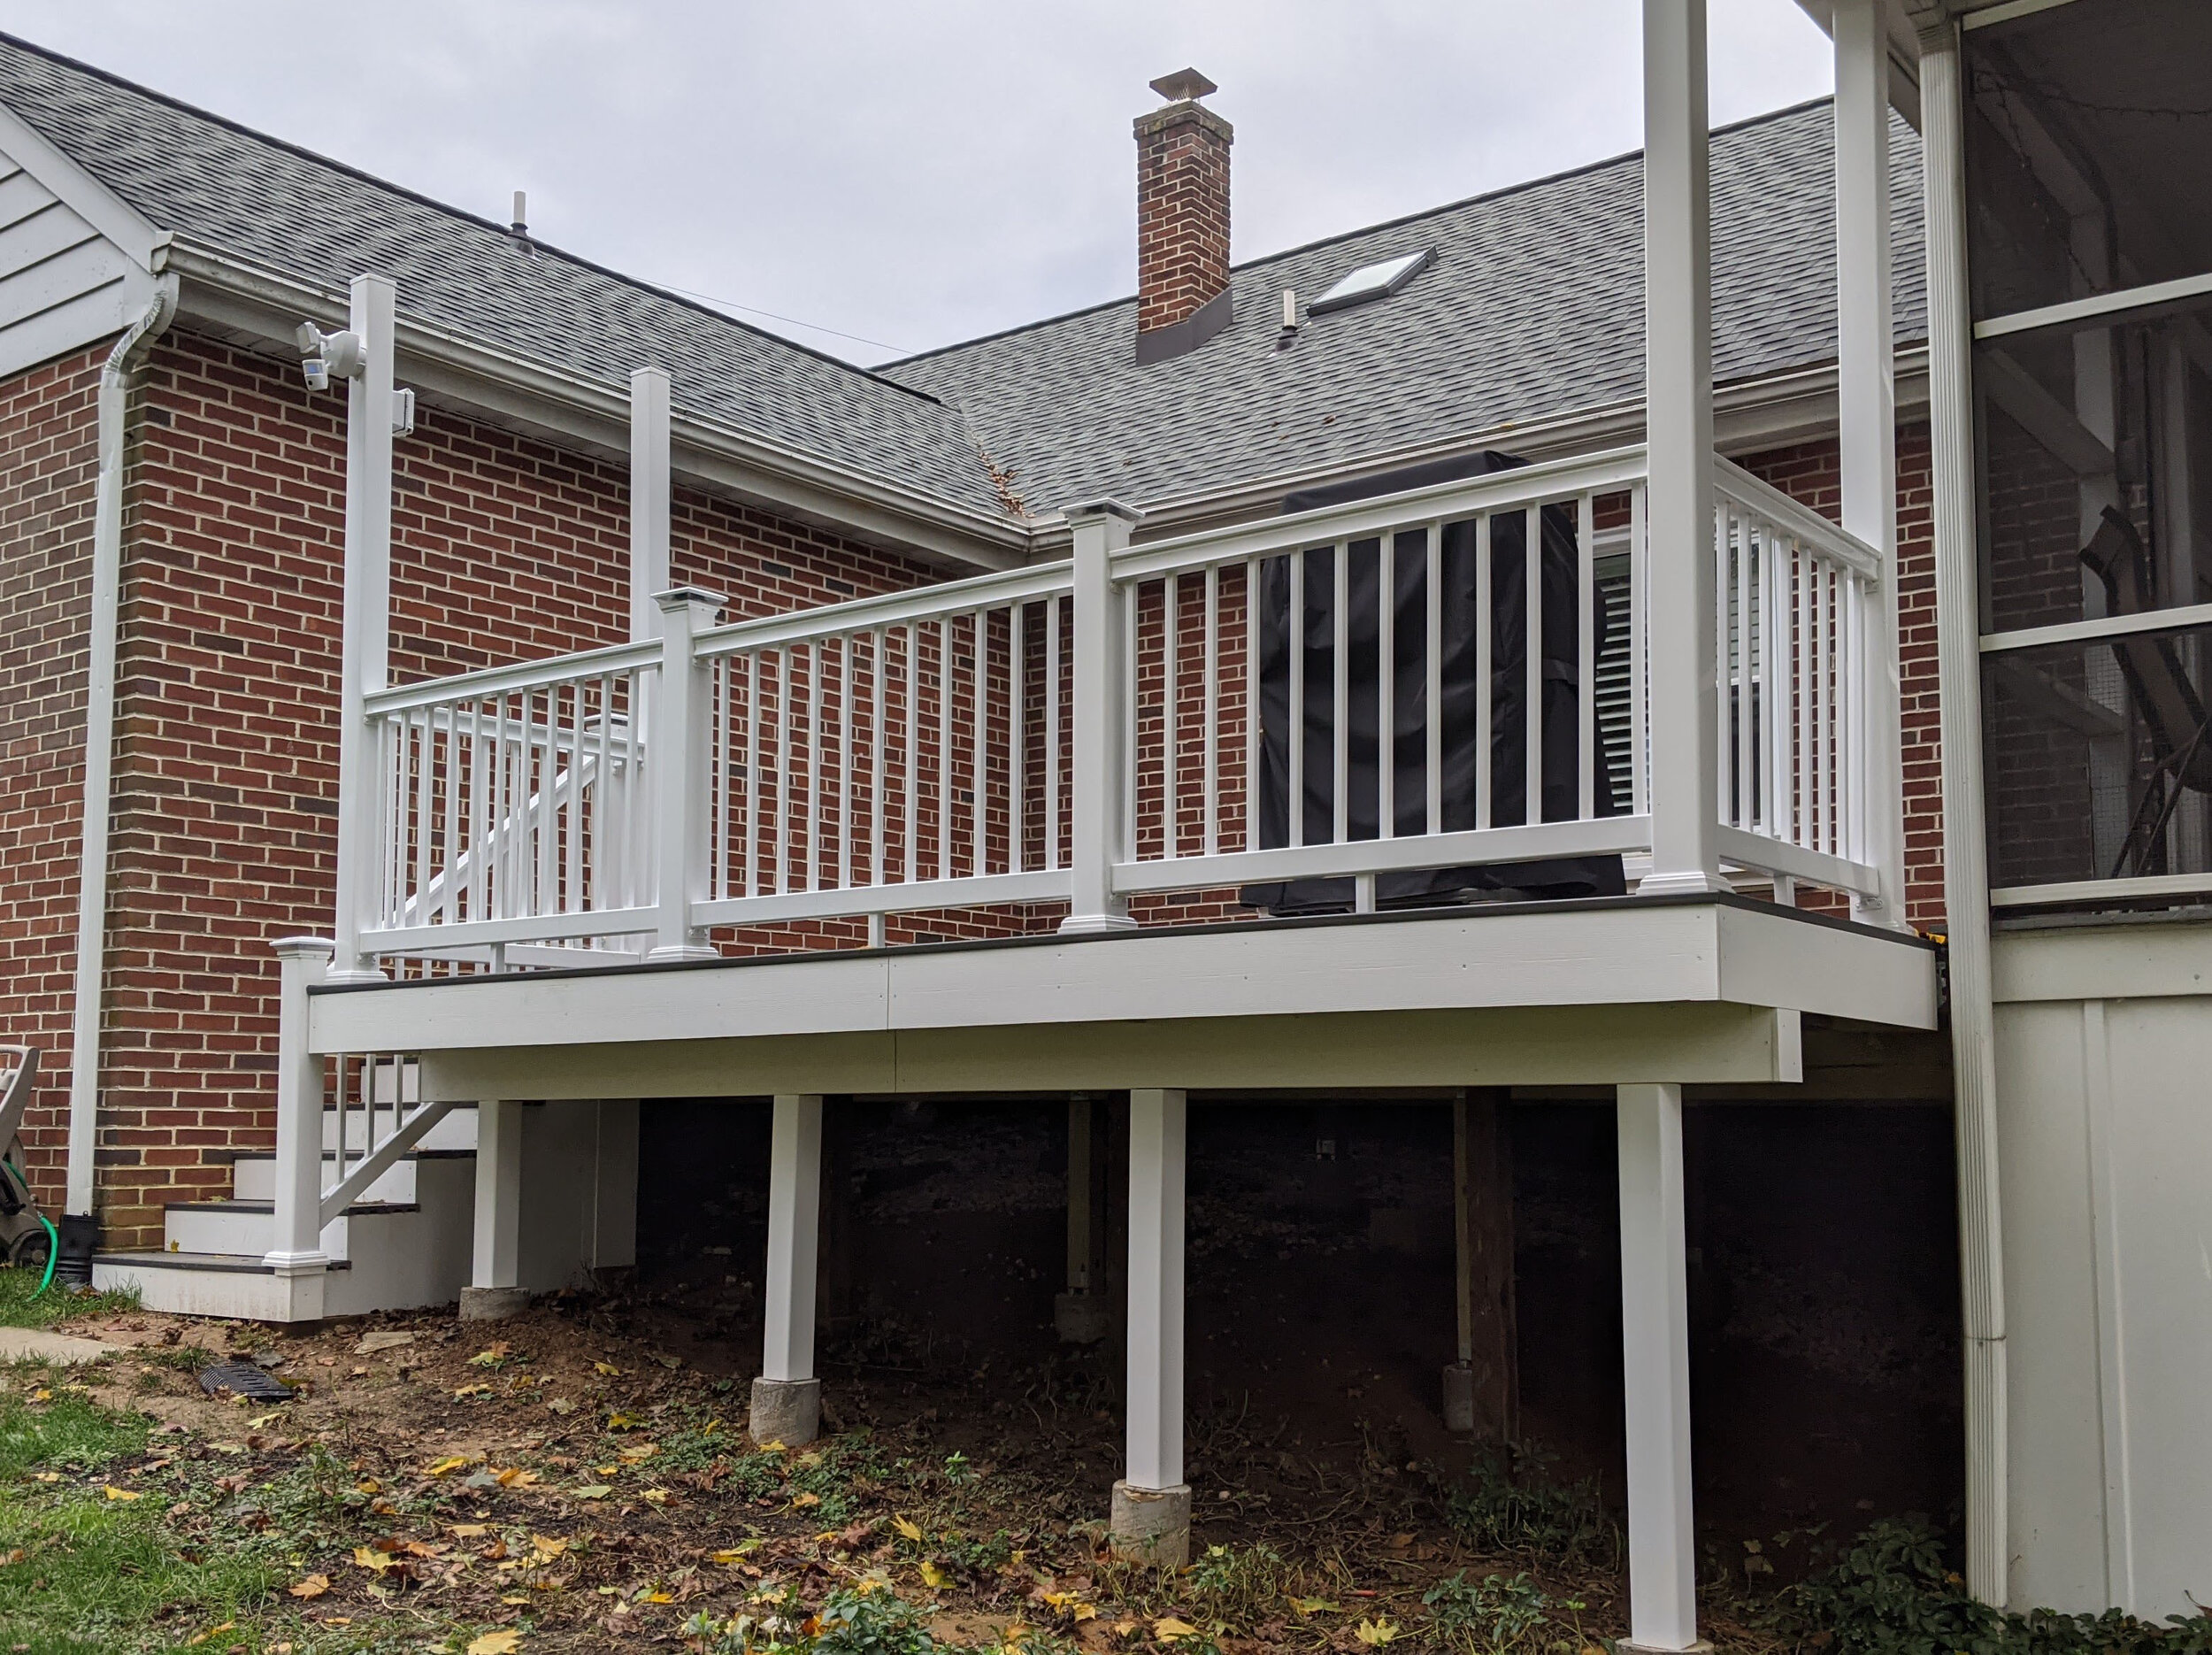
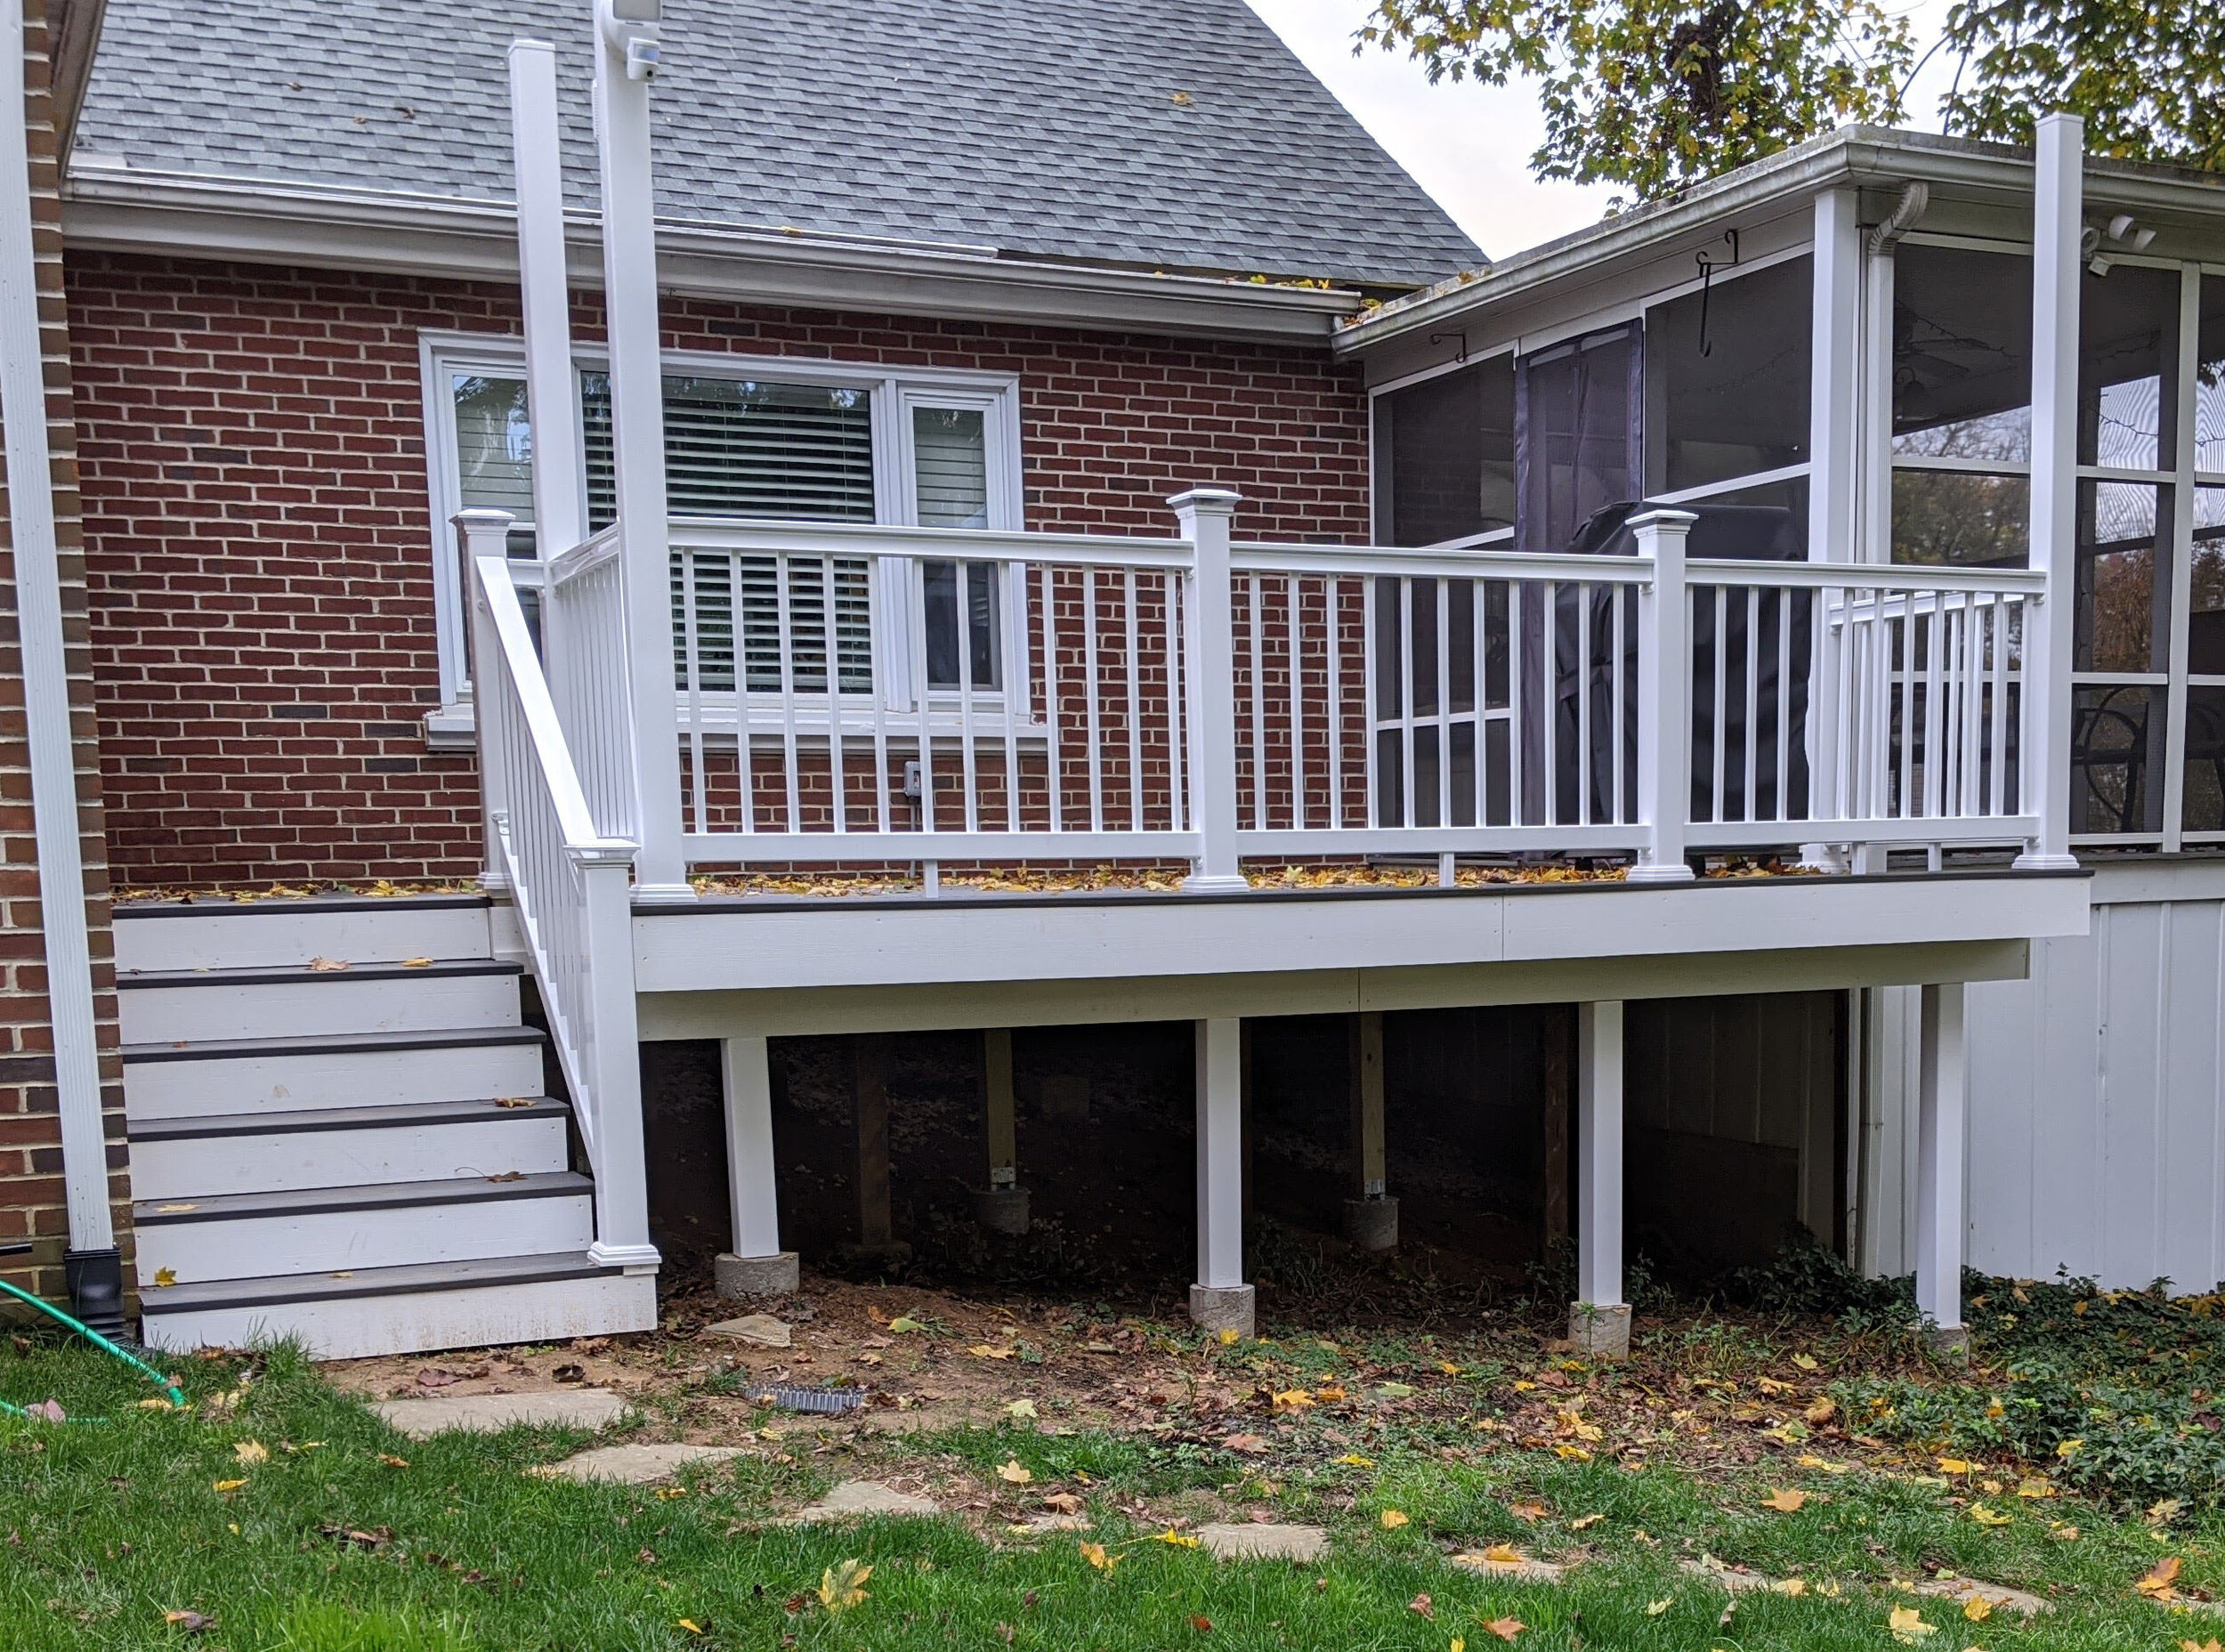
So NOW, we have a new deck… and Hubs has built it with plans for a Phase 2 pergola. But first — it’s going to be cold in PA soon, which probably means I get my next bathroom done. (YAY!)
For now, the deck was fantastically useable for our family event (celebrating my daughter’s baptism). We’ve also been grilling and playing on it. Mostly just walking on it in bare feet without getting splinters—that’s already a huge improvement.
Here’s an overview of our process, and as I blog each step over the weeks ahead, you’ll get to see how everything came together! We had so much help from my father, my father in law, and good friends. Thank you all!
THE PLAN TO UPDATE THAT OLD, YUCKY DECK
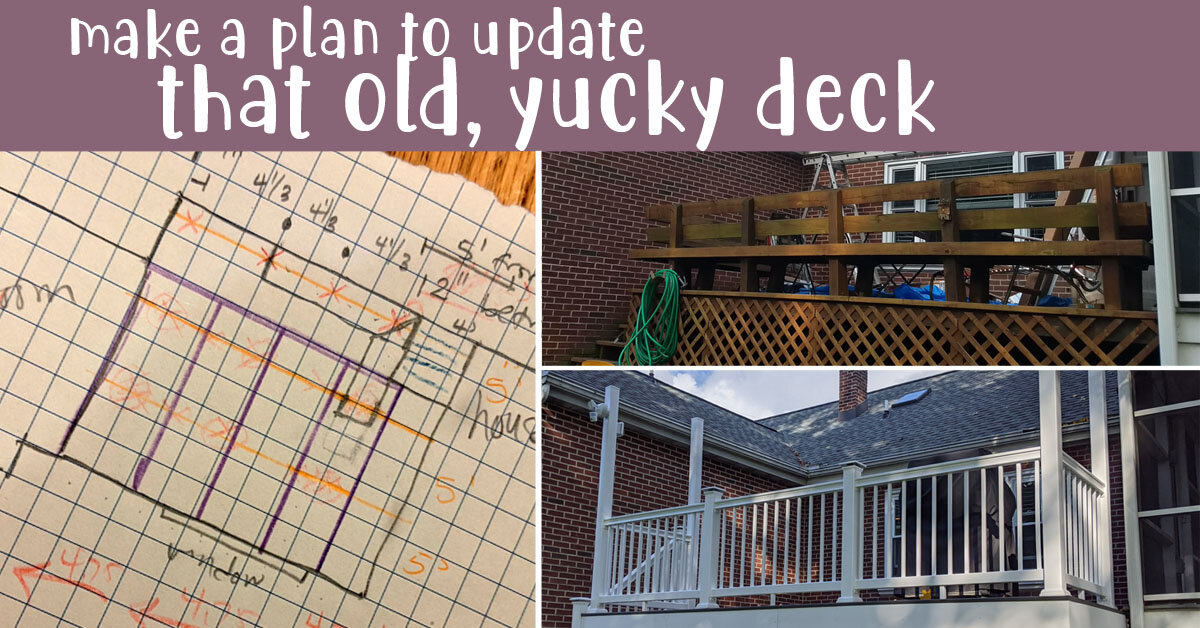
Make a killer, to-scale, color-coded plan that impresses the guy at Home Depot
Demolition (obviously) and Deck Support Footers (auger digging, concrete, connection hardware)
Expansion of Old Frame (in our case, we could keep some of the skeleton) and Grading/Adding Stones to the Ground beneath
Trusses and Supports (the pieces that go end-to-end, and the shorter pieces that go across to keep things from twisting)
Stairs (if you don’t know what stairs are, you need more than this blog.)
Pillars (the vertical pieces that you can lean on without falling off the deck)
Deck Boards (the stuff you walk on and its invisible connectors)
Electrical (to hang lights and a new security camera)
Railings (what attaches to the pillars)
Stair Fascia and Rail (because this is a little different than the other stuff since it’s all at angles) plus Fascia (the non-weight-bearing decorative covers for ugly things to add the finishing touches)
Future Phase 2: Pergola Top (because Hubs says there’s too much light coming in our living room window)
Our first step was to make the plan, so click next to keep reading…


