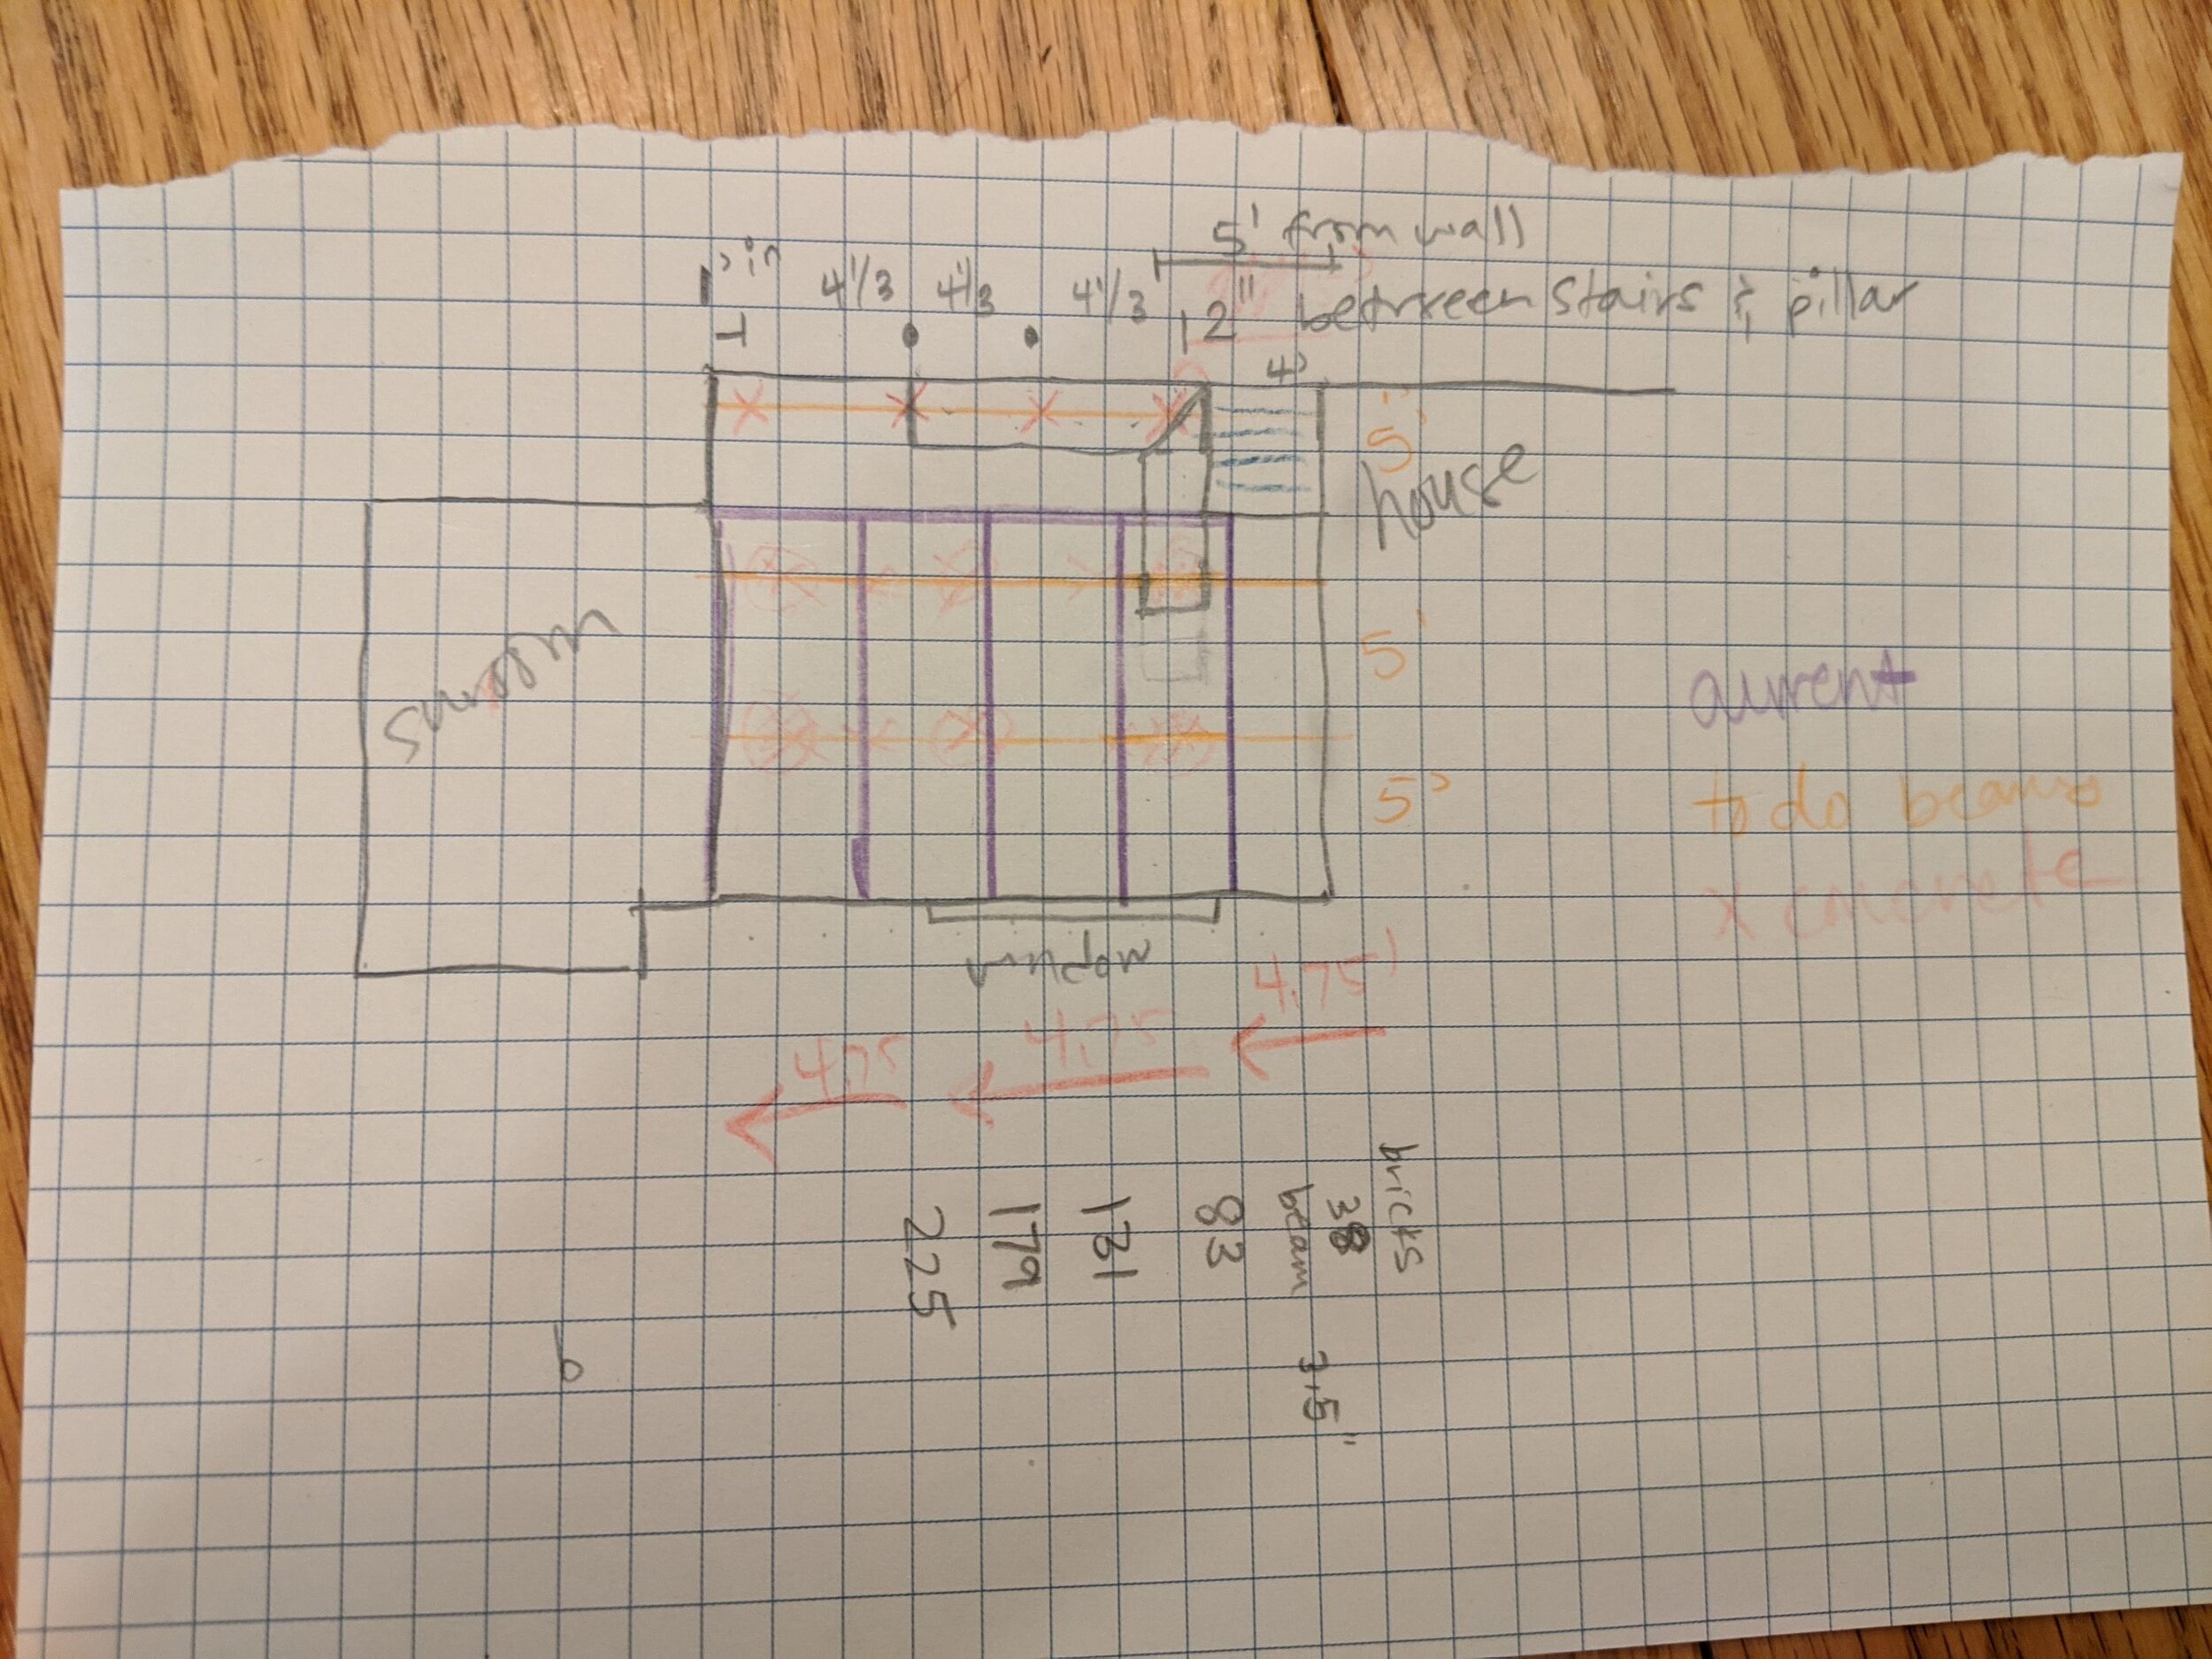
(that impresses the guy at Home Depot)
I will say that I love Home Depot, and I’m not mocking them. But usually I’m in there with a kid or two, and I end up looking like I need a lot of help. But on the day I walked in with my graph paper, color coded, accurately scaled diagram of our new deck… I was impressive.
It was a good feeling.
Our besties have been slowly working our way through some at-home-Escape-Room style games like Hunt-a-Killer and one of the recent ones (Earthbreak) included a cool graph paper FIELD GUIDE. The thing is, the notebook itself wasn’t really needed for the game — just some clues on the covers. But I saved the book, and boy did it come in handy.
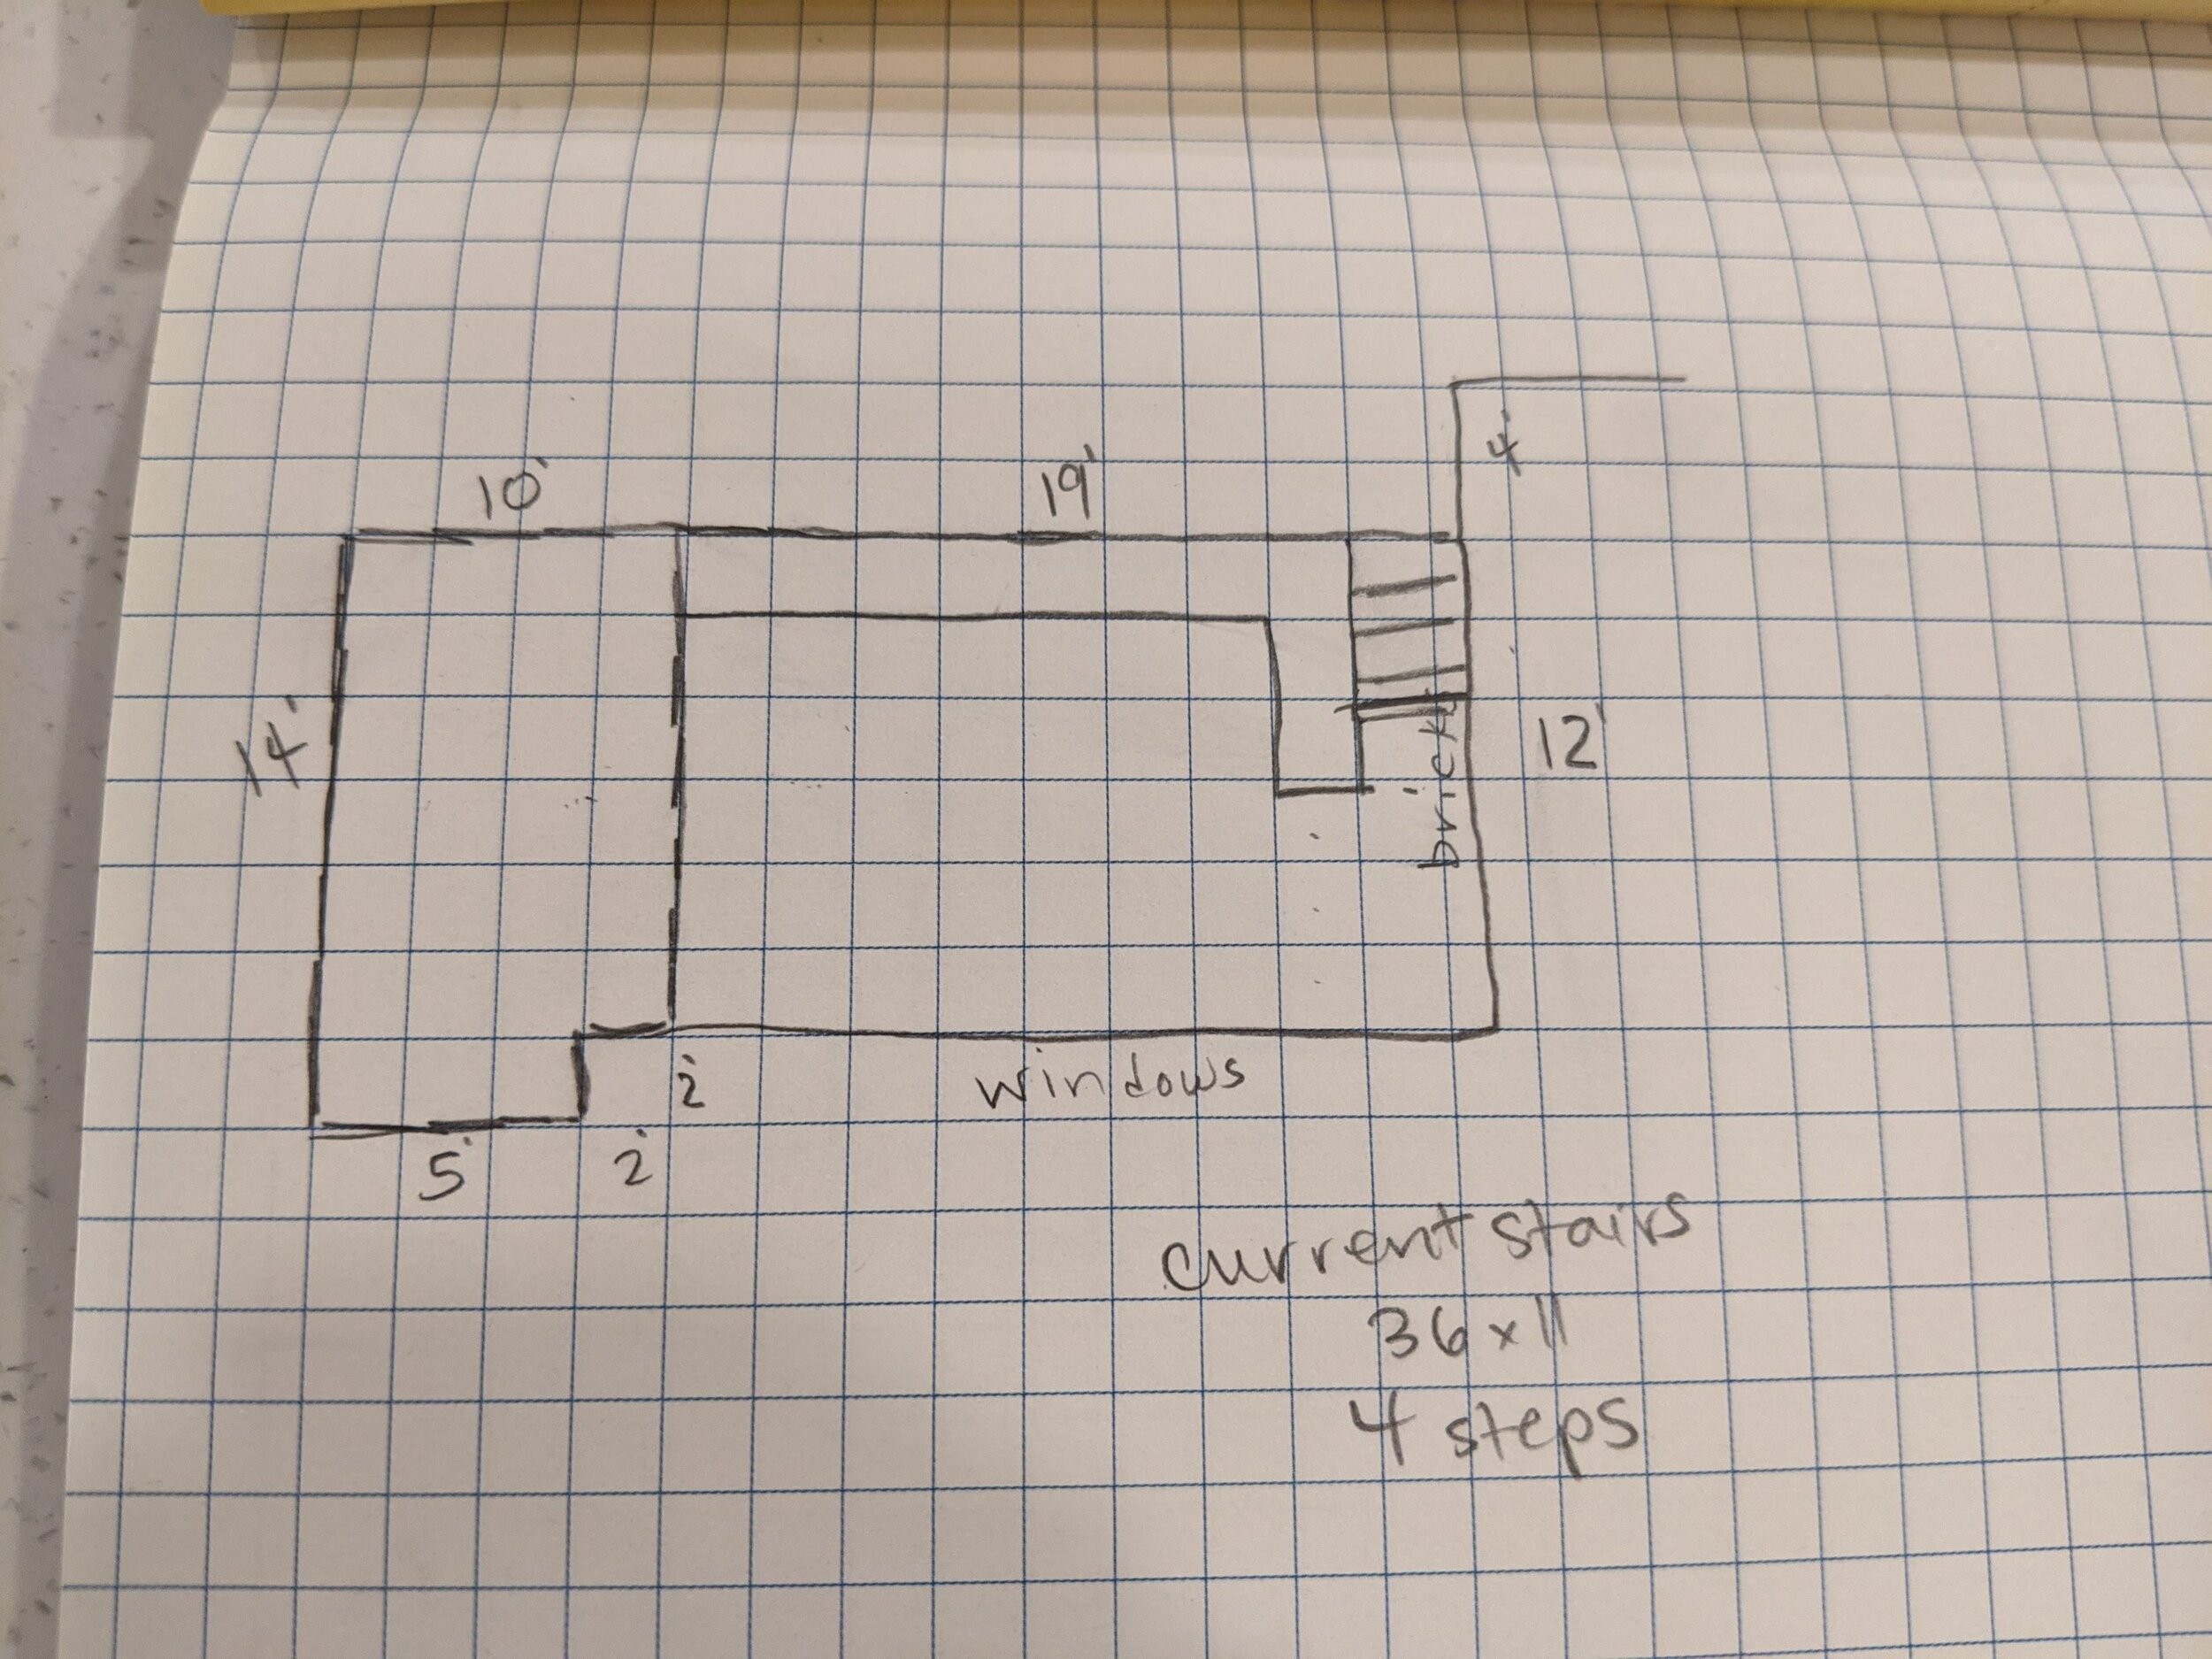
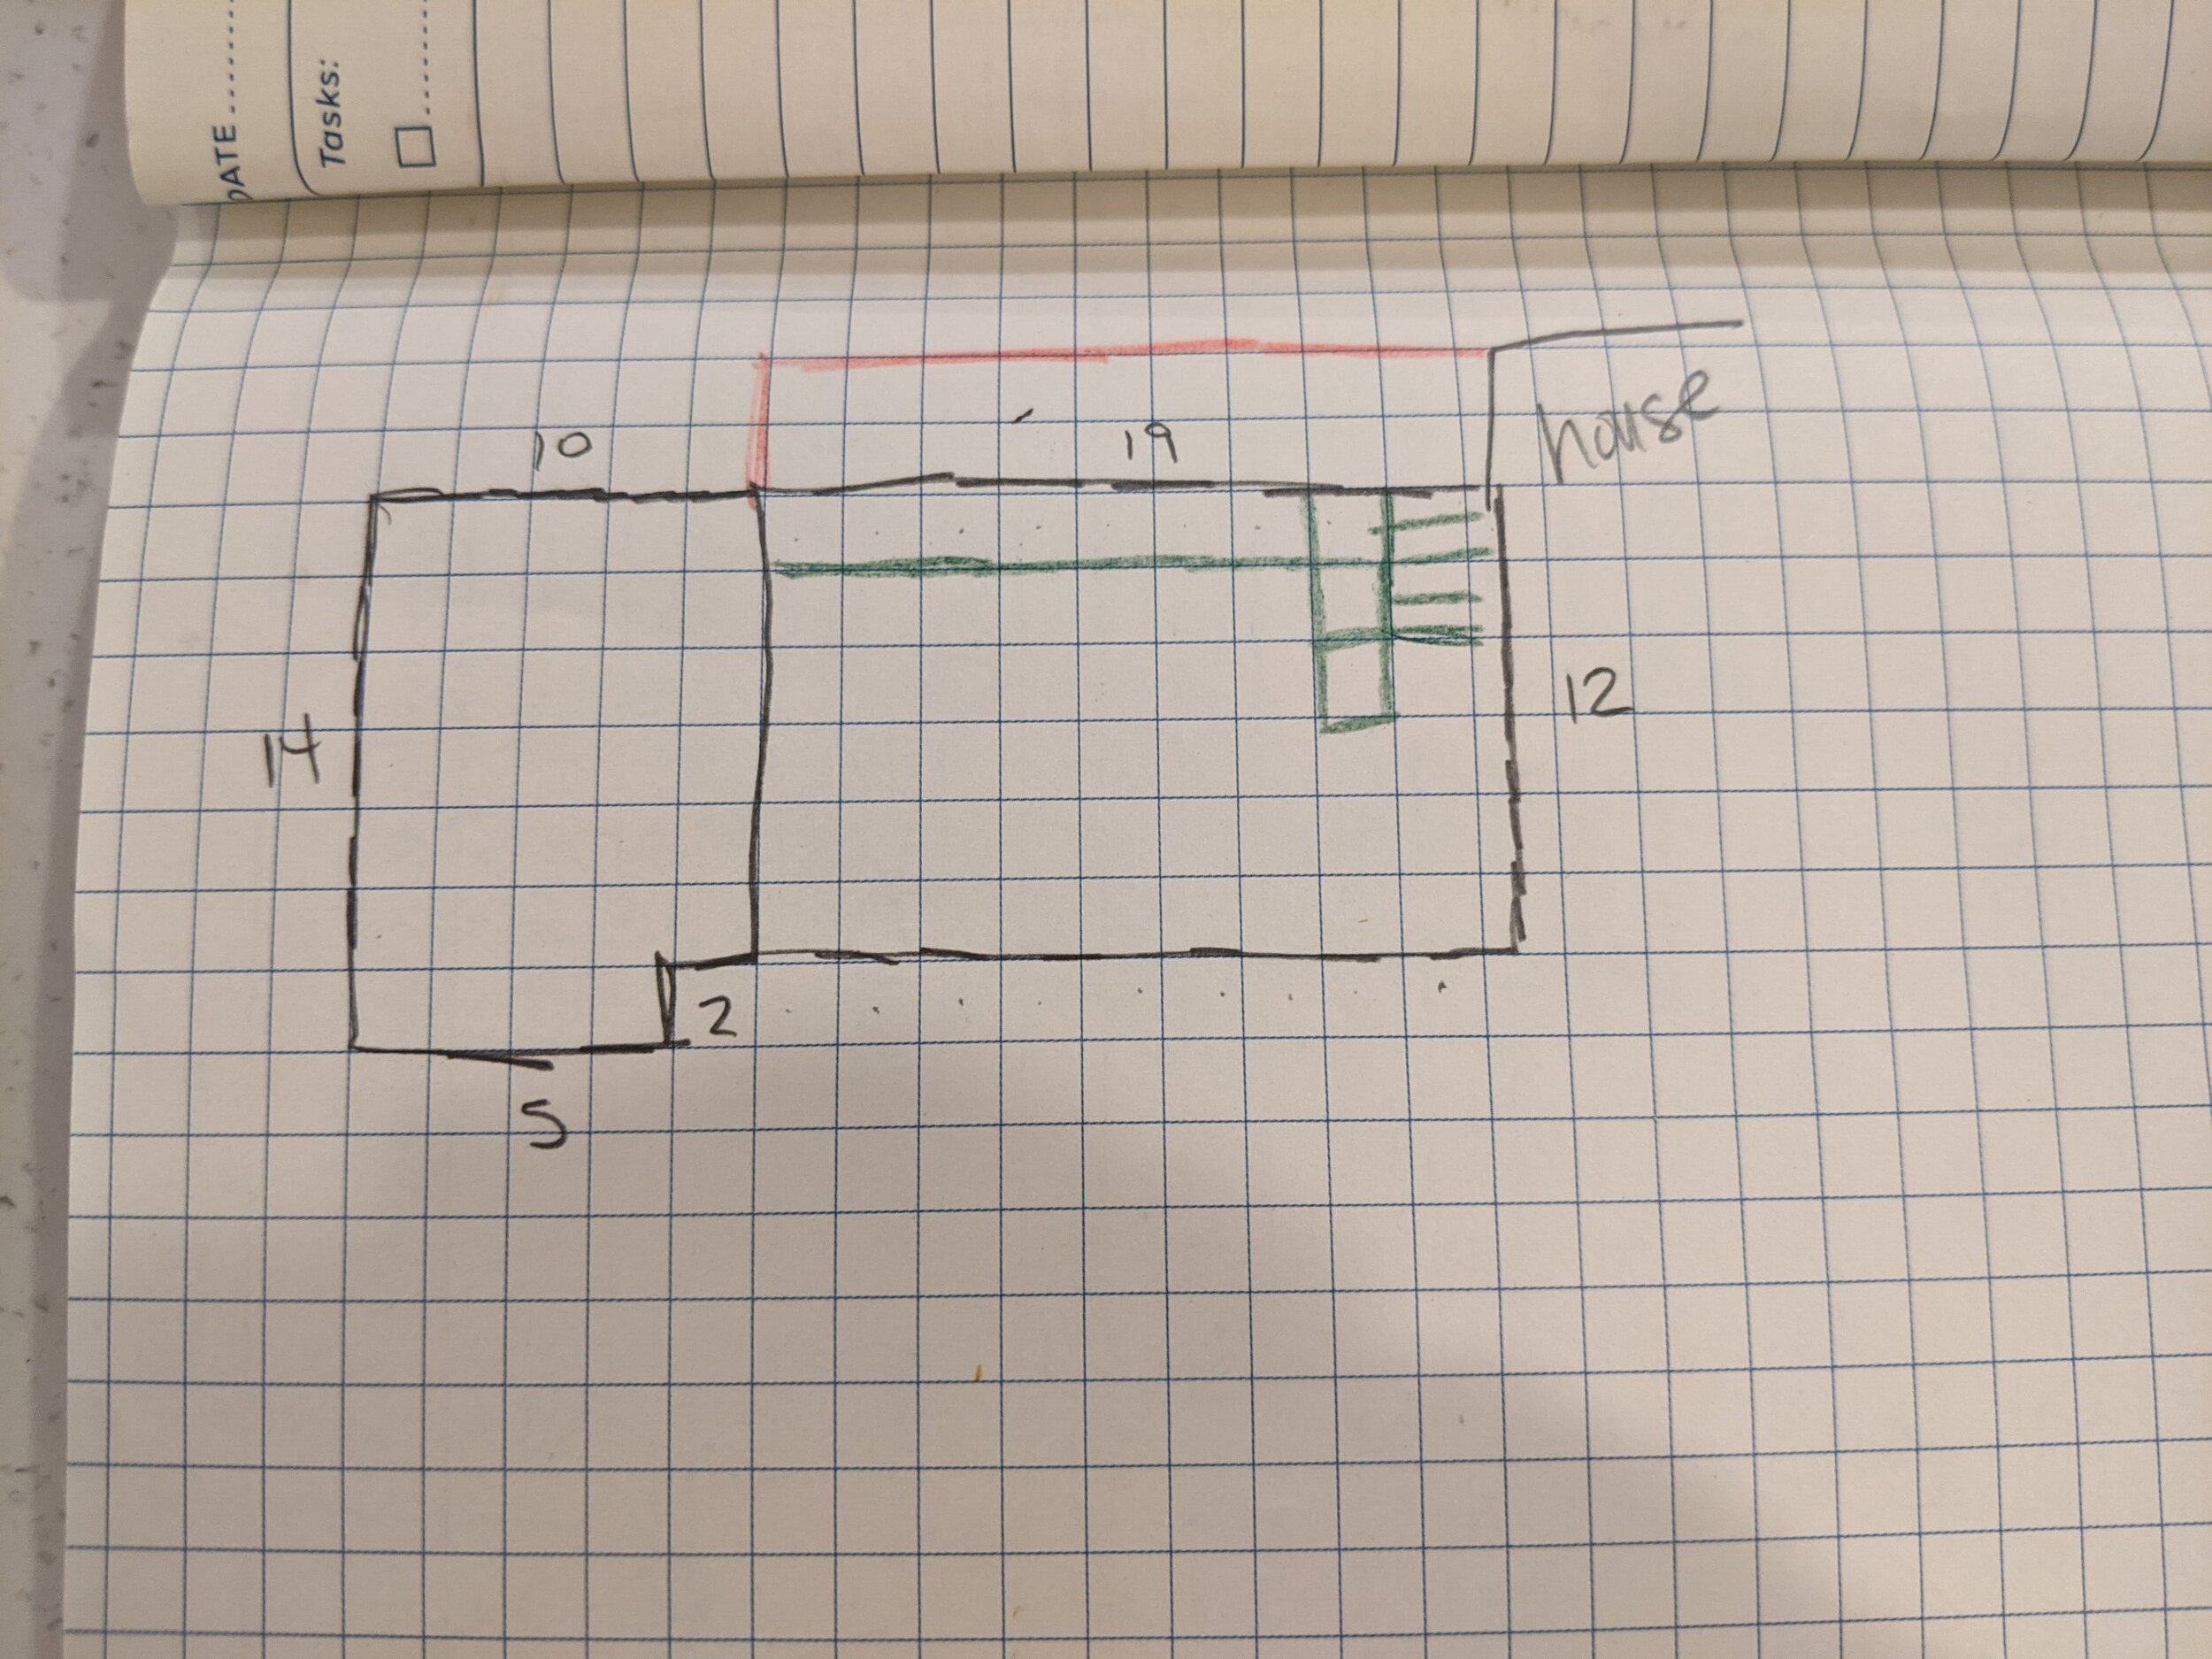
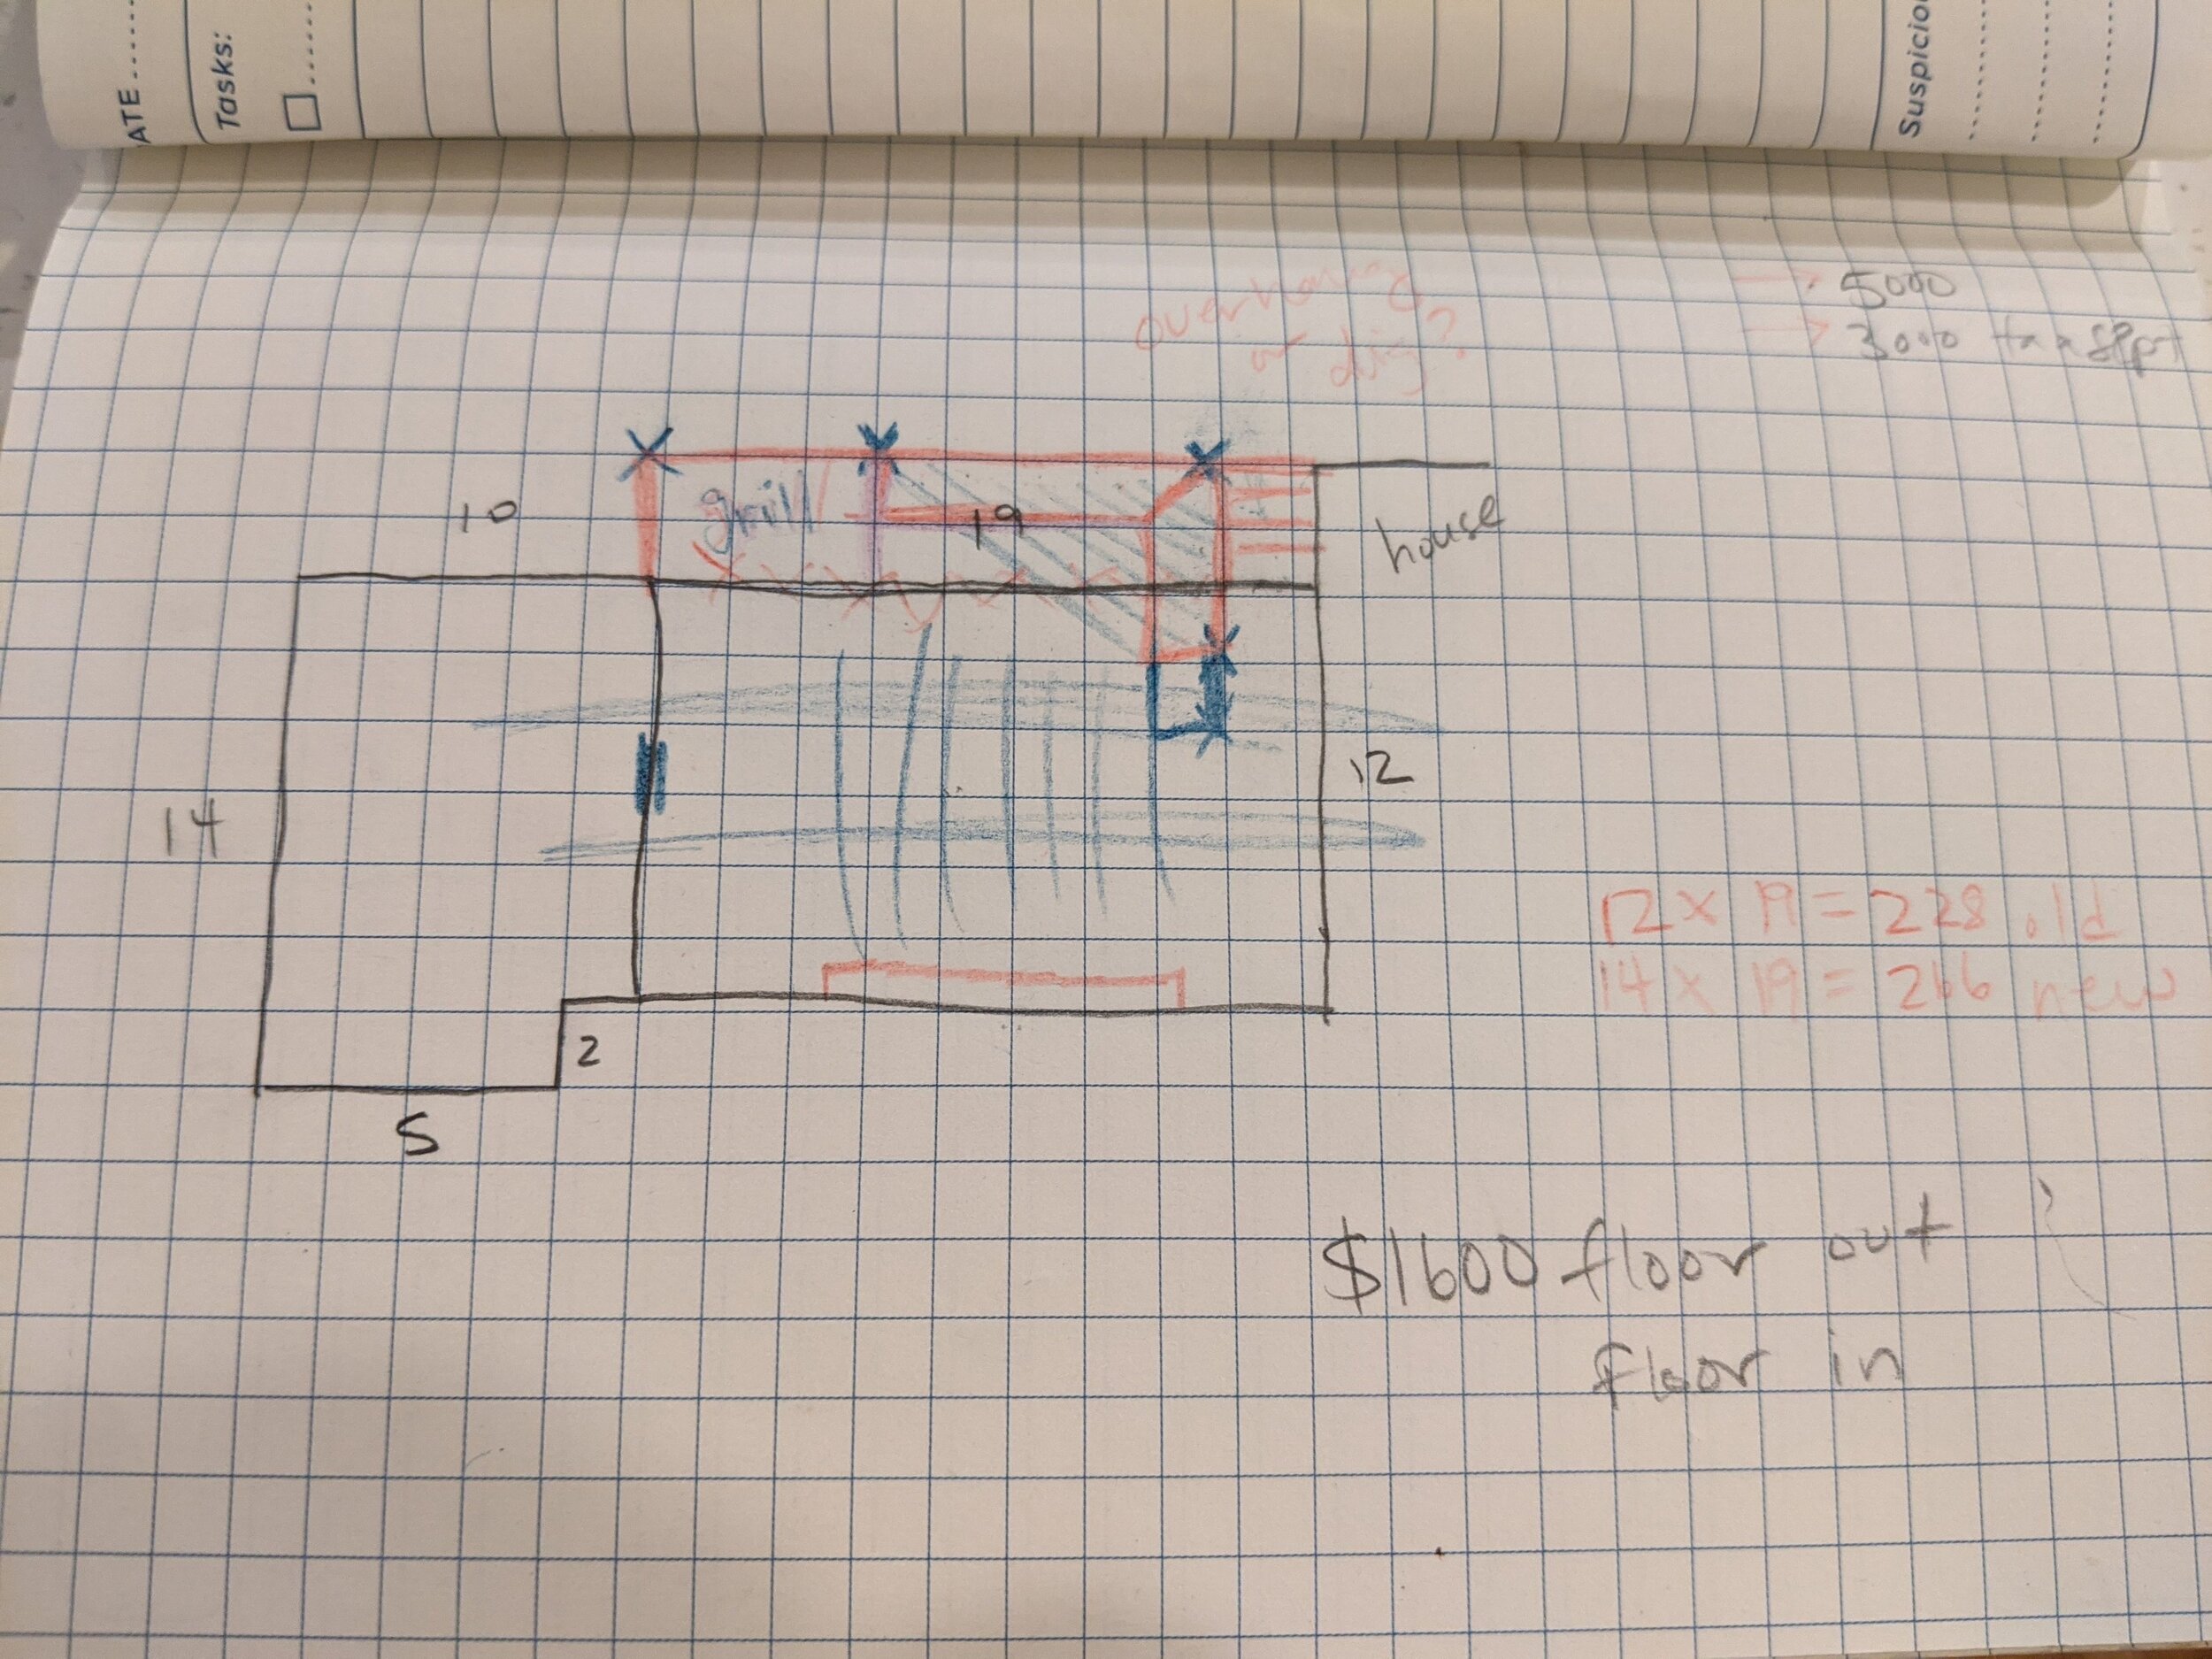
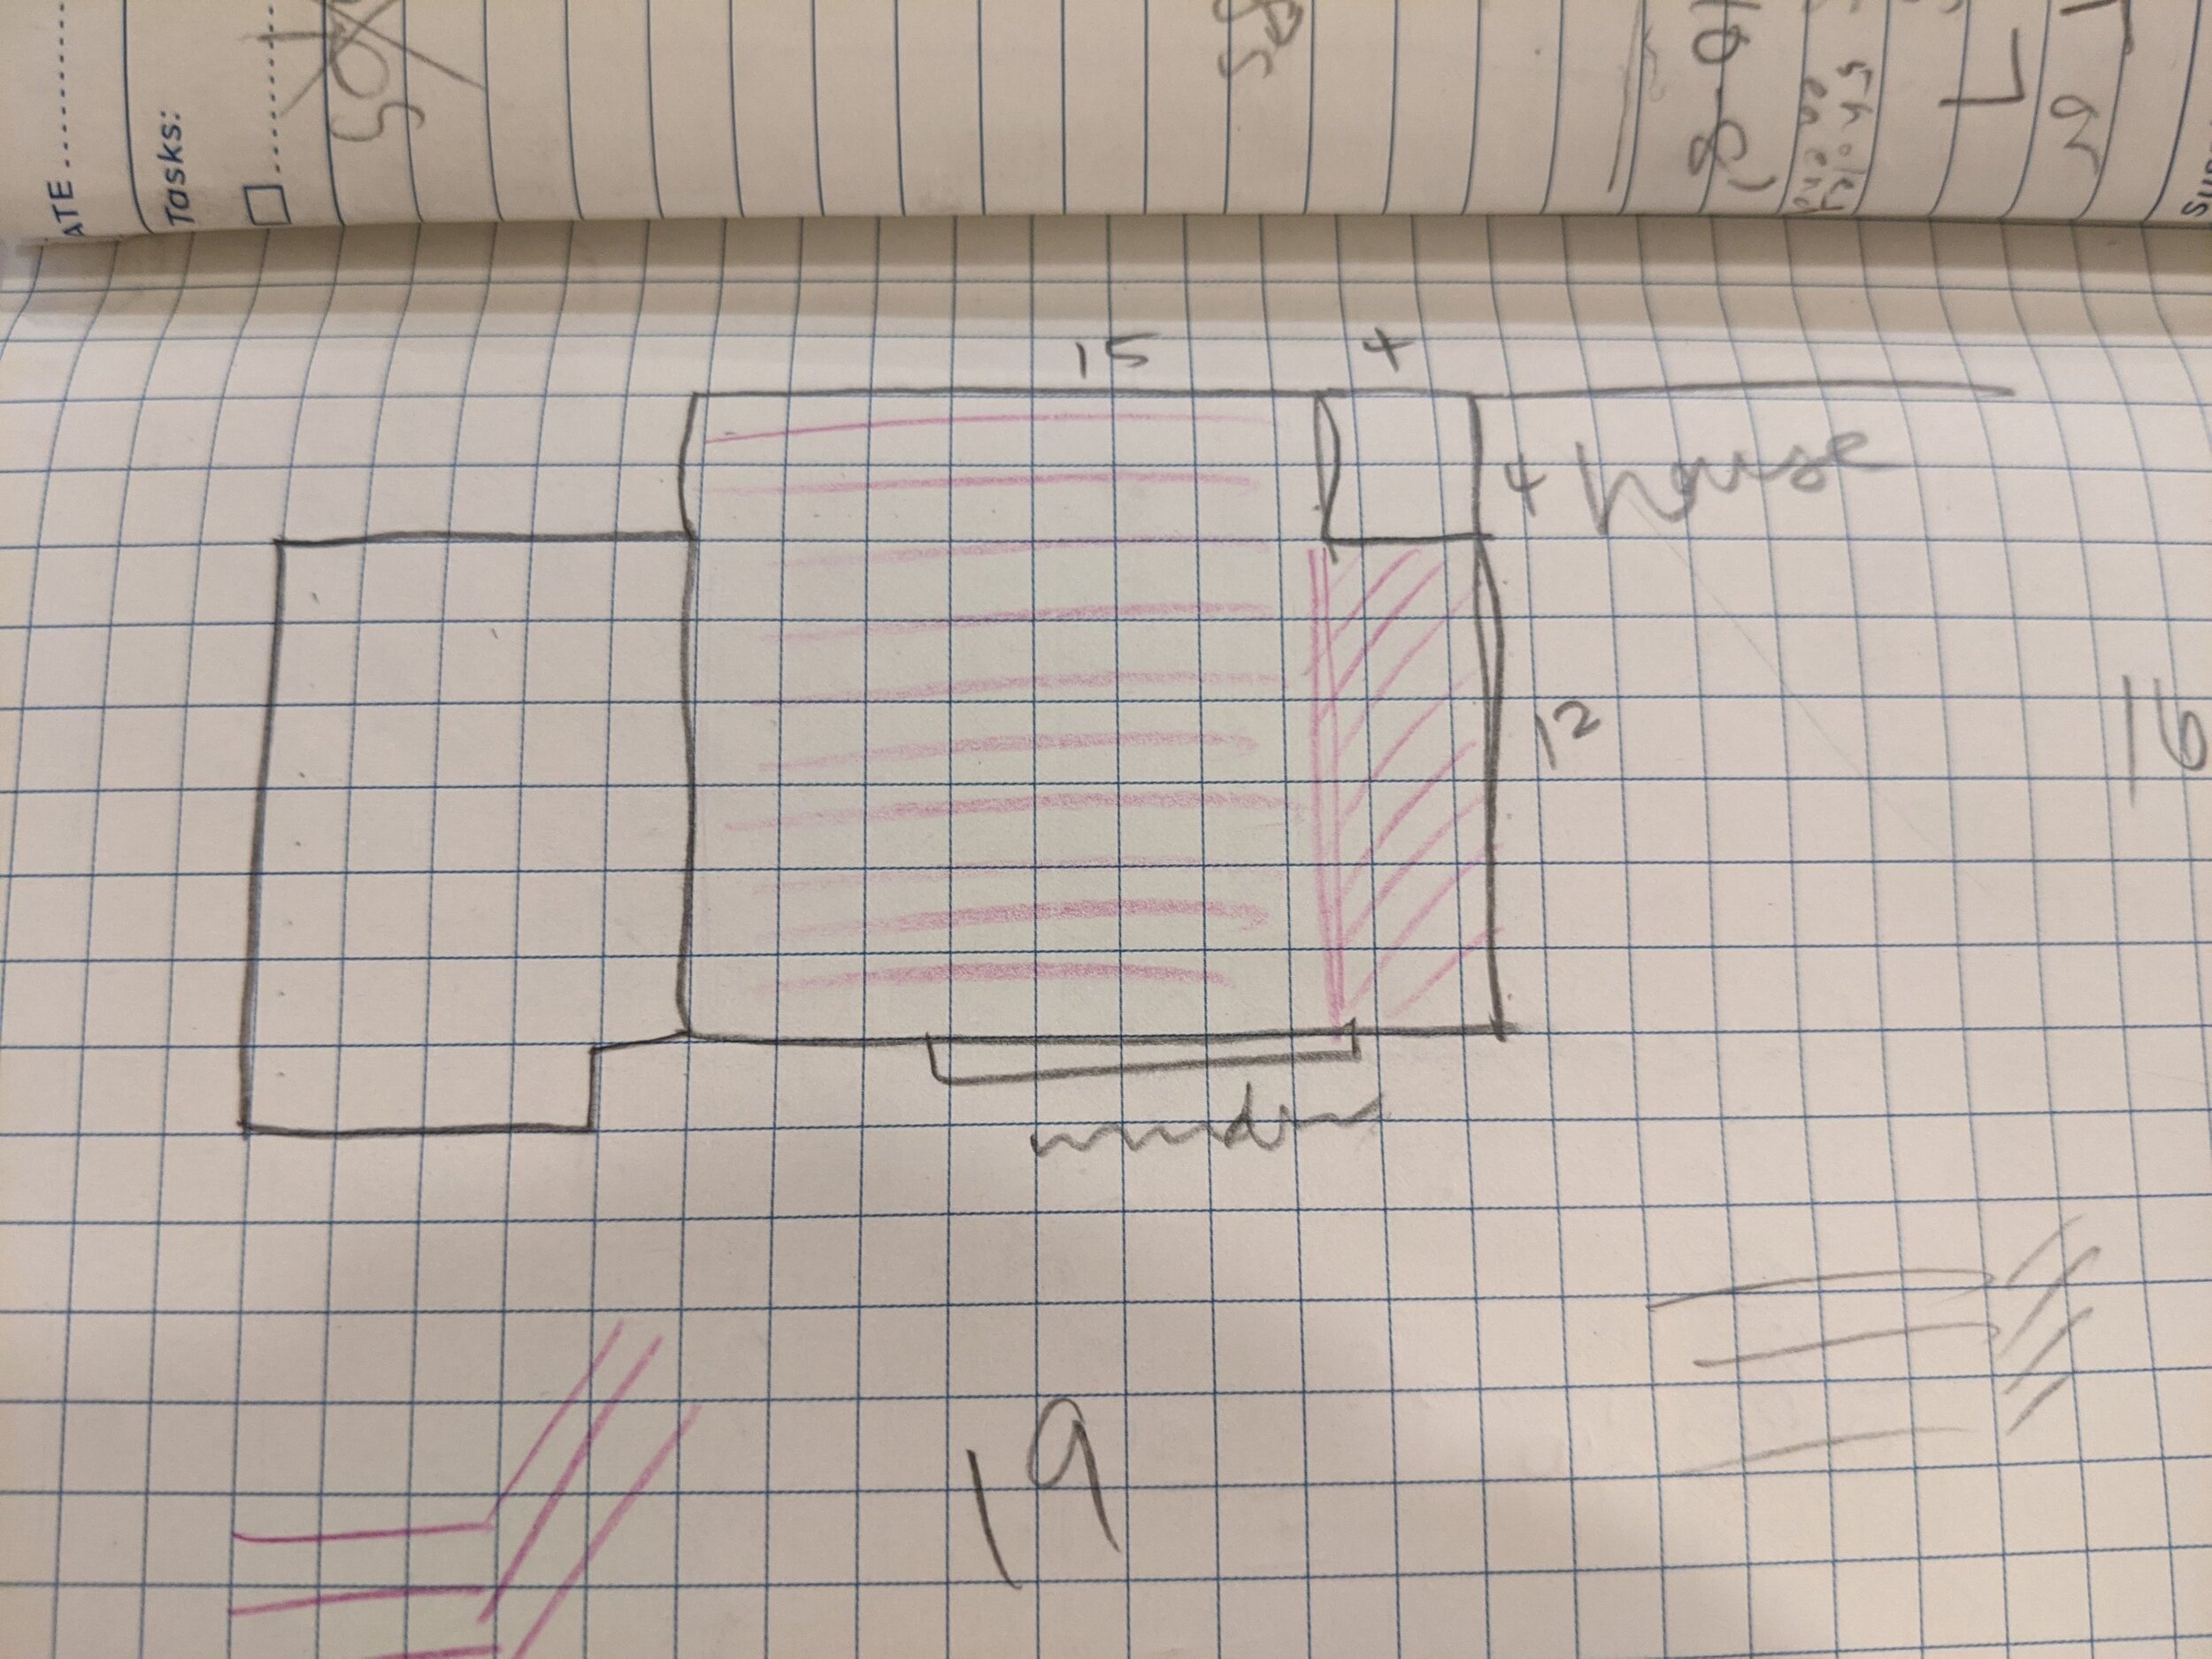
From the first conversation Hubs and I had (15 days before our event) to the actual ‘set this in concrete’, we did six drawings over two days. This is critical because Hubs and I have different style brains and can never understand something three-dimensional that the other is describing without a picture.
It was also necessary to estimate our costs on lumber, decking, concrete, hardware, and railings.
The final plan was a 1 square = 1 foot scale view from above. Our old, yucky deck was 12’ x 16’ feet, and now we expanded to 16’ x 16’. It’s not a huge gain but because there’s not a built-in bench that blocks us from pushing the grill into the corner, the arrangement is better and the result is a much larger-feeling space.
Here are a few versions of our plan:
Below is the final plan we ended up using for everything. Please note all the dirty fingerprints — I’m so proud of them. They are proof that this was a document we used every step of the way.
Colors represent:
Purple: the original deck framing that we kept
Orange: new 2 x 8 beams (you’ll see when we laid them, the long ones are doubled/sandwhiched to be 4 x 8)
Blue: new 2 x 6 beams
Green: new 2 x 6 frame for expansion
The numbers on the black dots are the new footers we dug (10)
Grey stipes in the top right are the stairs (they are now 1 foot wider than the old stairs)
Open grey circles are the pillars for the railings
You’ll see we did sketch out a bench, but once we got the railings up, I didn’t have the heart to hide their beauty behind furniture! Maybe next year once I’m accustomed to this and don’t still gasp and clap every time I open the door for the dog to weewee and catch a glimpse of the transformation.
We used this to do everything:
Count beams and total lumber for a shopping list
Do math to calculate costs (square footage, number of screws)
Determine the best railing to buy for the distance we had to cover
Bicker endlessly about why that one purple line I drew wasn’t straight
Show the team at Home Depot our plan (and receive much-needed accolades)
Our next step was demolition and digging/building the footers, so keep on reading…


