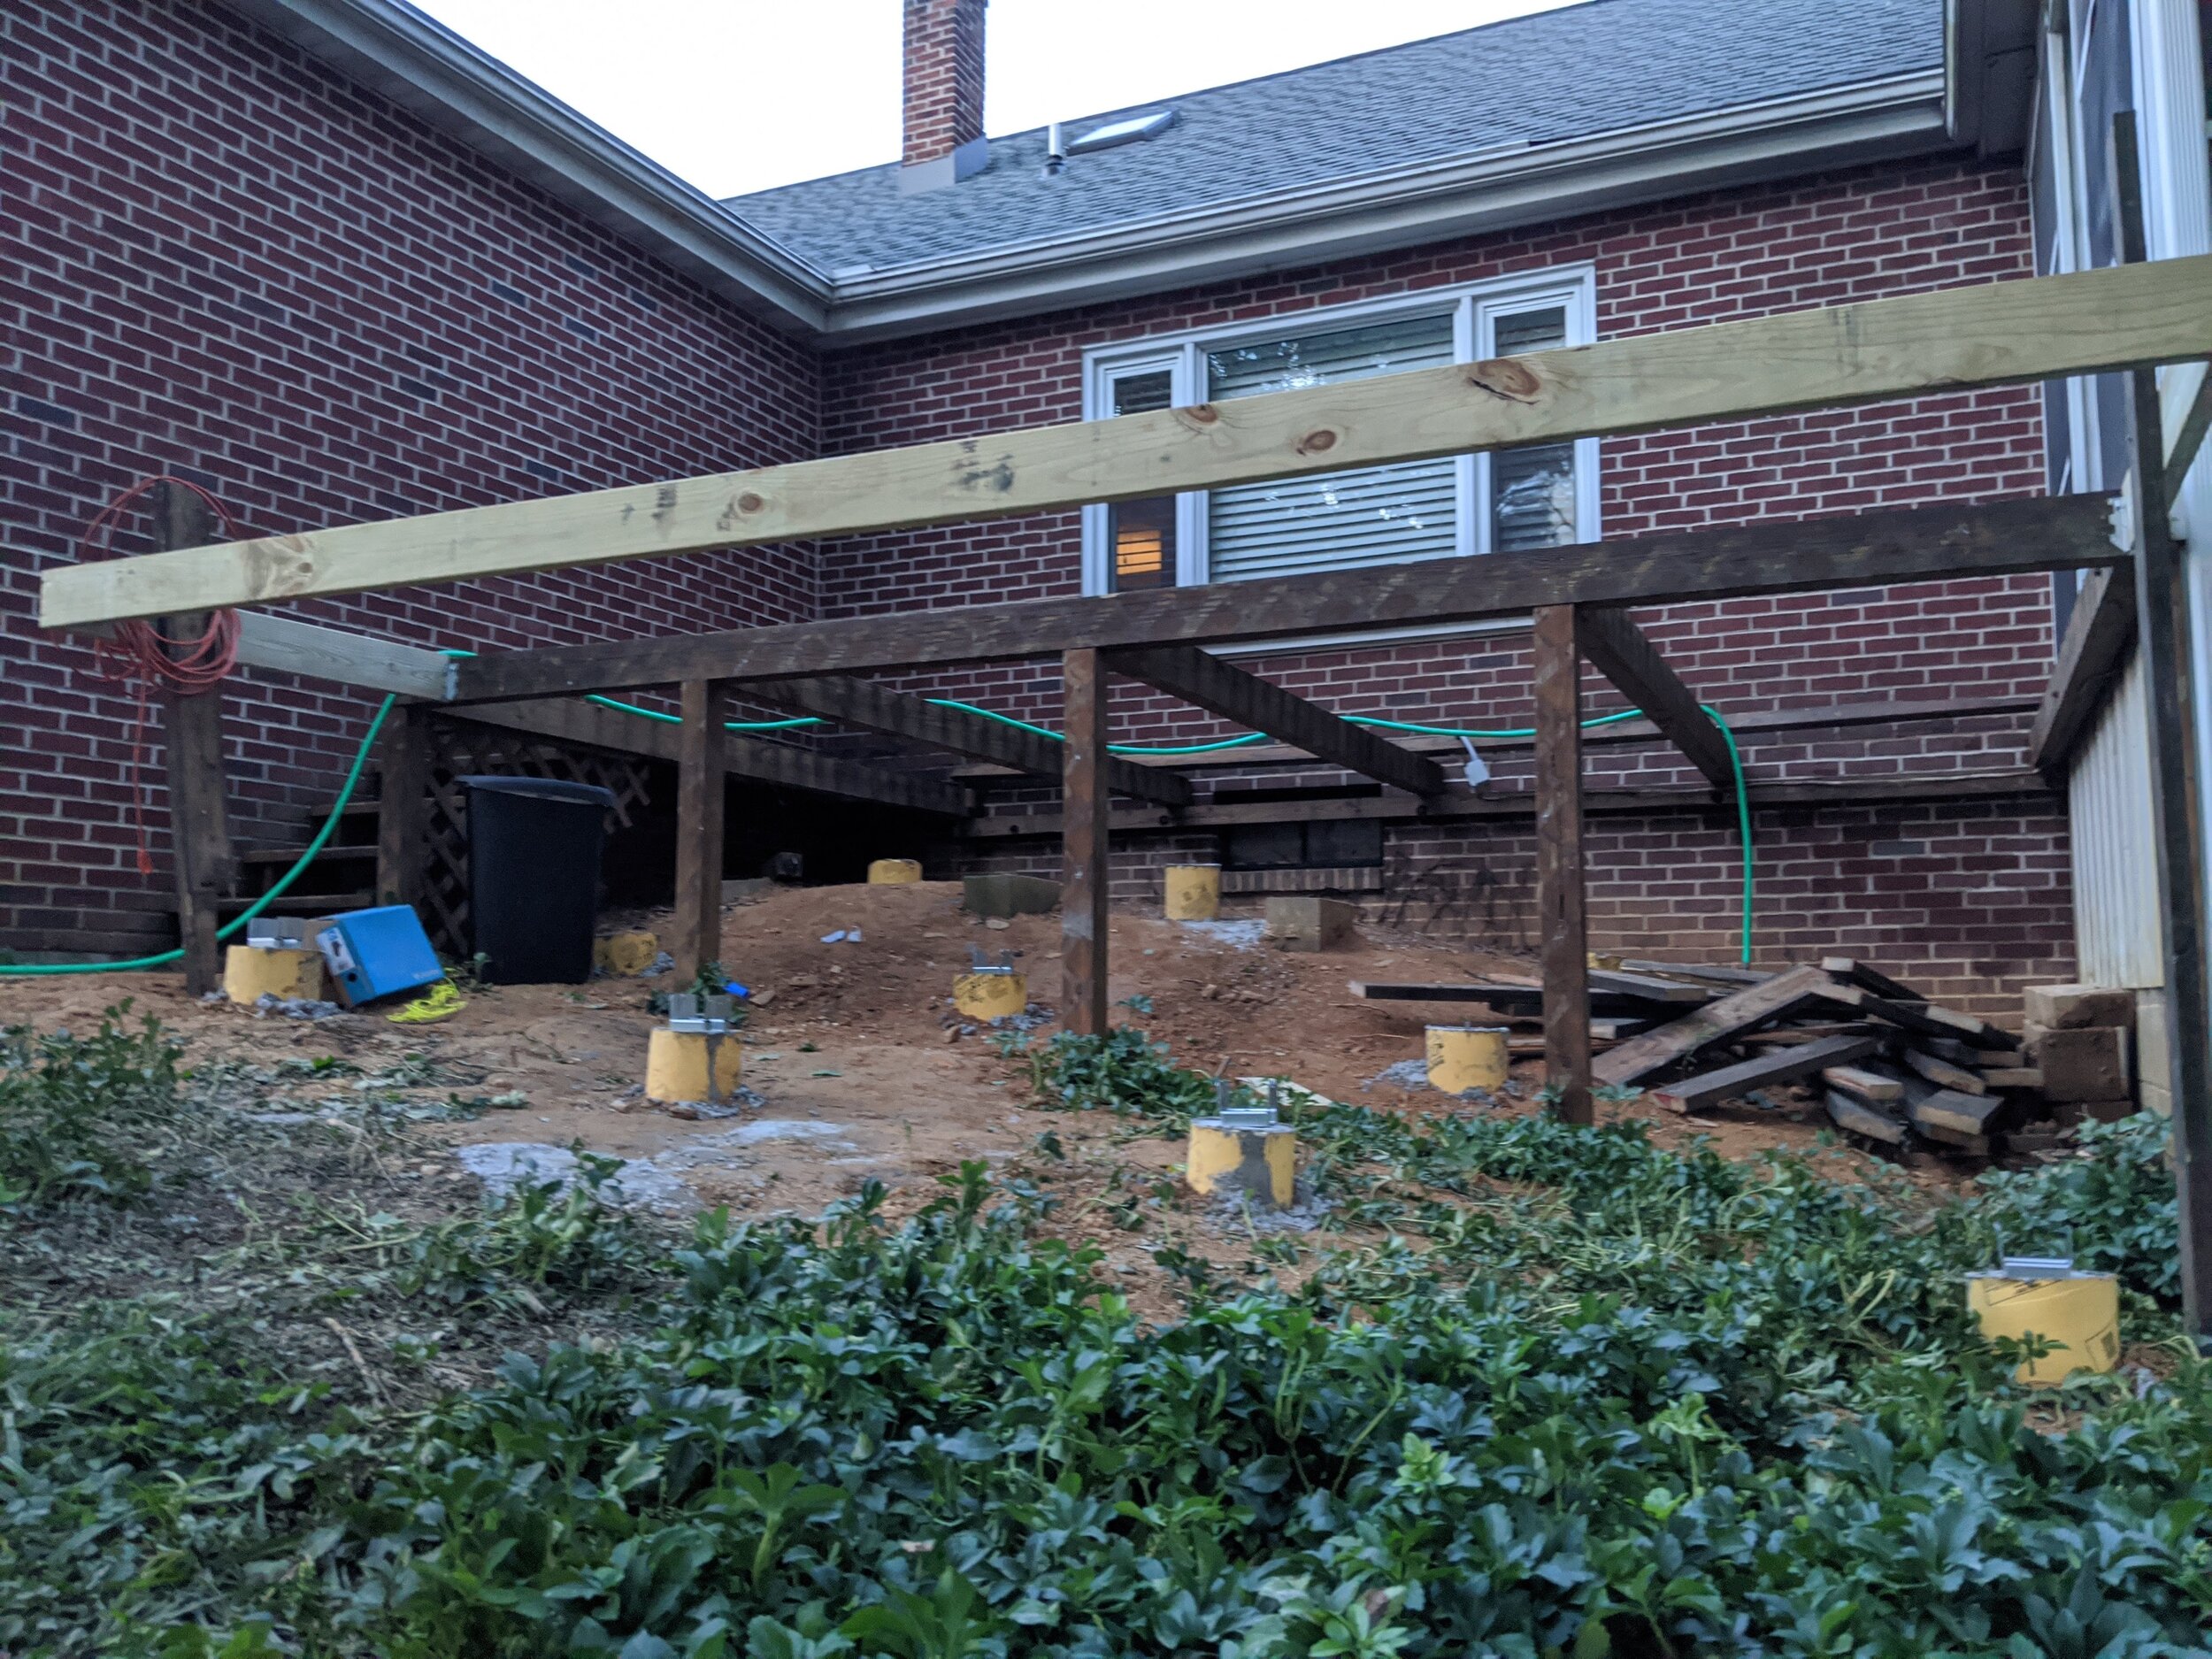
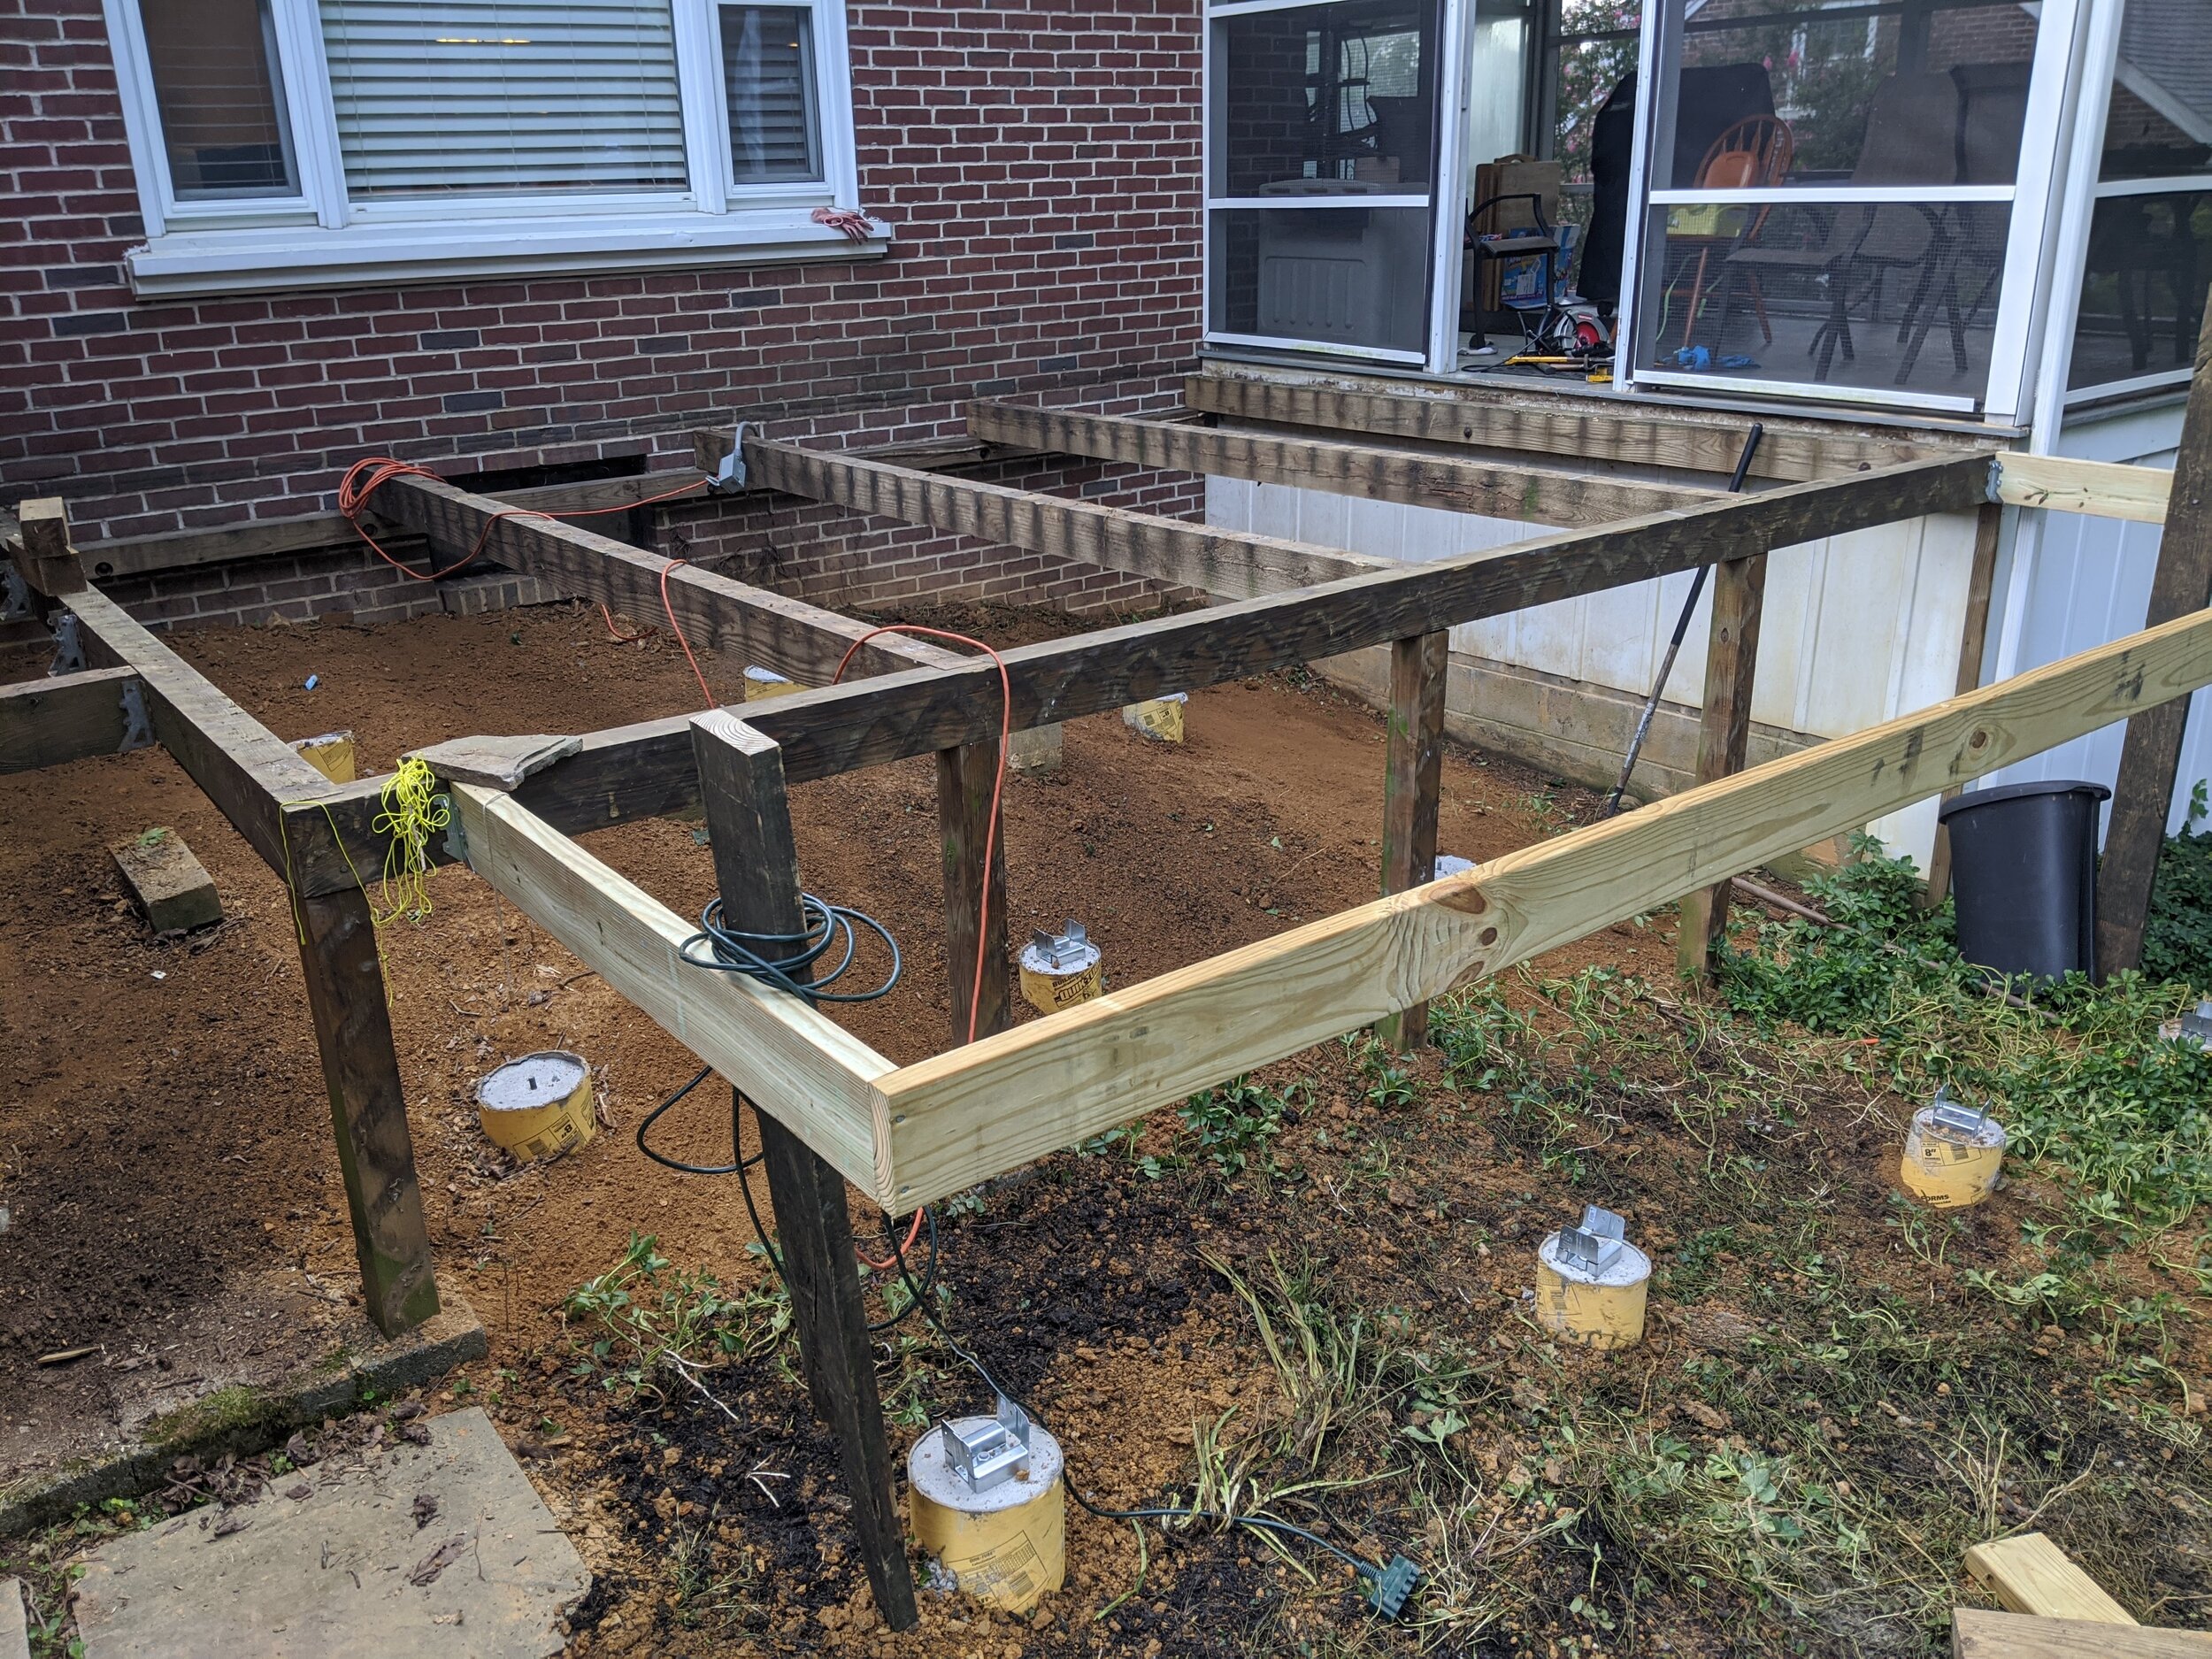
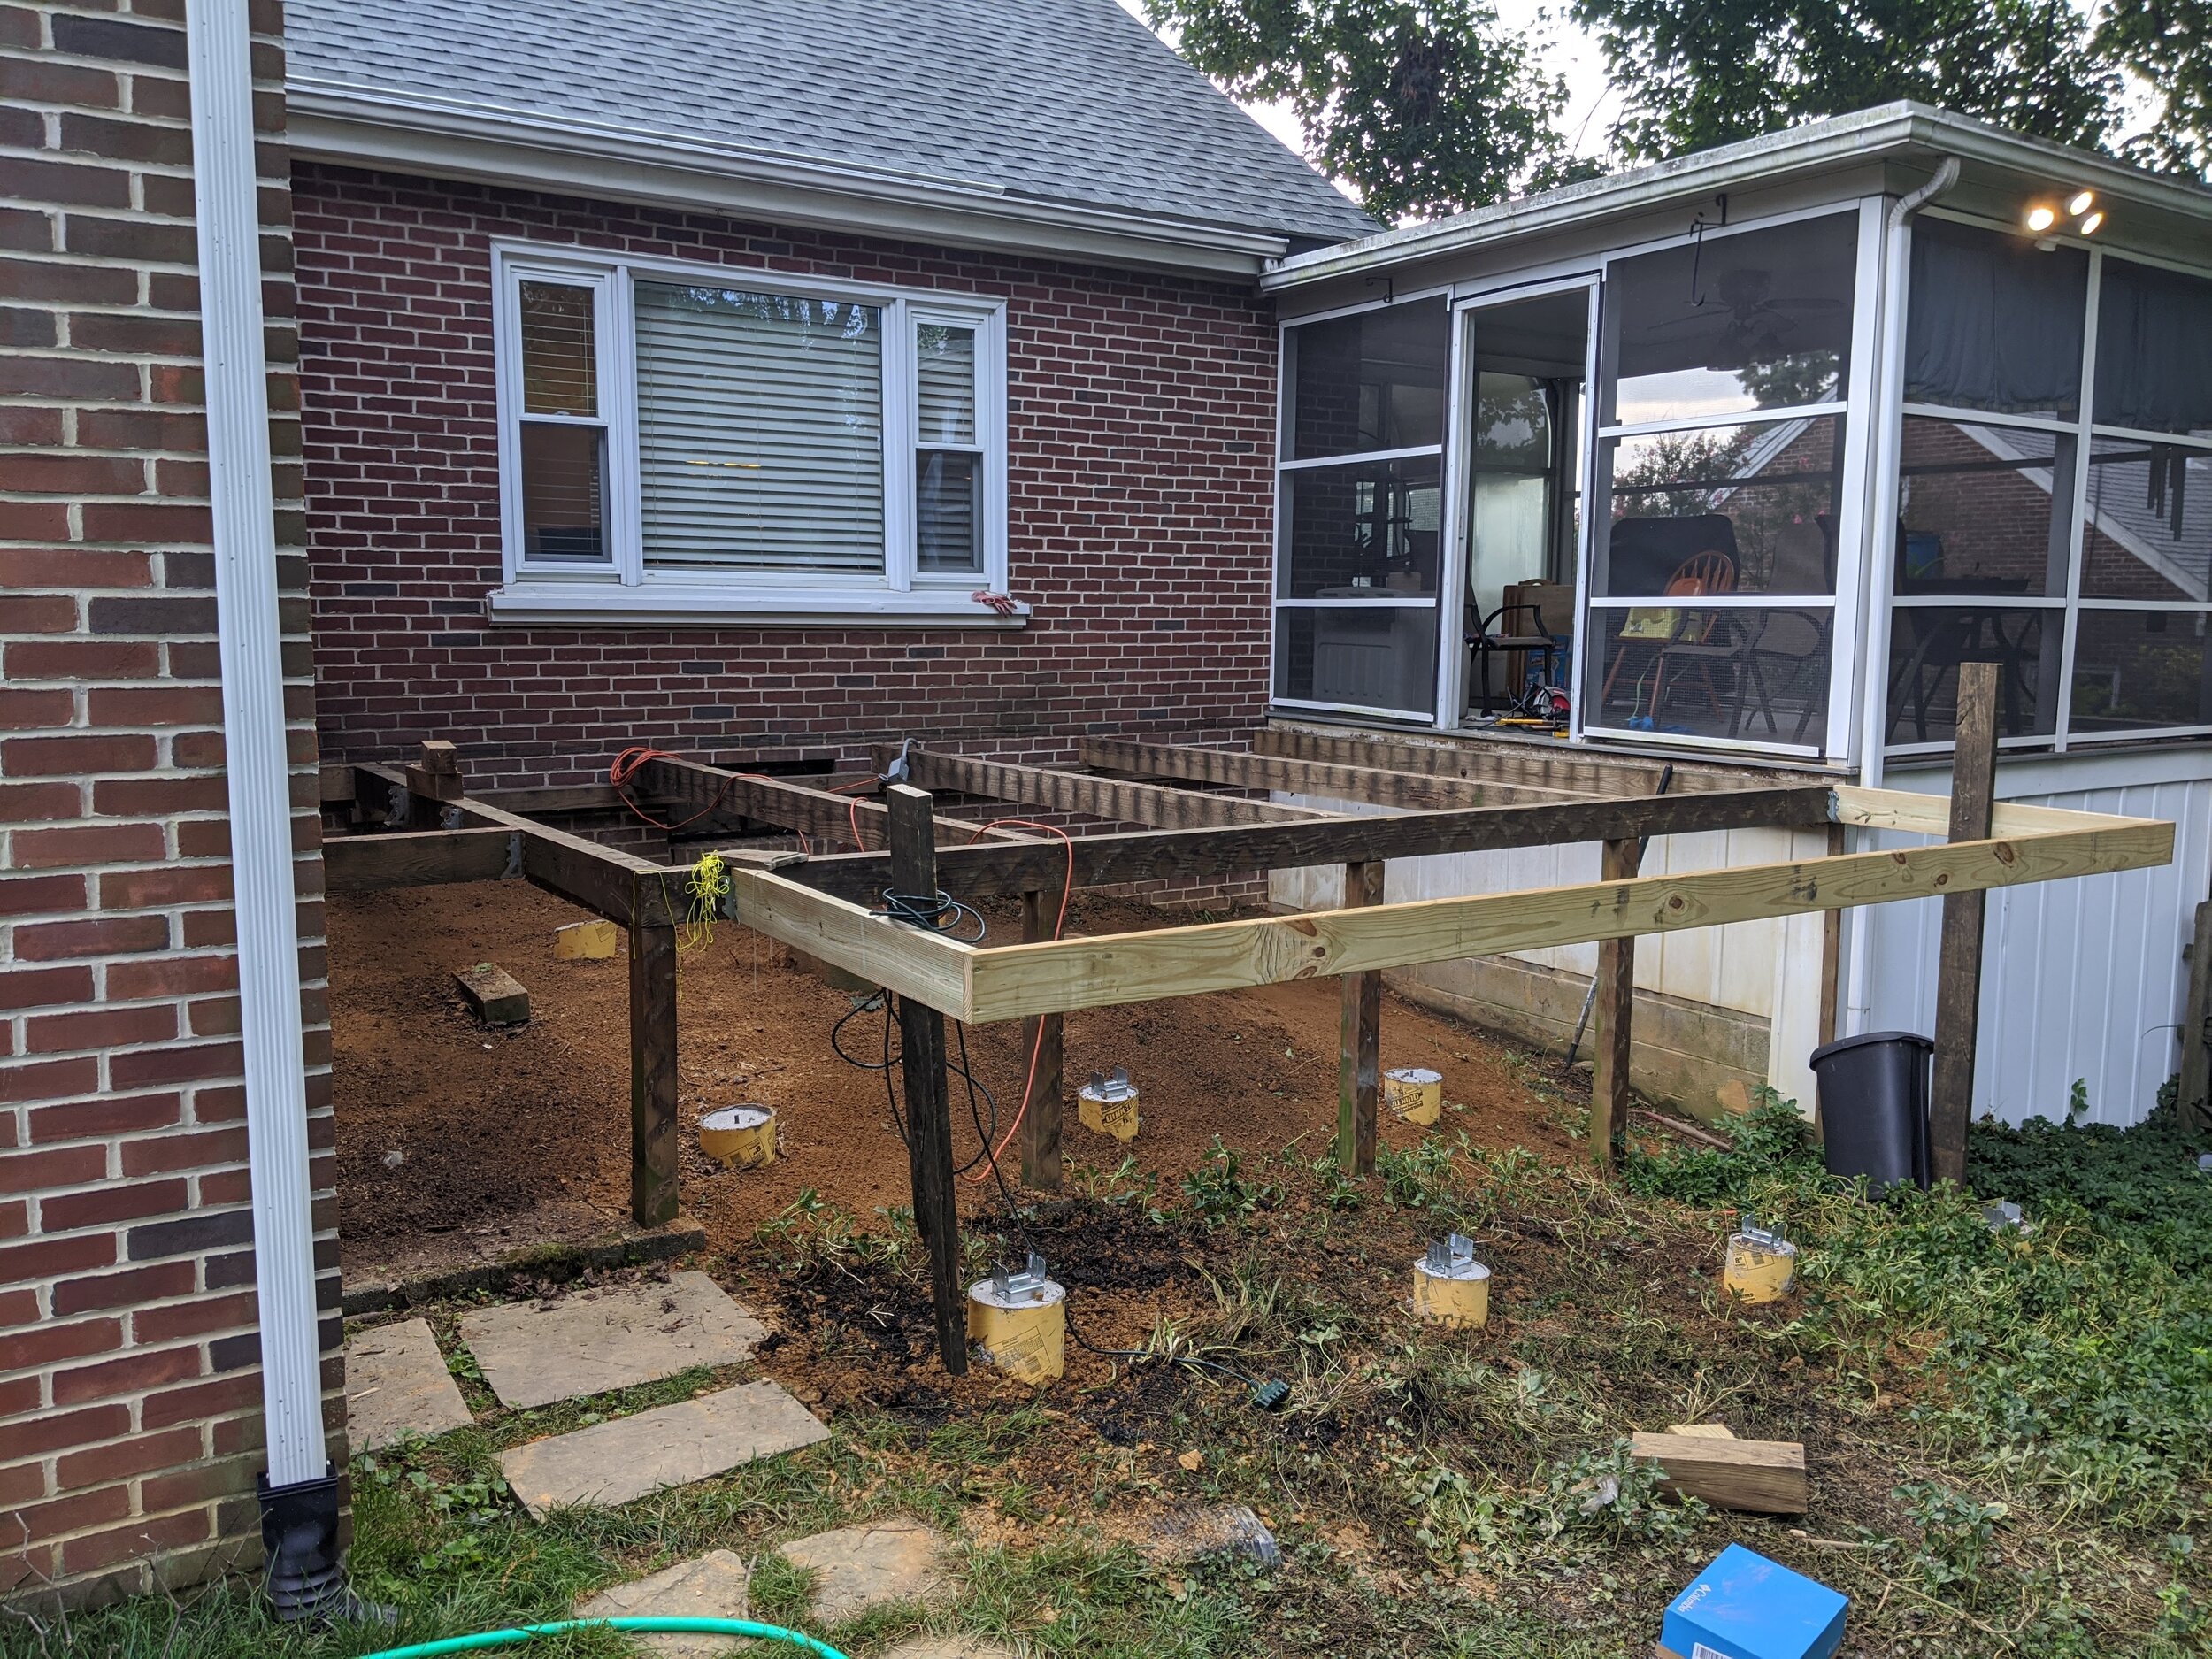
Our deck was transitioning from 12’ x 20’ to 16’ x 20’, and we were able to keep some of the frame. But we needed to add a new section out into the yard, bringing the deck 4’ past our sunroom and even with the house. This mean a little new framing. This was also the stage we carried load after load of stones, and Hubs has just informed me (two months later) that there are still more loads to be carried. EW.
EXPANDING THE FRAME
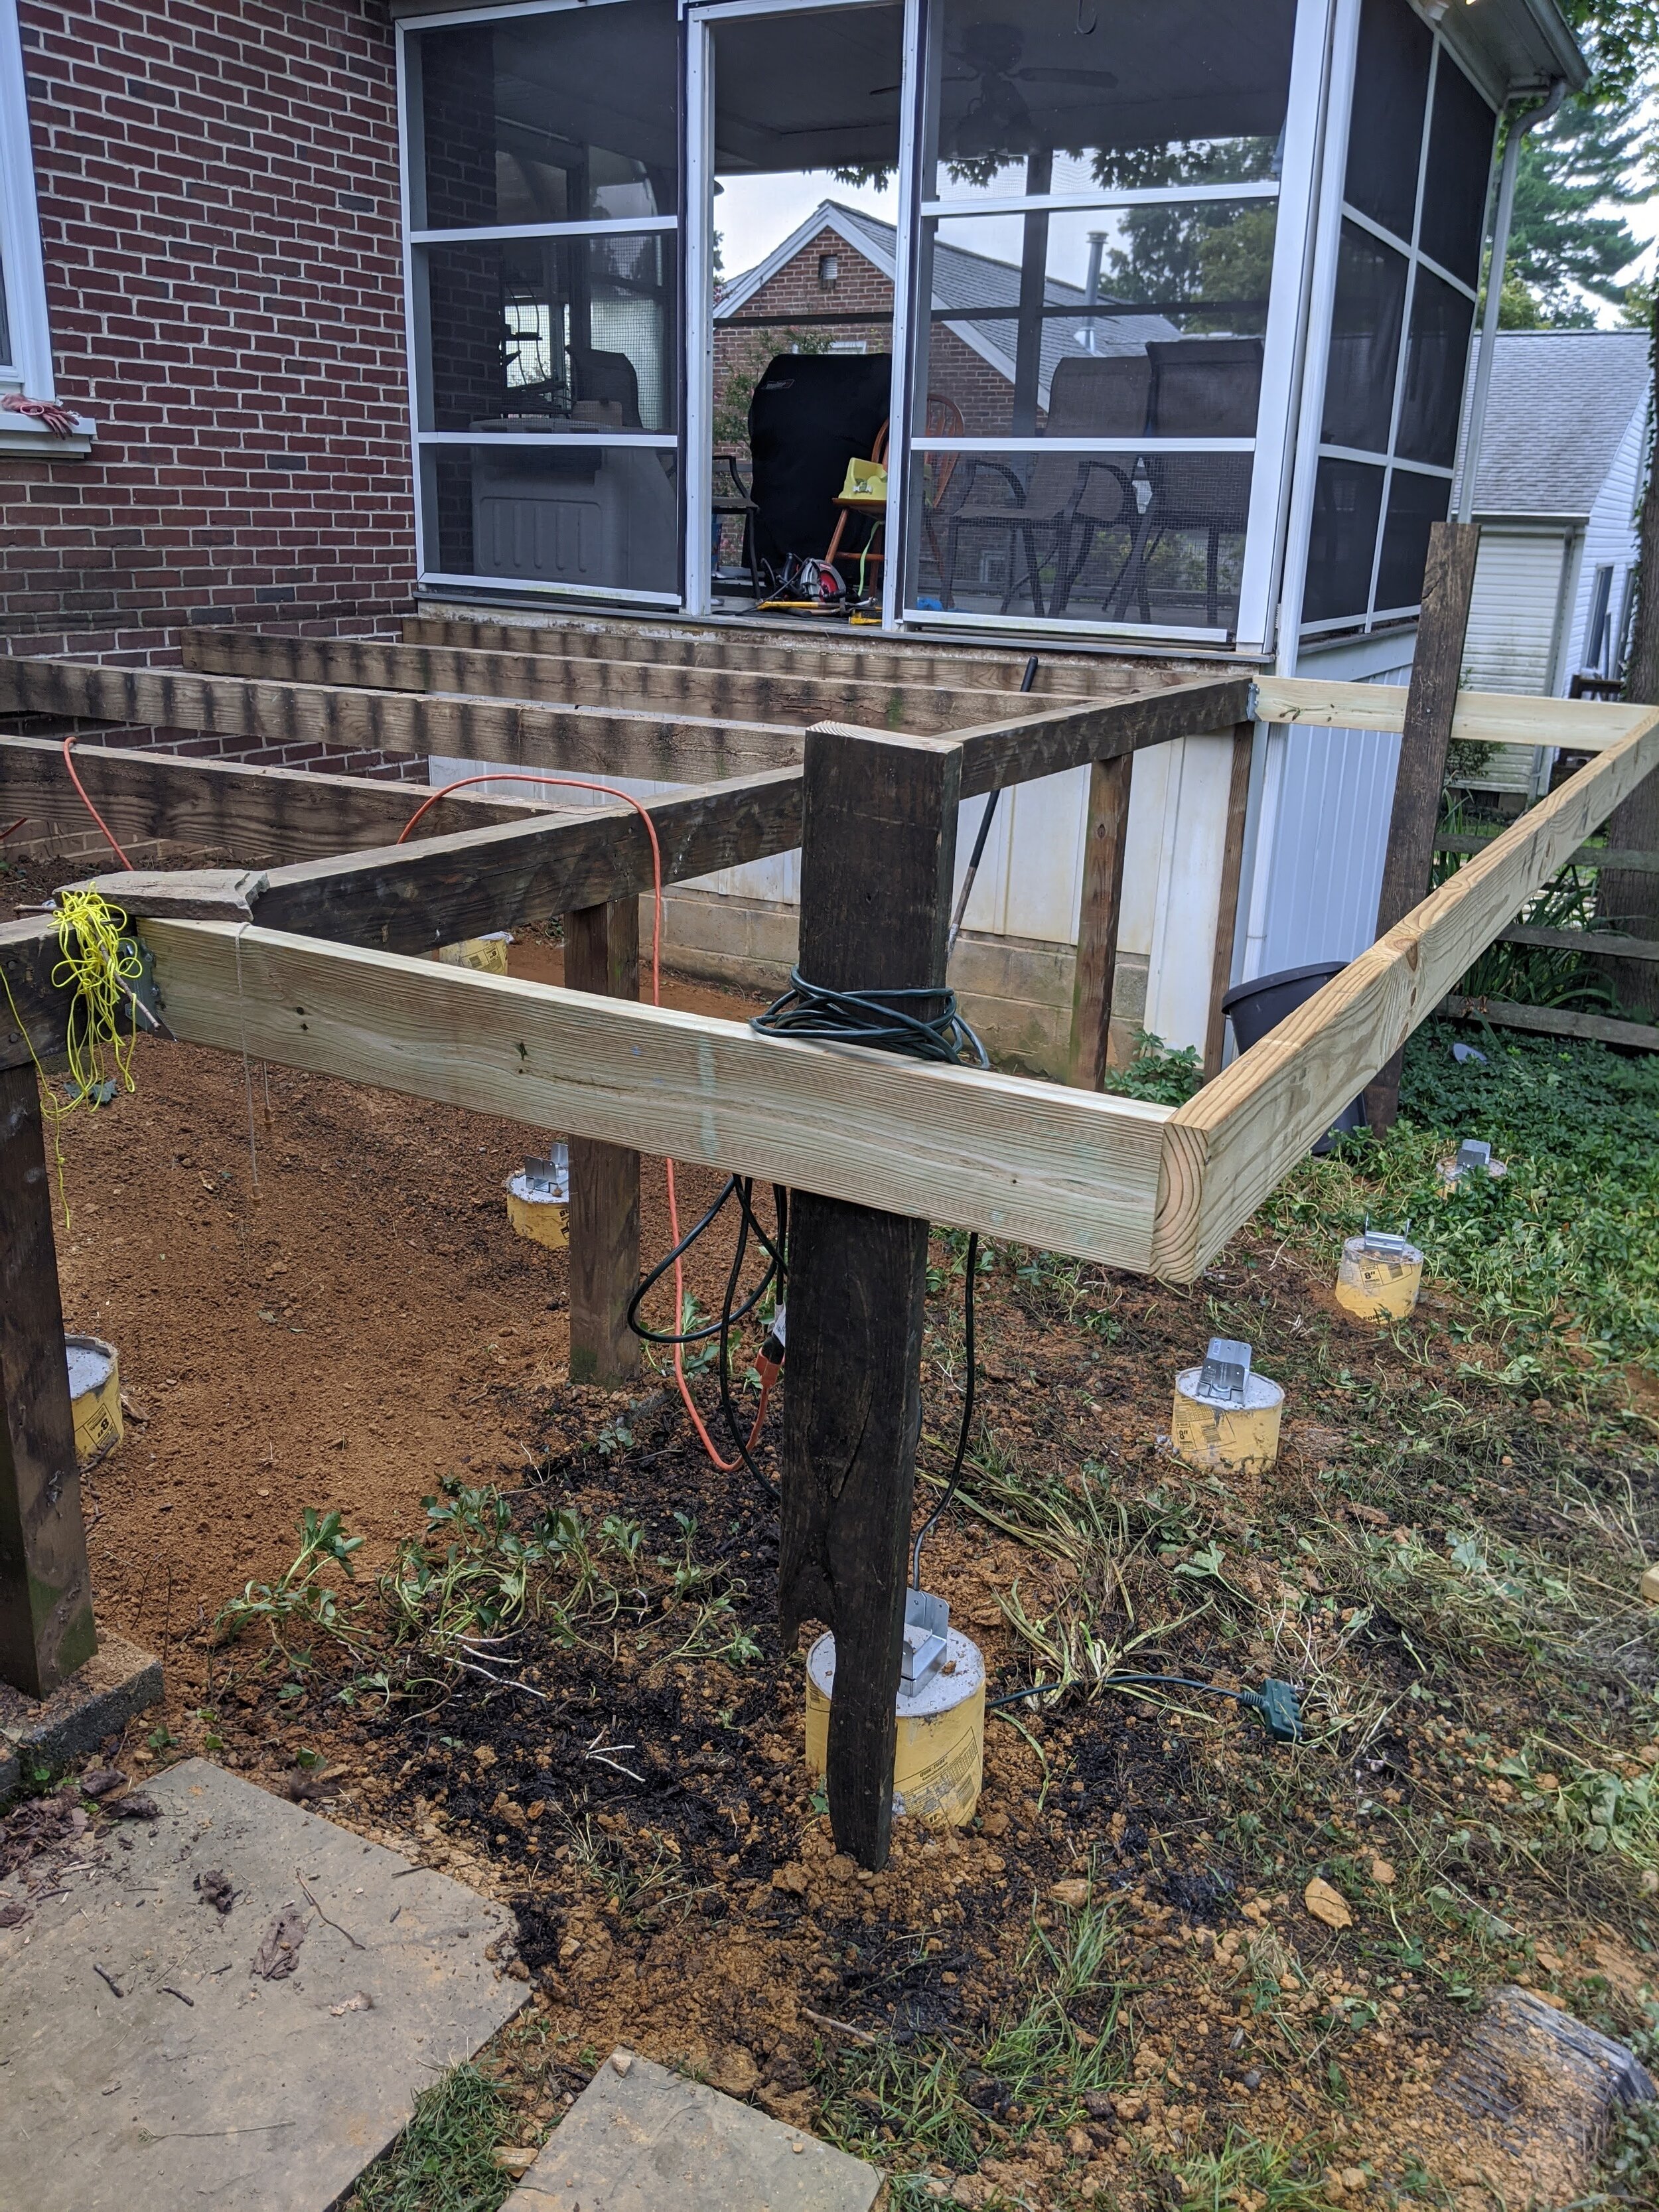
Using 2 x 6s, we expanded the frame with some temporary supports until we could get the footers underneath. Obviously, if you were building a deck from ‘scratch,’ you’d never put the supports UNDER the frame -- you’d build from the ground up. But in our case, we were keeping some of the old skeleton, so this is the way it worked out.
You can see how much smoother the ground is here, especially around the footers. We did a fair amount of re-grading to ensure no water was pooling against the side of the house foundation. (My poor pachysandra was much tromped-on during this reno but it’s a resilient plant!)
The stone is important because it will allow rainwater to run down and away from the house.
Hubs’ goal is to have all the dirt covered before winter, like a squirrel. Ok, that probably isn’t what squirrels think. But he wants more stones. More stones!
Our next step was all these trusses and supports, so keep reading…


