DEMOLITION
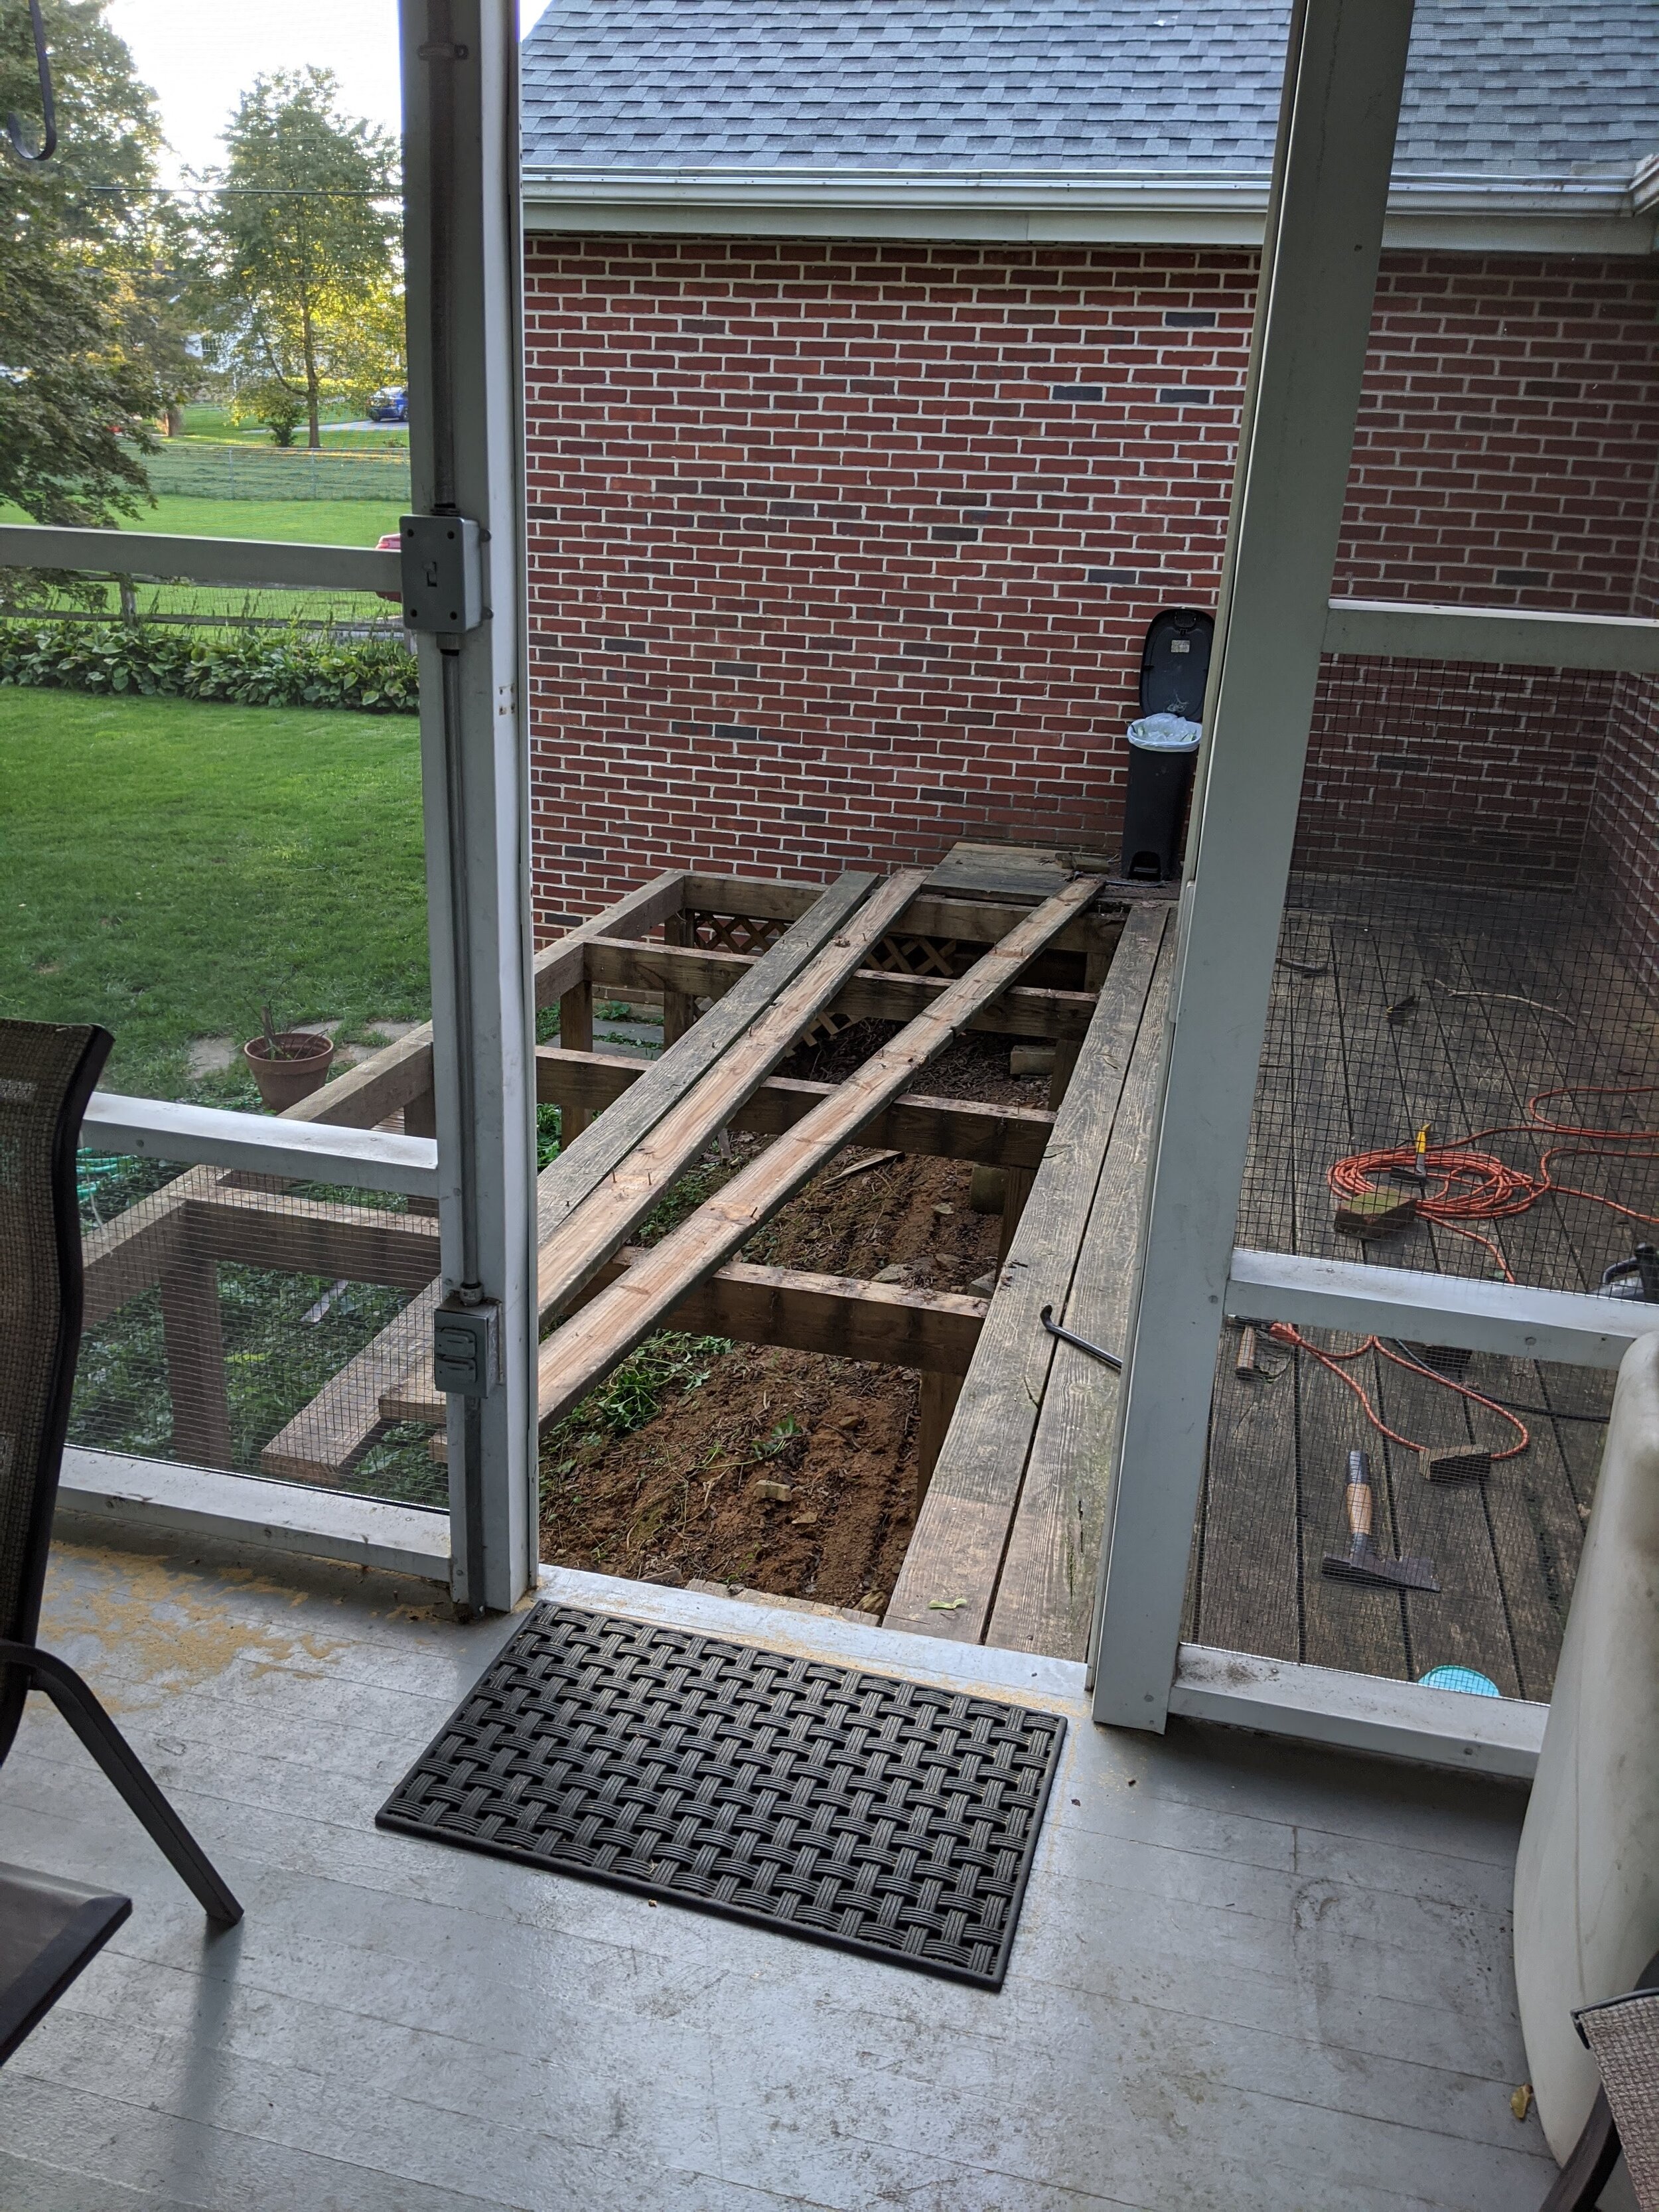
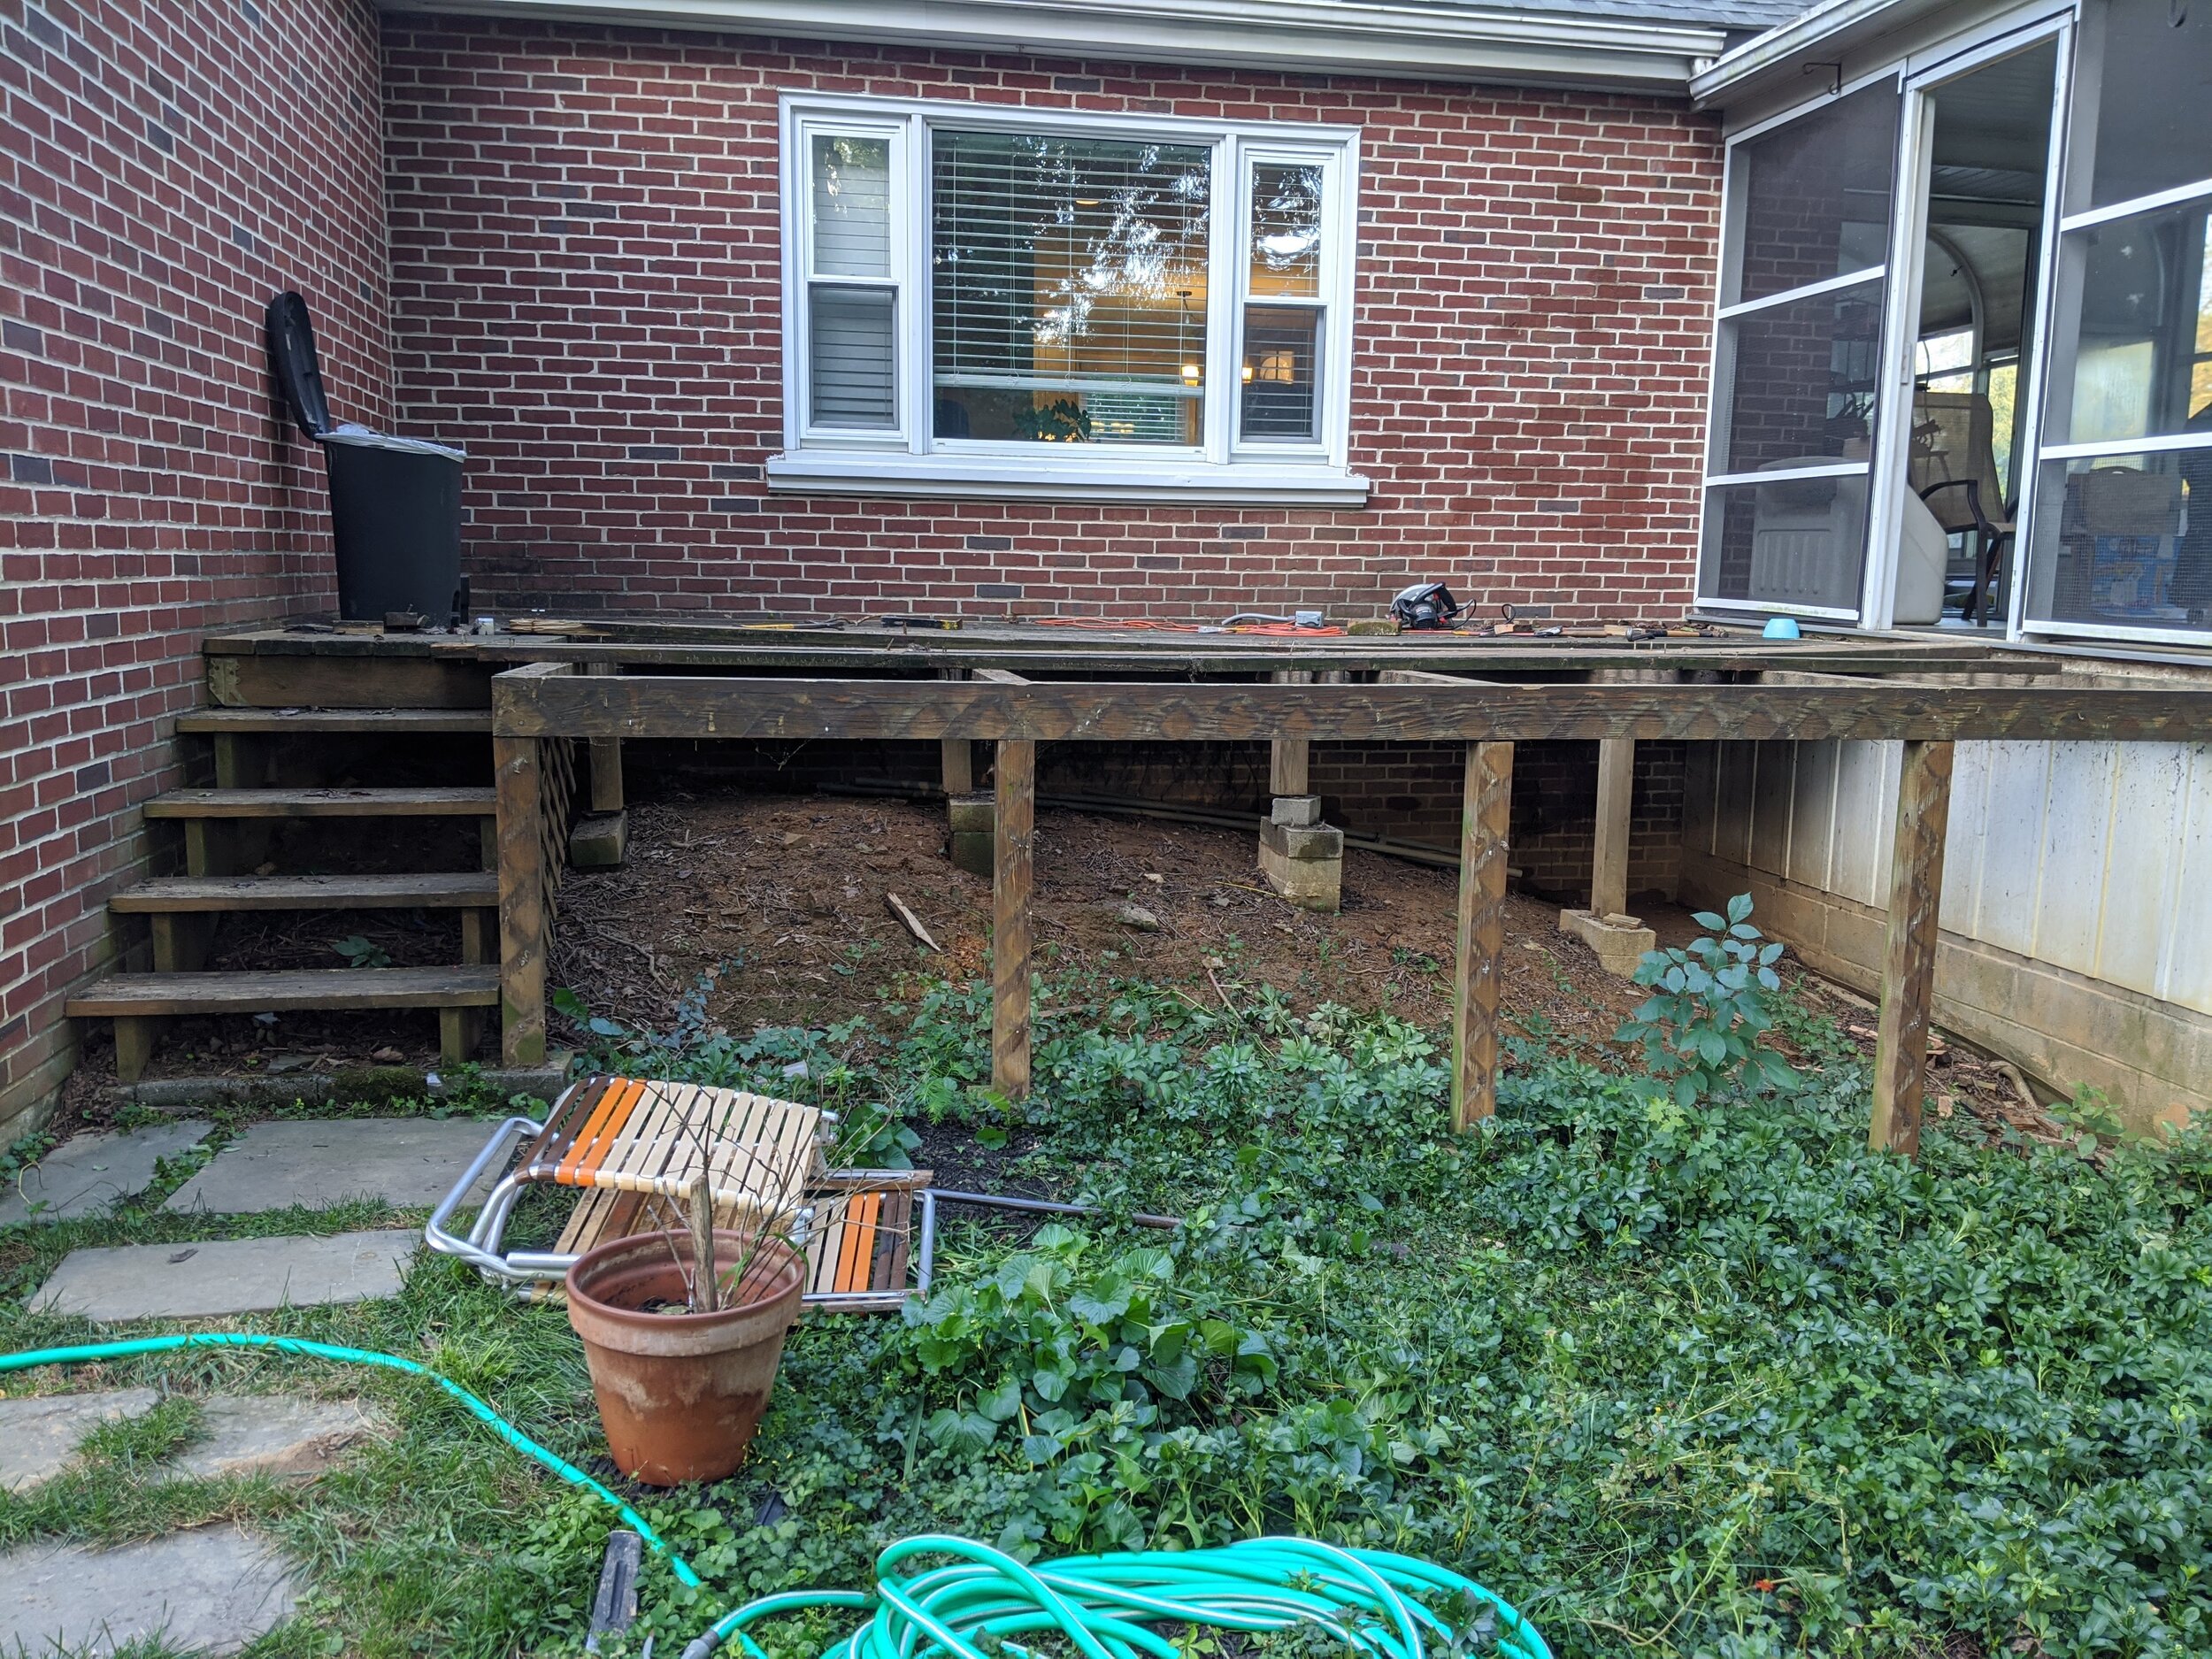
If you don’t have a deck already, then you get to skip demolition — unless maybe you have a tree stump or old car port you’re removing. Our demolition involved cutting out a (HEAVY) large (HEAVY) built-in (HEAVY) bench, then removing the front lattice, deck boards and stairs.
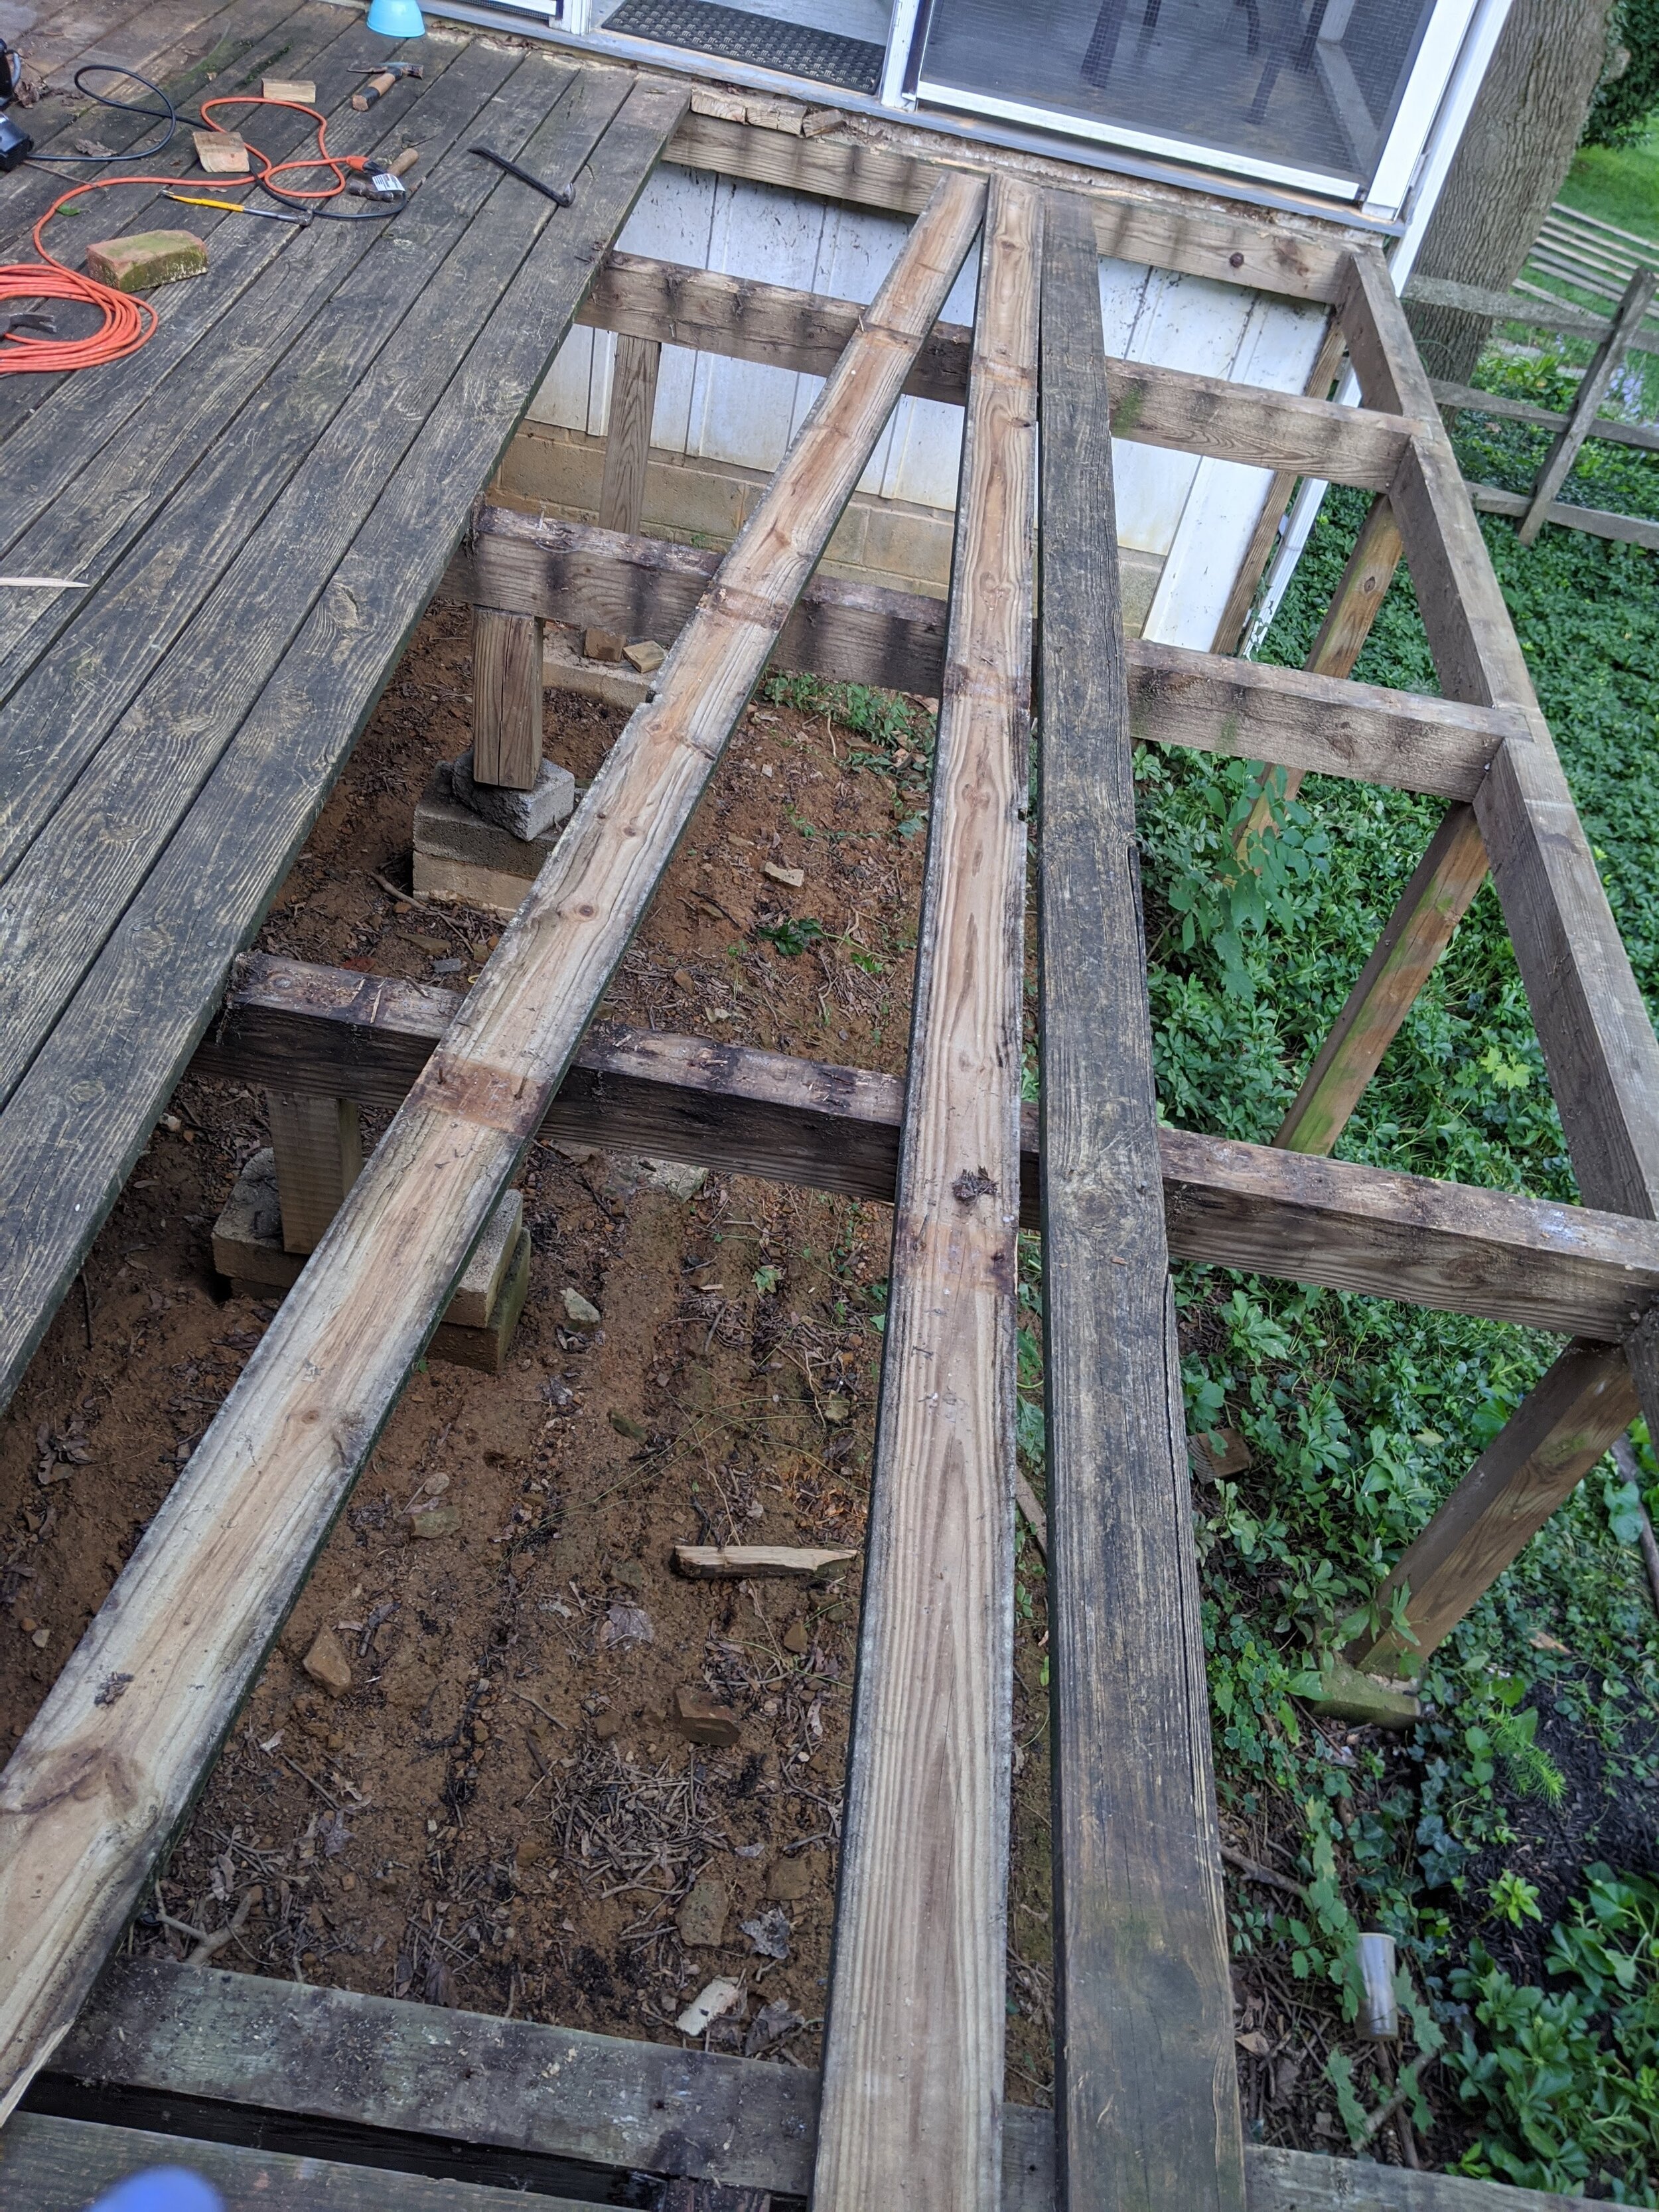
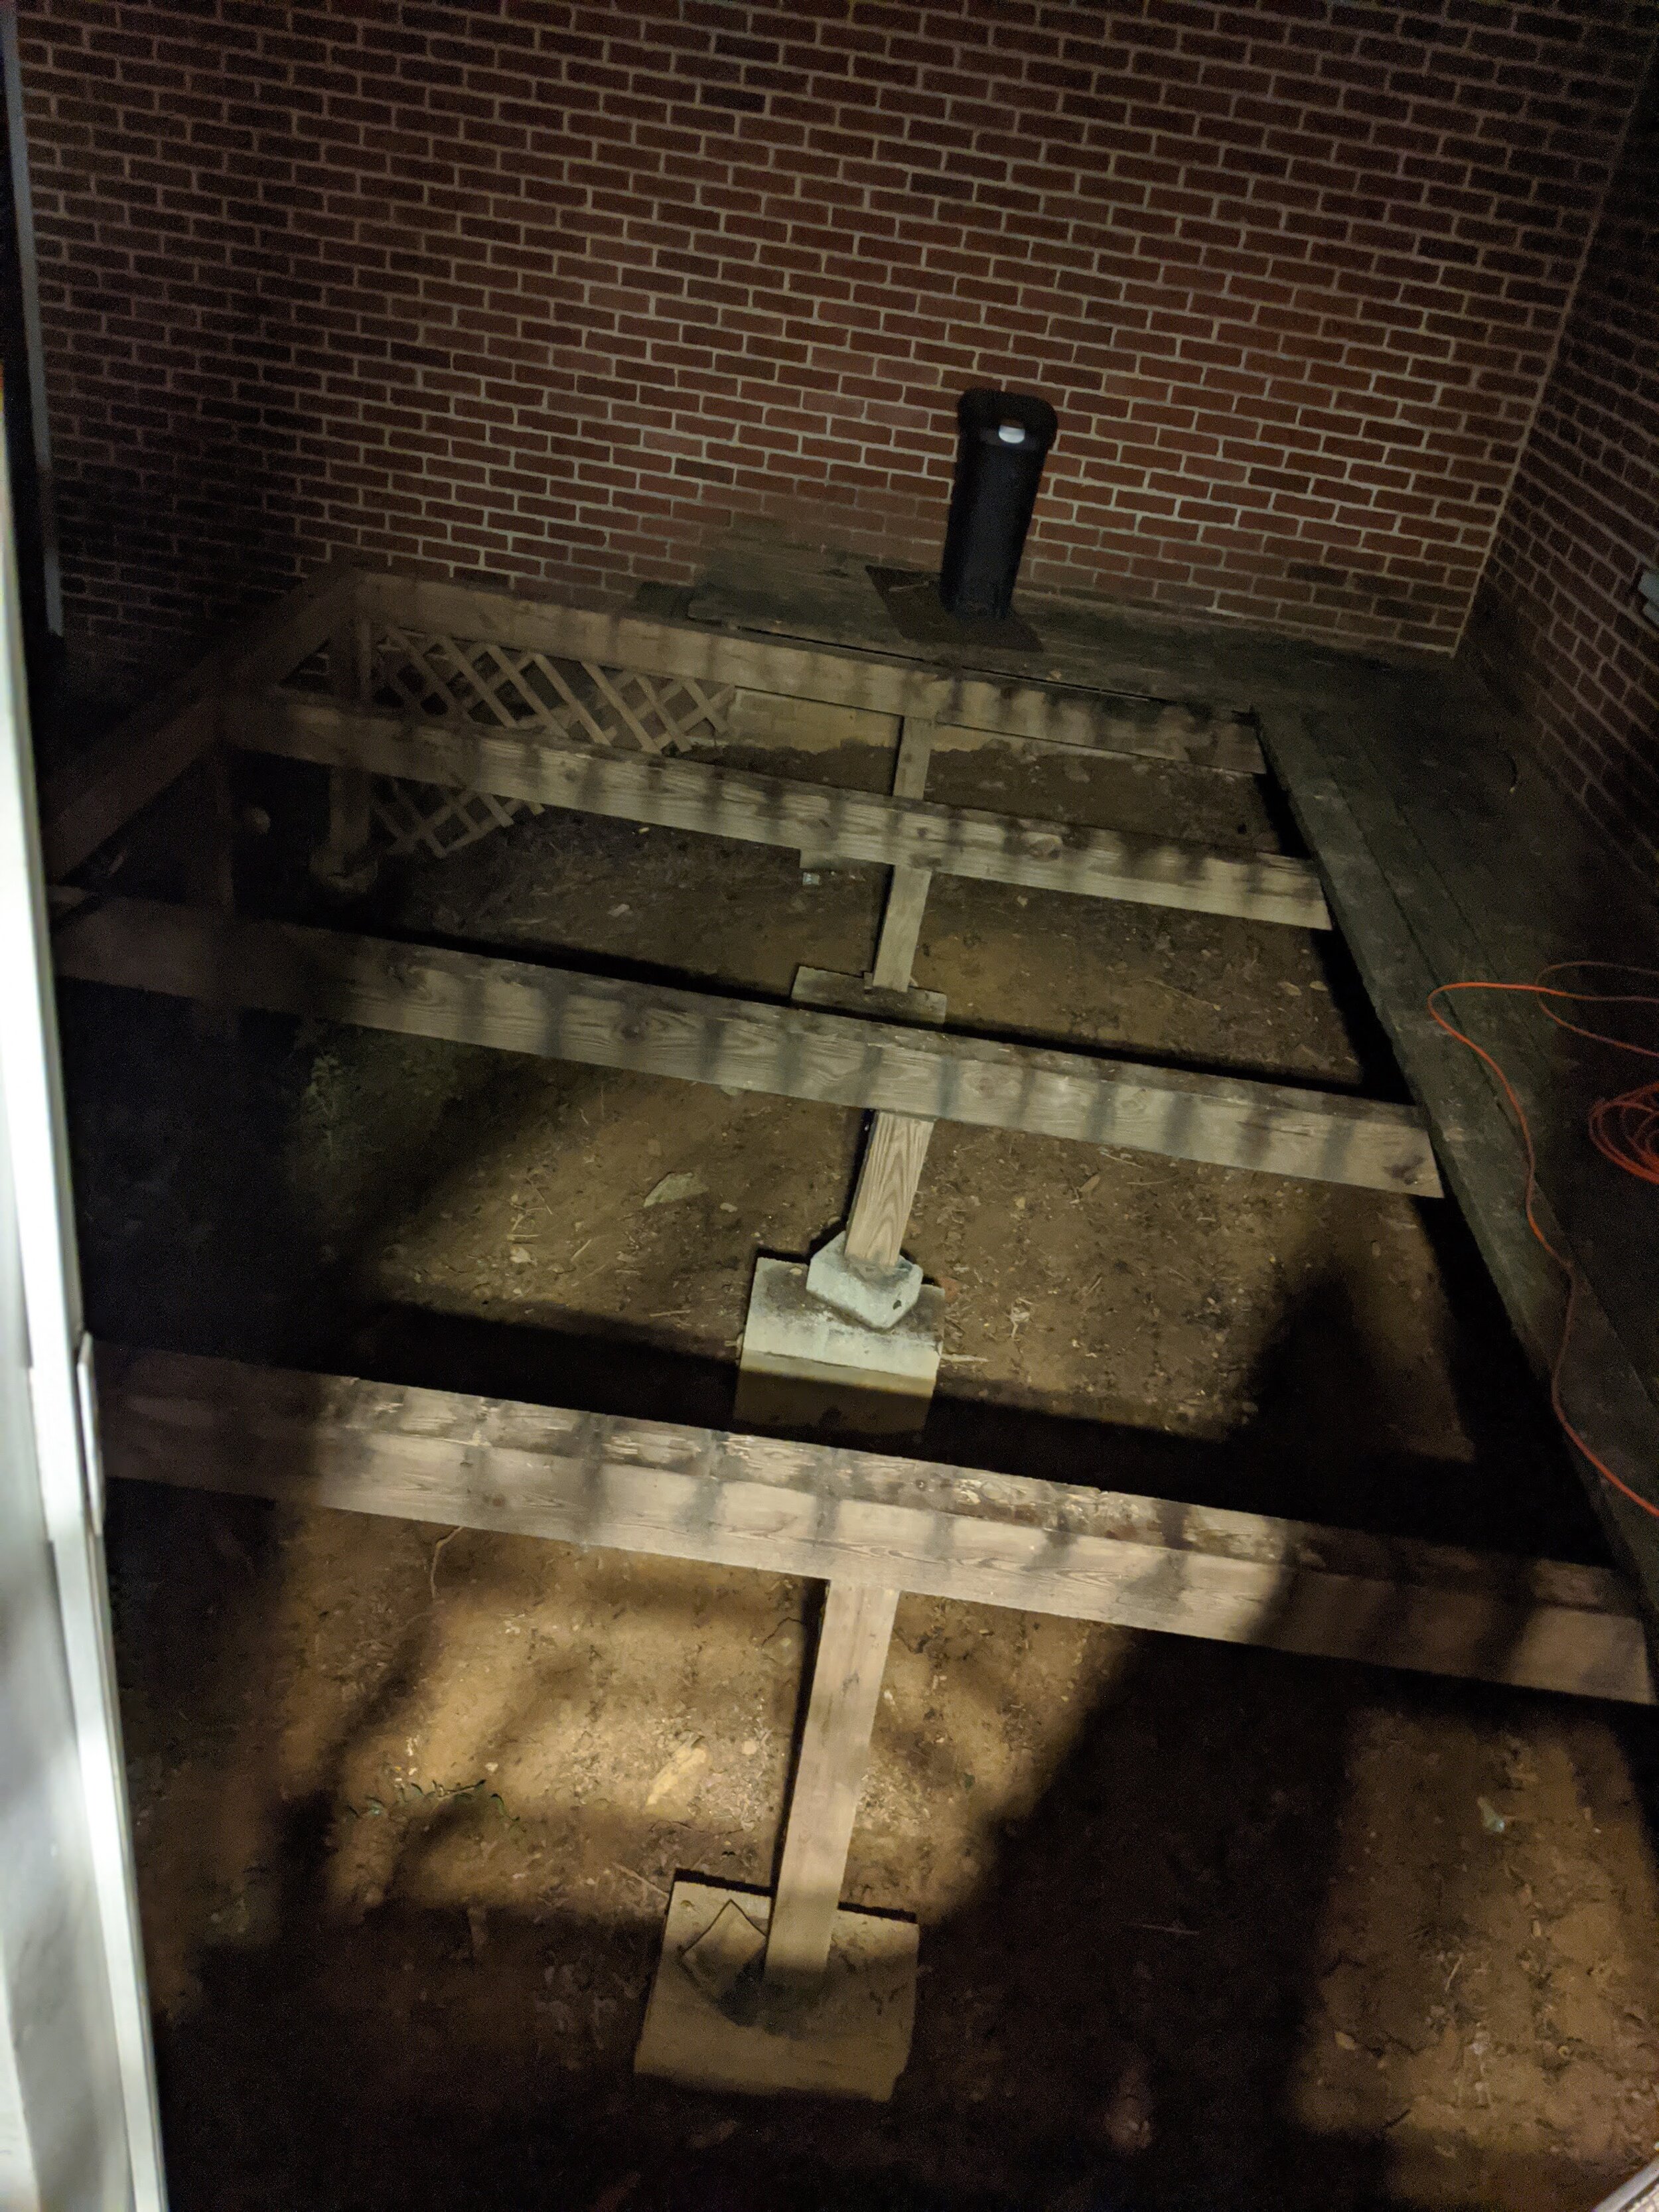
The far right picture above is where you can see the ridiculous support system that was hiding under this deck. It’s like an old shoe box stacked on a rotten board with two pieces of chewed gum to straighten it out. (Ok, it wasn’t that bad, but knowing I’d had everyone I love on that deck, I was very irritated.)
As we started to pull up the boards, my sons were impressed to see Daddy had hoed perfect rows underneath in the dirt — little did they know, it was just years of dirty water dripping between the boards. (I’m going to cover the ground prep in another blog but since you can see it here, I wanted to point it out.)
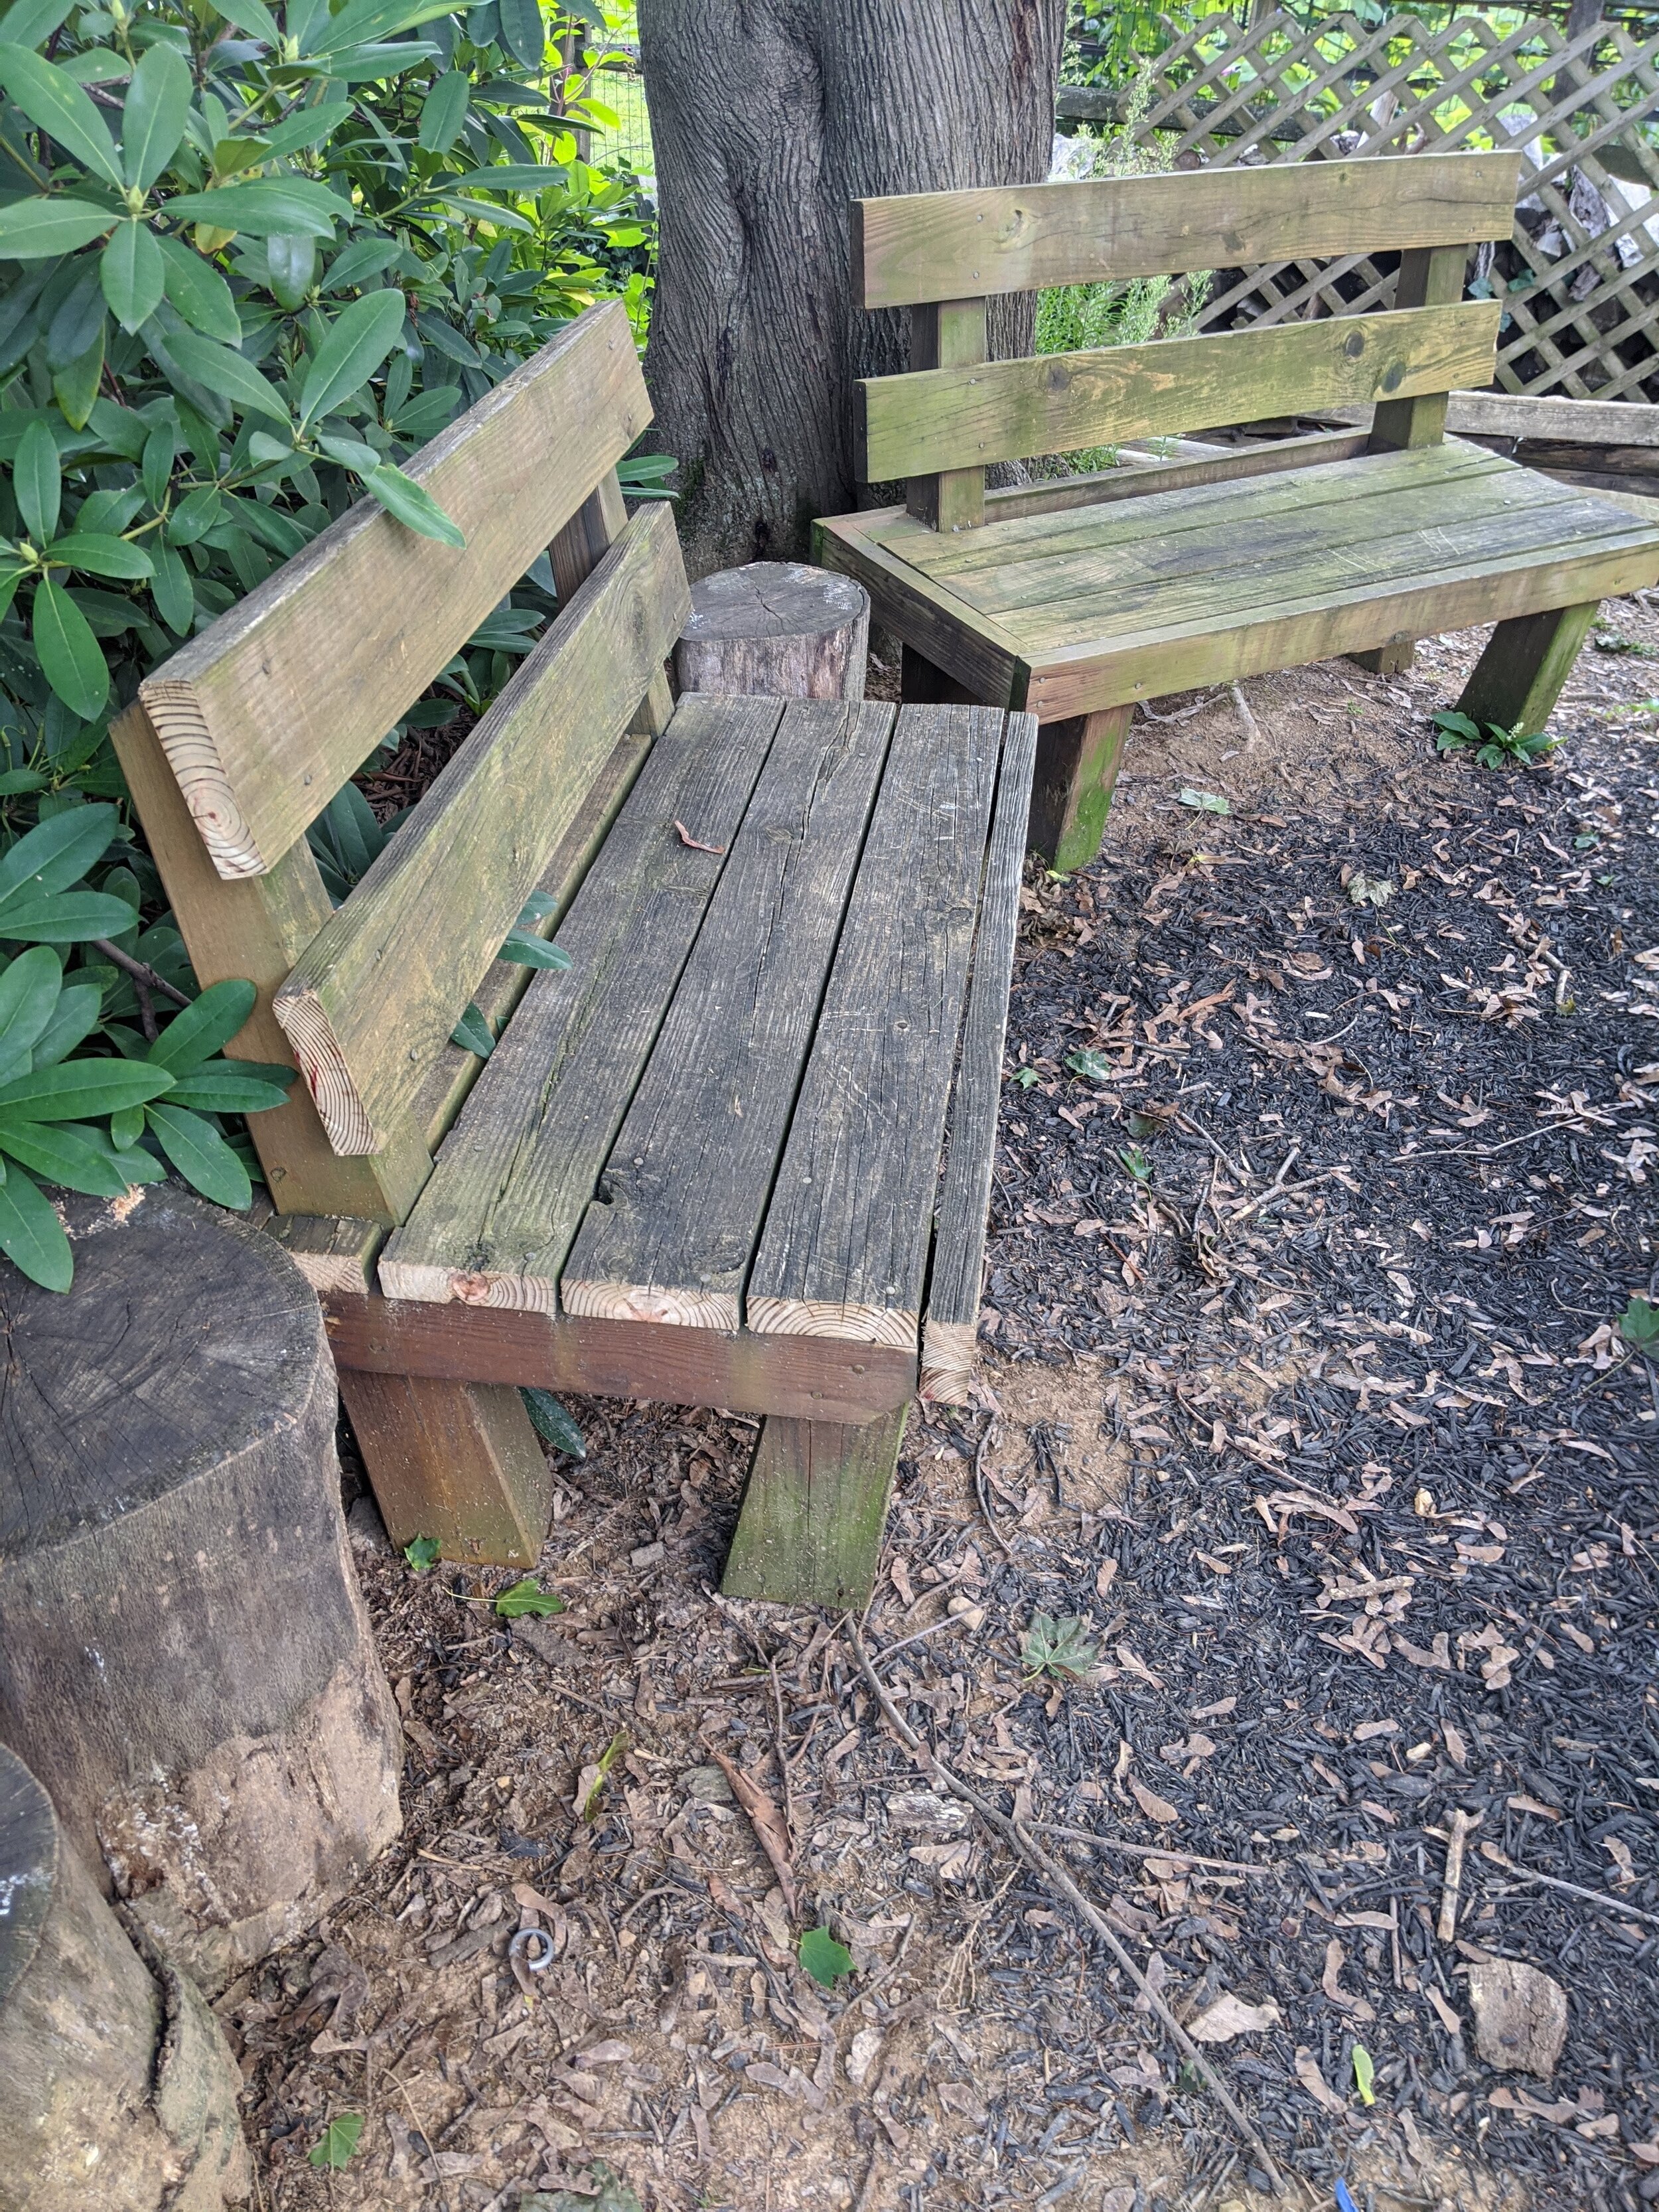
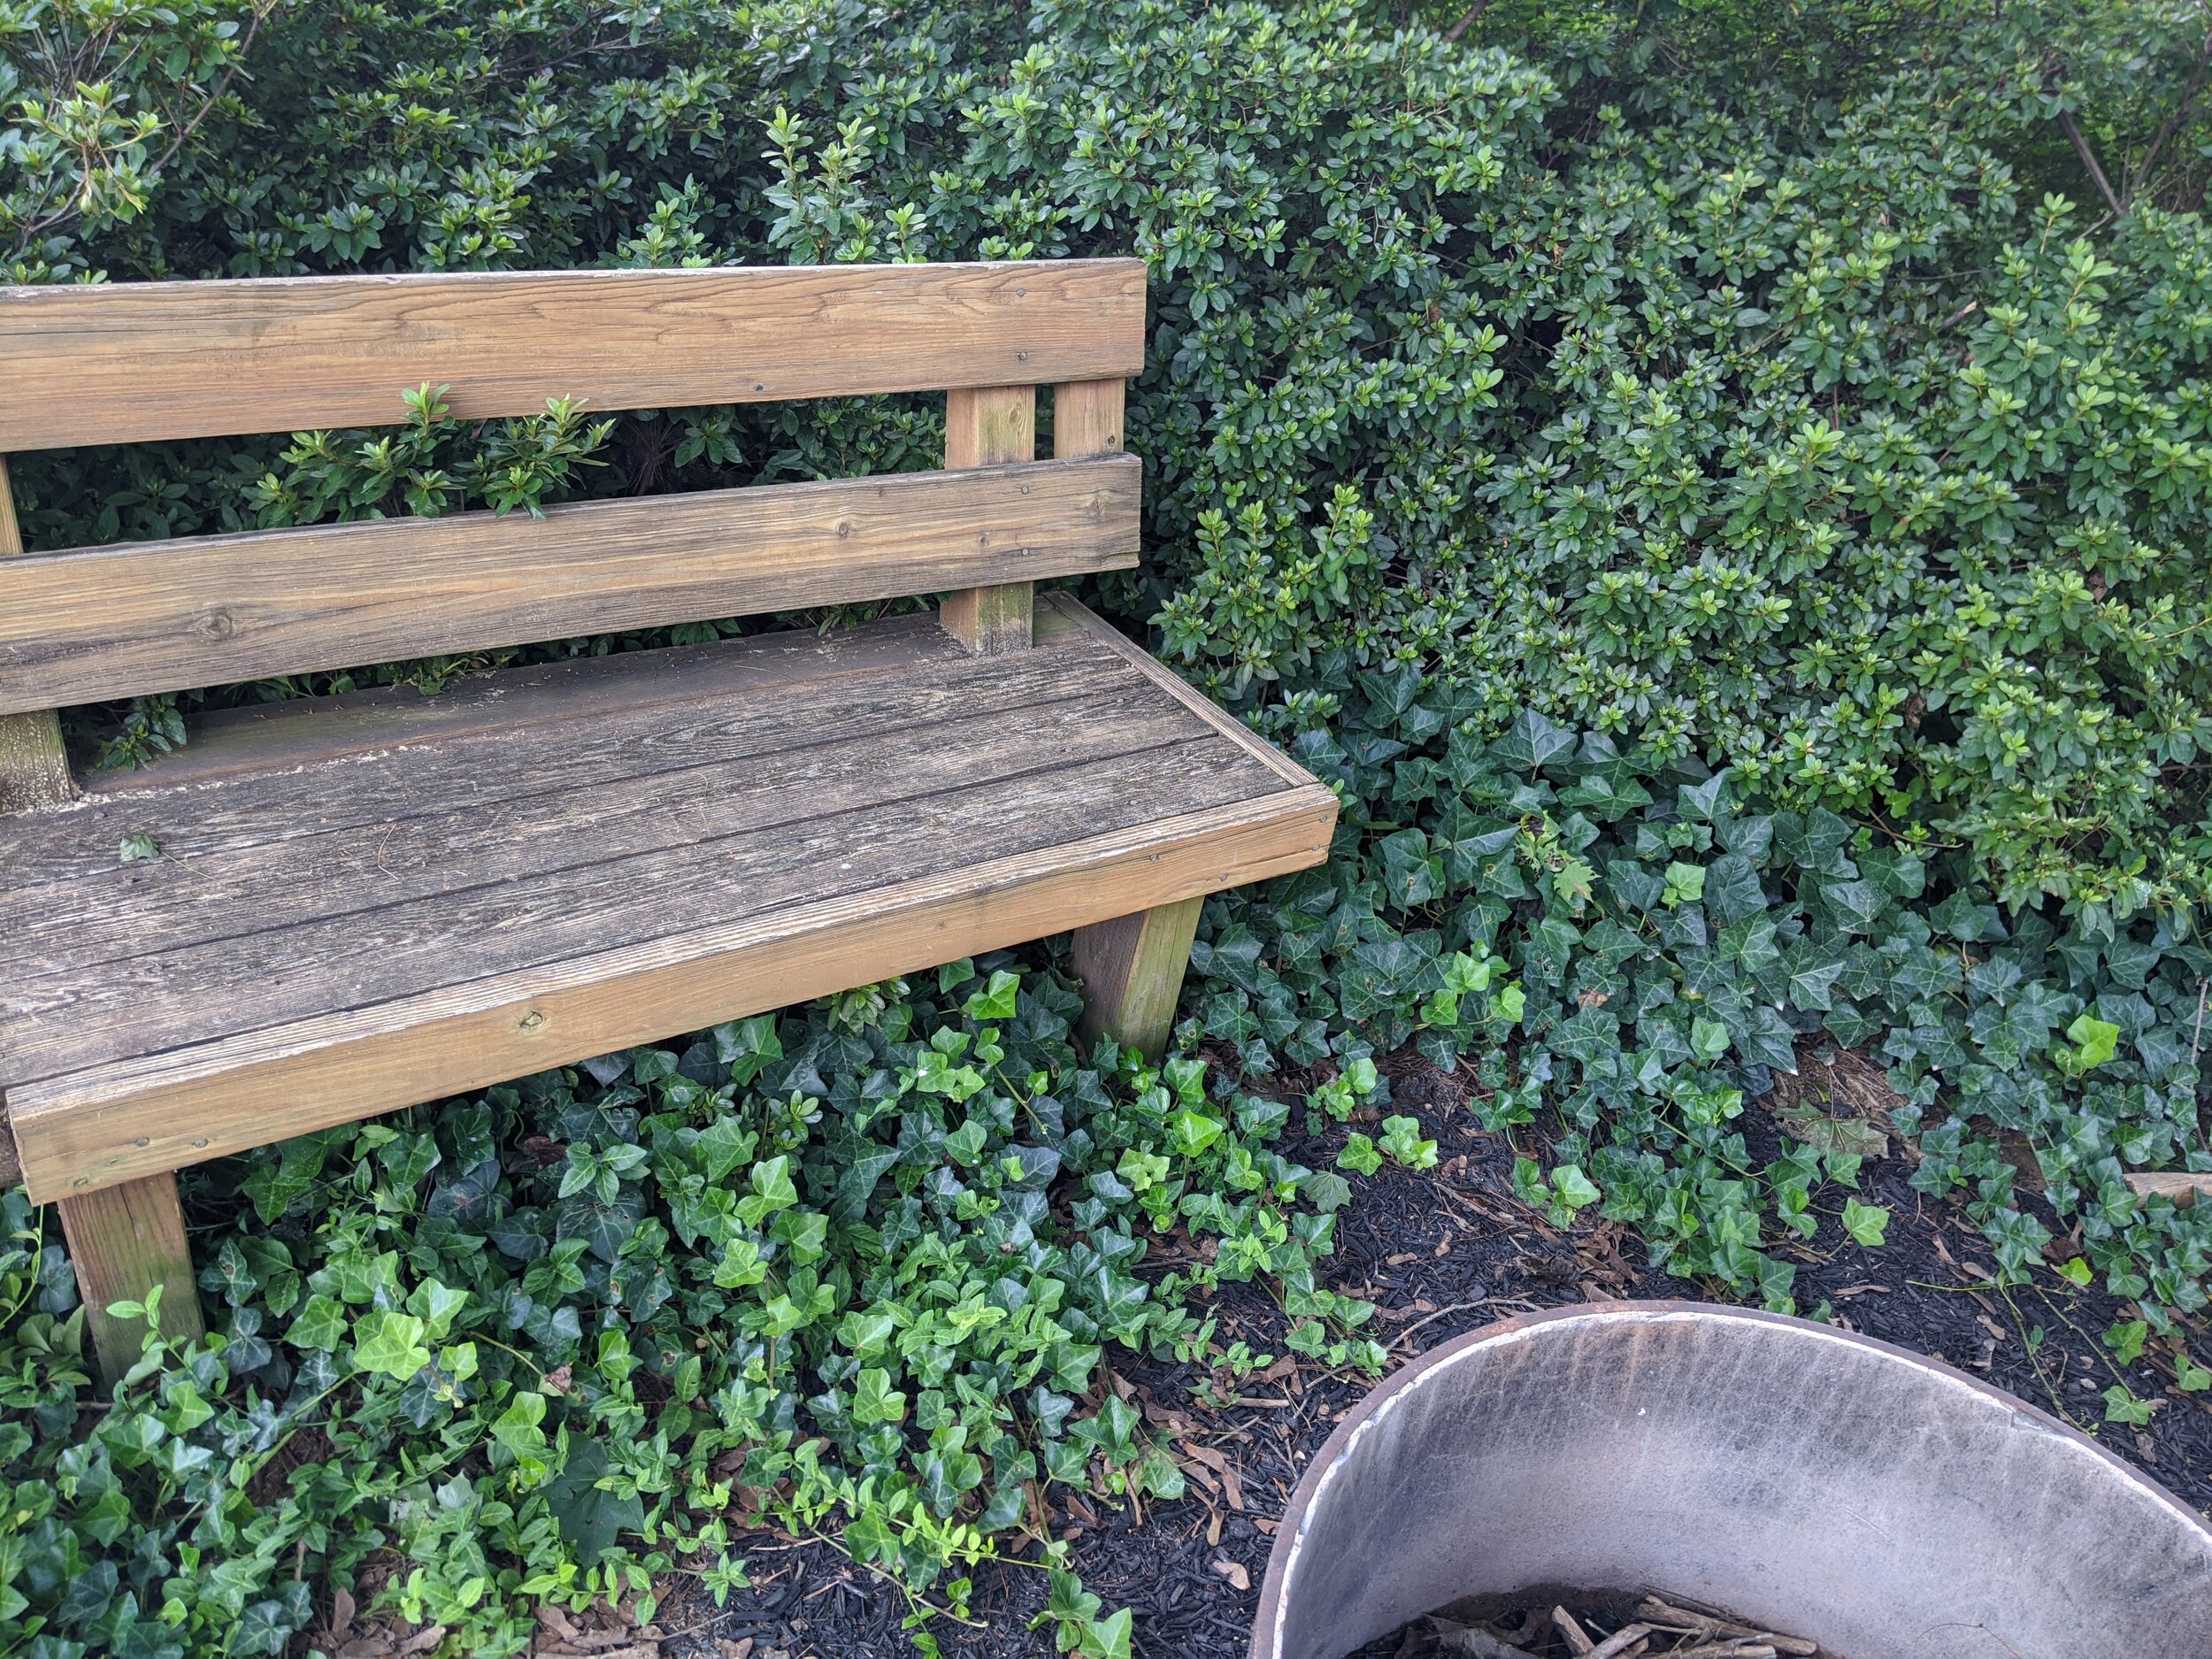
In our case, the first step was cutting out the (did I mention HEAVY?) benches that served primarily as the railings on our deck. Once again, I forgot to take a picture before BUT you can see we (with great struggle) carried them across the yard to use as sturdy seating around our firepit. We just used a sawzall to cut through on either side of the foot supports — so we threw away a small middle section of each that ended up with no feet.
DIGGING THE FOOTERS
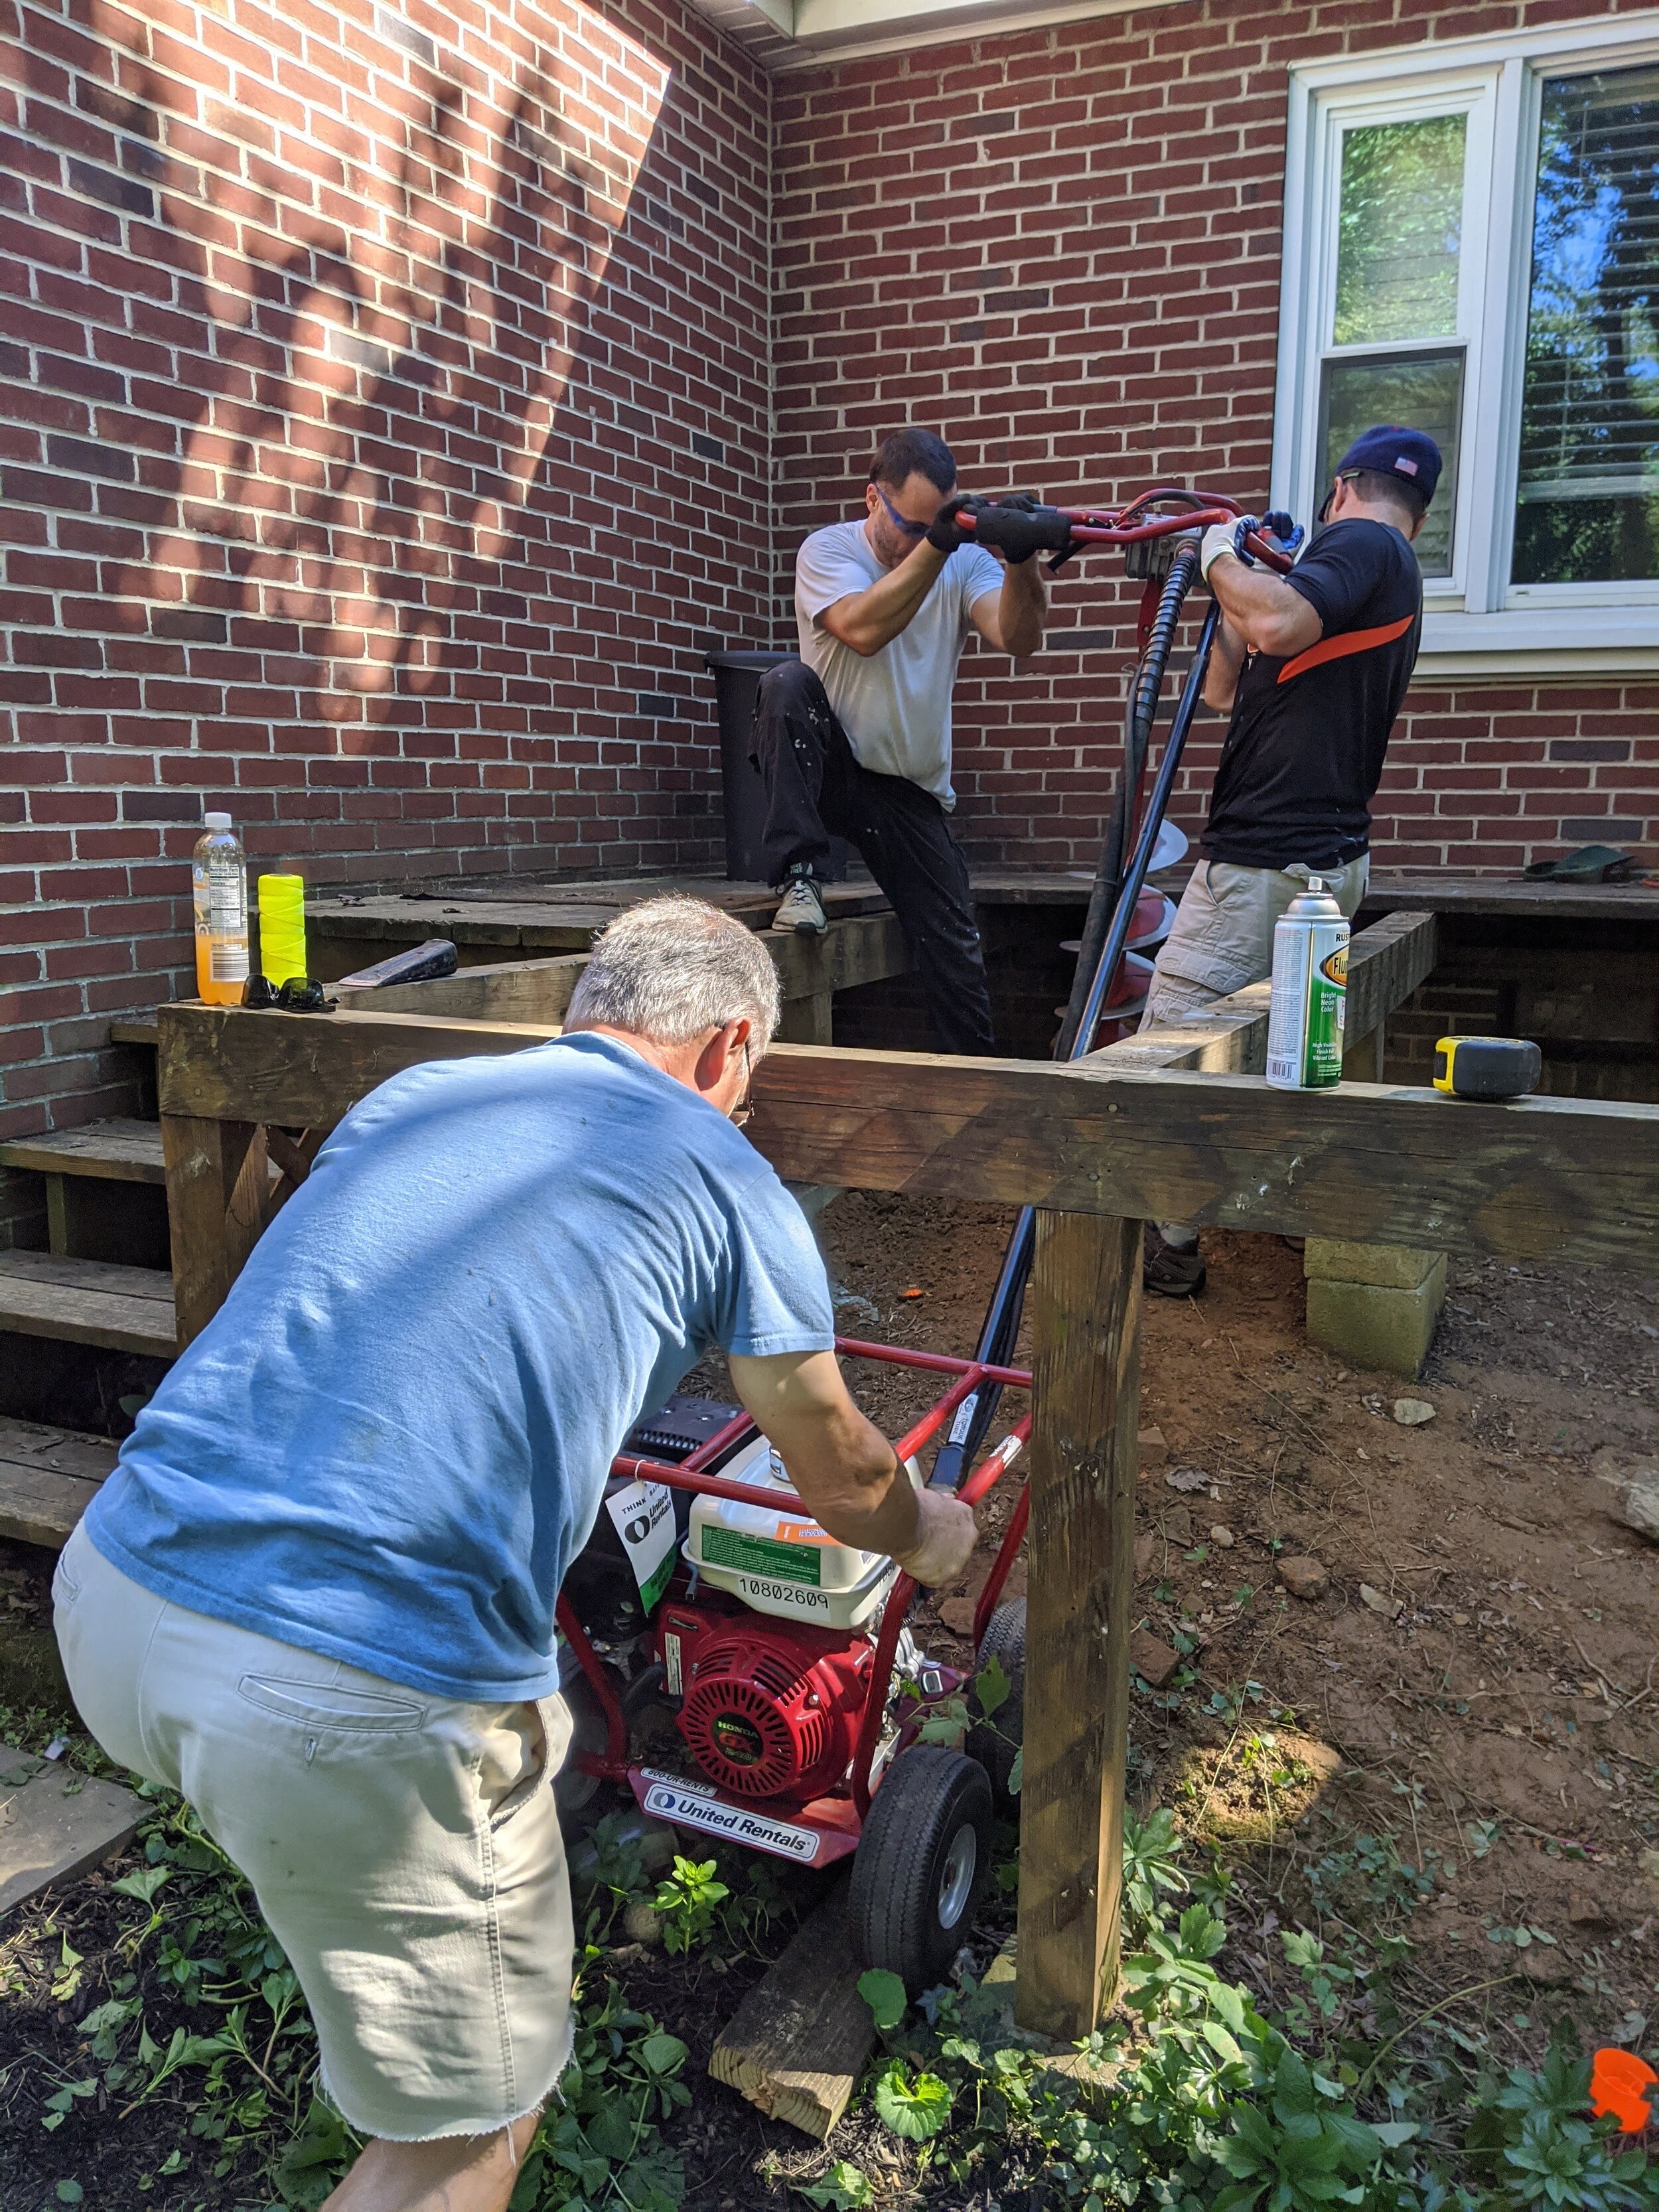
As you saw on my extremely accurate and color-coded plan, we needed to dig 10 footers. This would eliminate the brick anchors into our house being forced to carry the weight of the deck and instead send it into the ground.
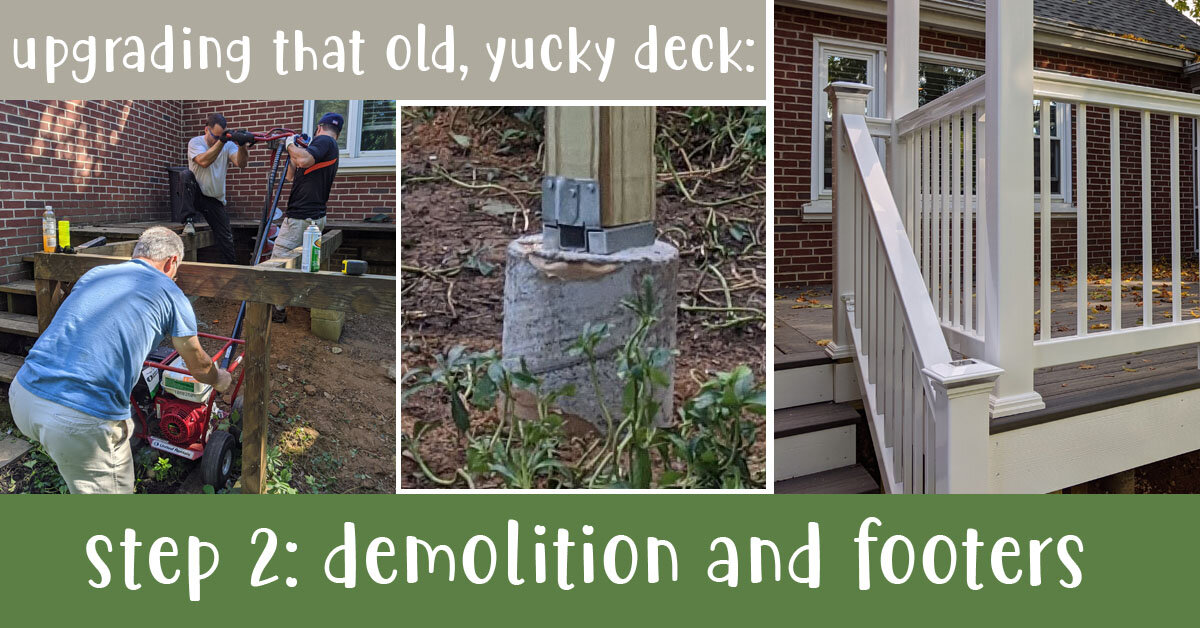
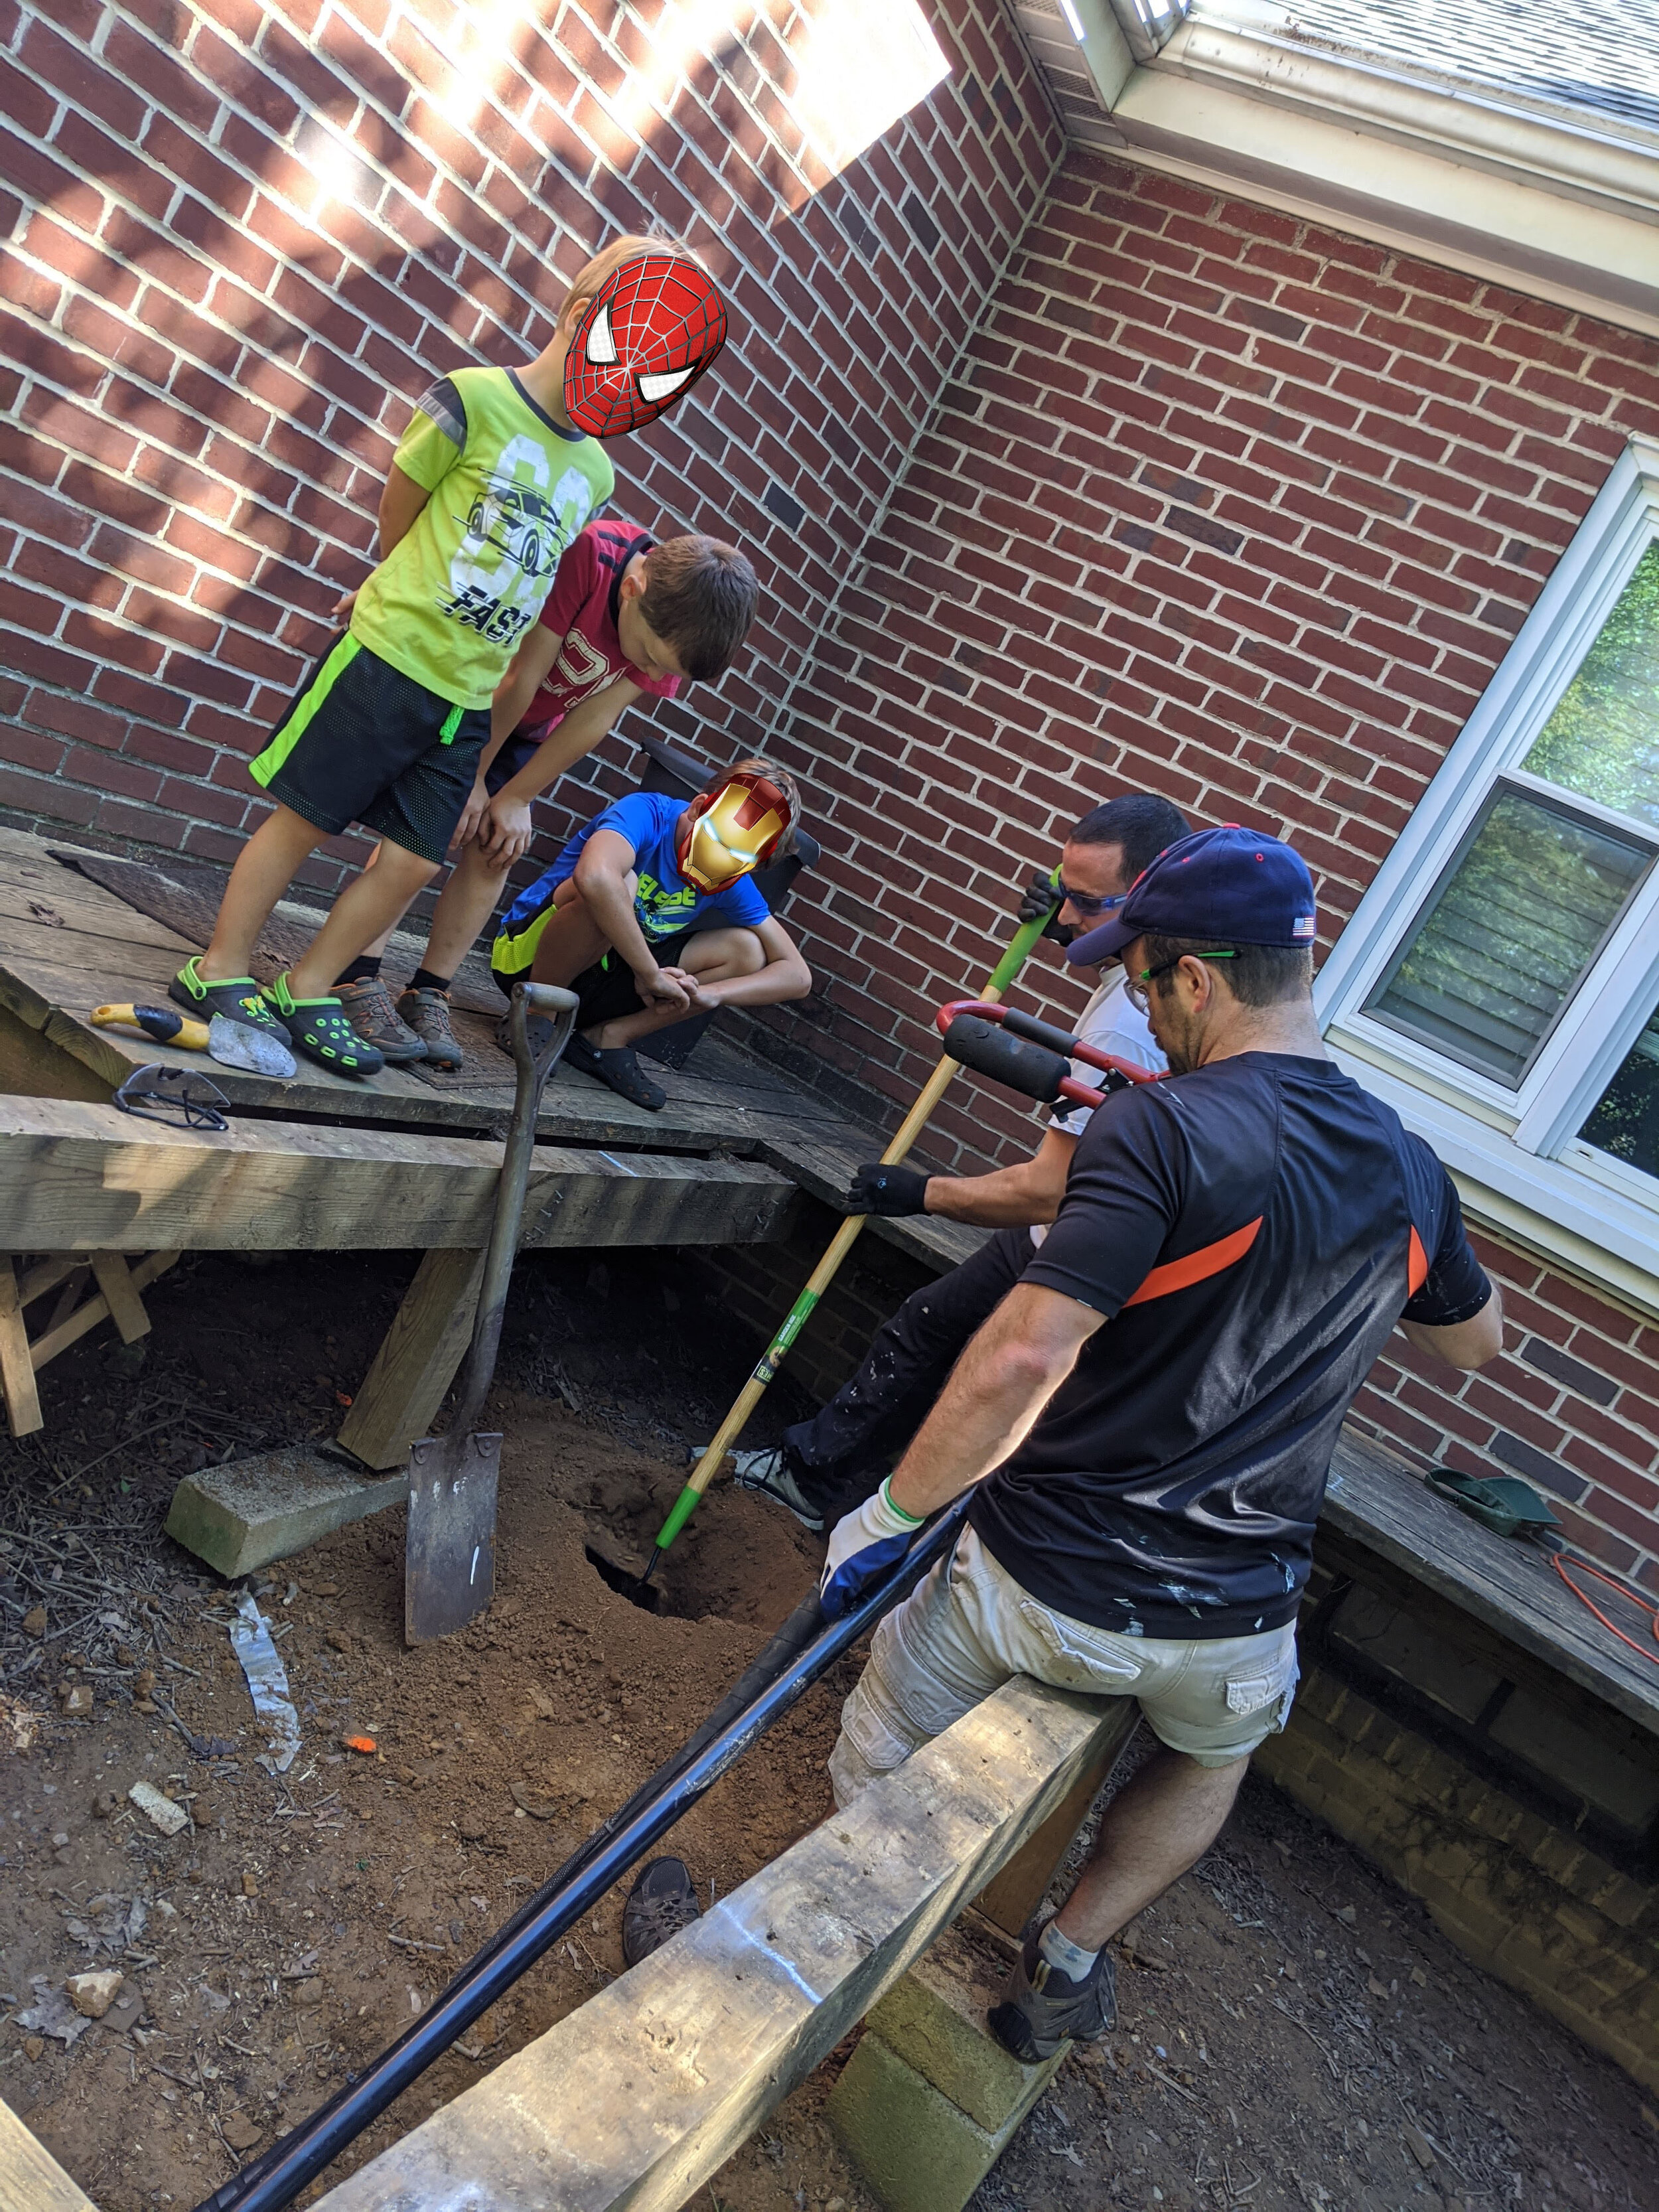
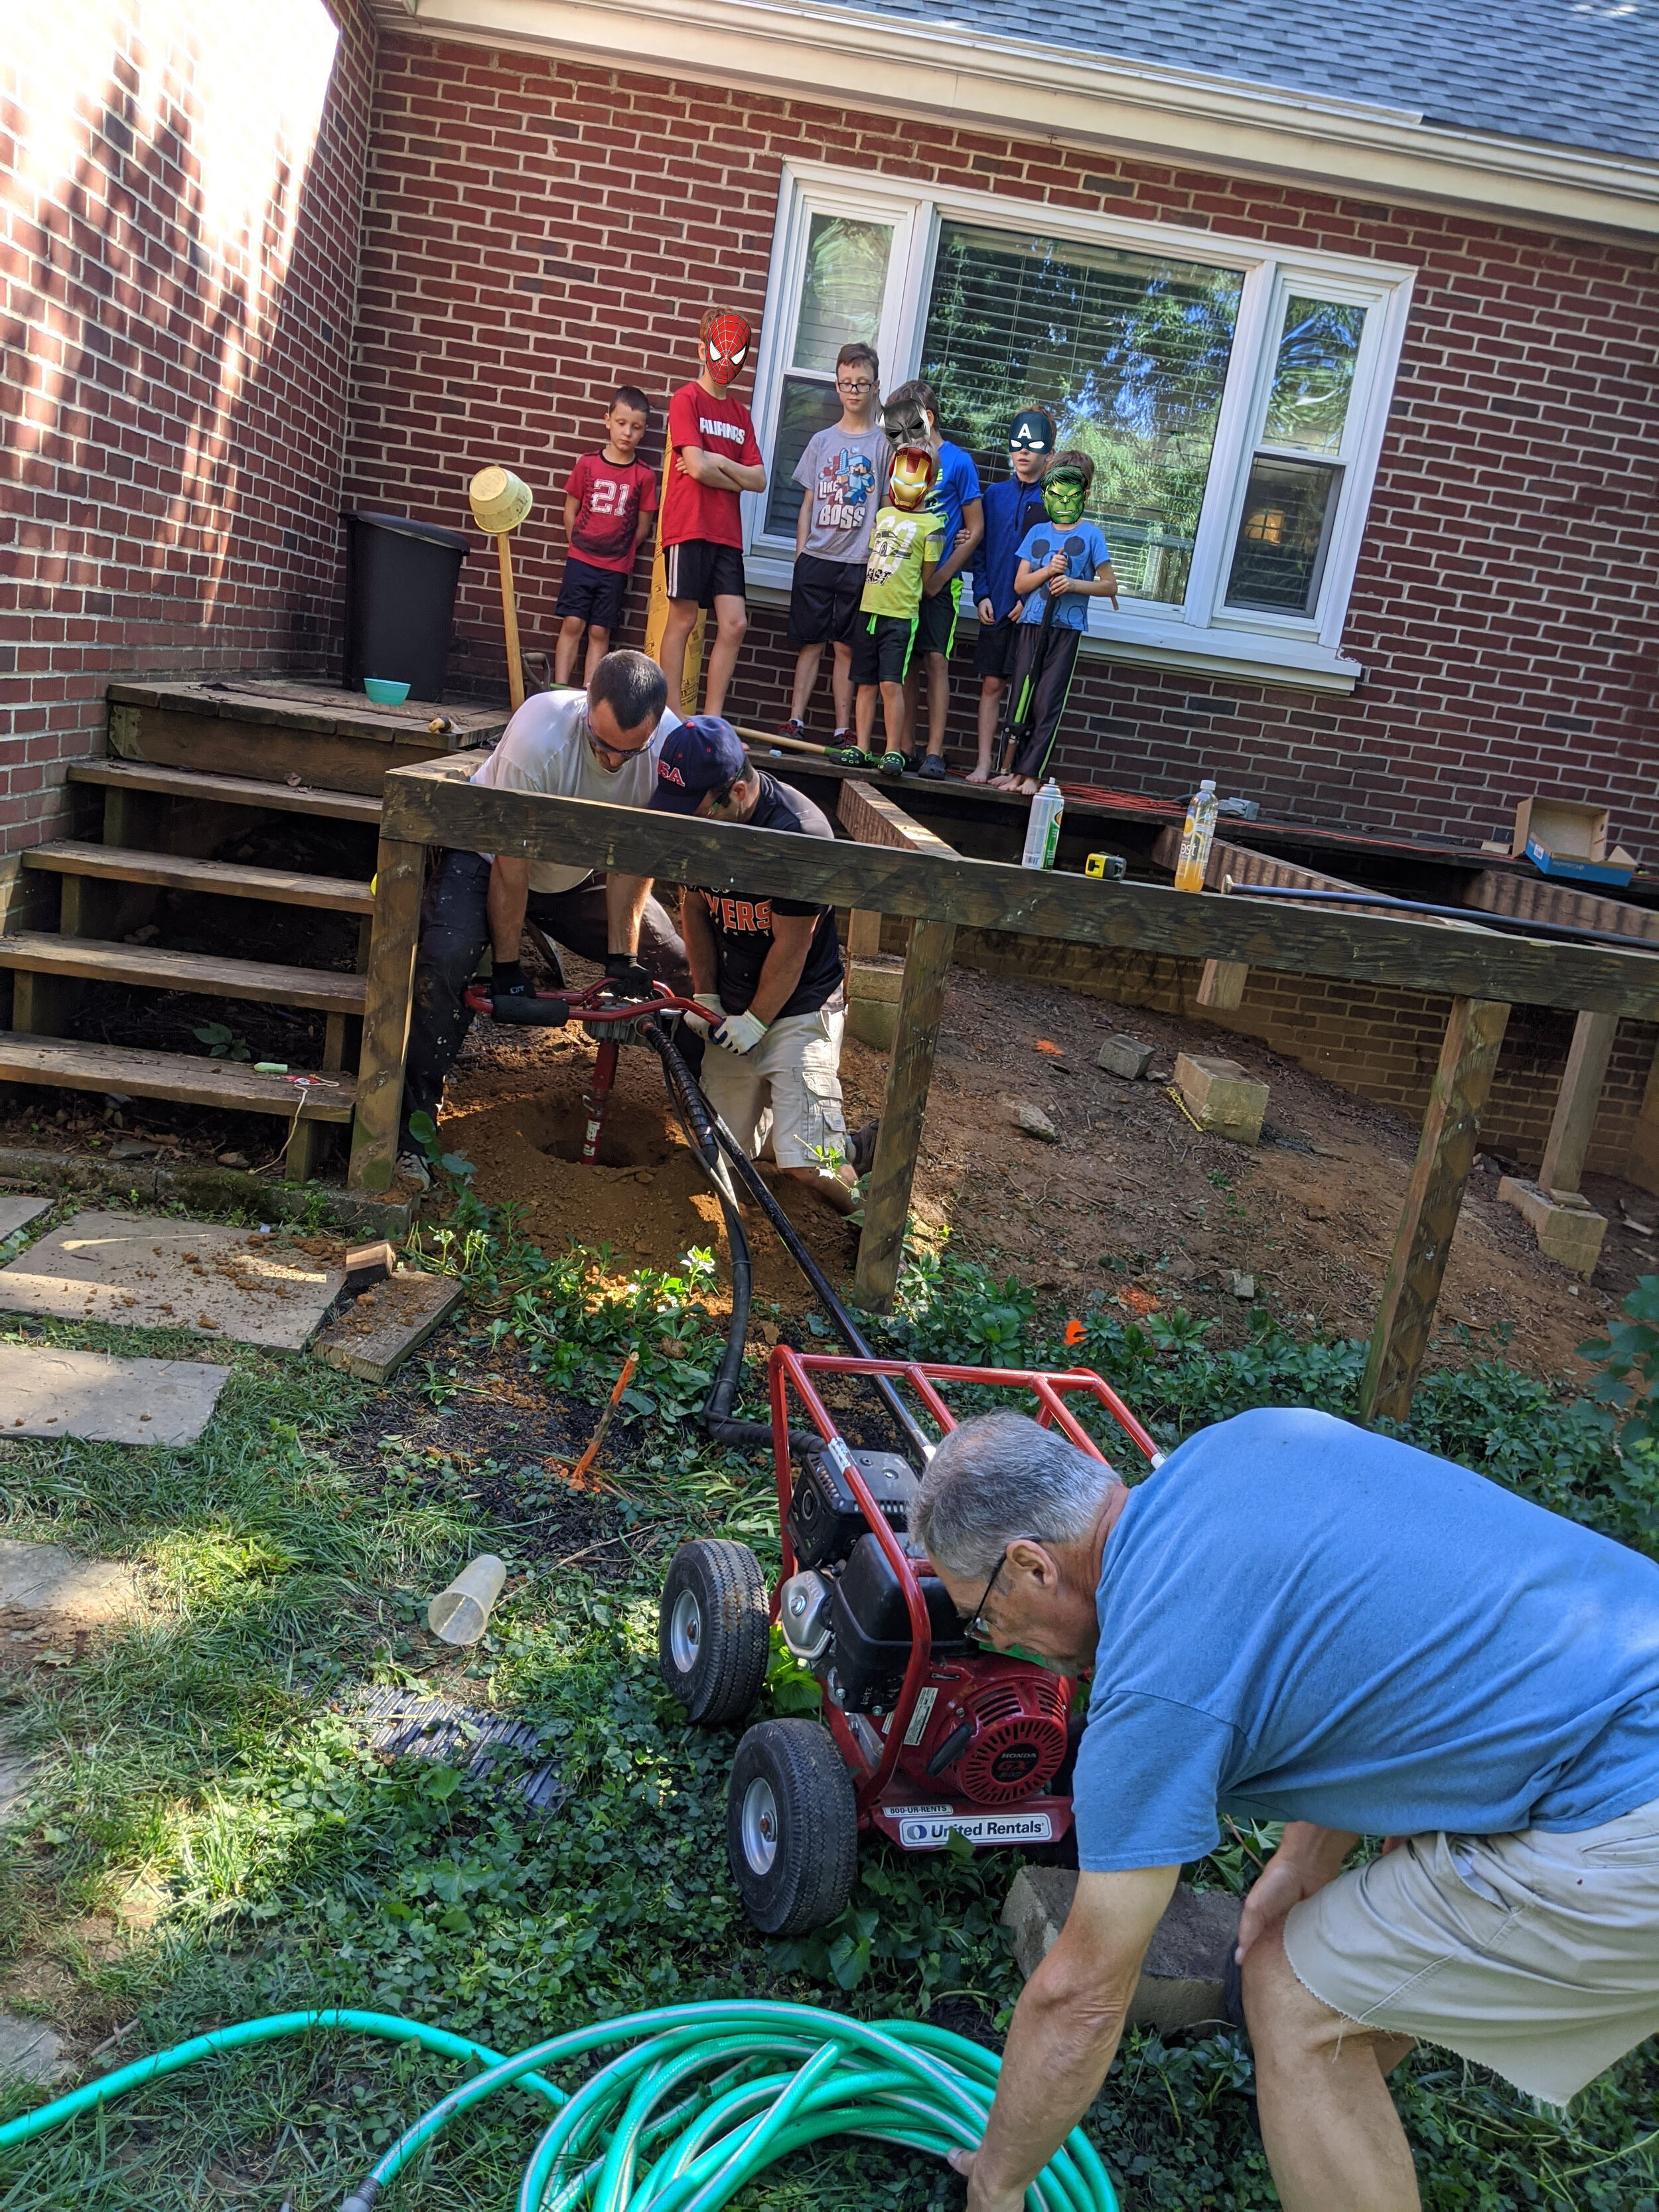
First step was to rent a huge digger auger. My sons literally sent out an APB into the neighborhood “MY DAD IS DIGGING HOLES” and allllll the neighborhood children showed up to watch. It was SO much fun!
We had some really great help at this stage which was much appreciated. And afterwards, Hubs got to dig a few holes that neighbors needed for other projects while we still had the auger.
A WORD ABOUT MEASURING
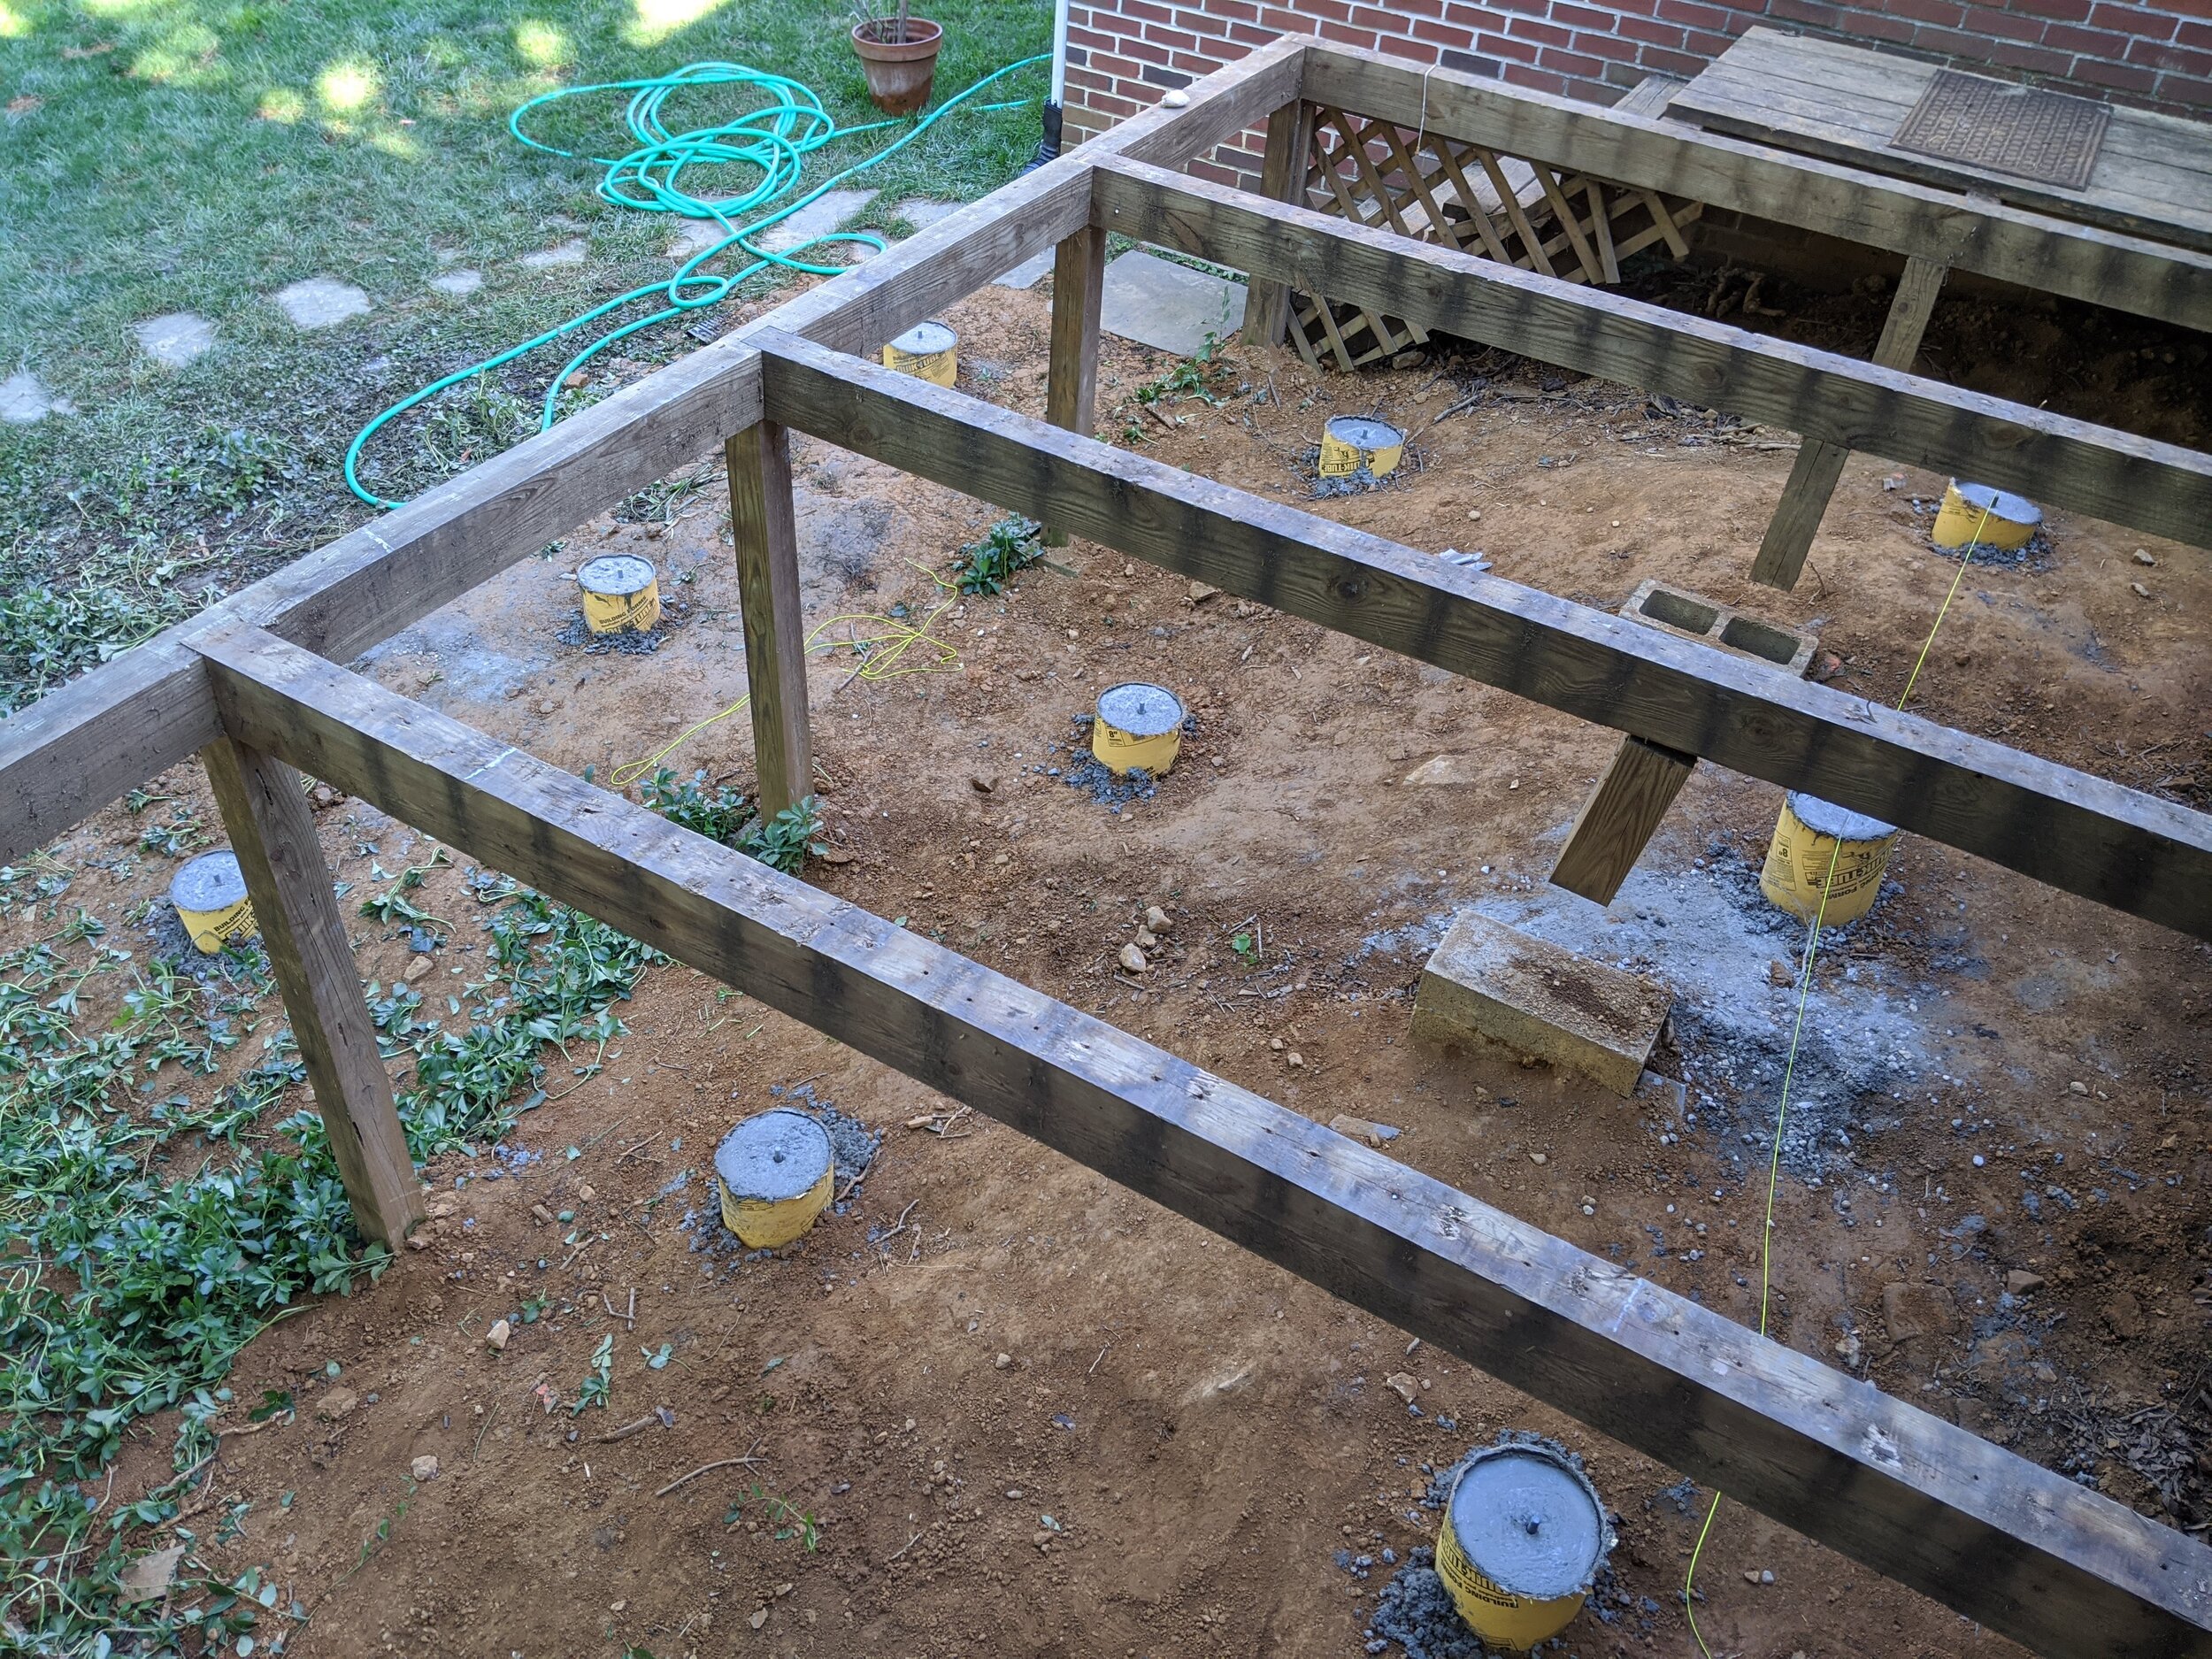
You aren’t going to be able to move the concrete, so get this right. Your support beams must go in a straight line. Measure the holes twice before you start and again as you’re going. The auger isn’t exact, but these footers are holding up the support beams — which you aren’t going to be able to just bend a little if you’re a half-inch off! Hang a string and make sure it’s perfect both vertically and horizontally using a level! You need the screws to be perfect, so if the tubes are off a bit that’s ok. Just line up the screws with your string.
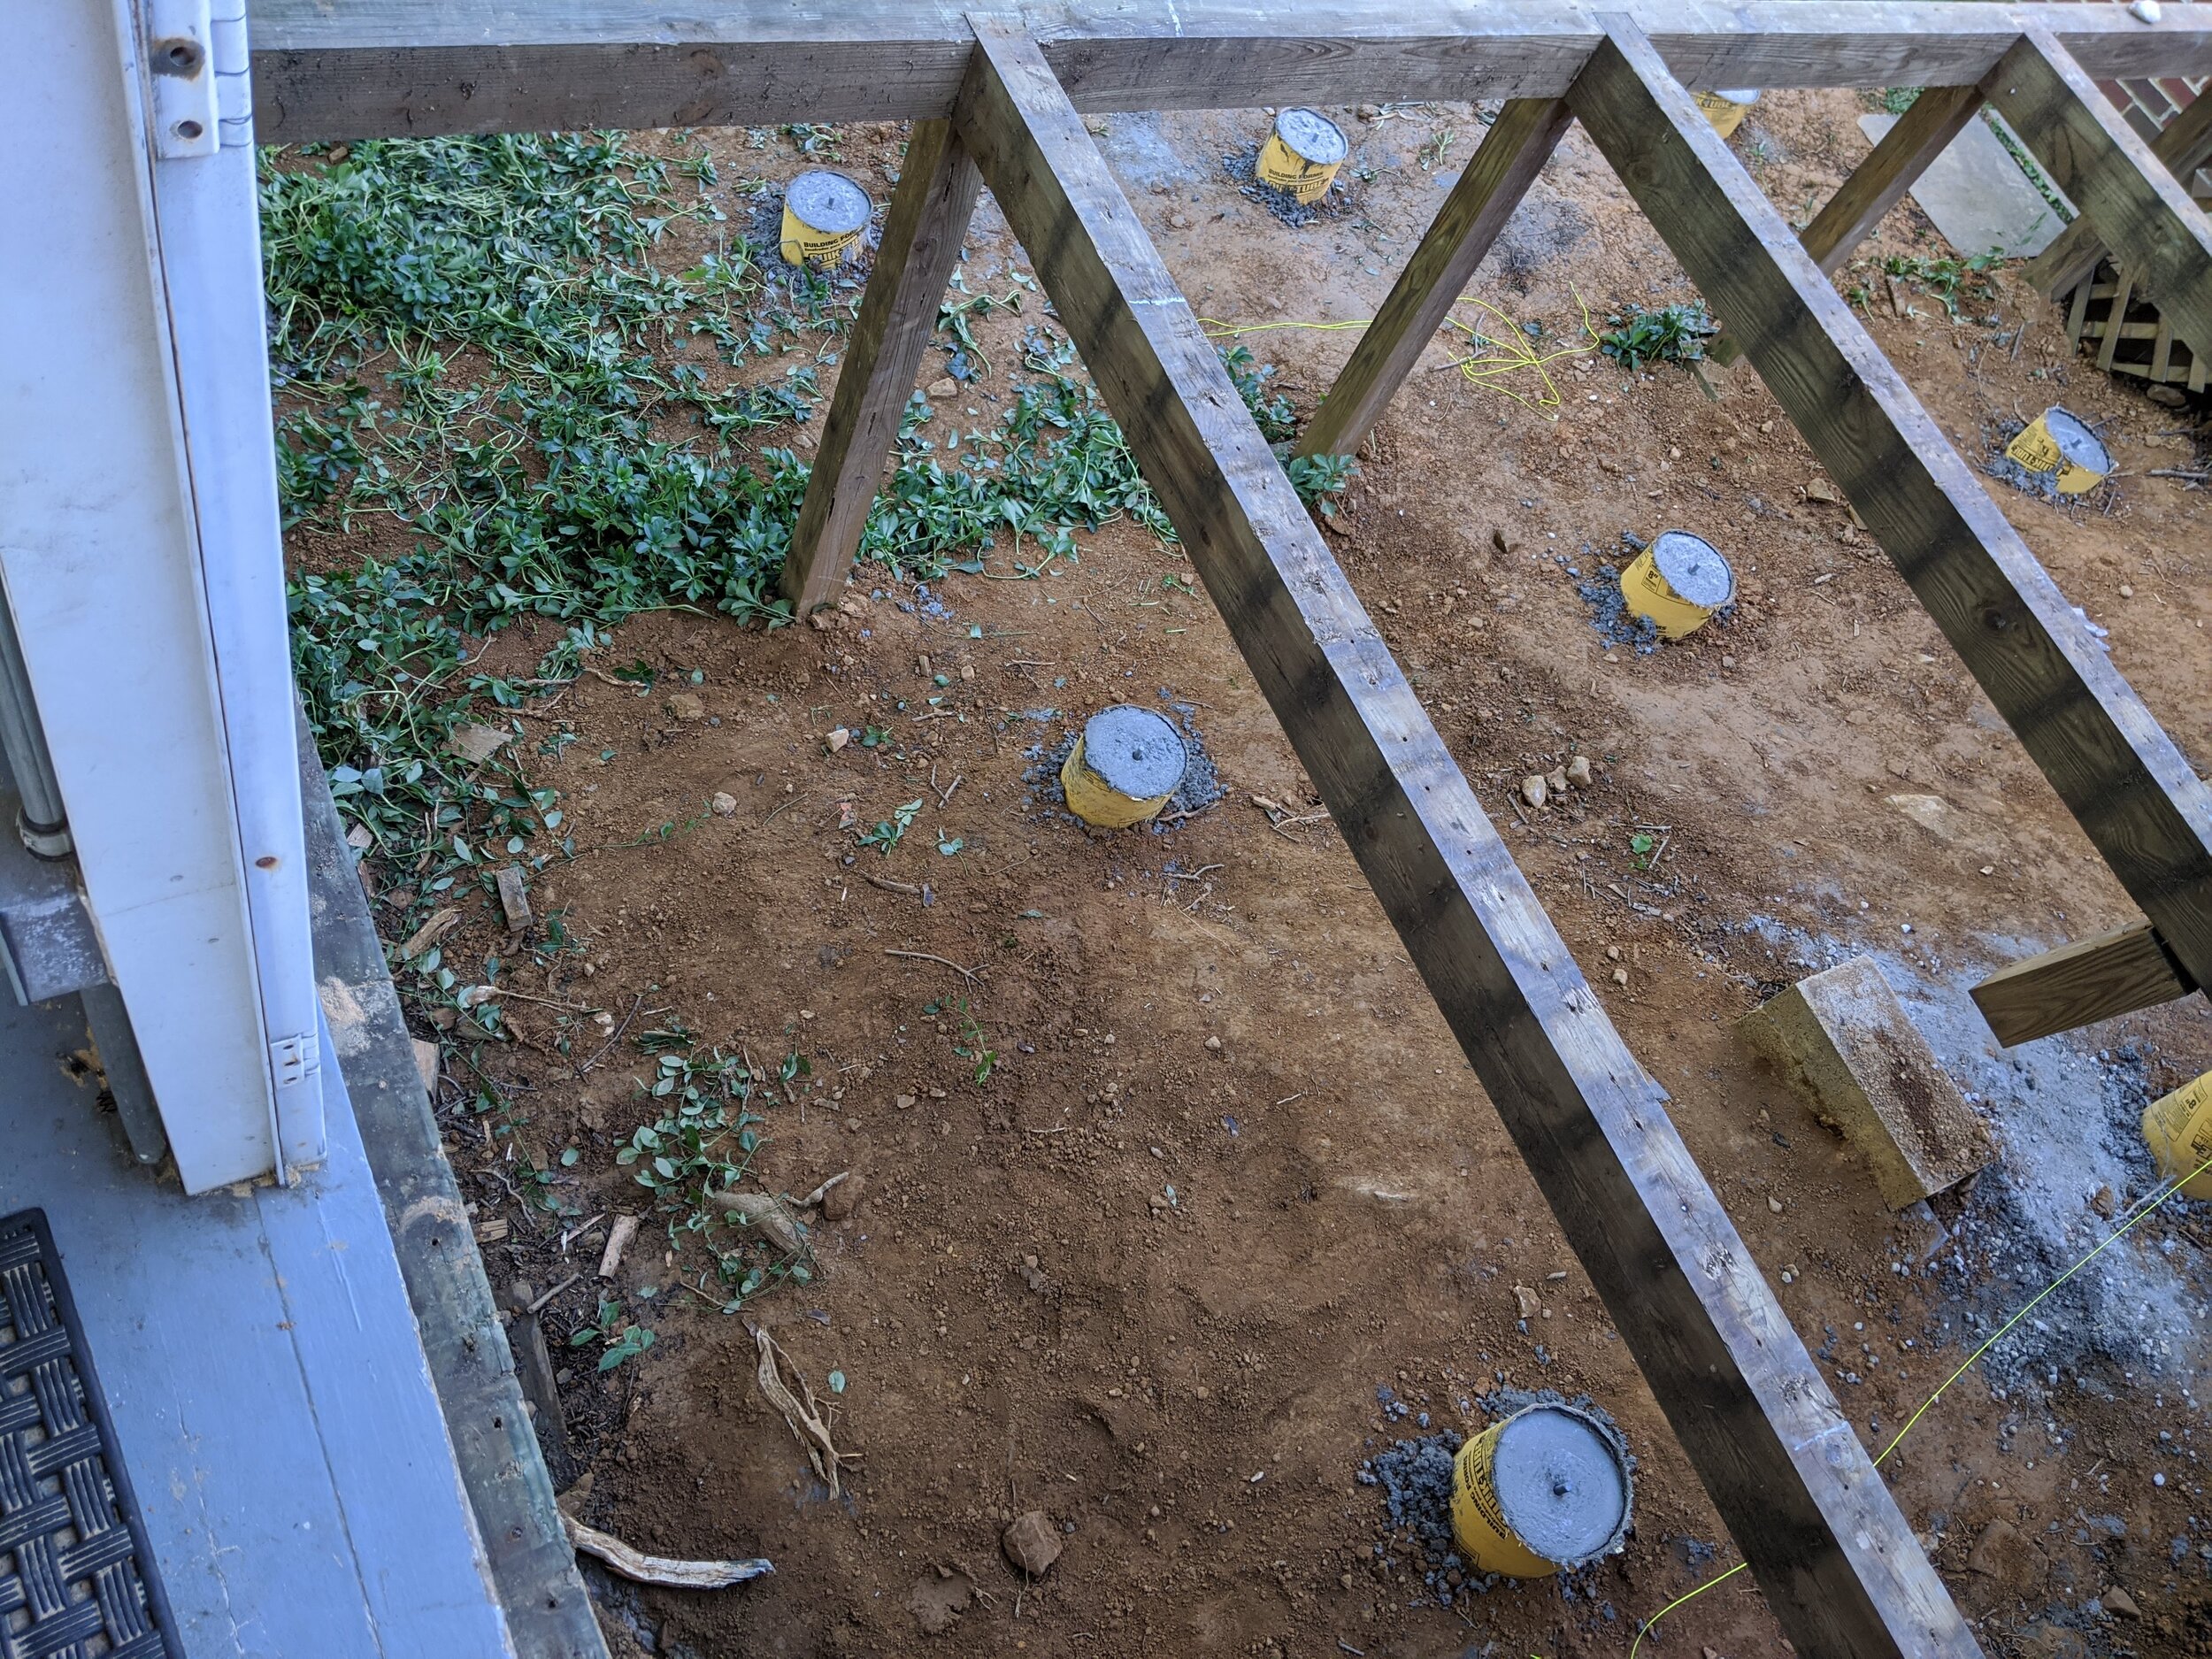
Our vertical supports are ten 4 x 4s, so we dug two to three feet down for each 8-inch diameter concrete tube. We used 2-3 pieces of re-bar in each and left 6-12” of the tube above ground level. After the concrete settled for just a few minutes, we pushed in the screws to attach the hardware.
(Astute viewers will notice we did leave some of the old vertical supports, which aren’t weightbearing anymore, but it would have been unnecessary work to remove them.)
After everything is dried, you attach the hardware with a giant nut, then you can peel away the exposed part of the tube.
Here’s what the bottom of the footers look like at various stages:
Our next step was expanding the frame and grading the ground, so keep reading…

