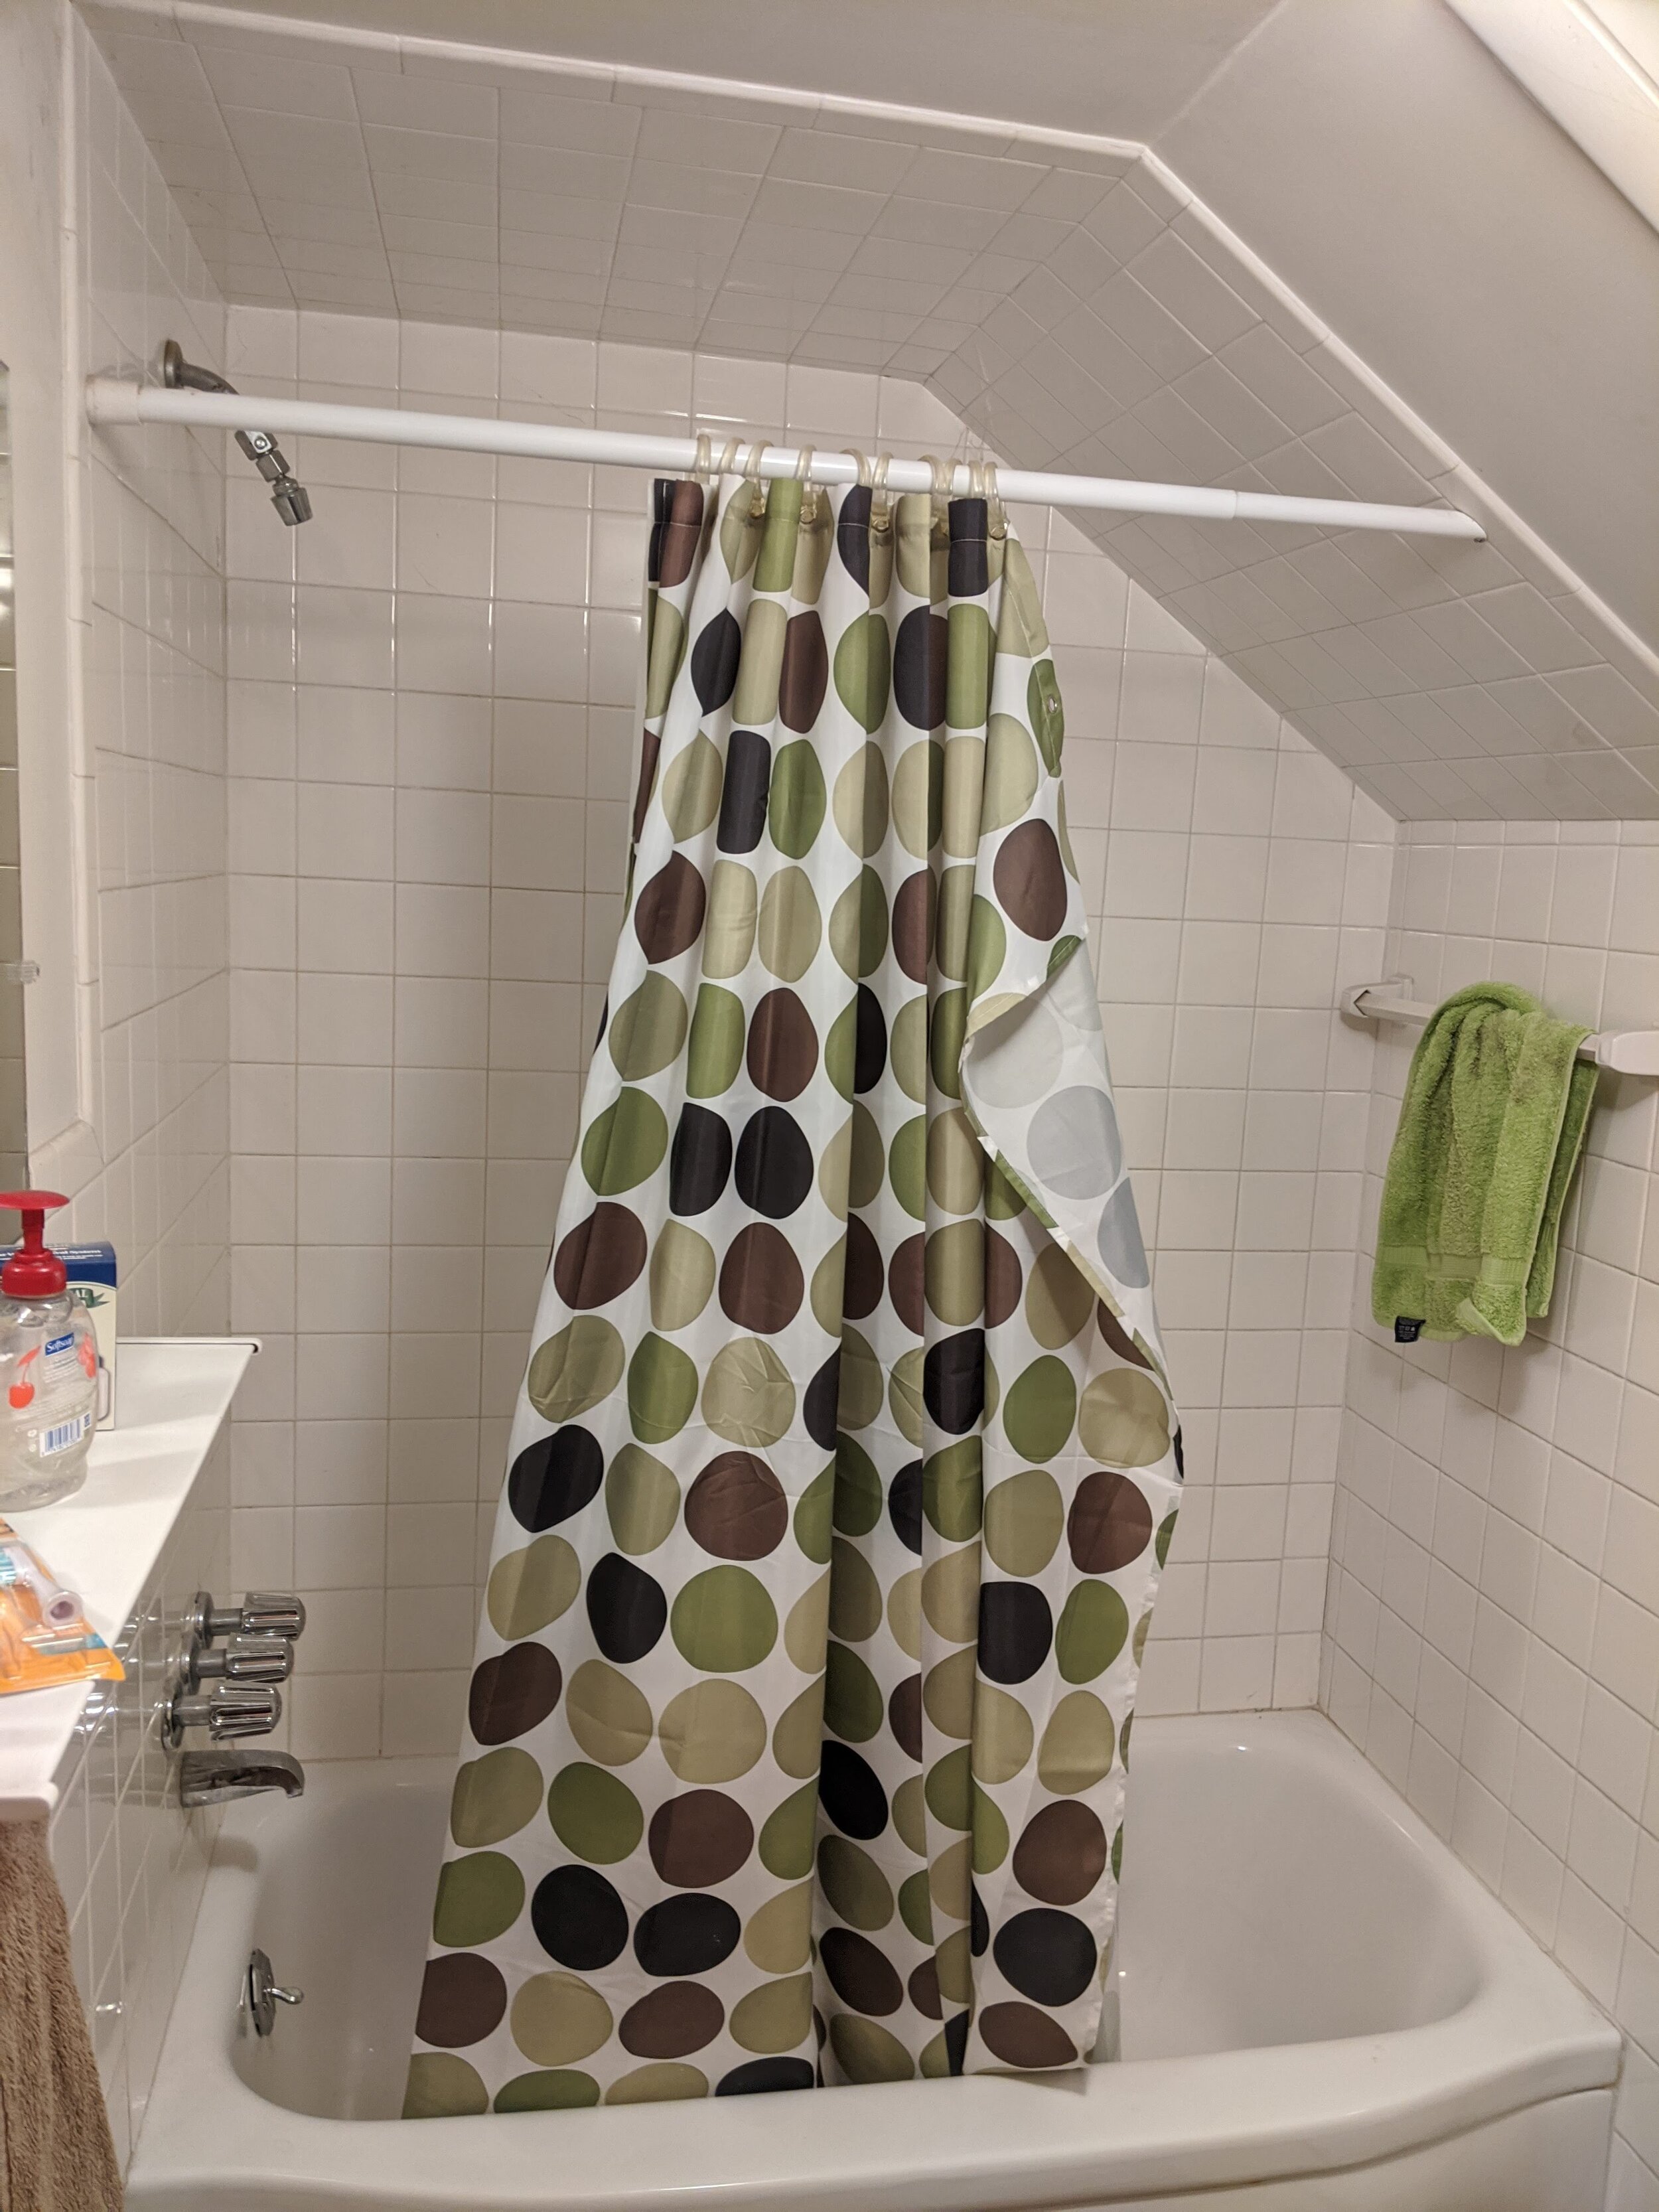
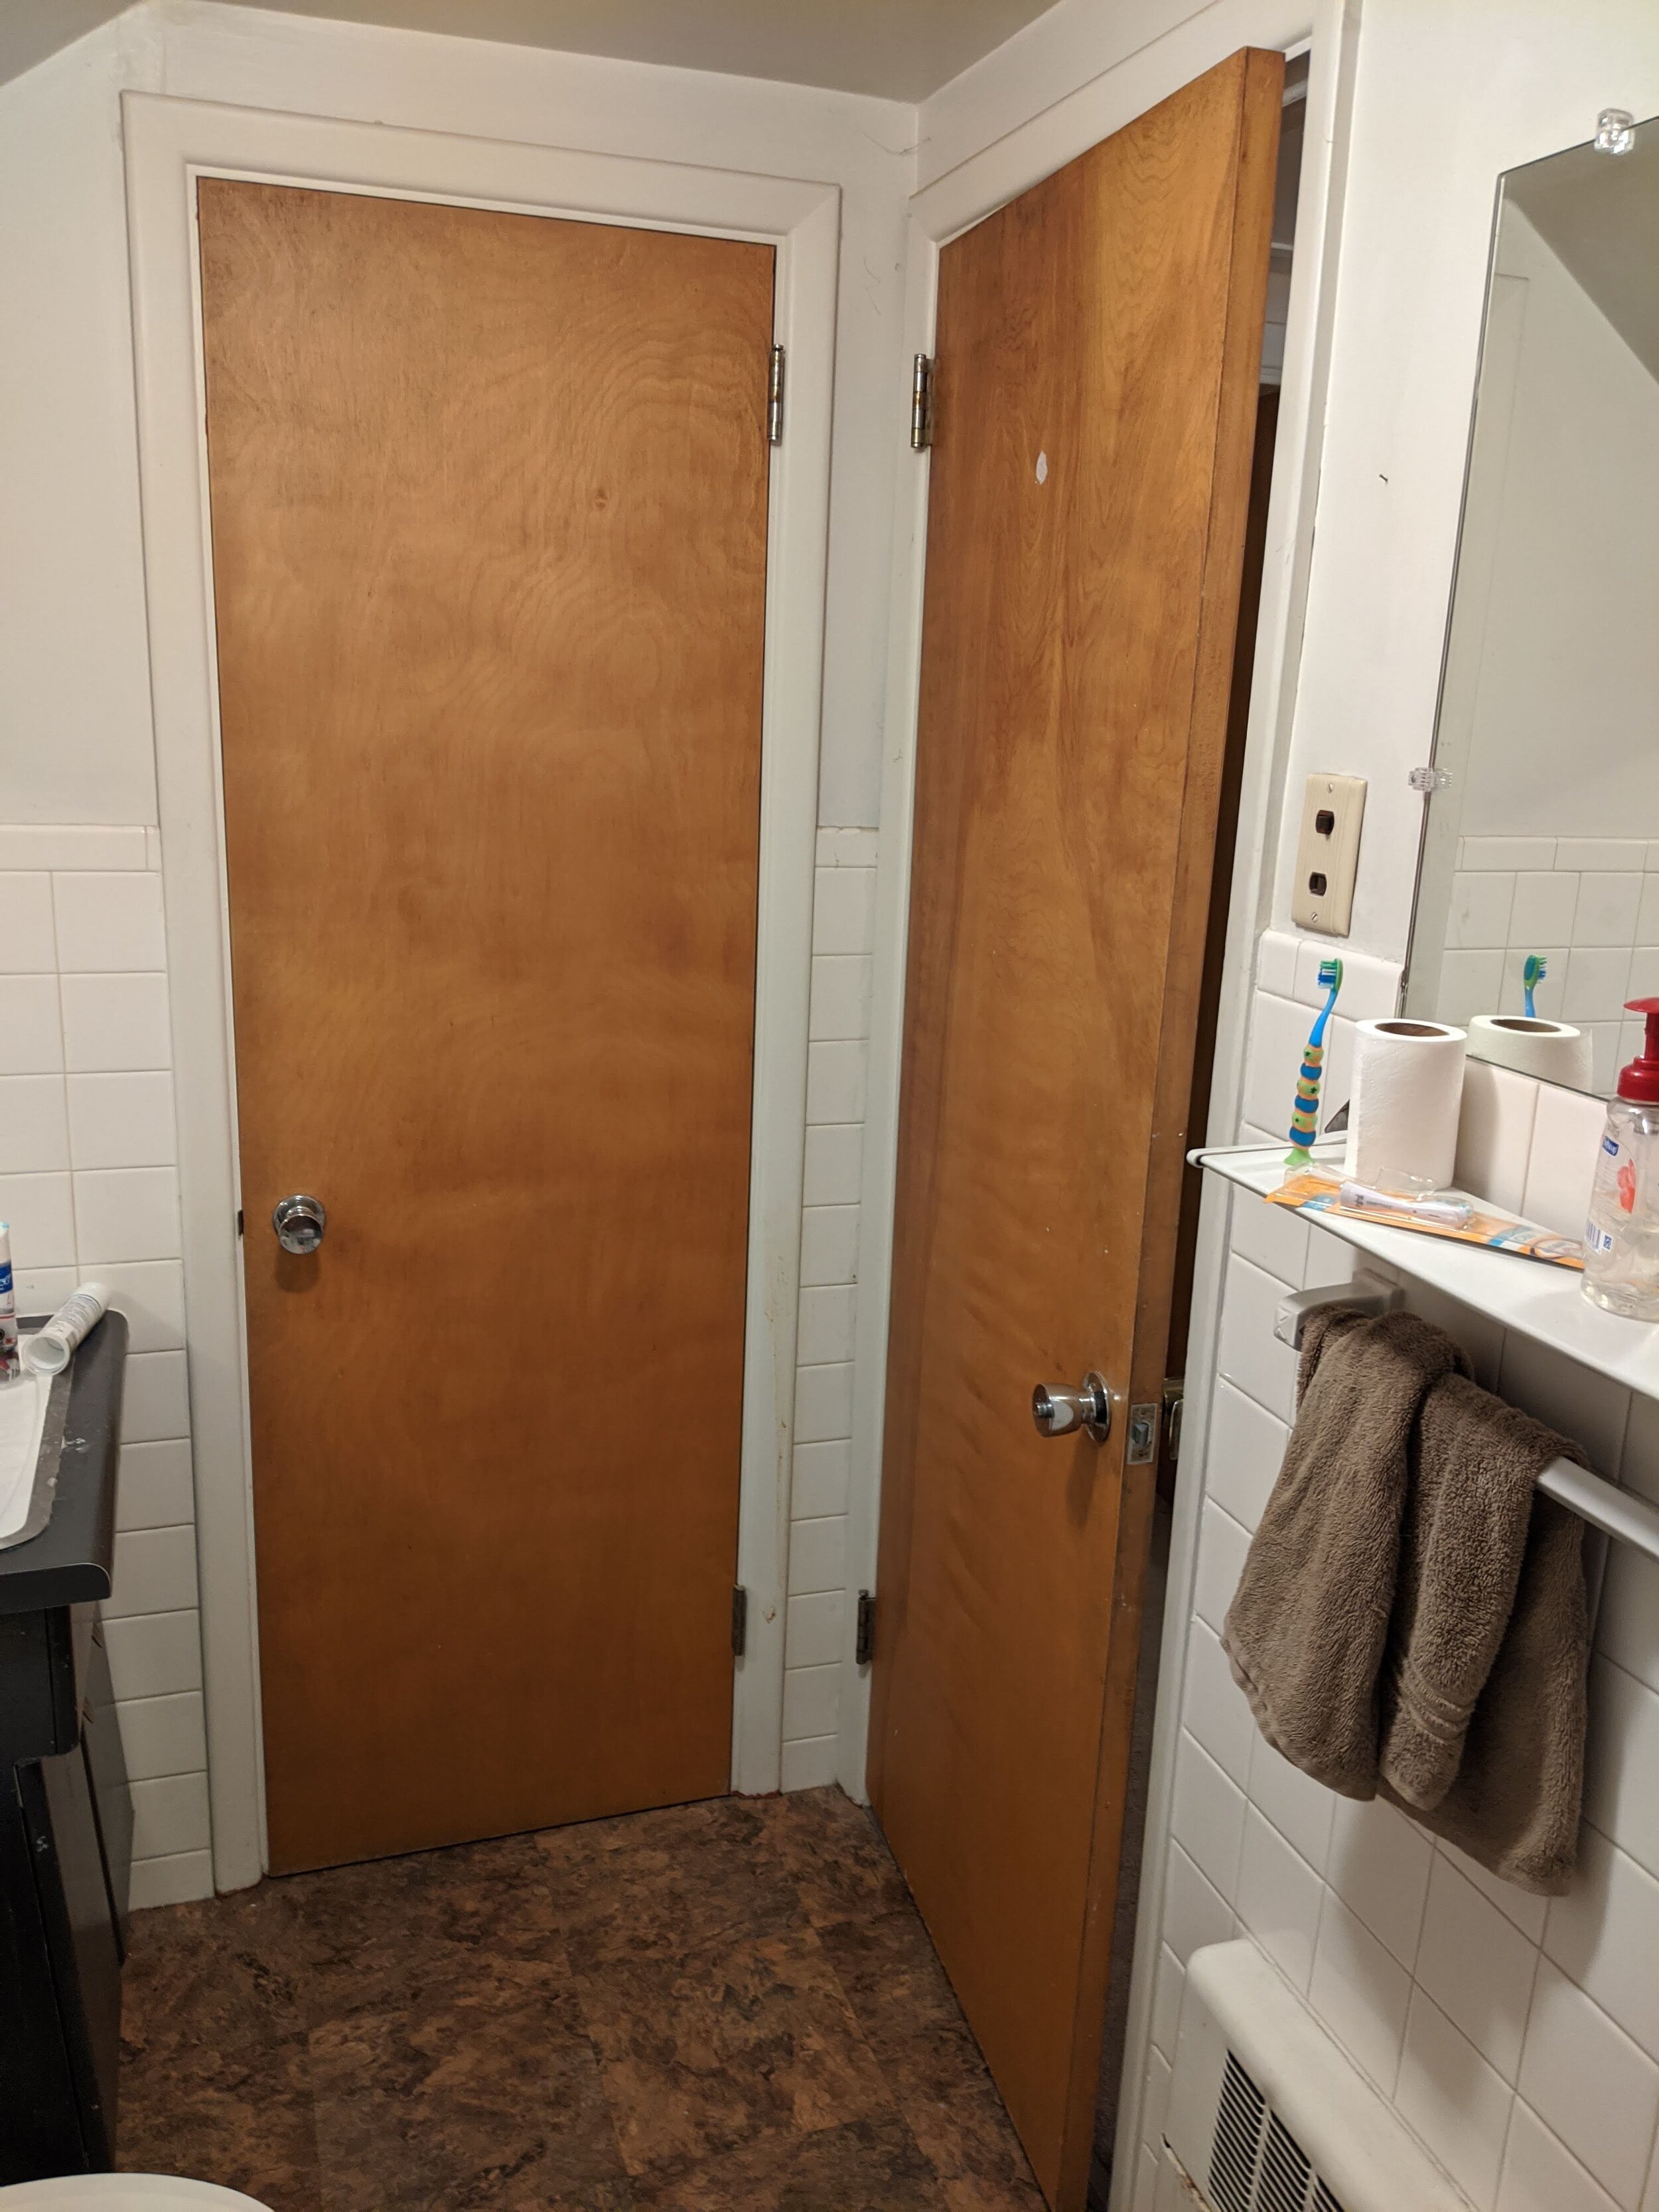
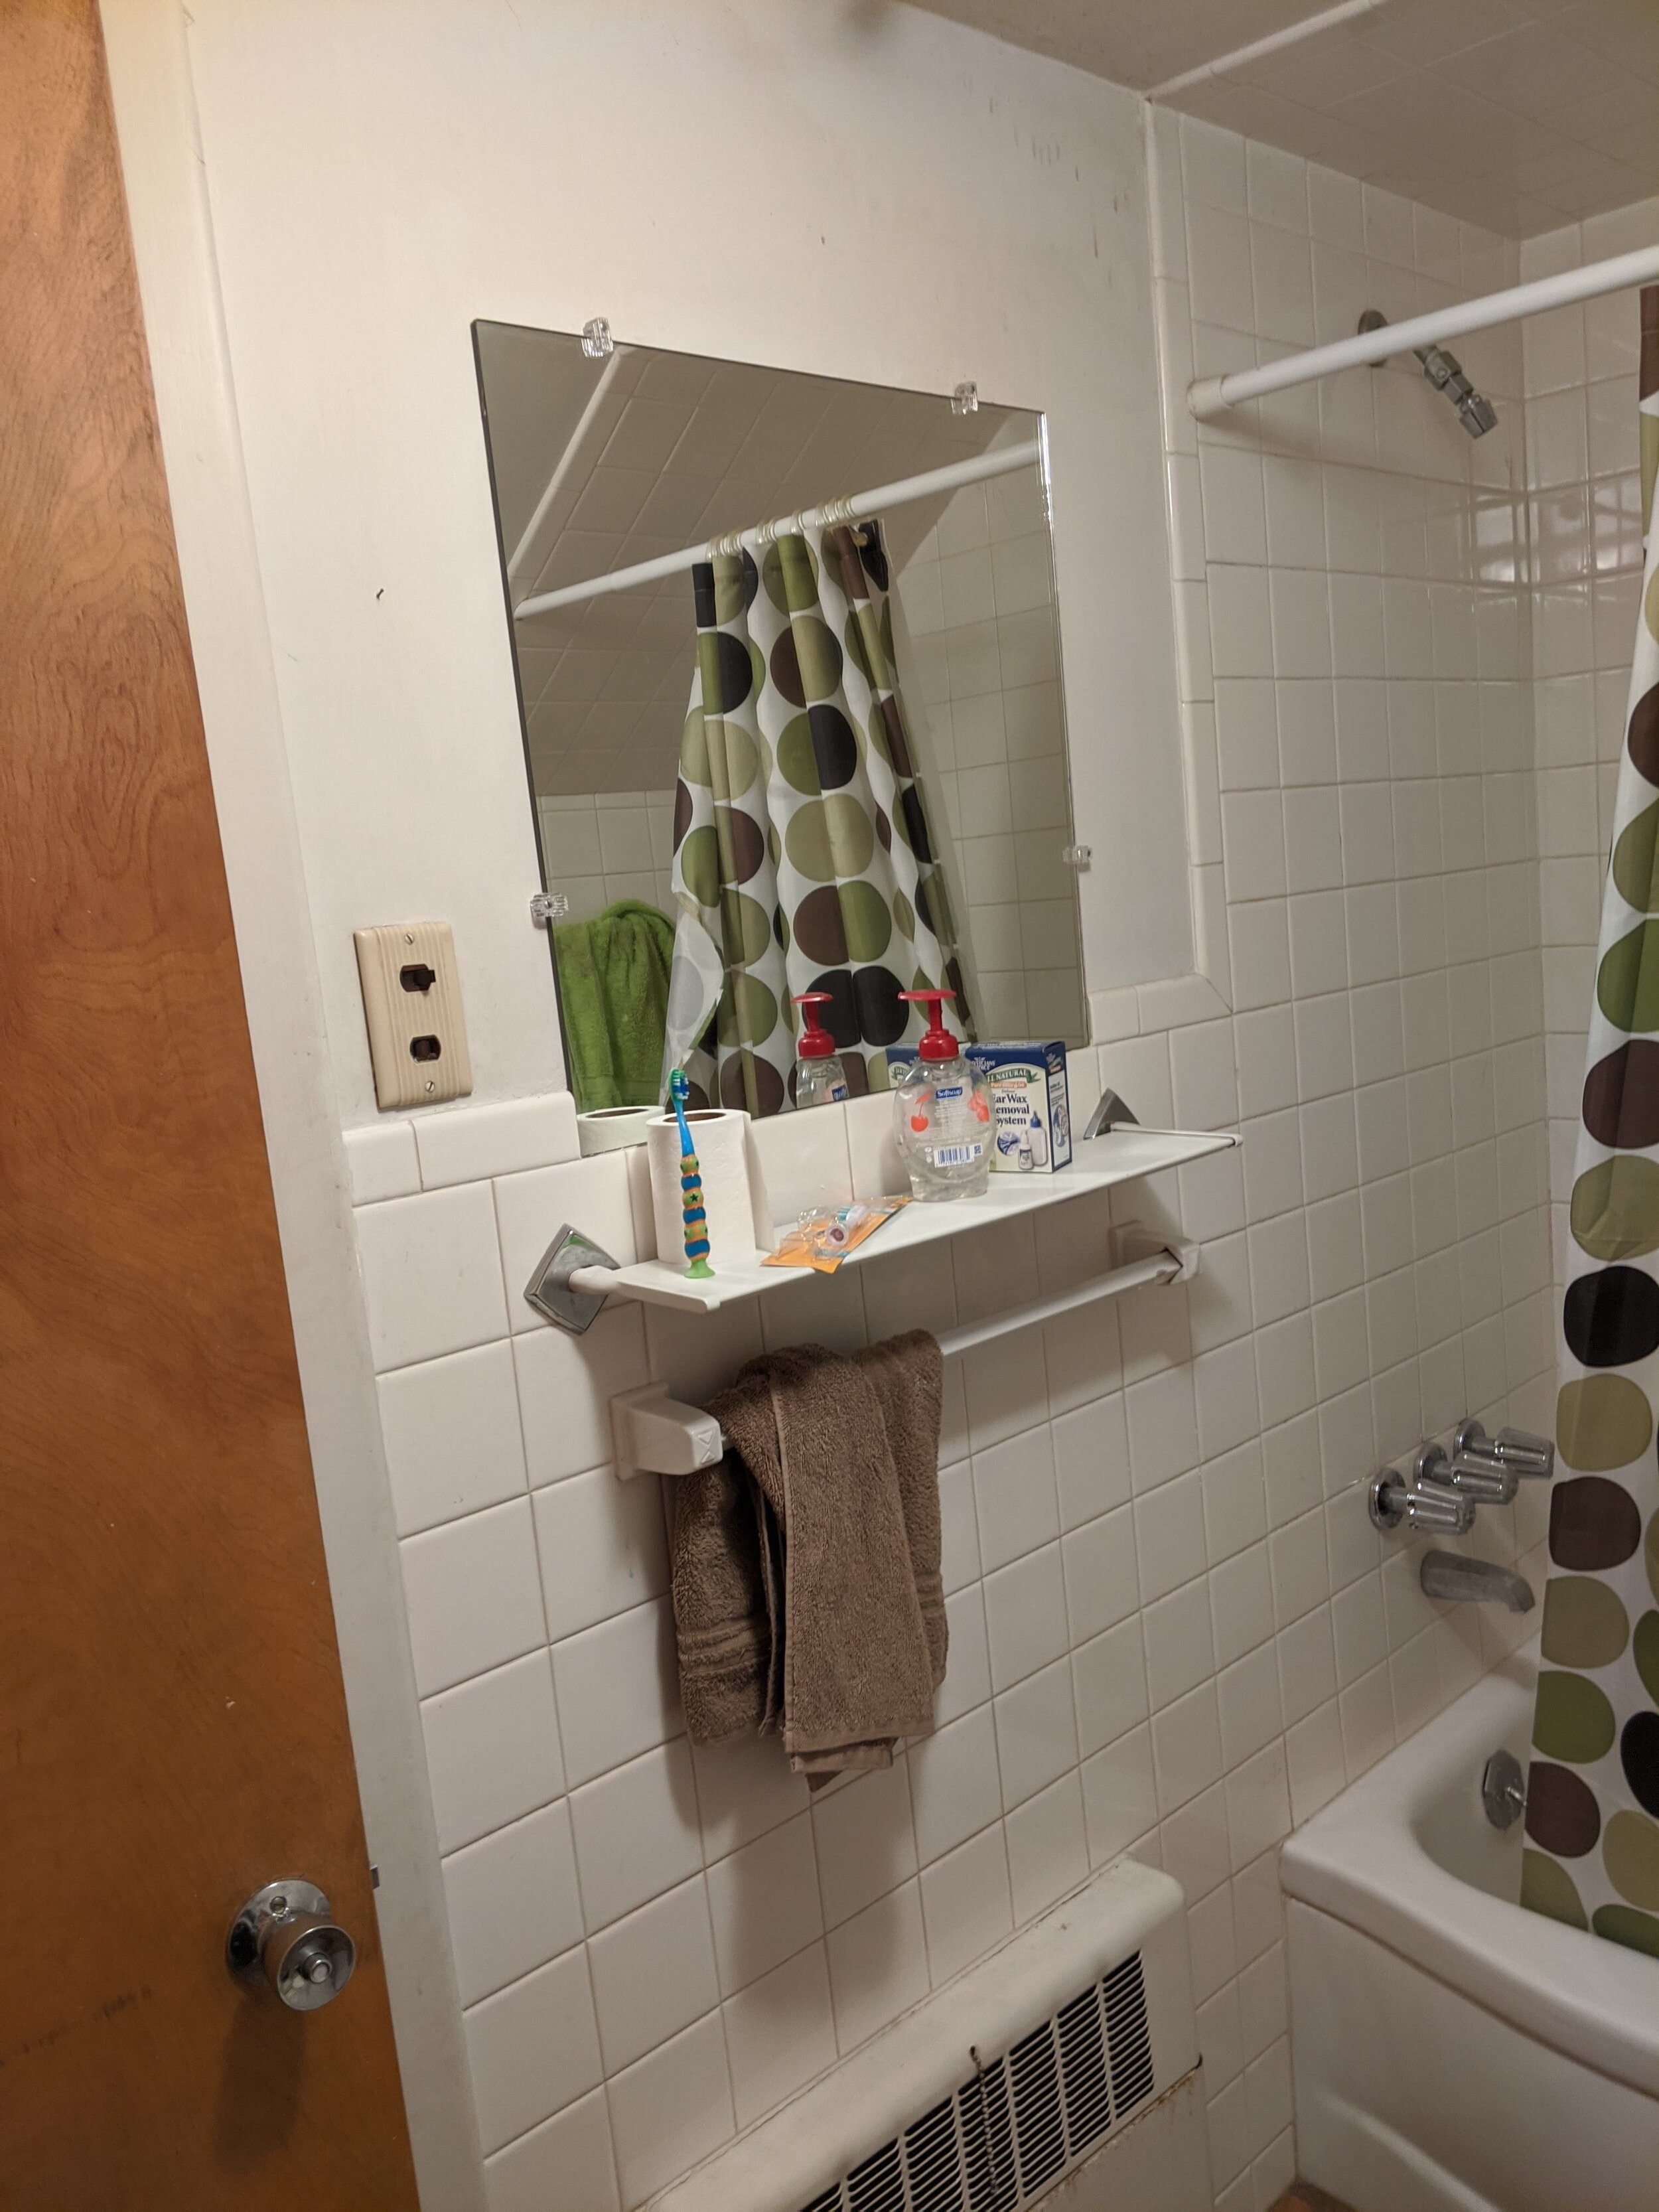
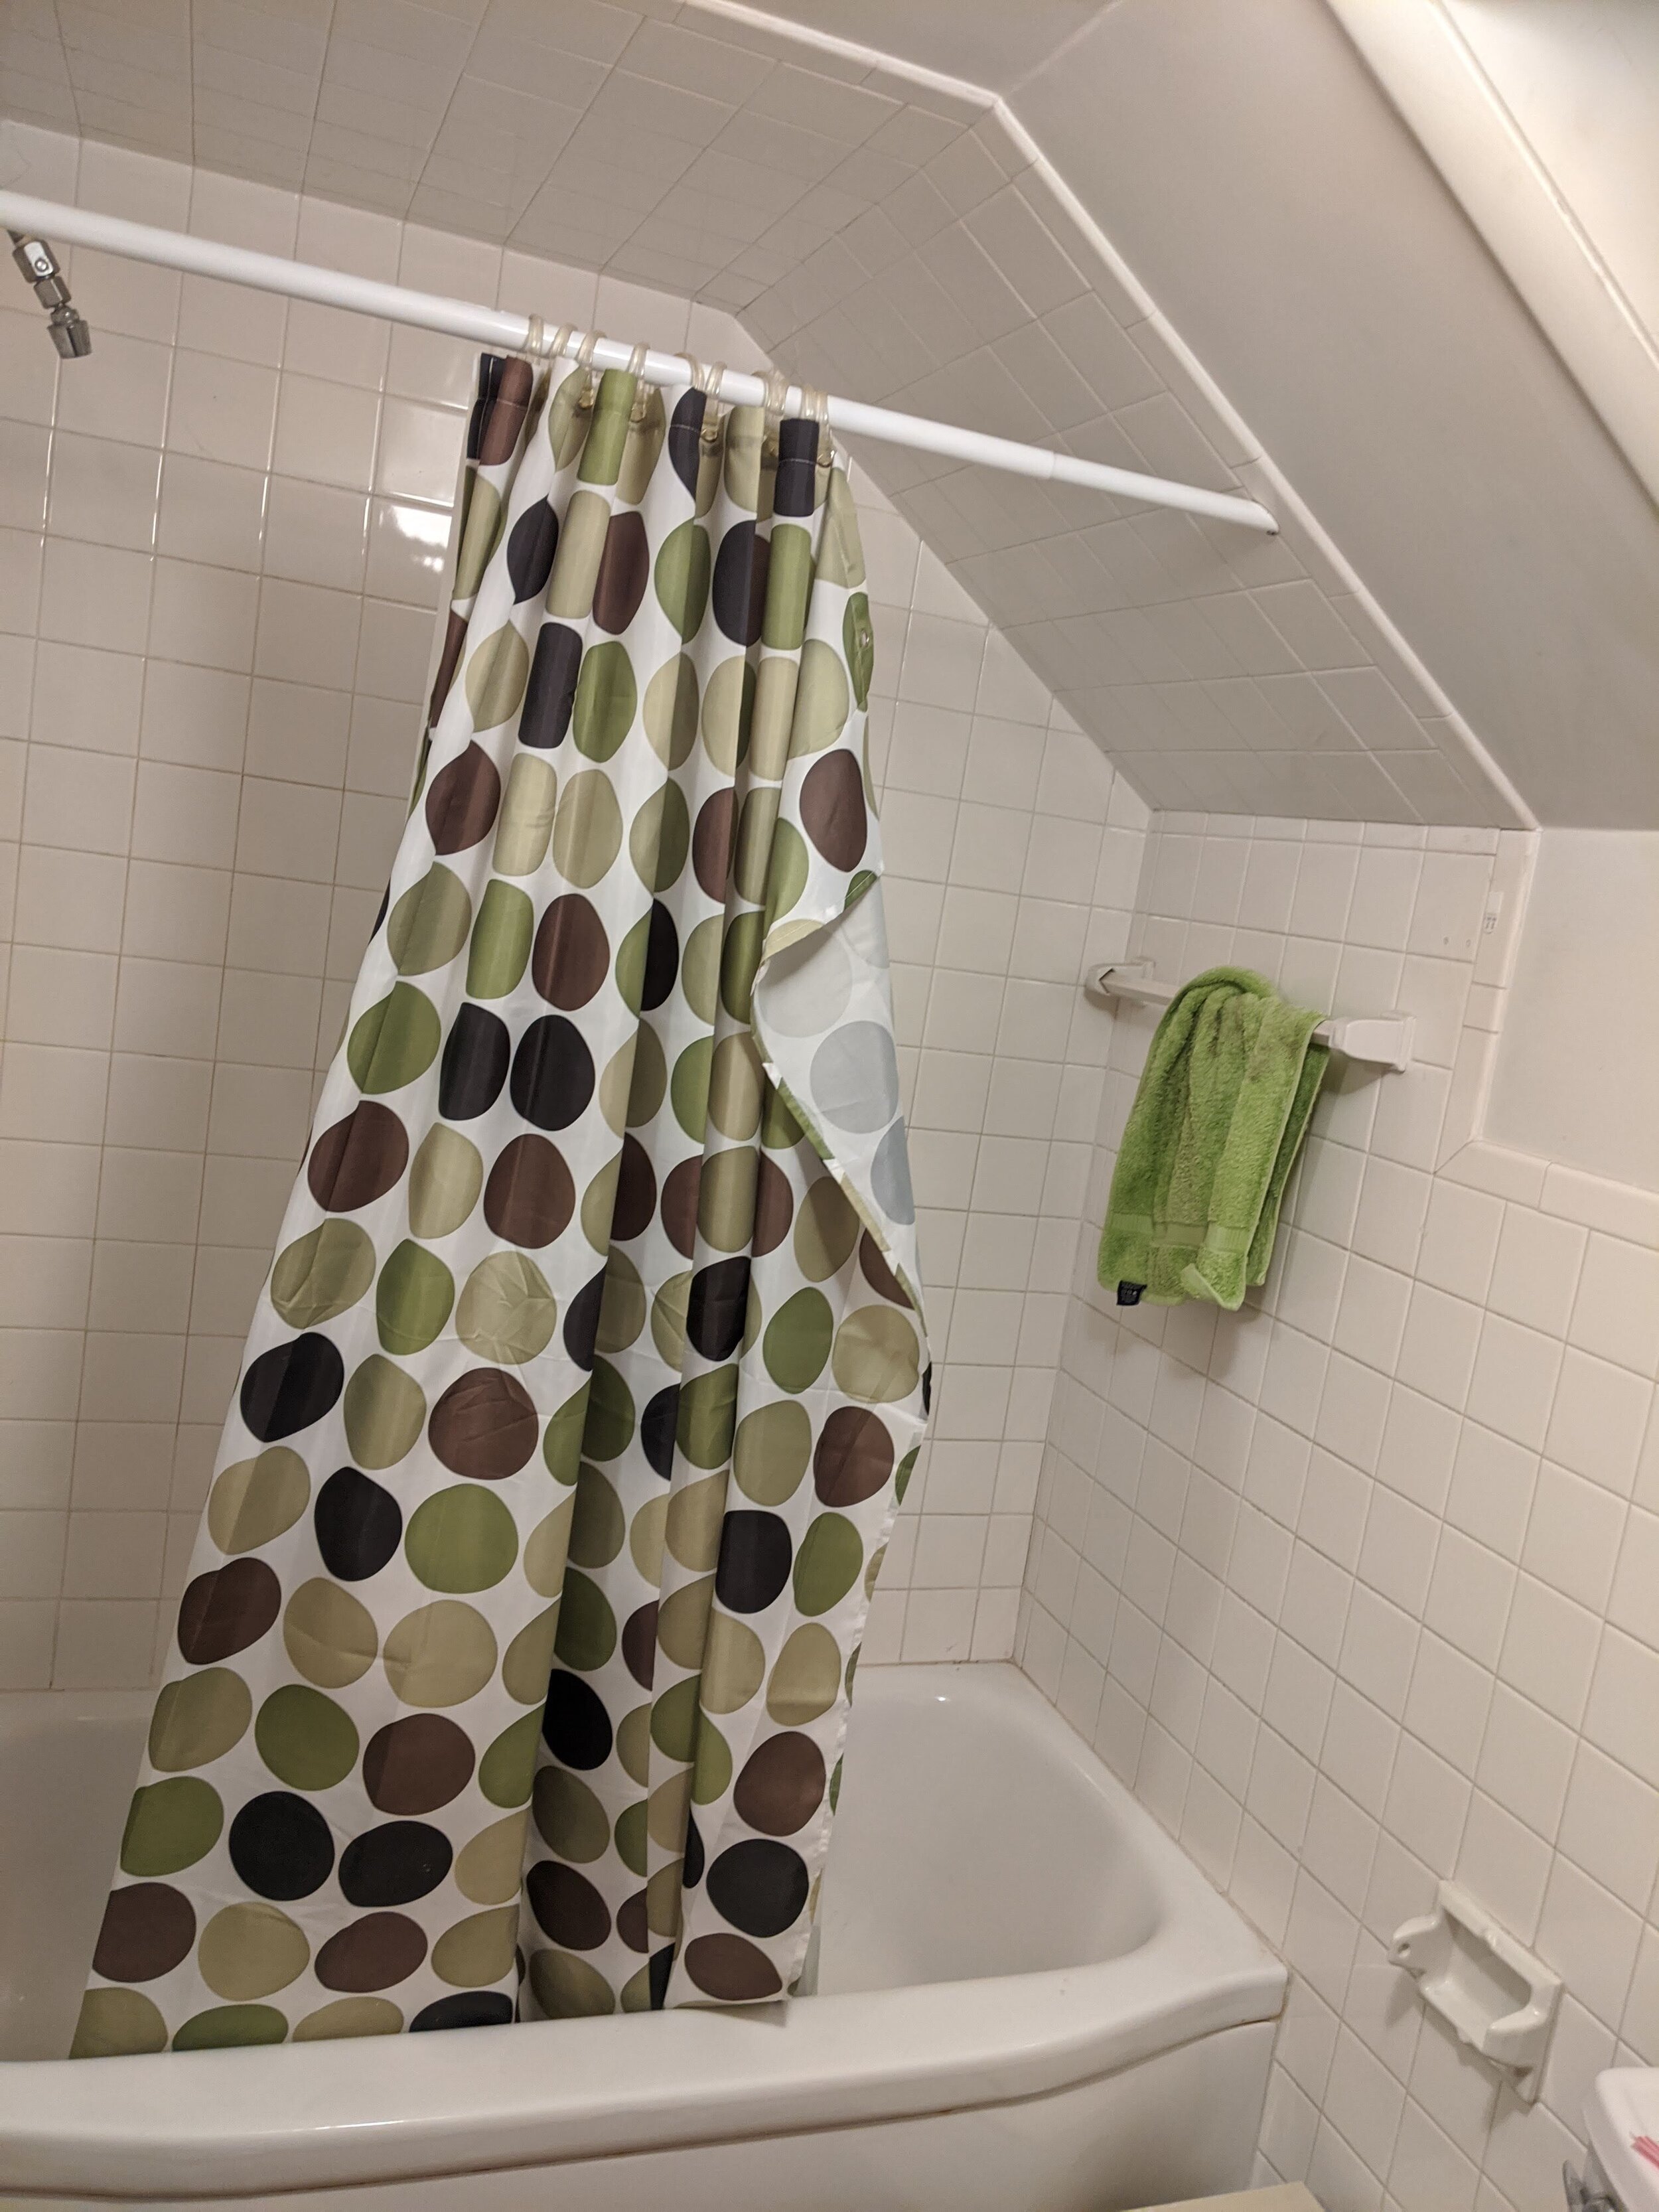
Until recently, we had the house with the same upstairs bathroom that your grandma had. (Literally, I think your grandma probably went to the bathroom here.) When we moved in seven years ago, the whole upstairs had been untouched for years since the former occupants were no longer comfortably able to do the stairs due to their age. We ripped out carpet, painted, cleaned, and put in some temporary stopgaps to maintain the bathroom as usable.
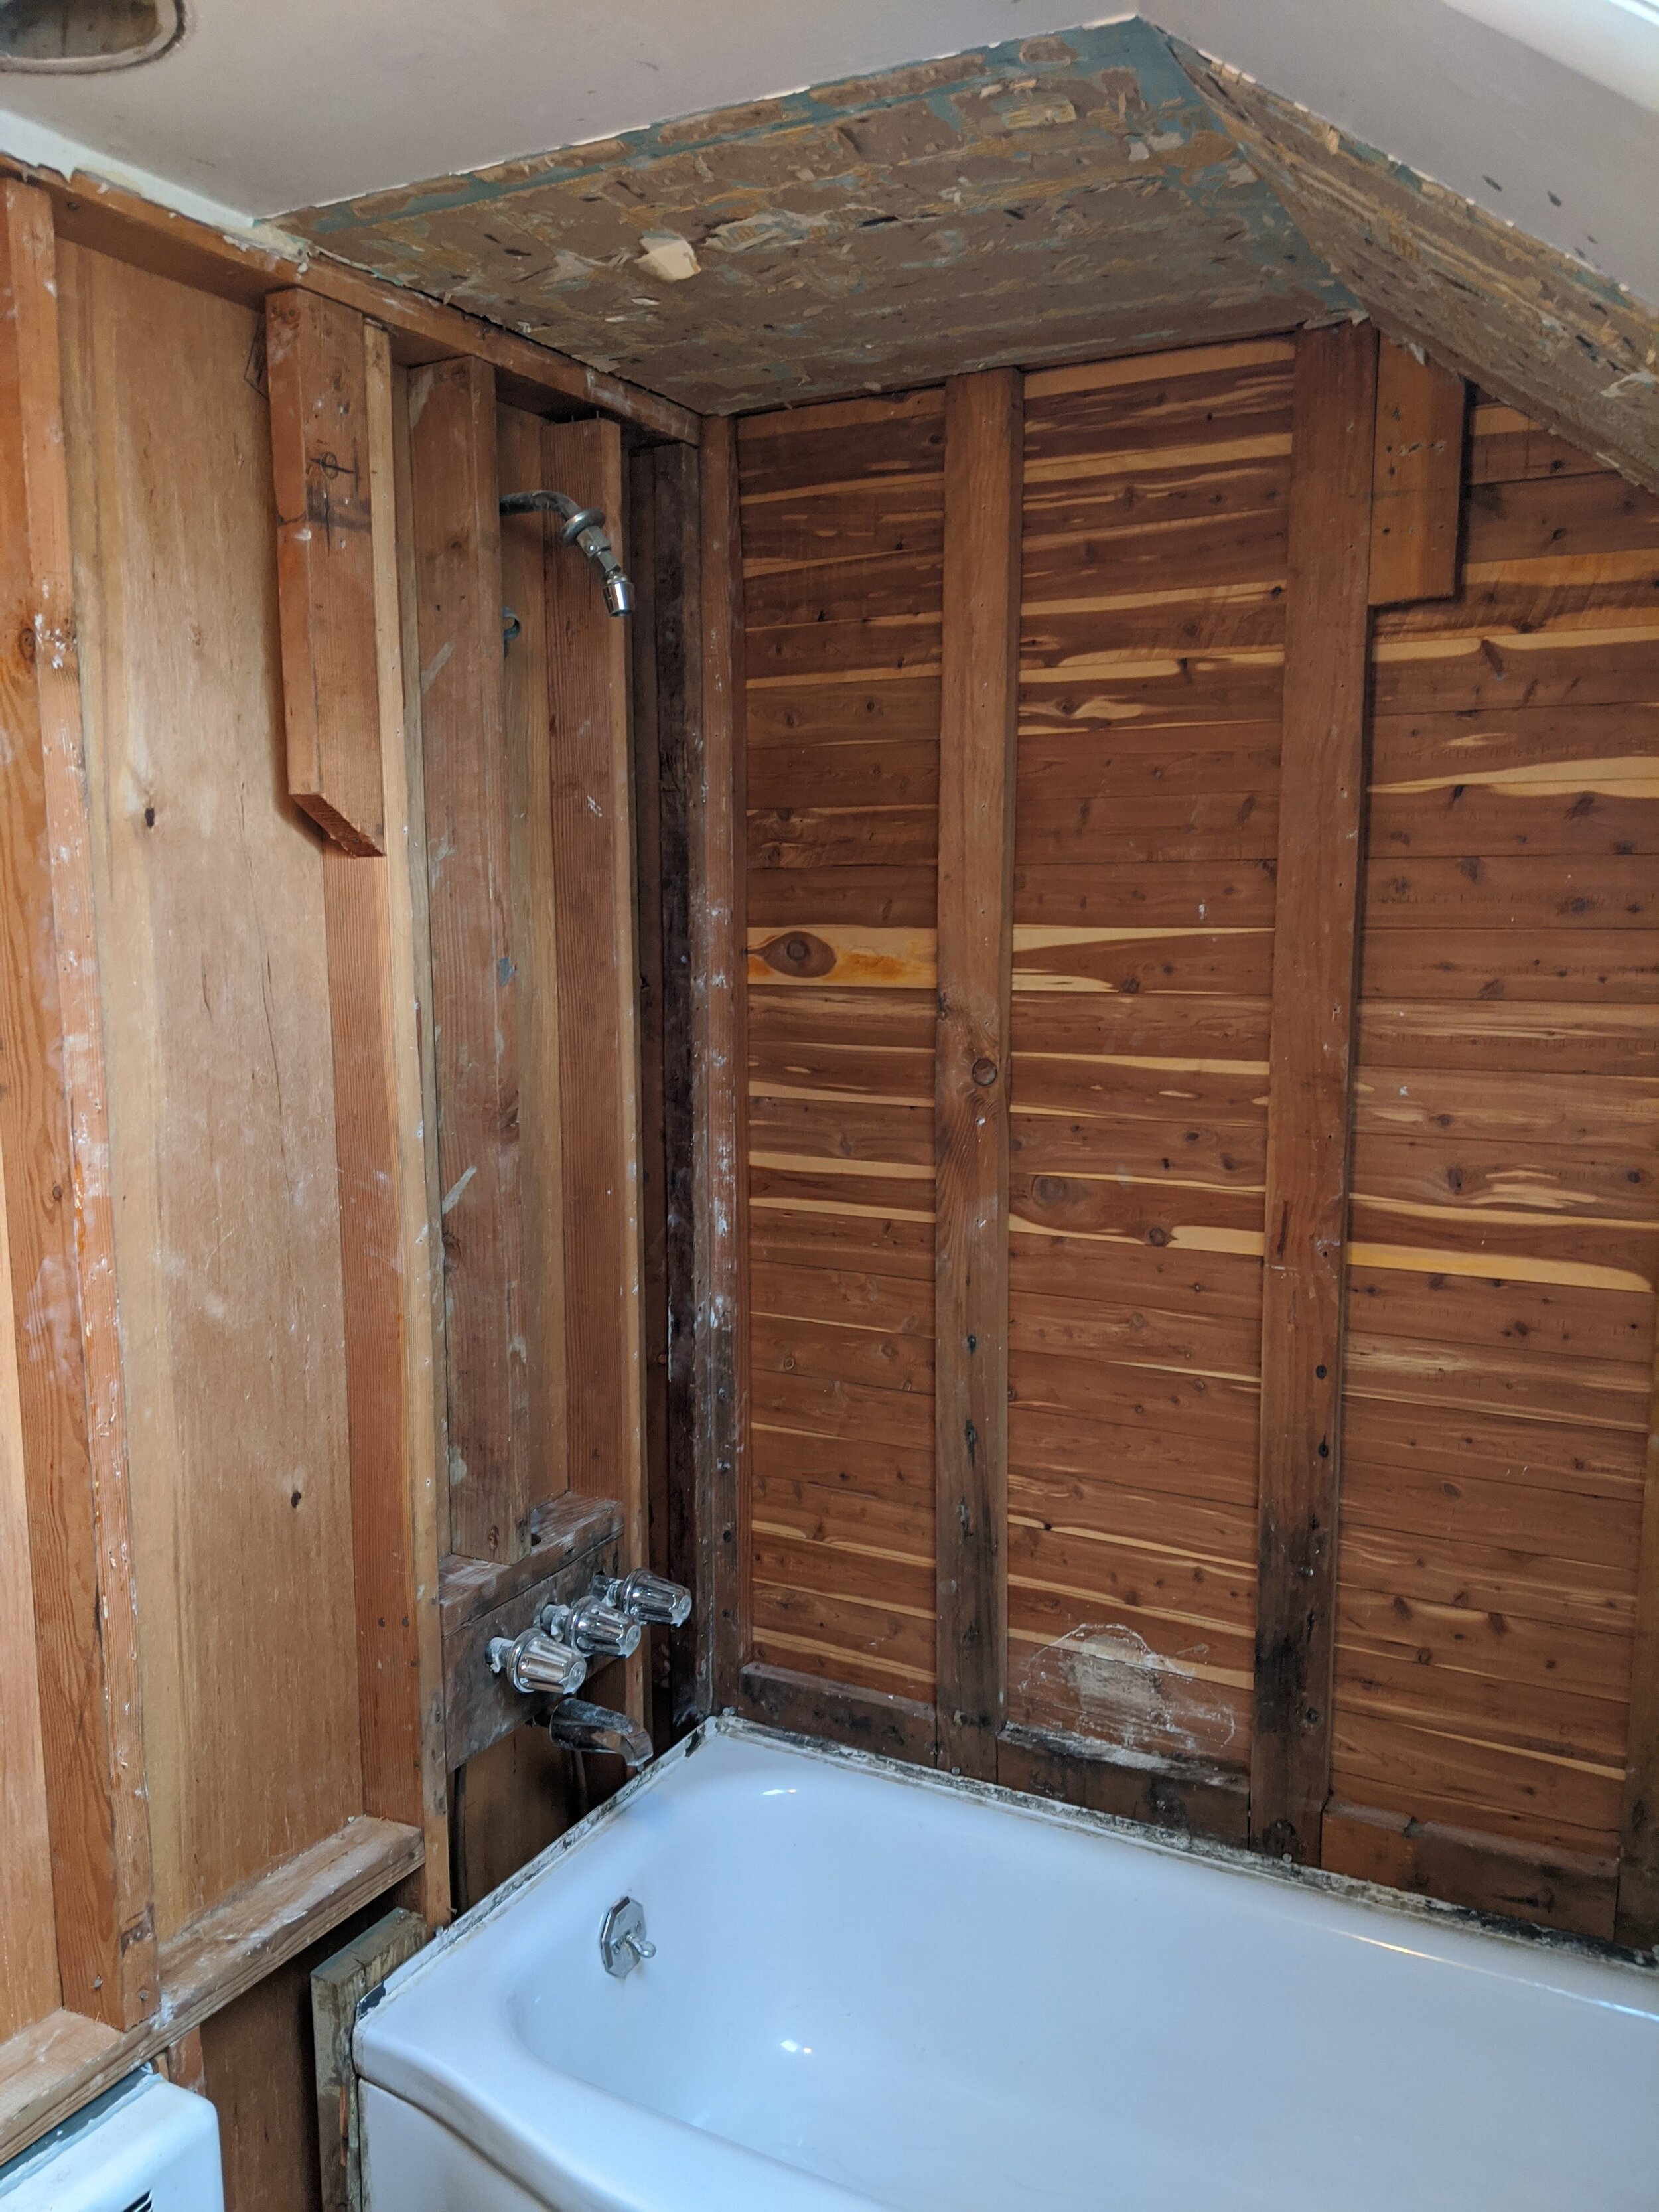
Seven years later, we’ve gutted it (literally) and built what I think is a gorgeous, timeless, classy place to pee. (Maybe someday my daughter will take selfies in here, but she just turned one, so let’s table that for a few years.)
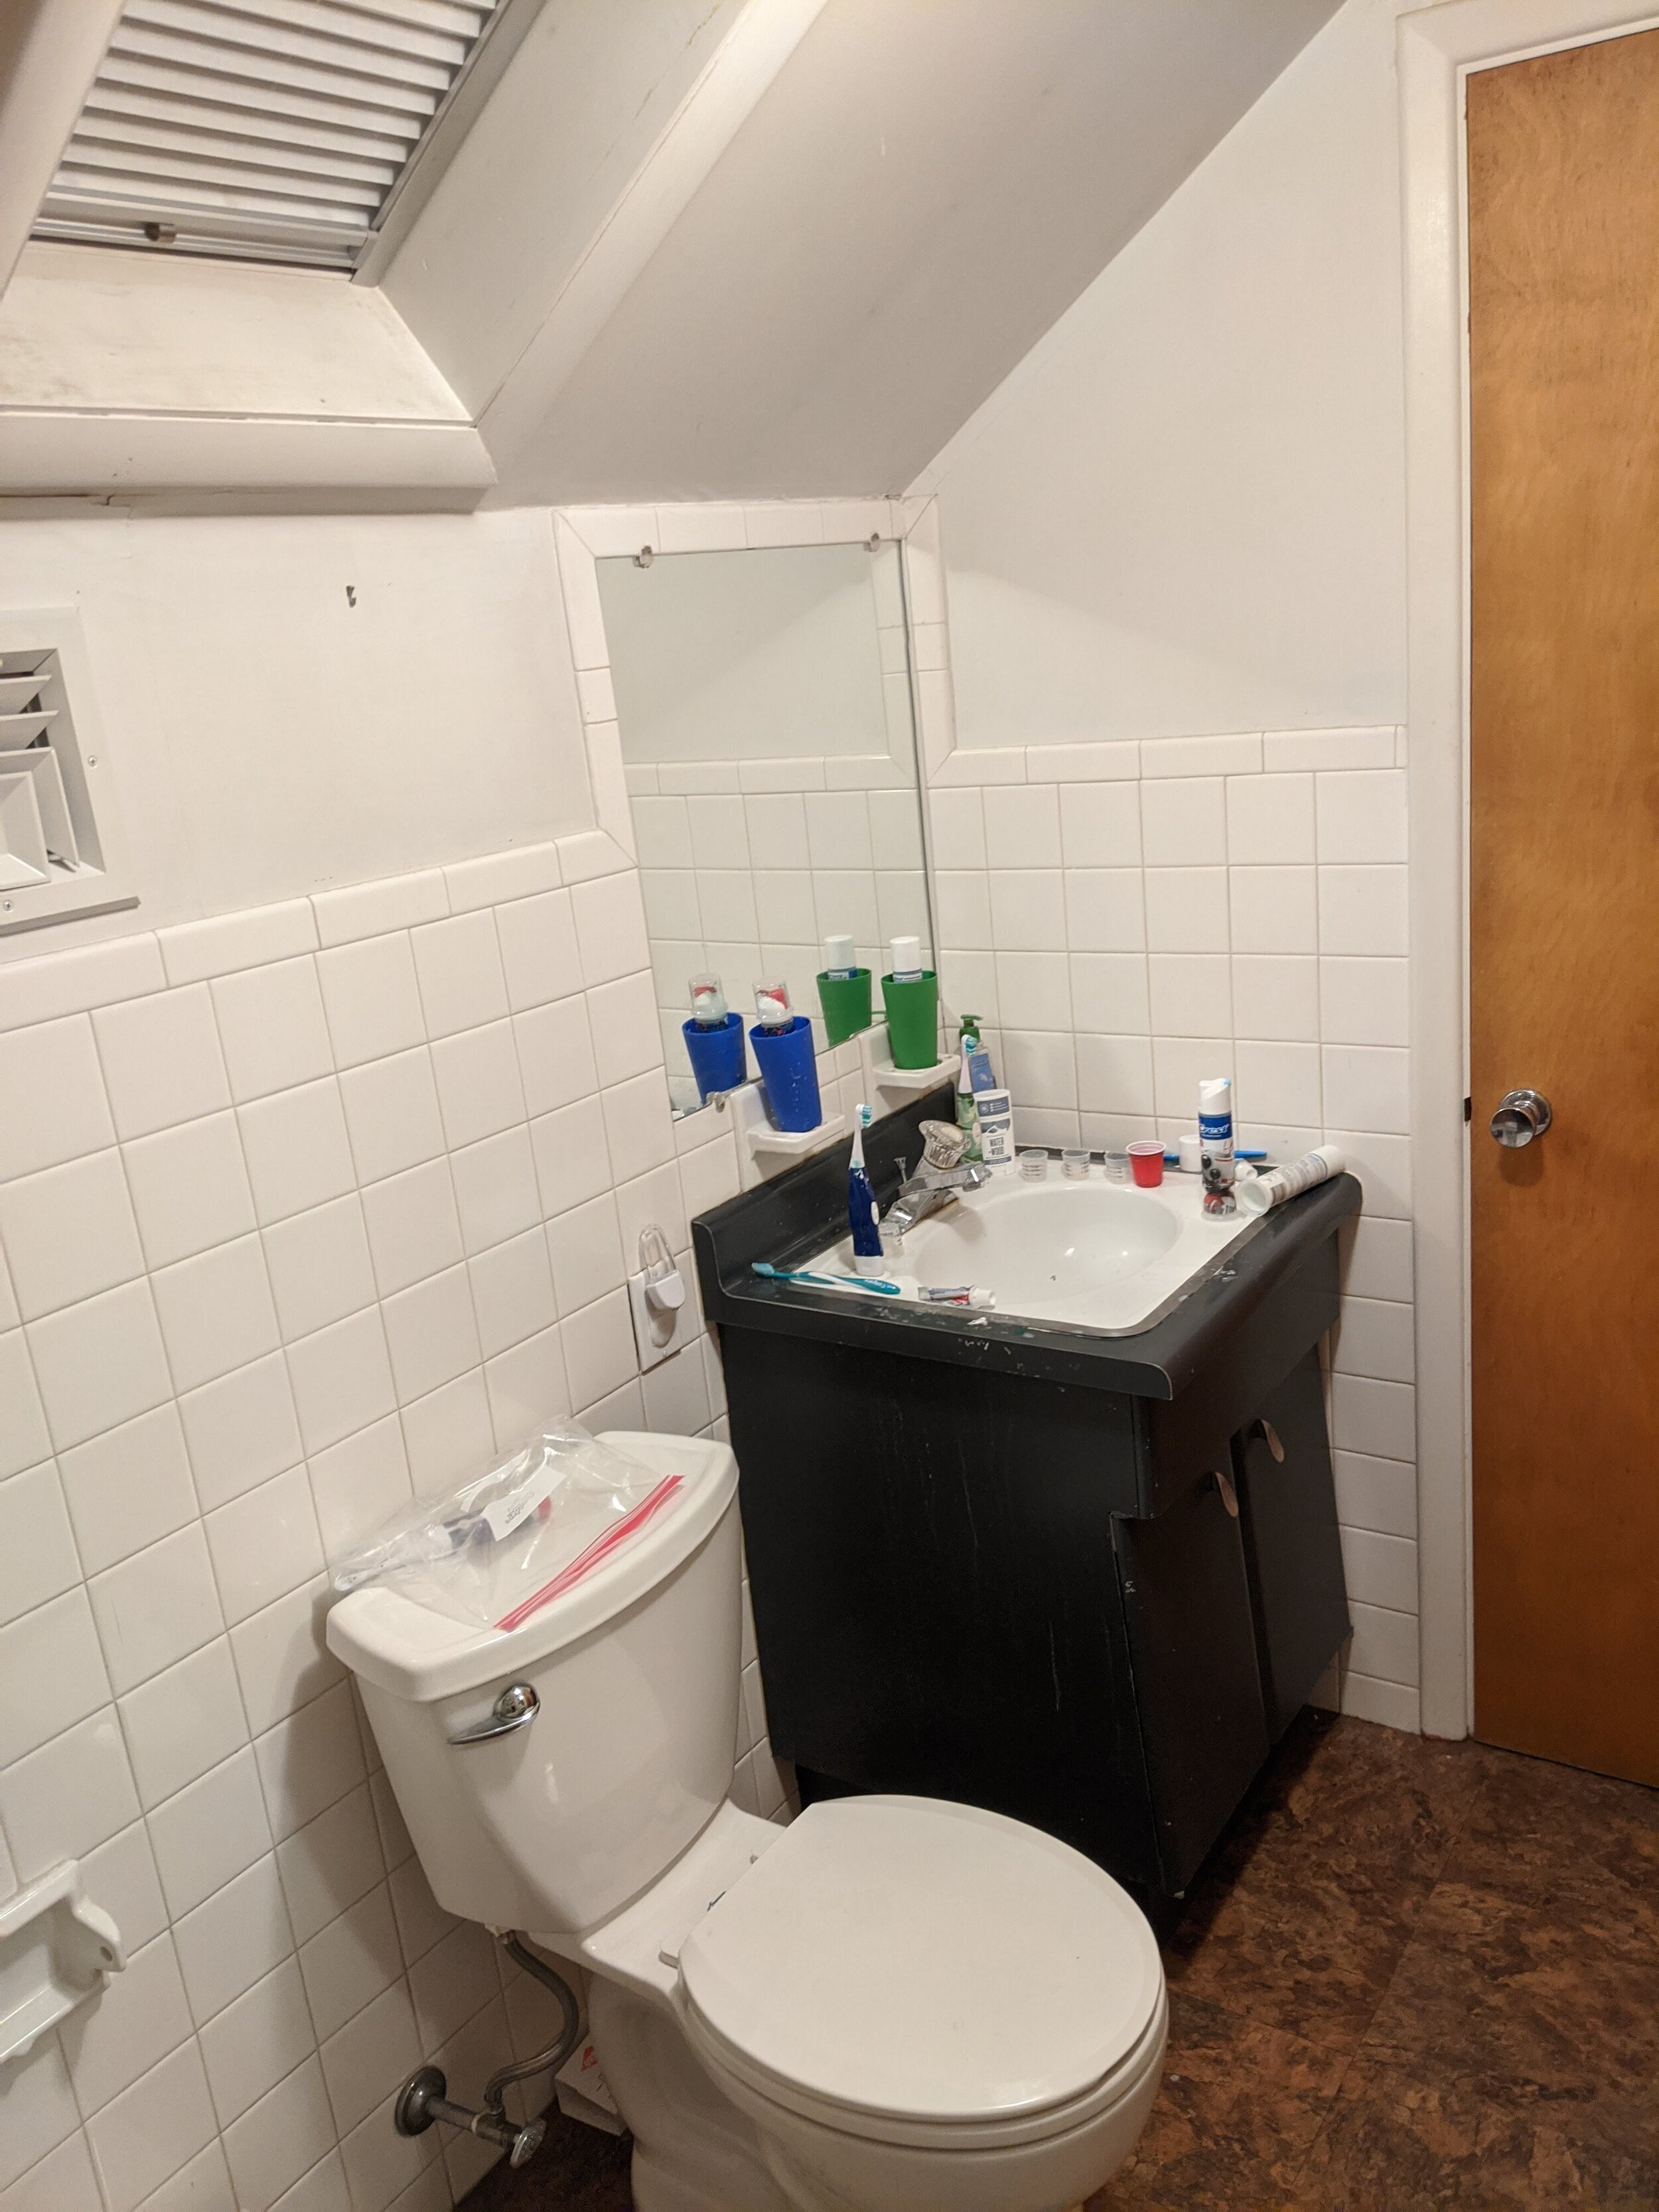
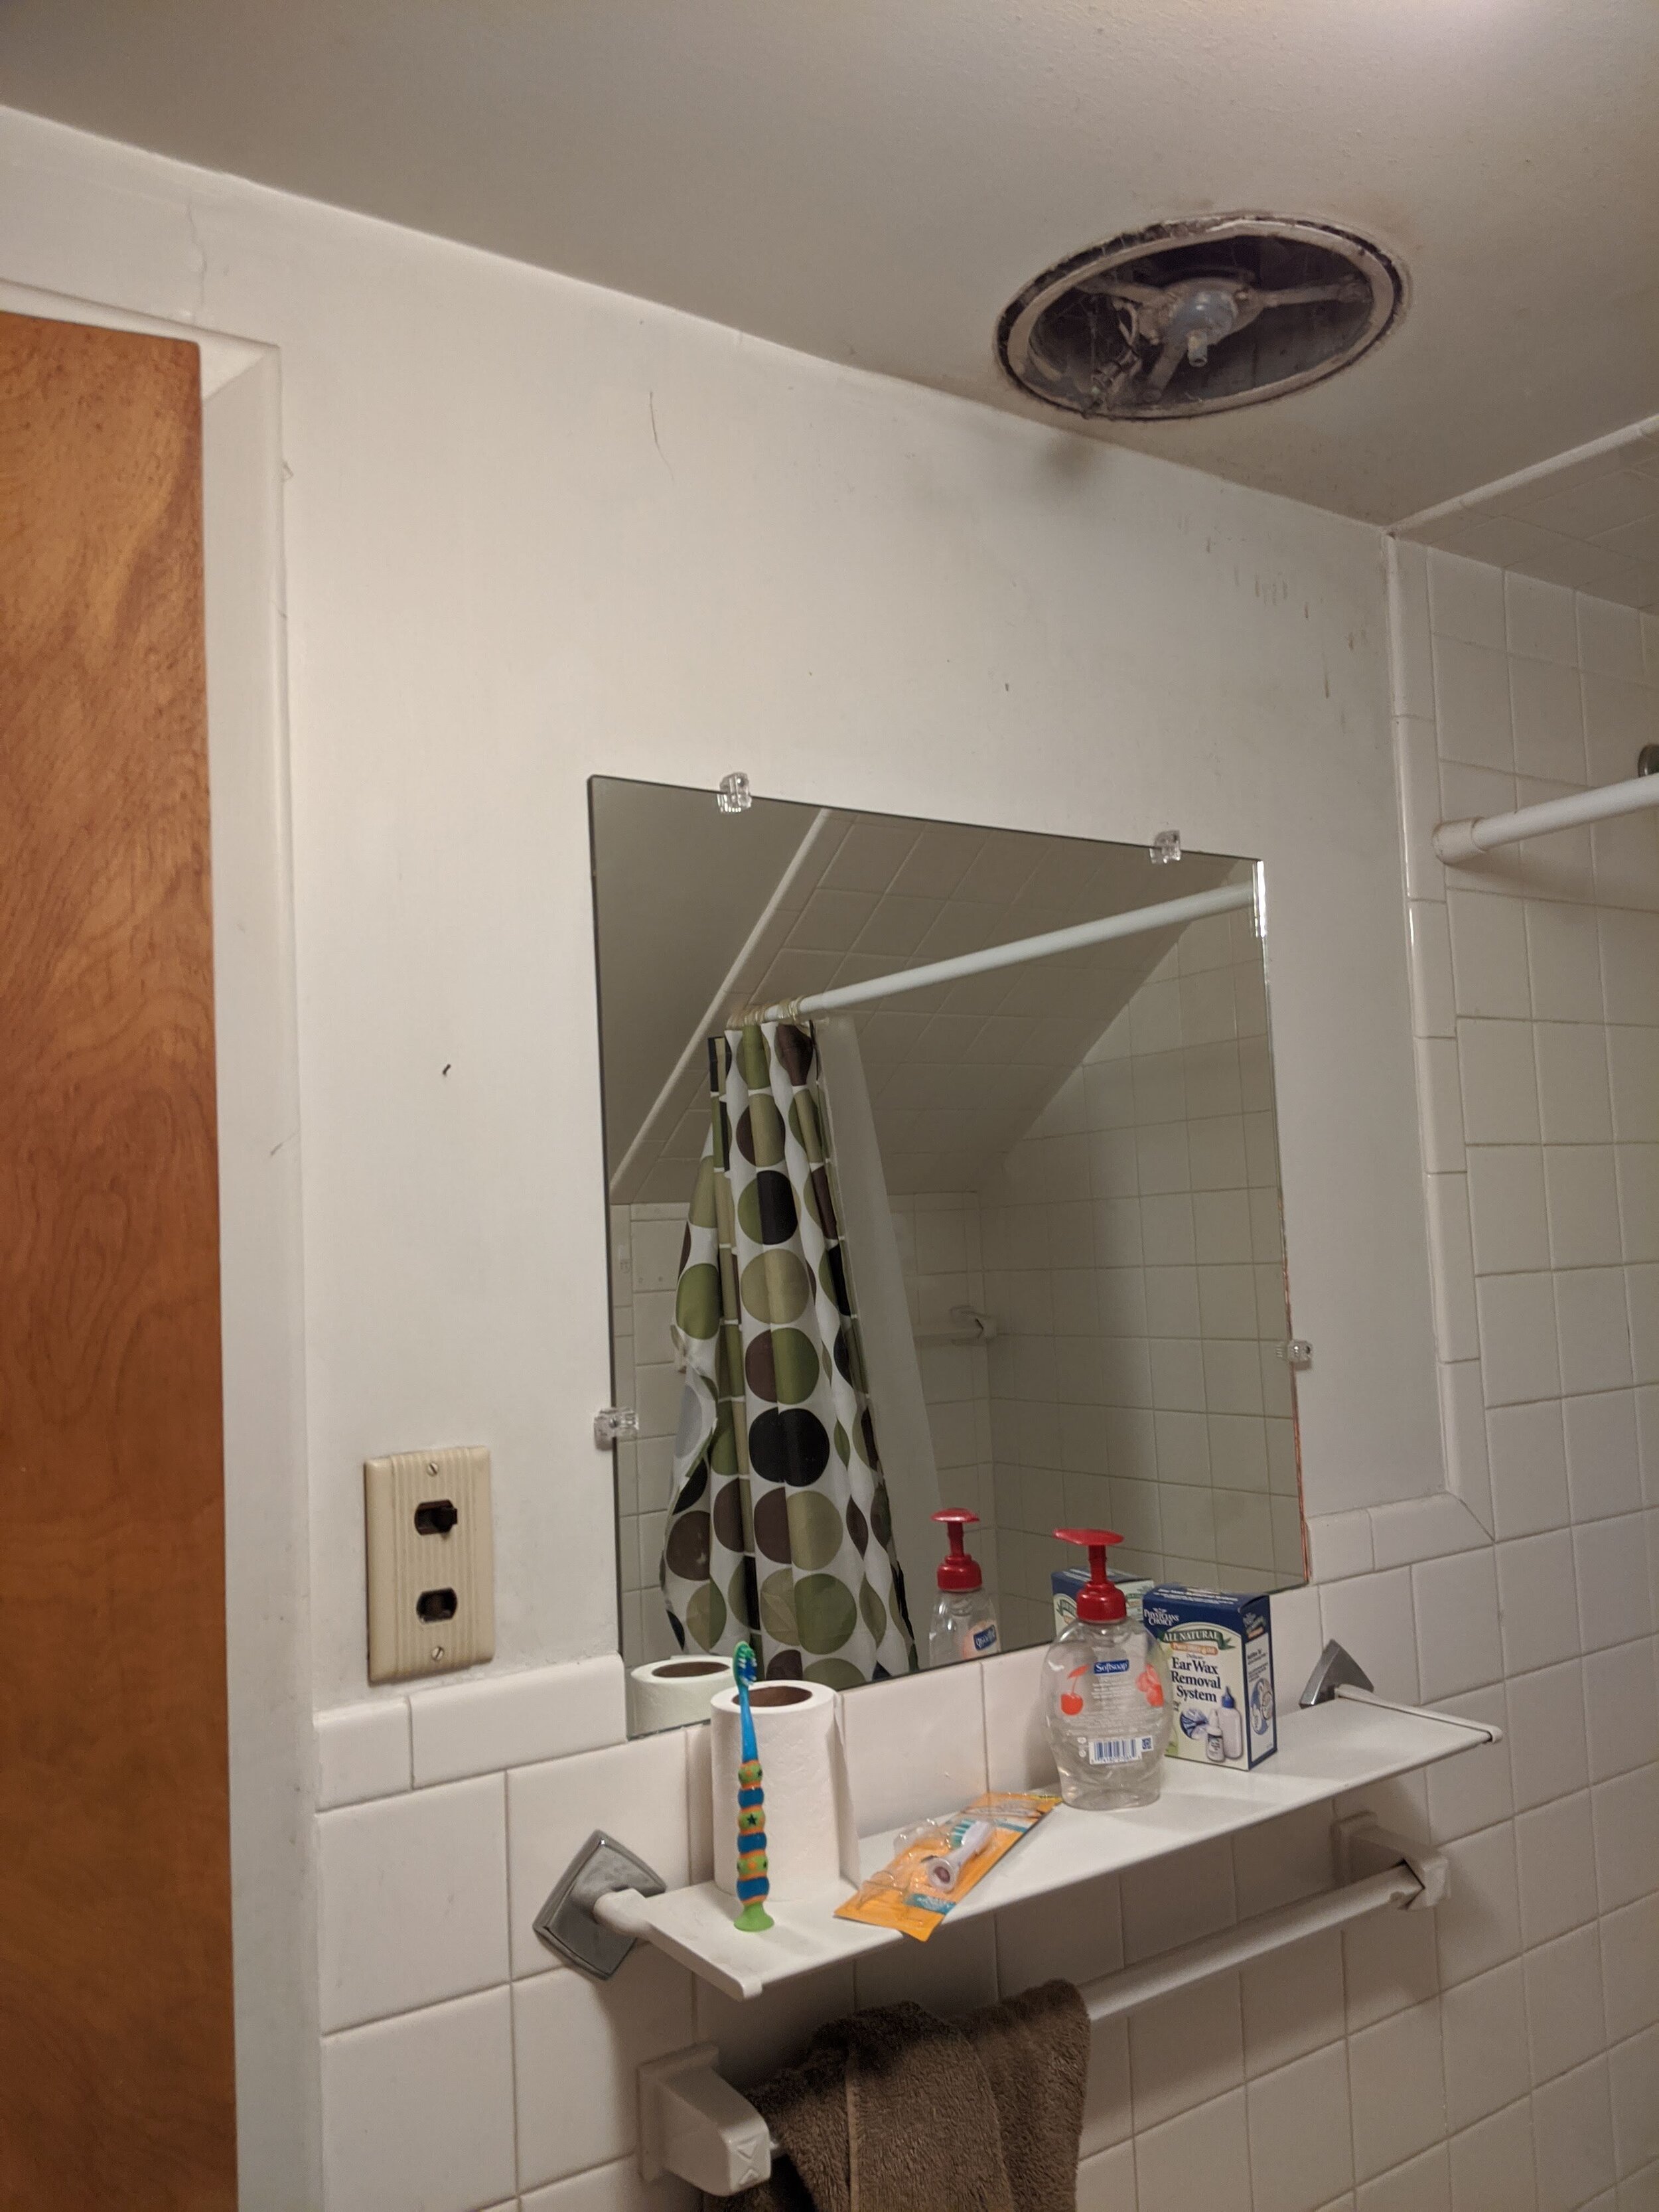
THE BEFORE
4” x 4” square white tile
White painted walls
Bad lighting
College dorm-esque shower head
Mirror way too low
Giant old heater
Ugly yellowish wooden doors
Sticky (cheap) linoleum 12” x 12” squares on the floor (we put them there in the stopgap mini-reno seven years ago)
Old vanity (also painted in the stopgap mini-reno seven years ago)
To overview the steps of the project:
Demo tile, ceiling and walls
Insulation
Demo floor
Electrical
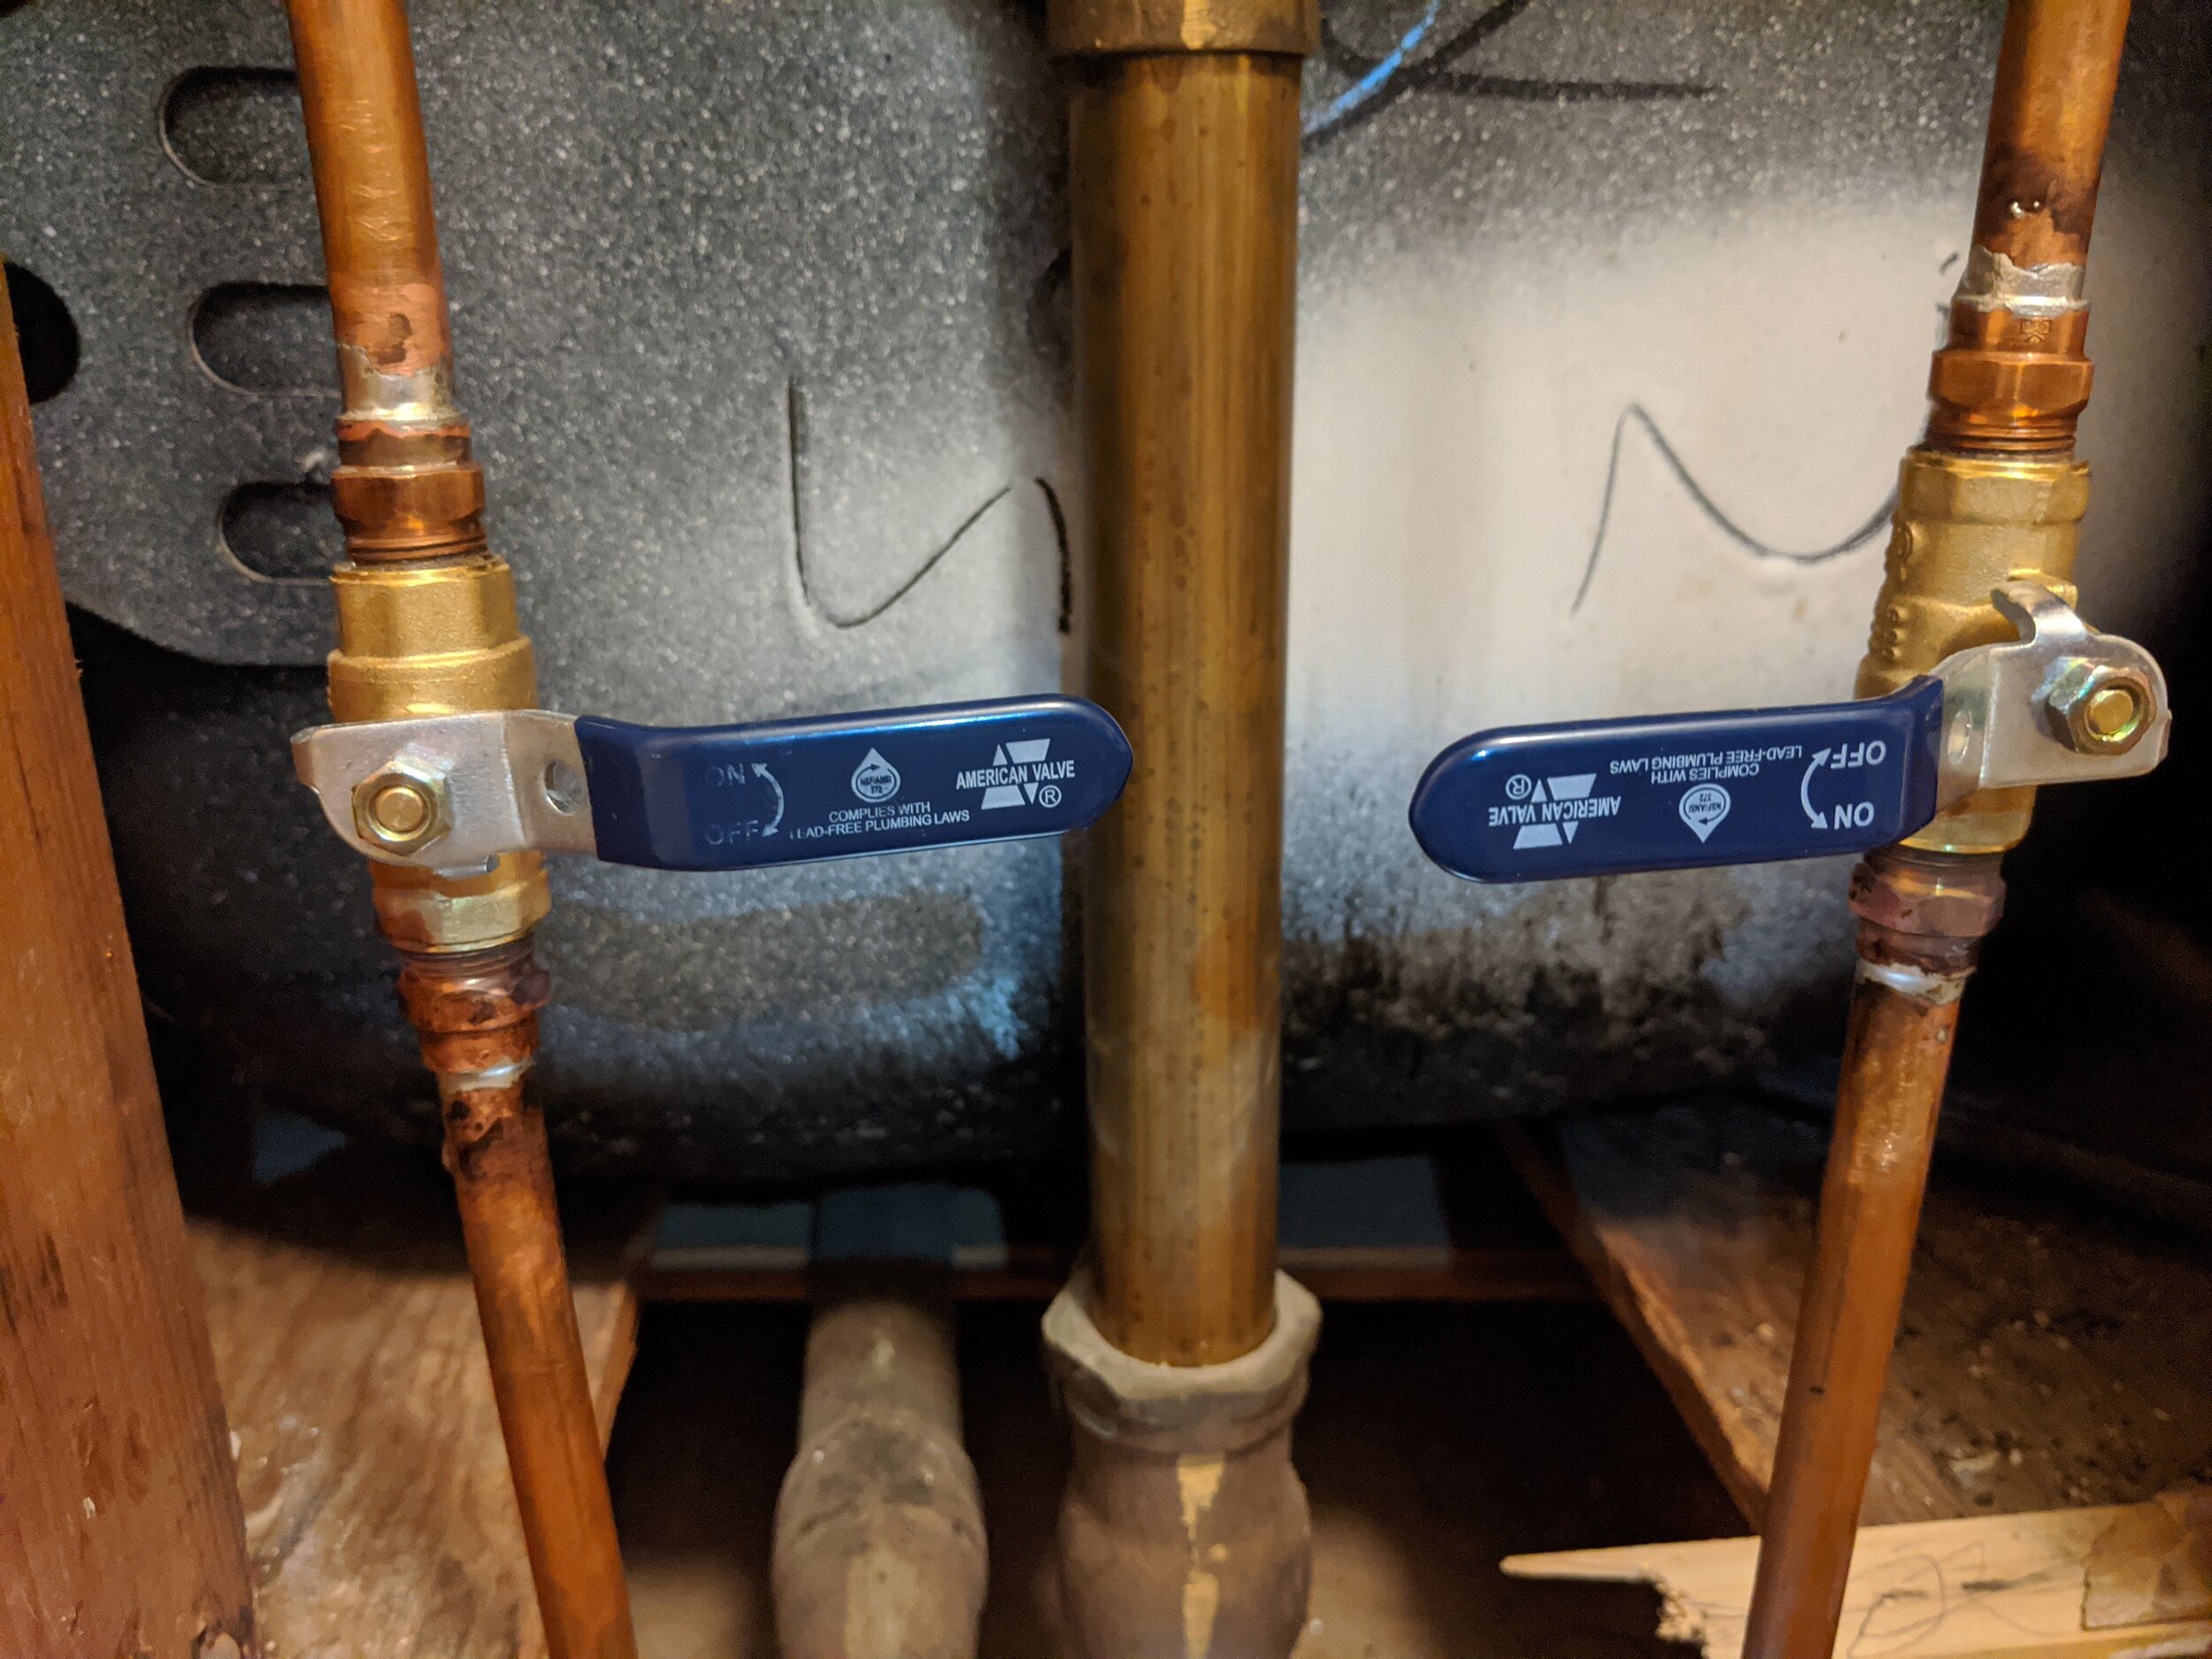
Rough plumbing
Concrete board and drywall
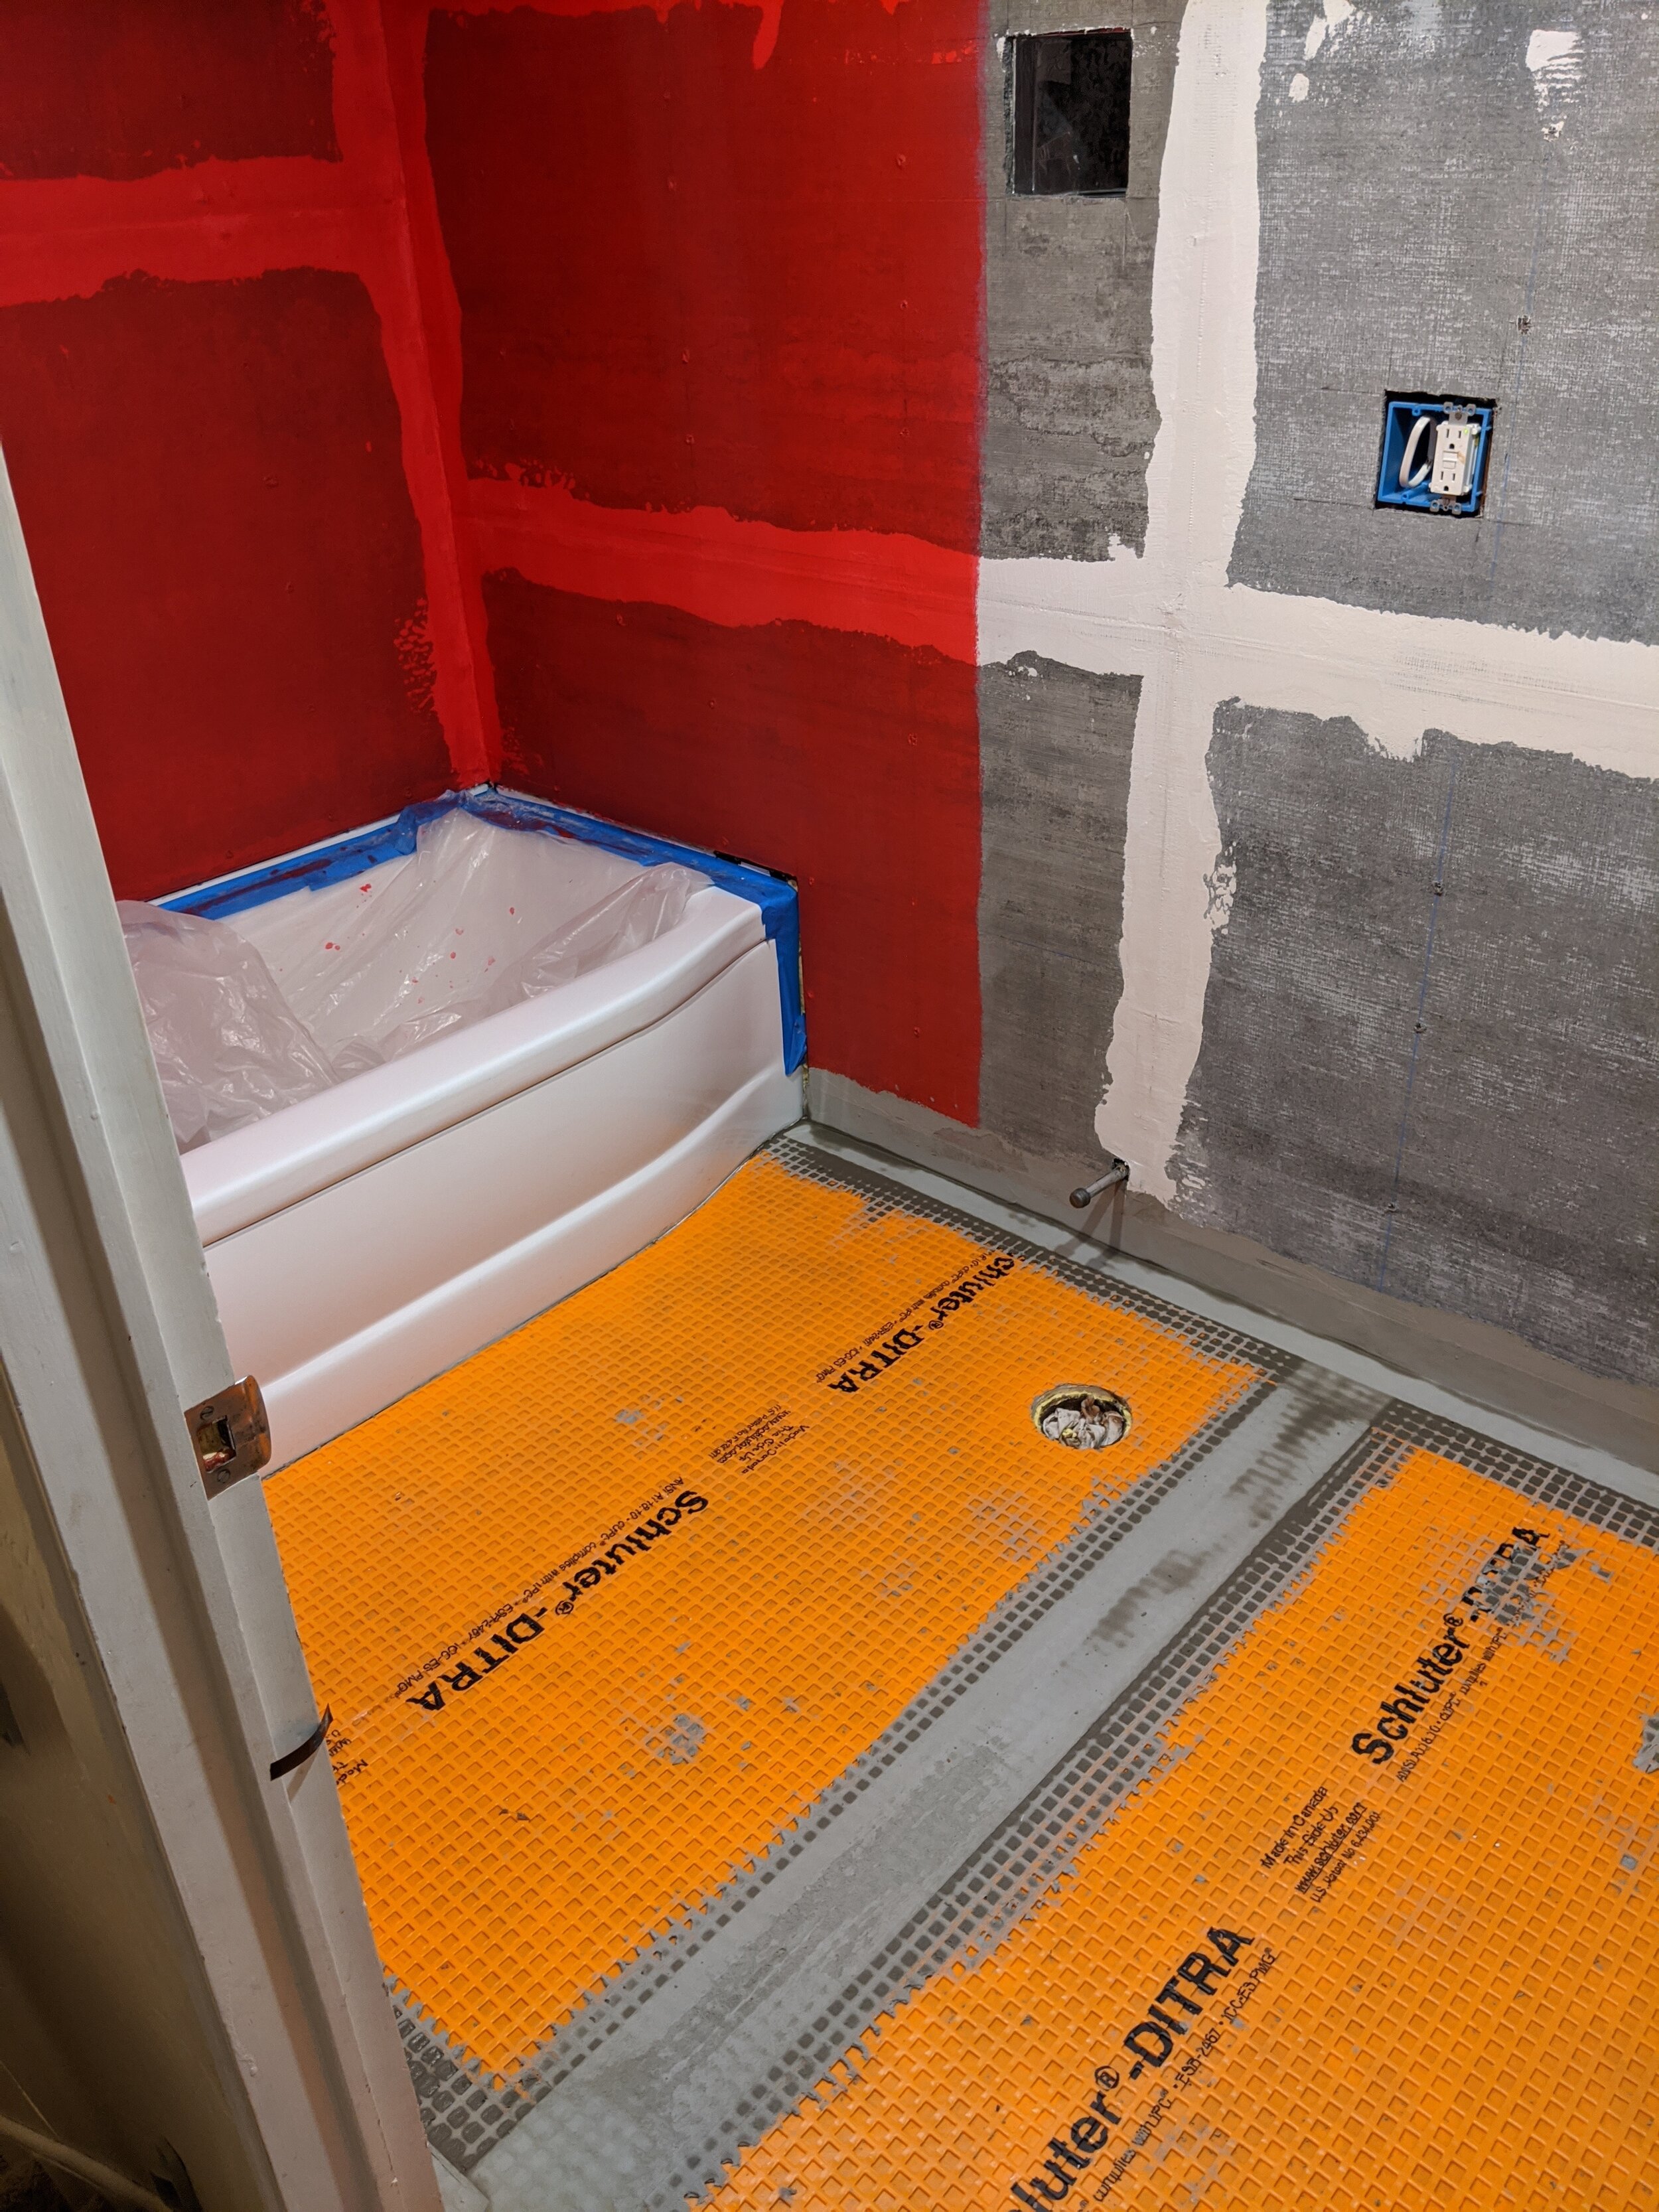
Waterproofing shower and floor
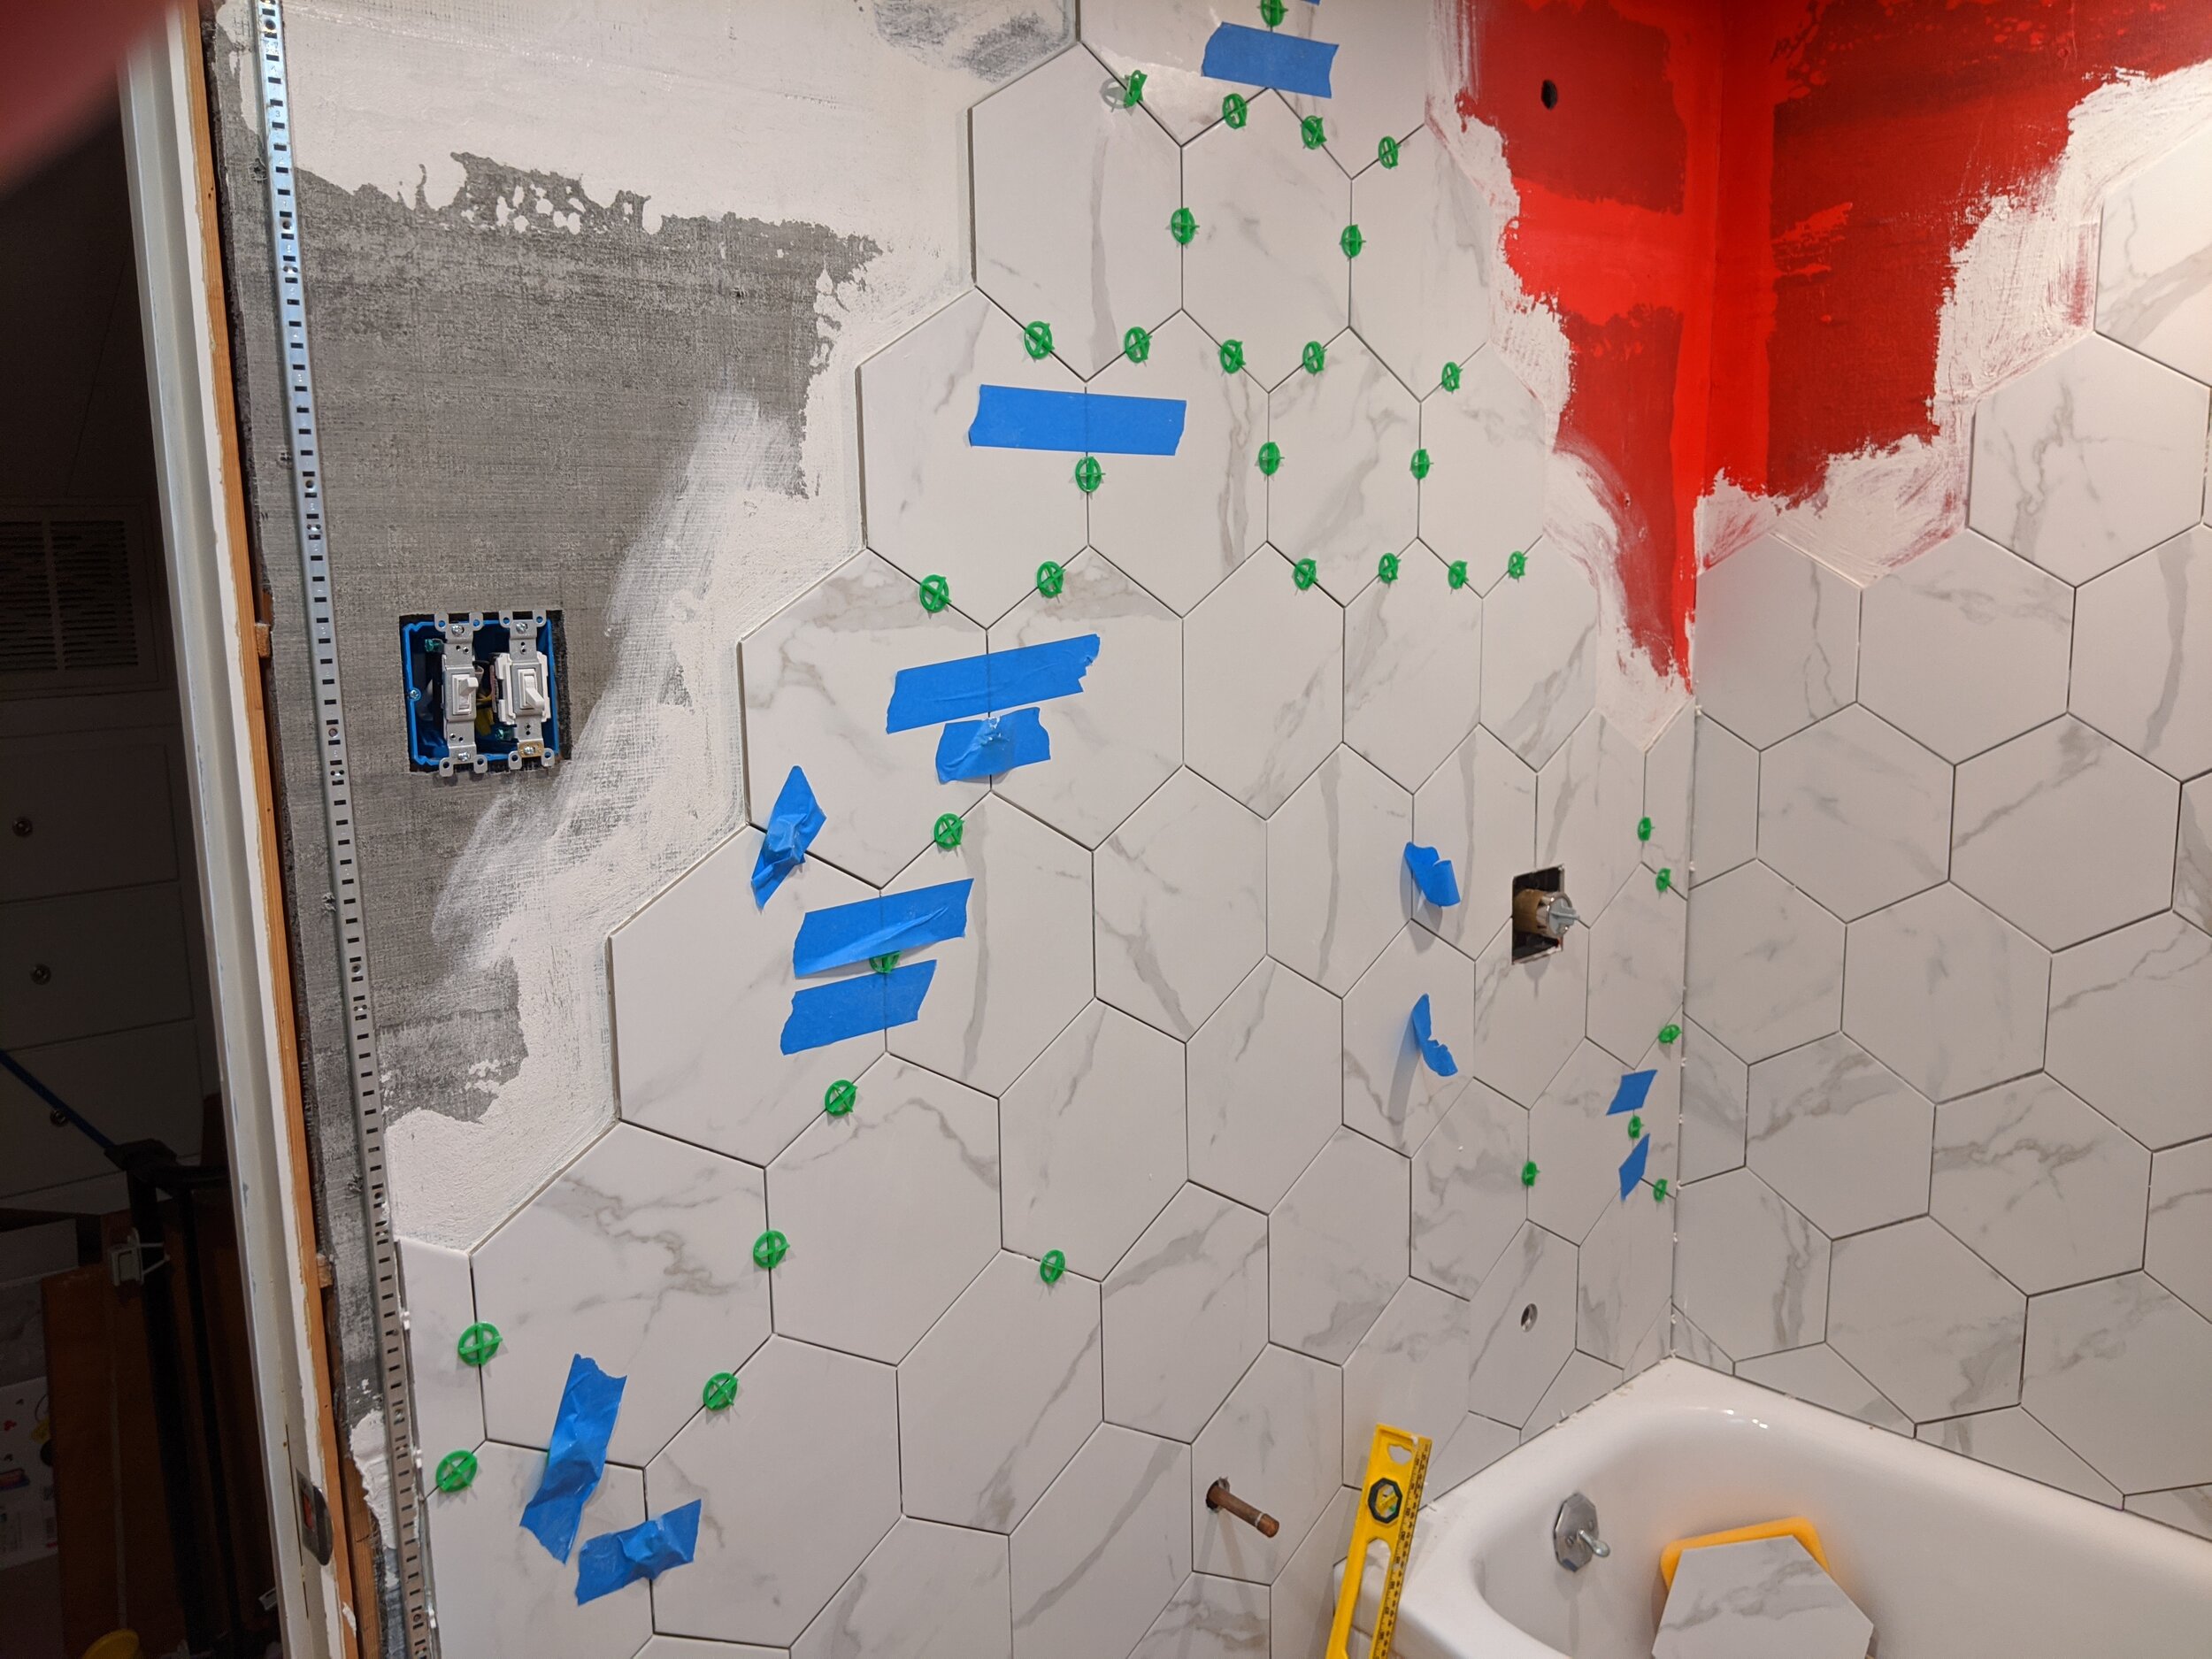
Tile walls and ceiling
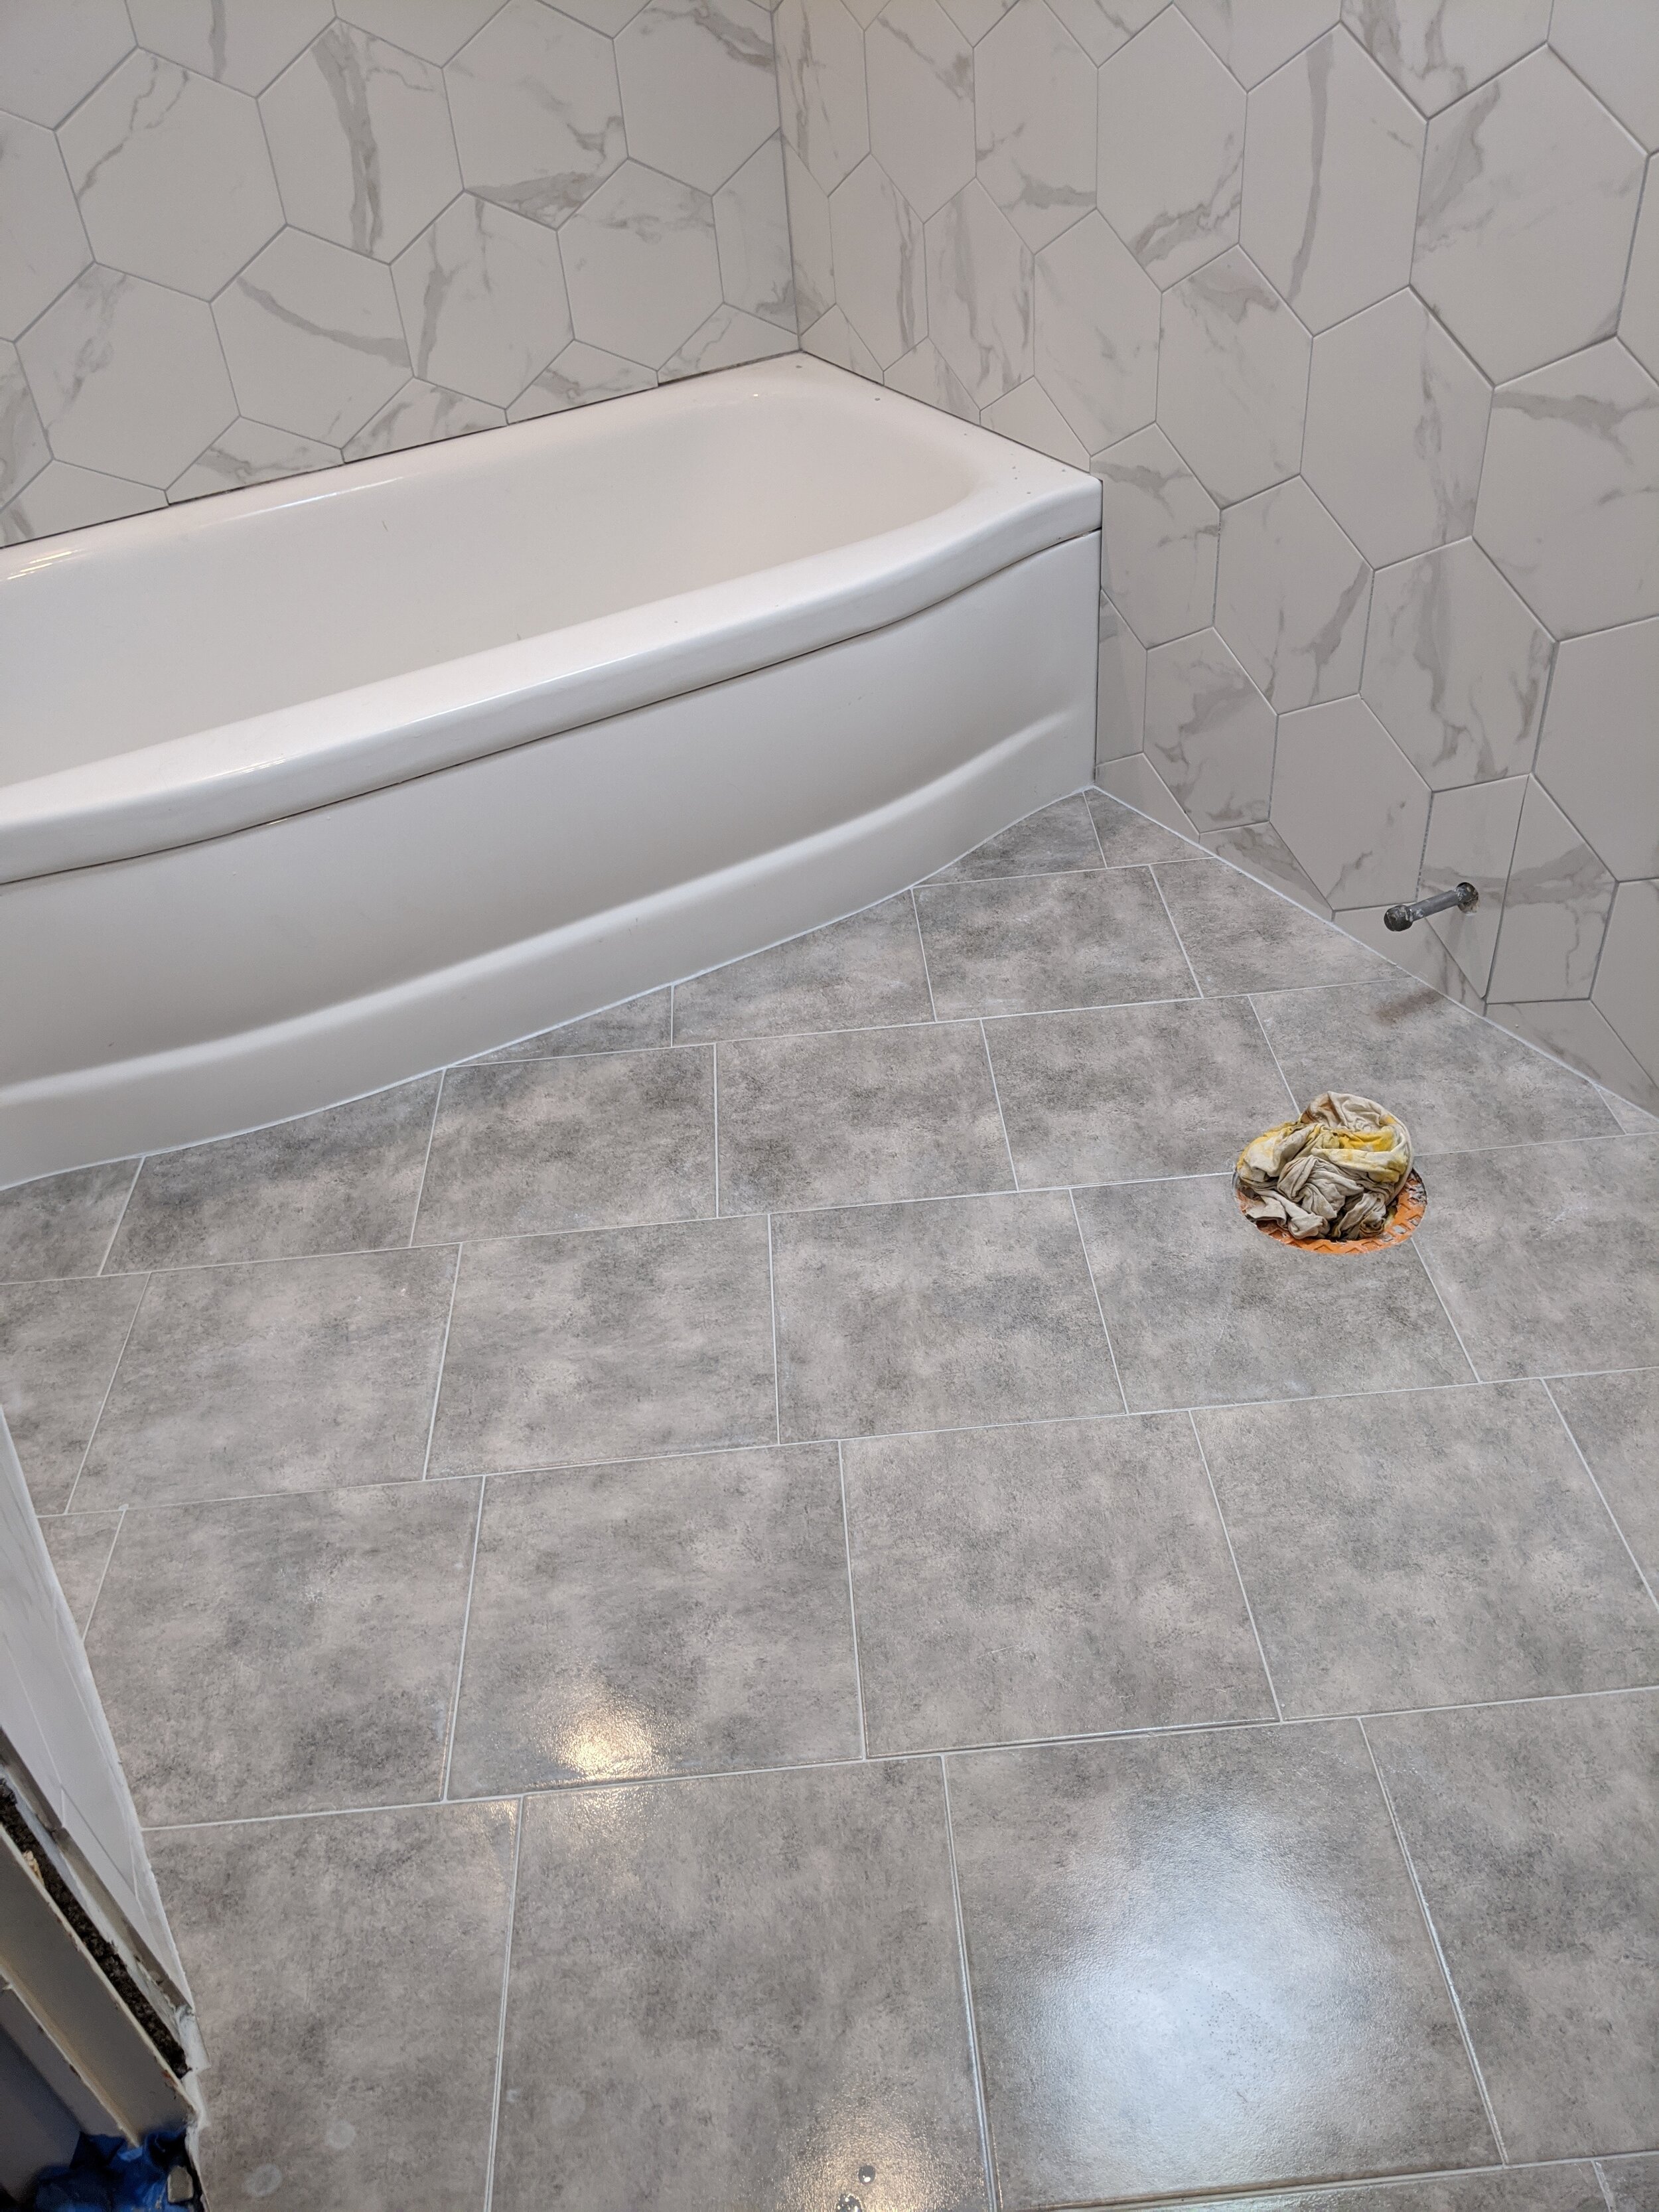
Tile floor
Install fixtures
Finish plumbing
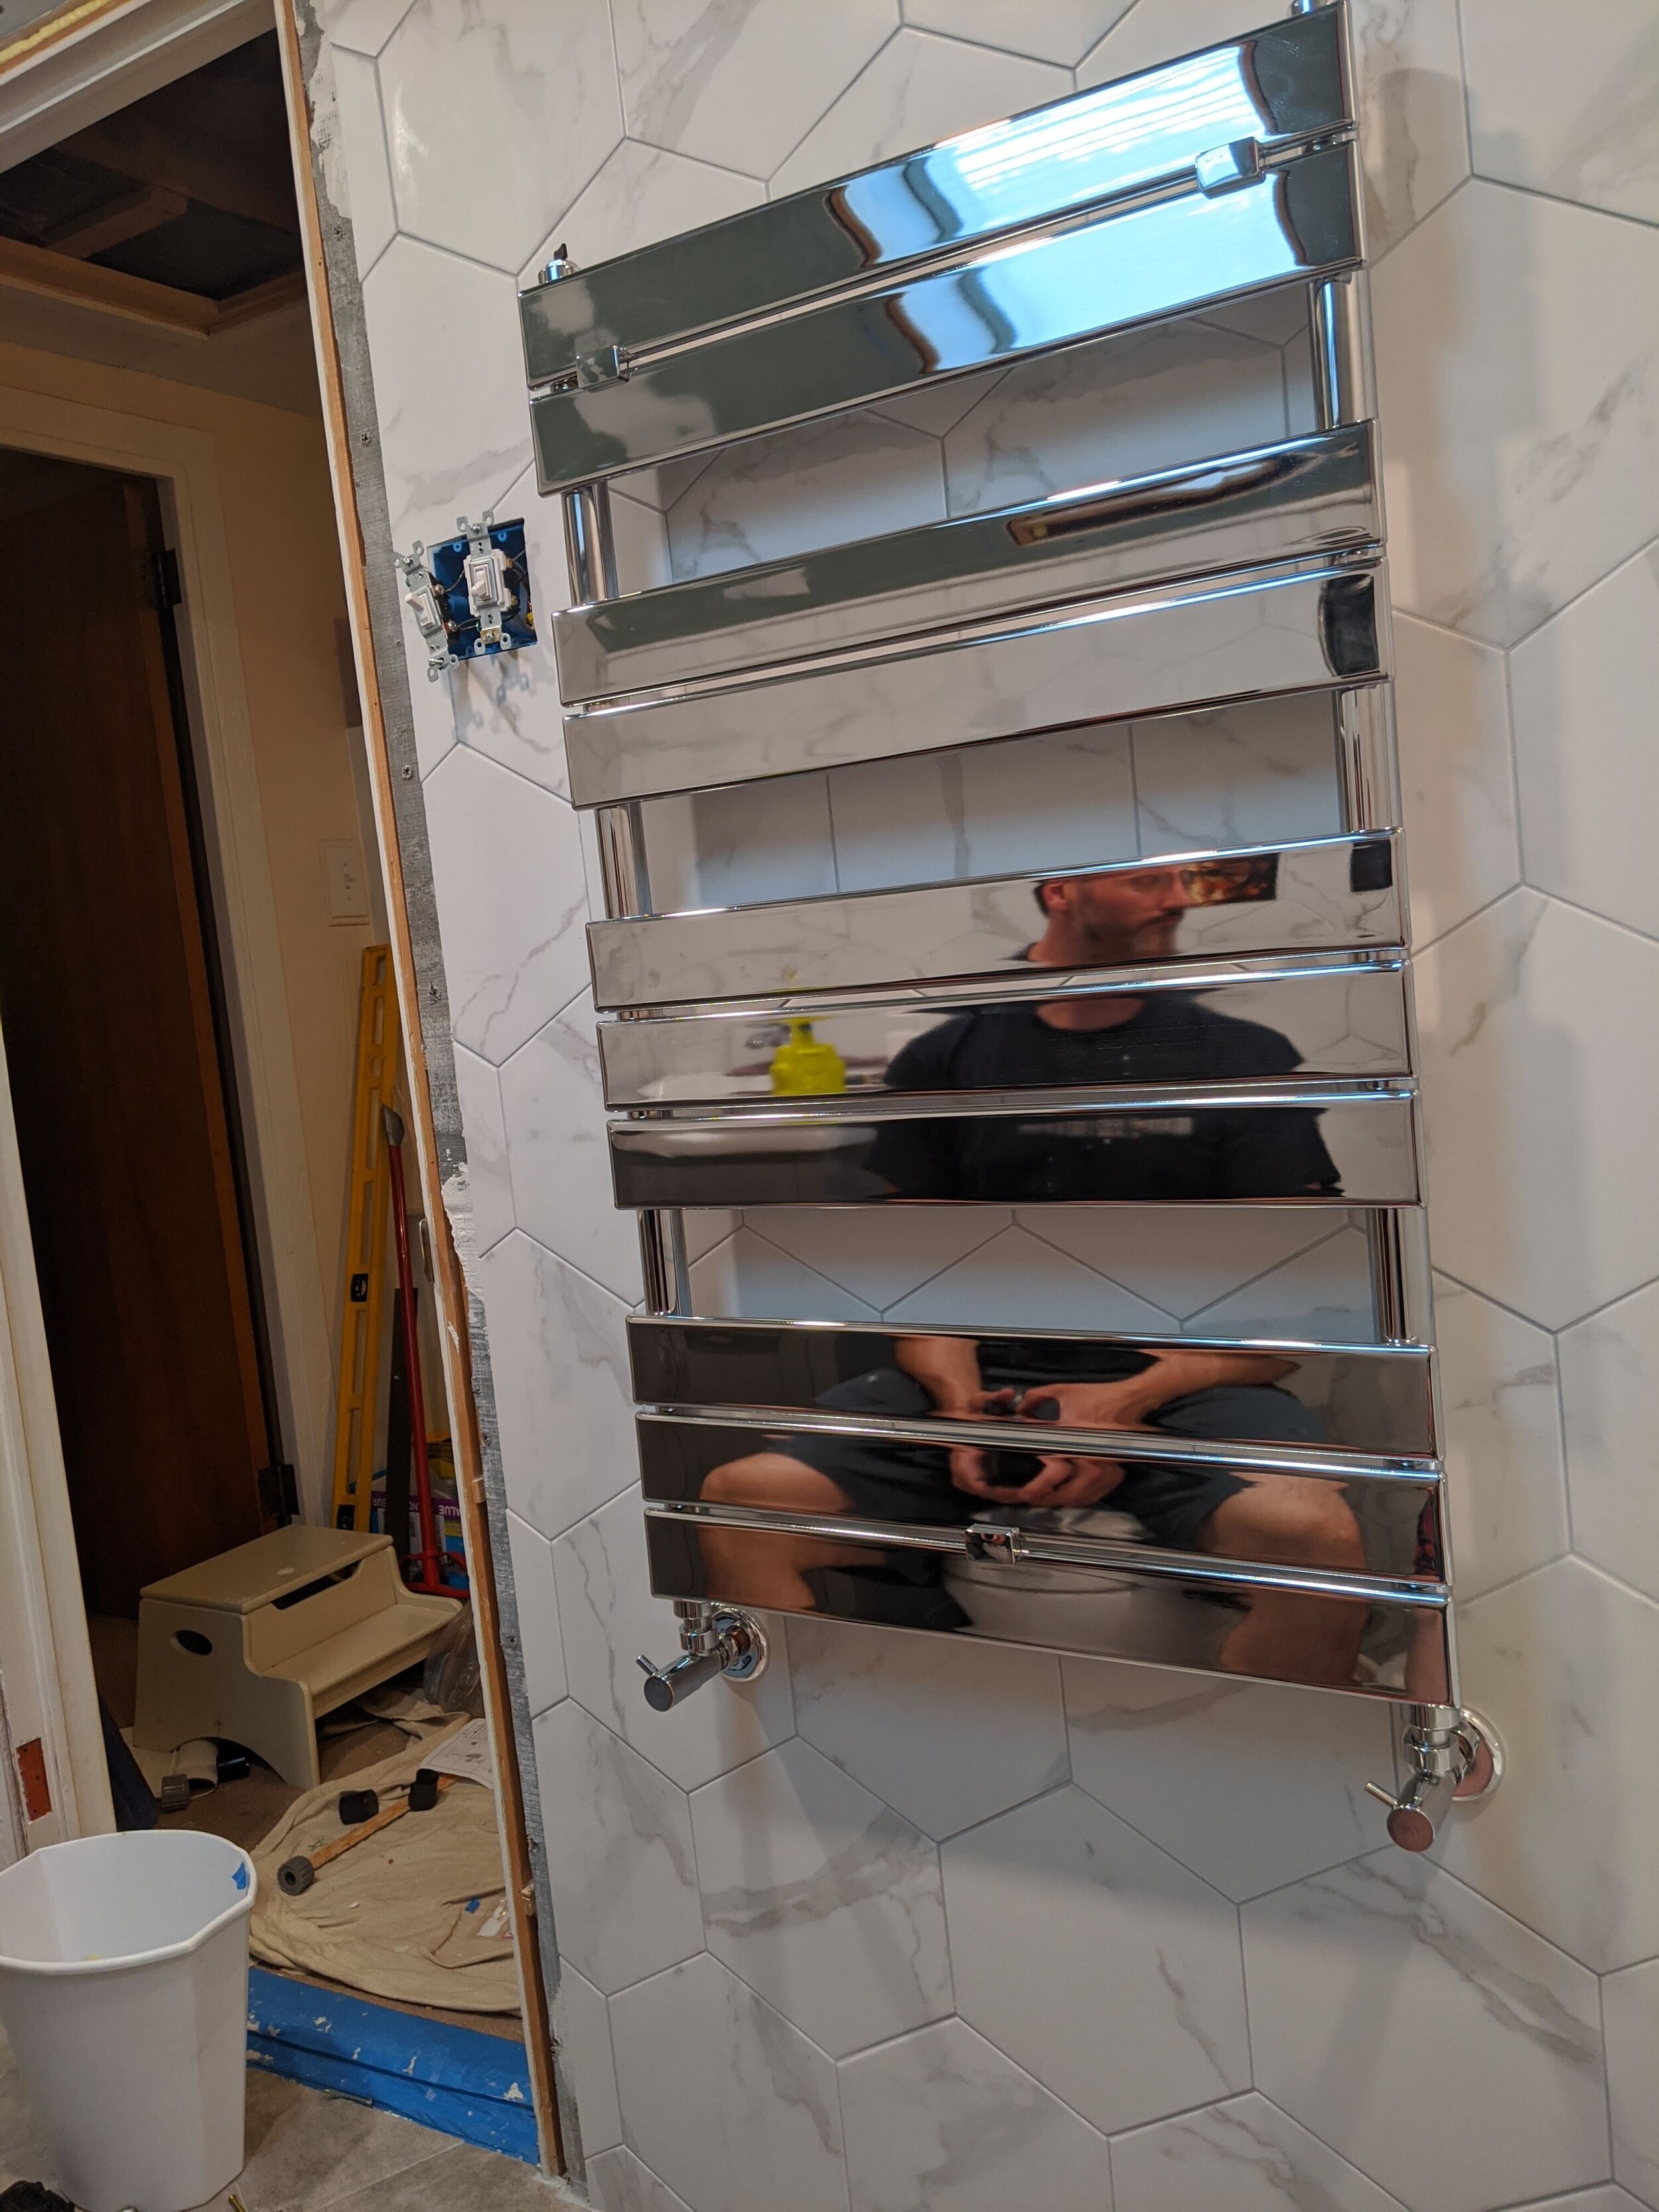
Install radiator
Install trim
Paint everything
Re-install doors
Finishing touches
My husband has a full-time job, so we did our project over 4 months. We’re lucky another to have two other toilets in the house, so it wasn’t a huge rush. Overall, I really couldn’t be happier with the results. Looking at the pictures, I’m laughing a little at the similarity between my kitchen and bathroom — unintentional. But, hey, I like what I like.
Click forward to see a post for the steps in (much) greater detail.


