diy bathroom reno, phase 2 - the unsexy steps of insulation and floor demolition

bathroom-renovation-p2-hor.jpg

These are not the sexy, appealing steps of a home renovation, but they are the things that can set your work on the level of ‘great new bathroom’ instead of ‘oh wow, you did this yourself.’ Trust me, there are orders of magnitude in the difference these small steps can make. DIY-ers want to skip to the fun part of picking out paint and laying out tile, but taking the time early on makes everything 100% better.

NOTE: Skip back if you want to see an overview (including “the before”) , phase 1 which is doing demolition right, or skip ahead if you’re looking for a different step in the process.

Be safe.

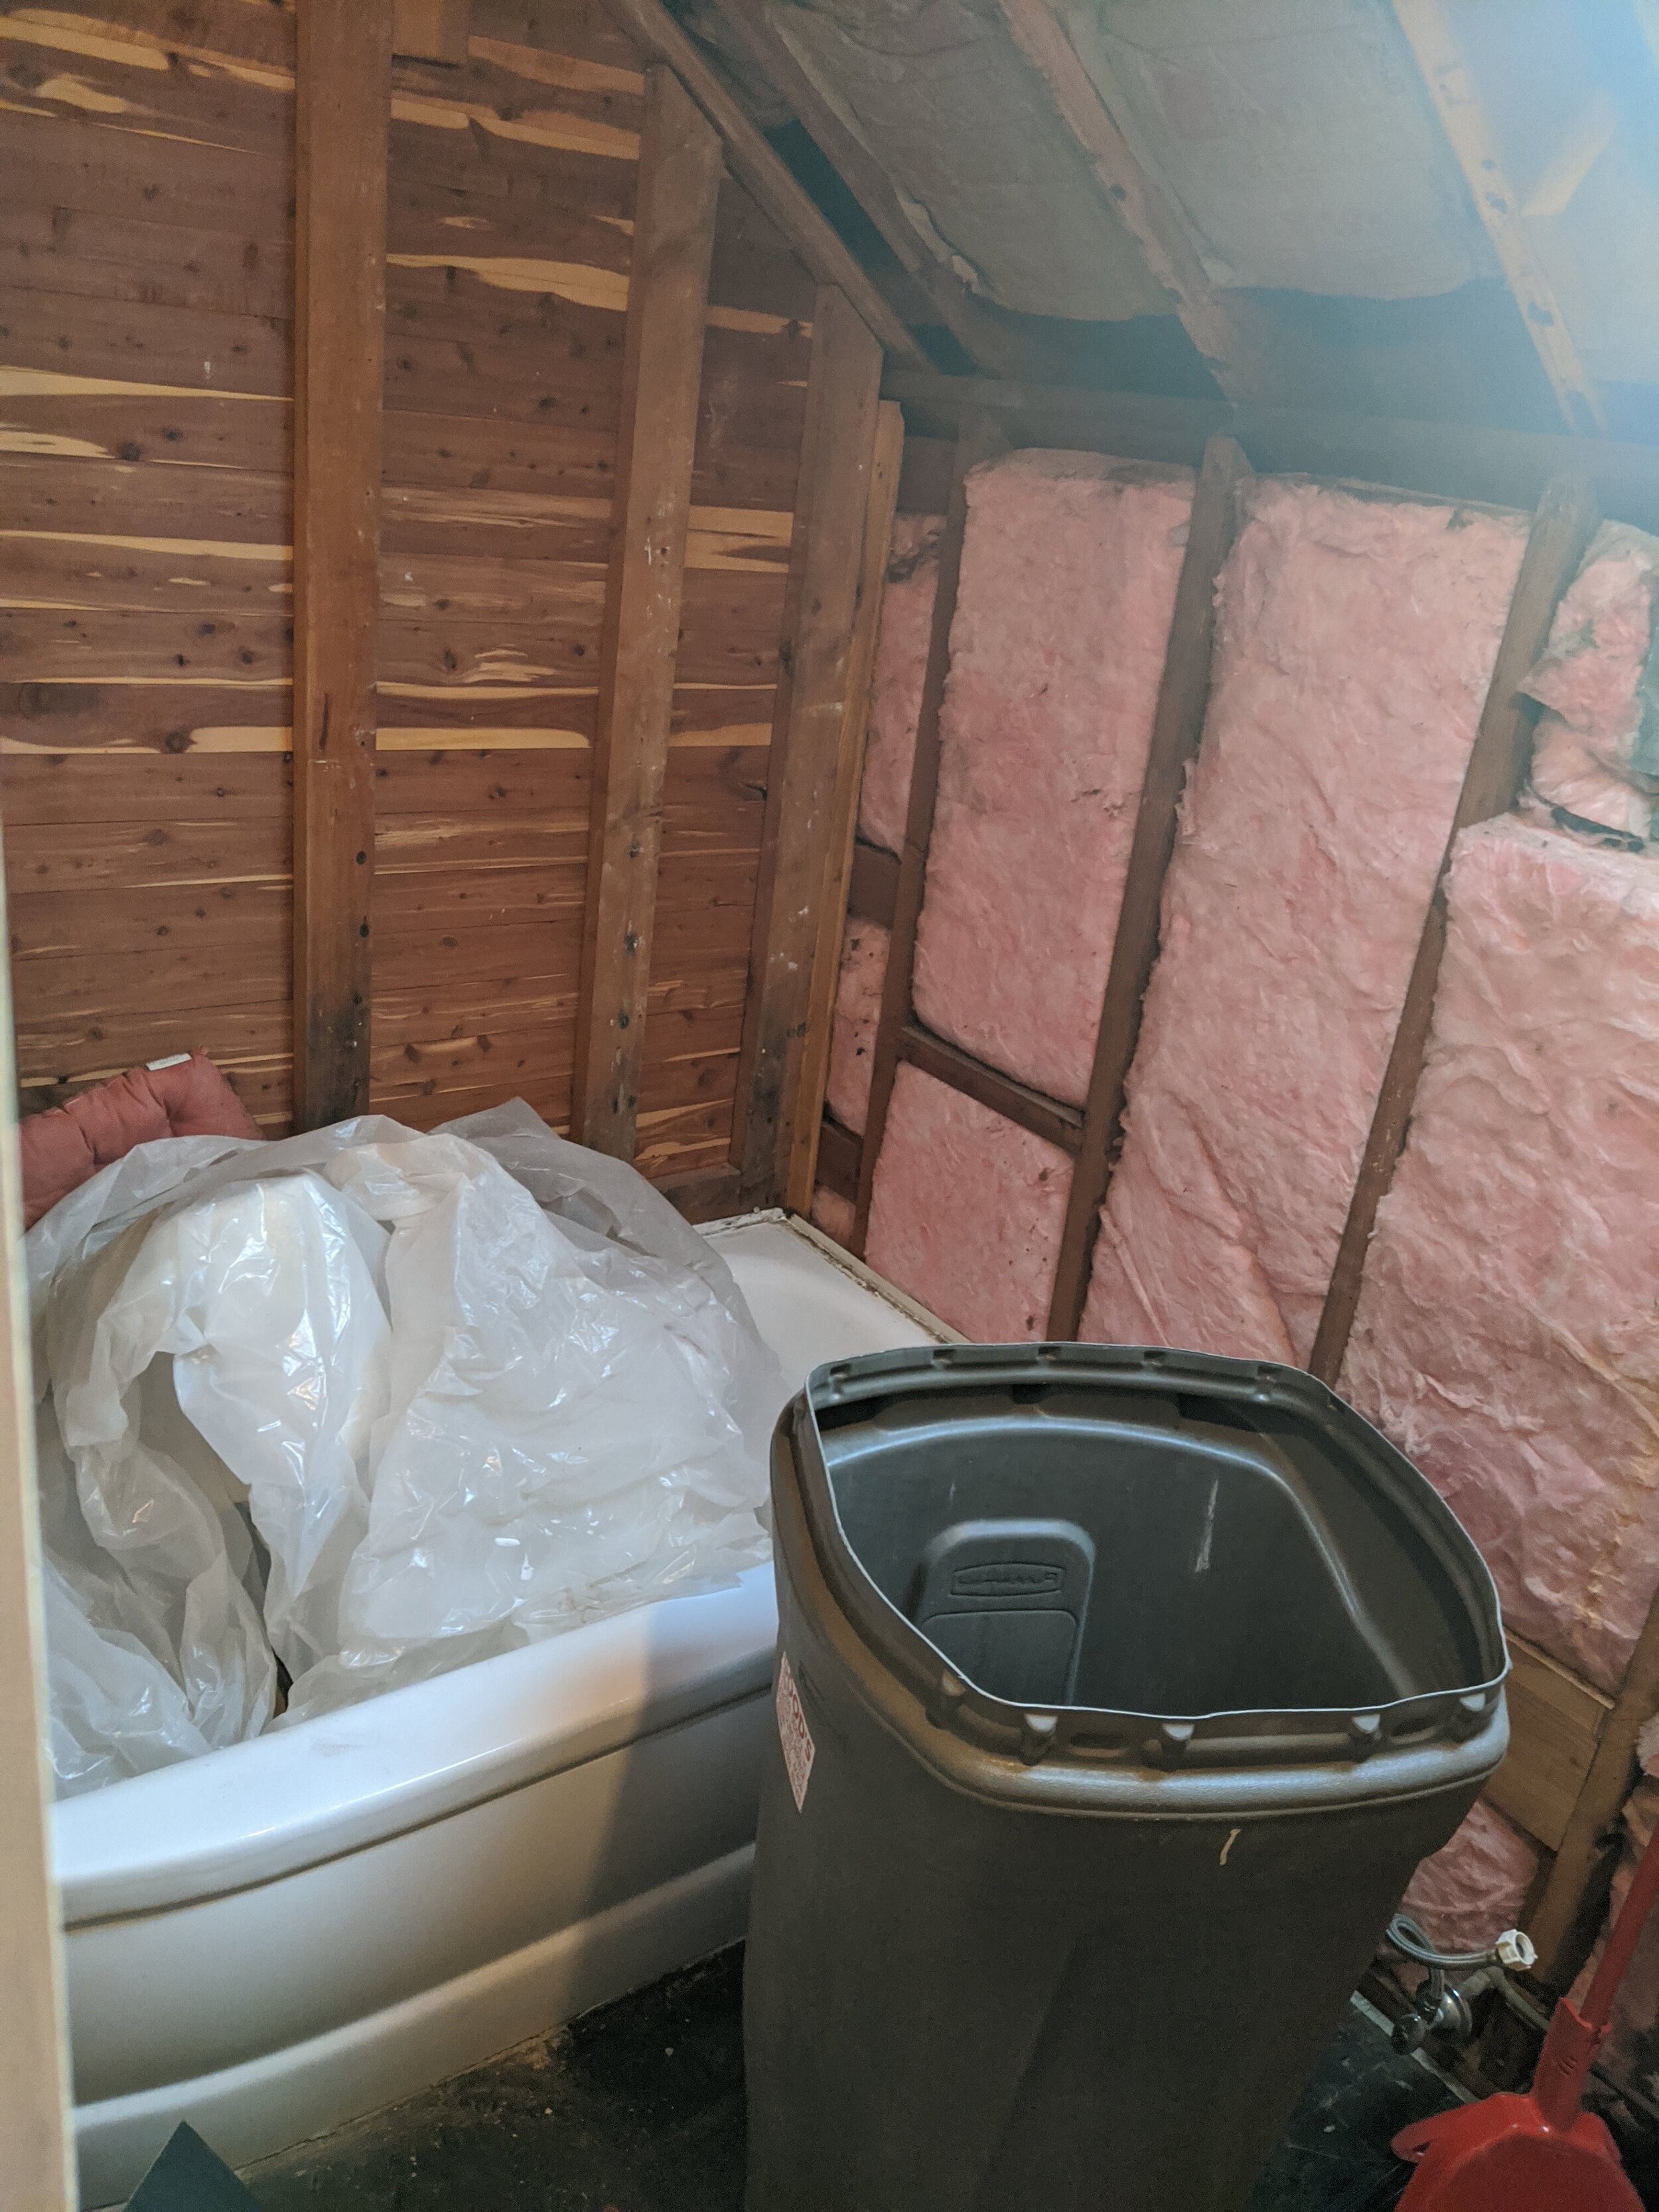
Don’t mess with insulation without goggles, gloves, and a mask. Read the product labels and follow the instructions. They are there for your protection. Also, make sure you read the labels so you know which way the paper on the roll-out insulation should be facing. Also, make sure you fluff that stuff up a bit before you install since it comes heavily compressed for easier transport.

Cutting insulation can be a pain. We used a combination of an electric knife, heavy duty scissors, a serrated knife, and an exacto blade. Be careful using sharp stuff, as well as insulation, and don’t leave little pieces laying around for kids or pets to find.

STEP 4: INSULATION

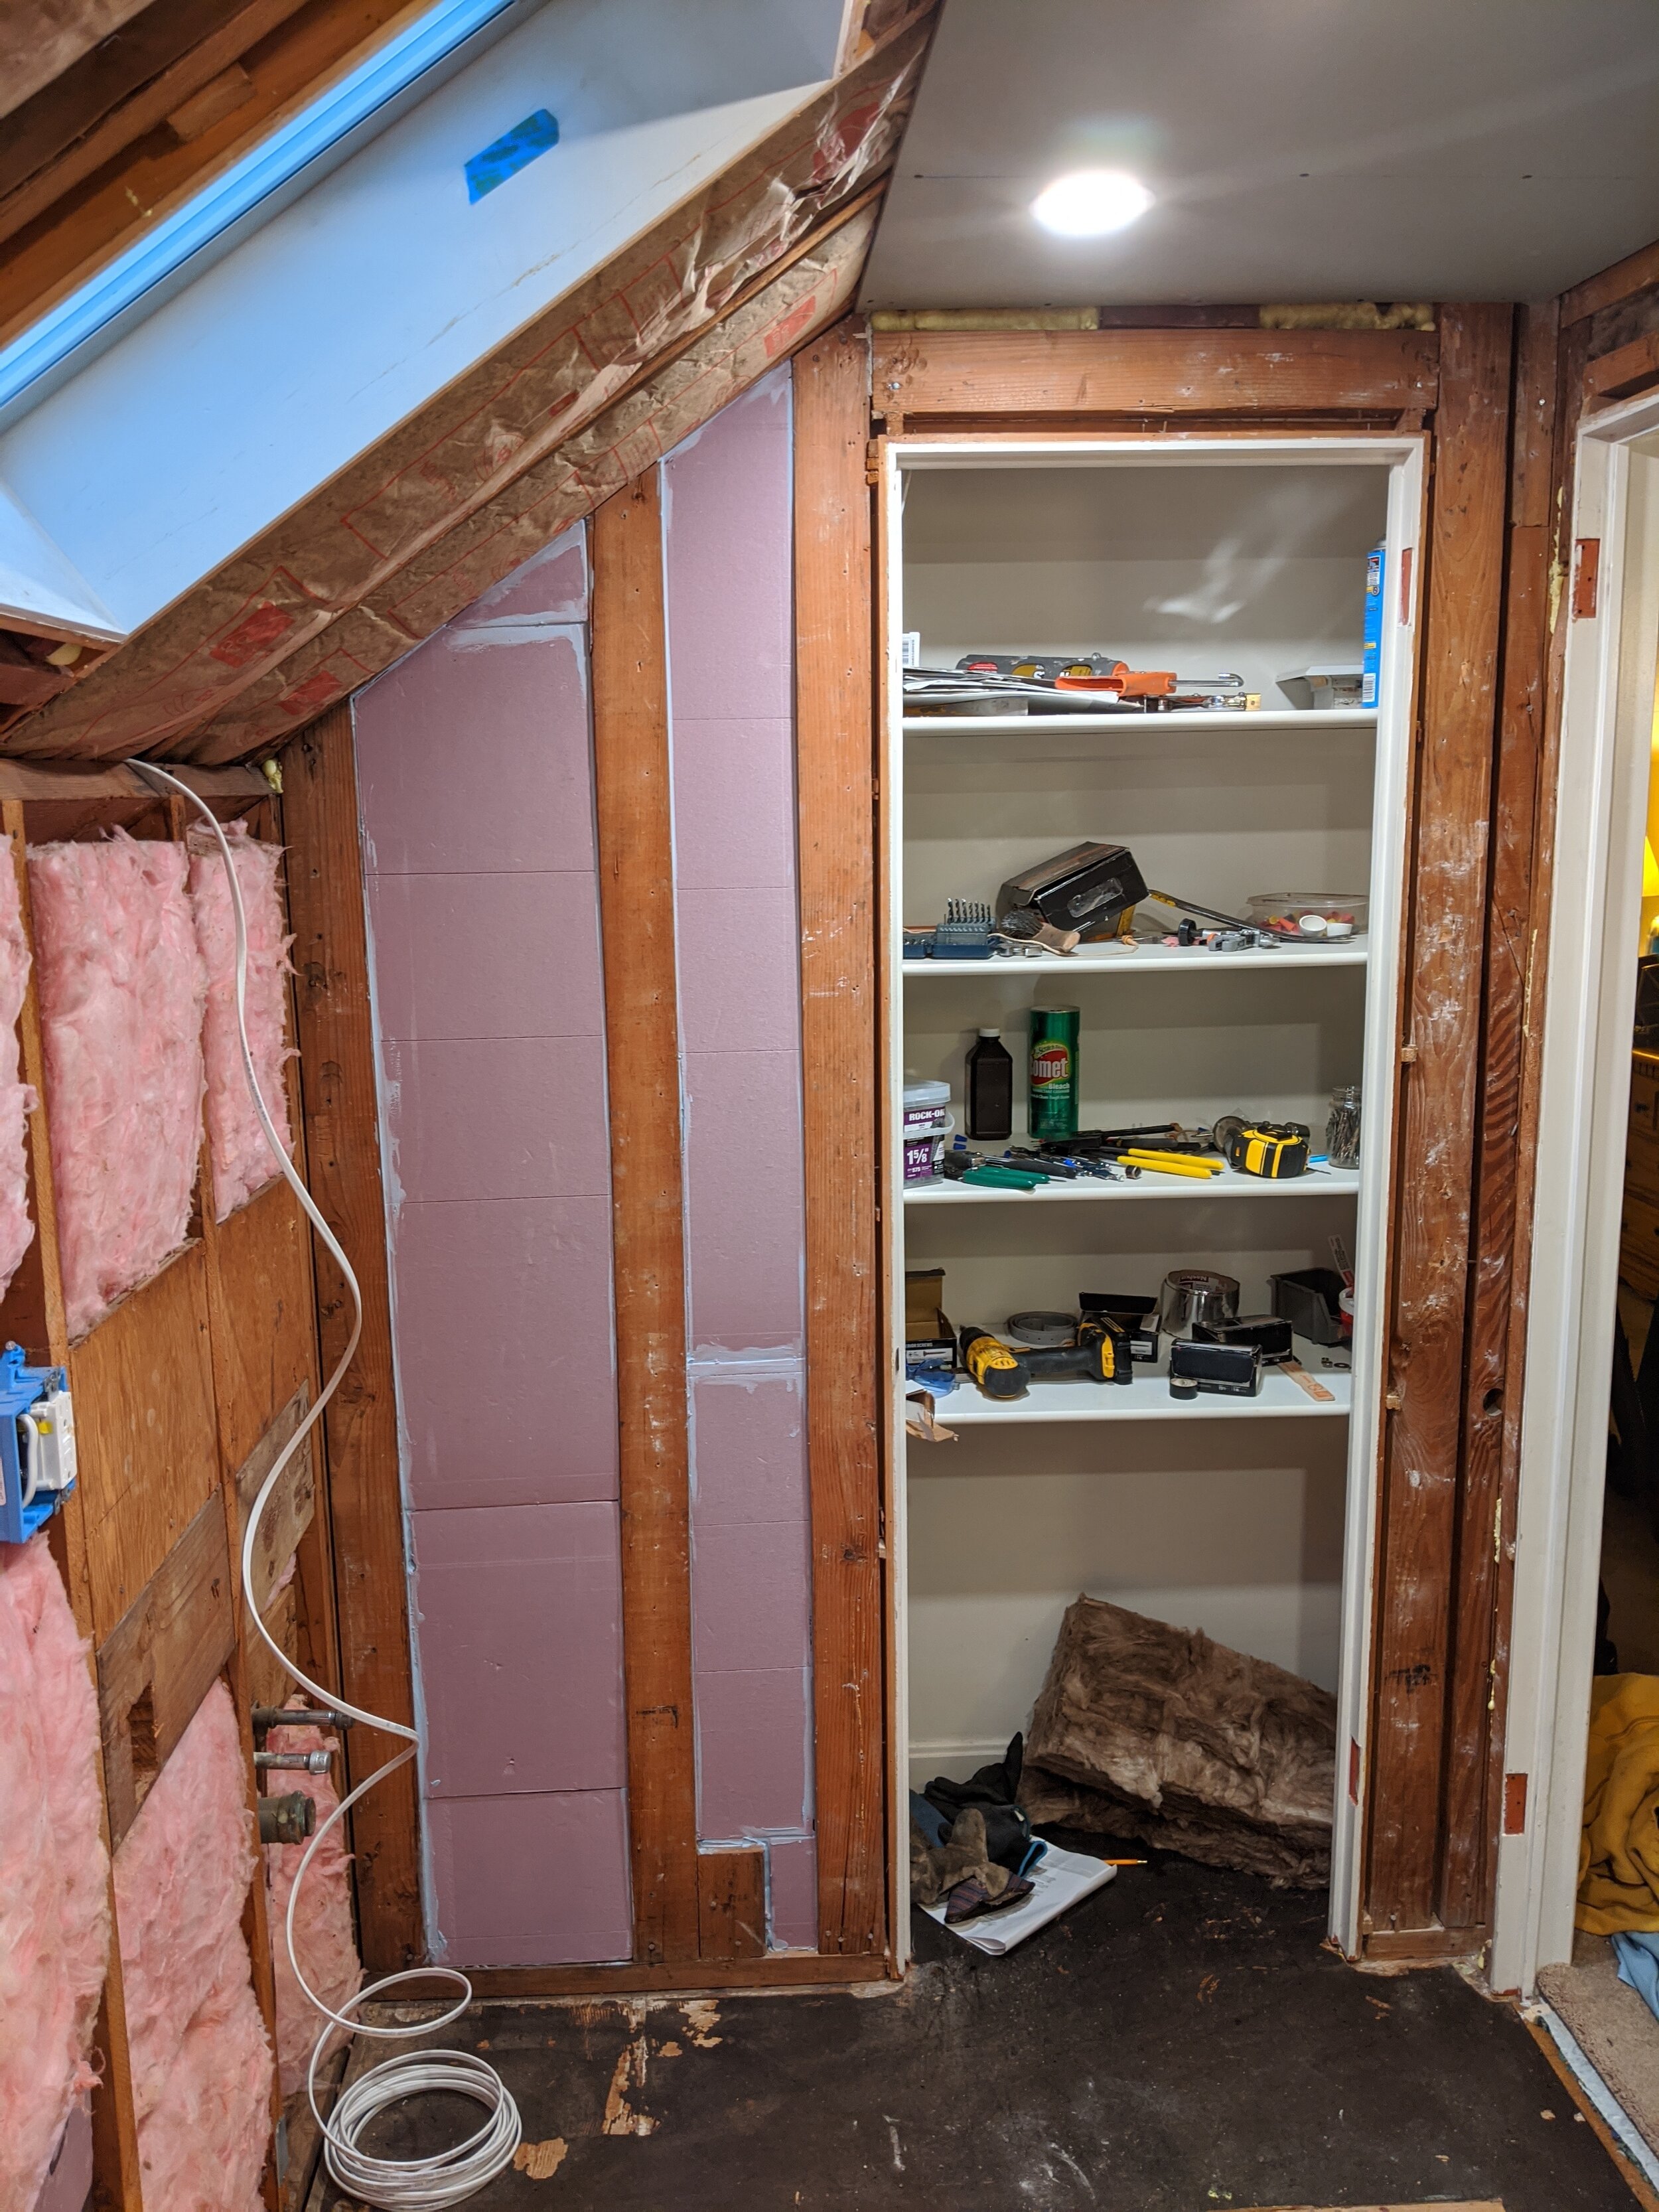
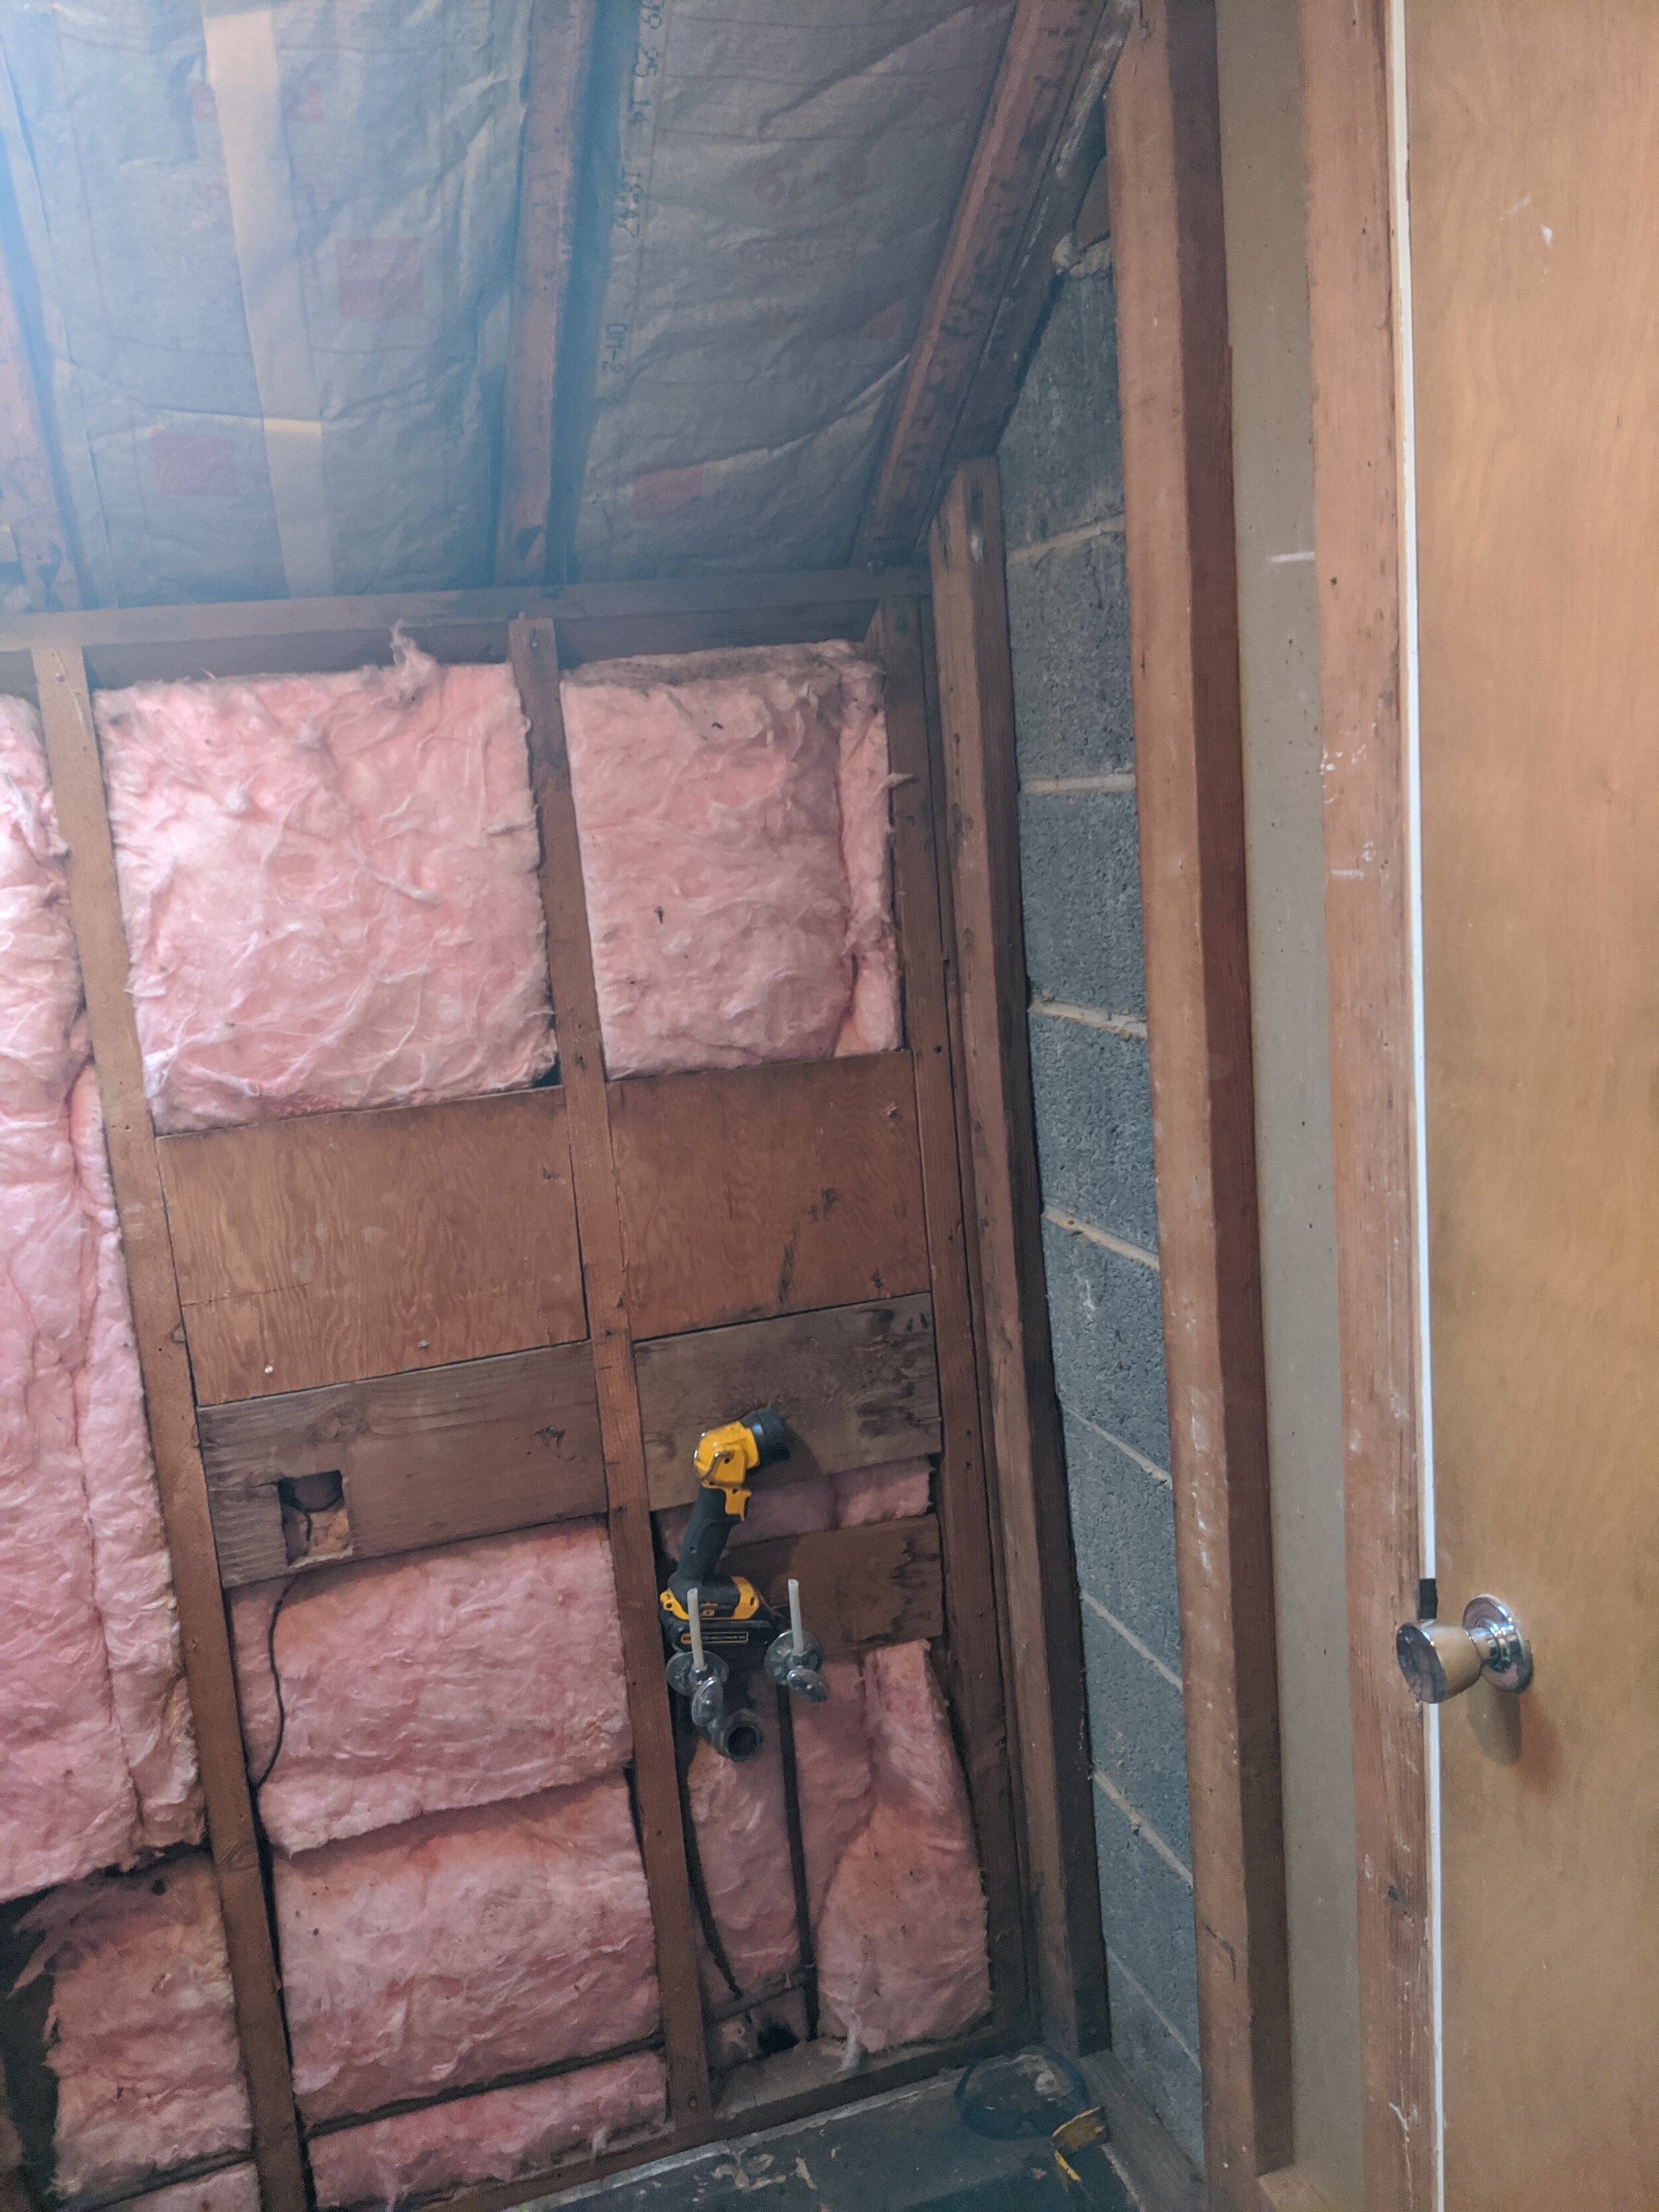
Insulation is boring, but if you’re serious about both comfort and money savings, you gotta do it right. Install the correct type of insulation for each wall or ceiling, based on its position in your home and your climate. If you don’t know, use the professionals at a good home store to help. You will thank me when it’s winter and your bathroom is still warm when you step out of the shower! (And you aren’t paying out the wazoo to run your heat as the warmth escapes through the walls and ceiling.)

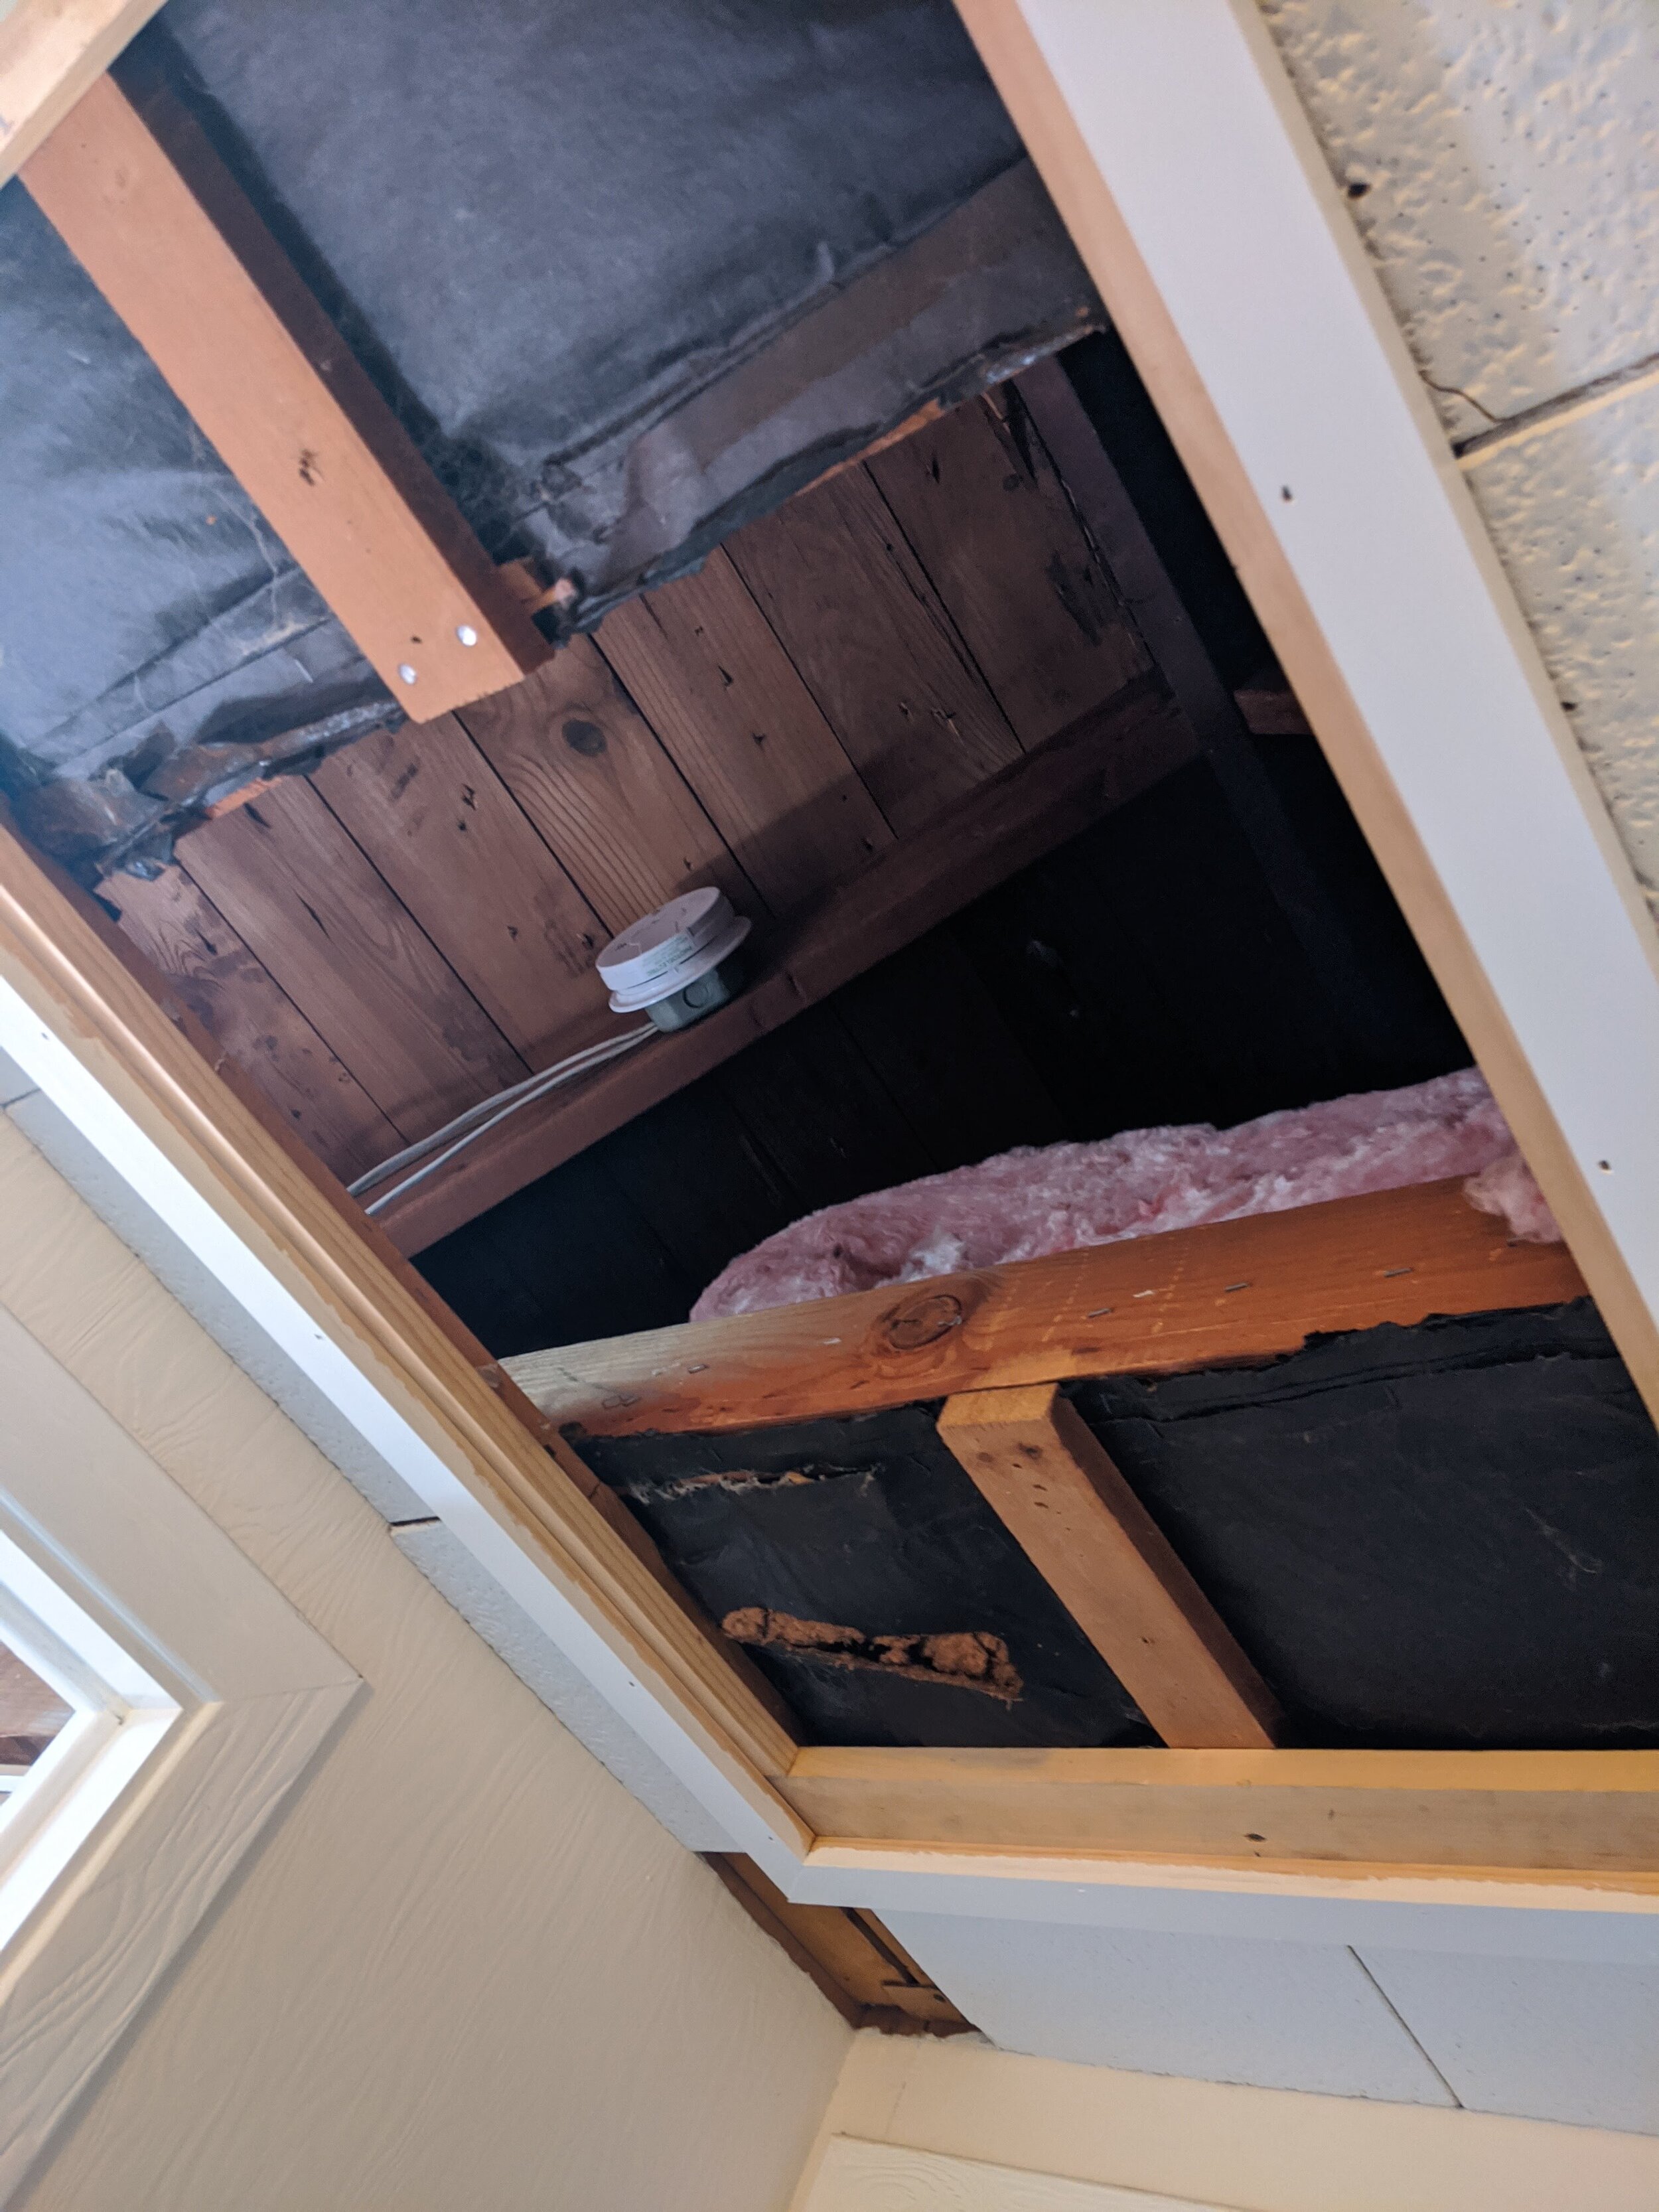
In our case, we took the opportunity to fix some attic insulation that was a problem, as well as wire in a smoke detector so we didn’t have to worry about battery beeps. (Yes, it has a battery backup to still function in an outage.) More about electrical later.

For our project, we installed the classic roll-out pink insulation for the walls and ceiling, then stiff styro for some of the walls with less horizontal depth.

STEP 5: DEMO THE FLOOR

Why is this listed as a separate step? Good question. Two reasons: as previously stated, I hate the squeaky squeaks. No thank you to creaking when my kids walk around! So a new sub-floor was helpful in adding the sound of silence. But also, we discovered water damage we wouldn’t have seen if we’d just decided to add a layer (on top of the THREE that were already there). So we’re glad we took the time to do it right. This also helped us hugely at the later step of tiling because the sub-floor was all new, it was level and flat. Laying attractive tile on an uneven surface is essentially impossible.

Final note: if you pull the toilet at this stage like we did, PLUG THE PIPE with a wadded towel. That stank will not leave if you let it waft up. (I don’t speak from experience, because the Hubs thinks ahead.)

 
bathroom-renovation-p2.jpg
 

Click Here to View the Full Blog Archive.      


DIY bathroom reno, phase 1 - demo tile, ceiling, and walls

bathroom-renovation-p1-hor.jpg

Demo sounds so fun. Demo even starts off fun! But then you’re just really sweaty and itchy with dirt (well, you hope it’s dirt) in your eyes, and looking at a HUGE pile of rubble to carry out.

But this is where it begins. Even if you’re building a cabin in the middle of the prairie, chances are, you’d mow the spot first. It all starts with demo.

So one Friday night, I said, “Yo, hubs, WHEN are we redoing this bathroom? It’s stupid to have a shower you can’t use.”

(Side note, this is similar to how our entire basement renovation project began, except for the shower complaint.)

Next thing I know, my husband was walking up the stairs with goggles and a crowbar.

NOTE: Skip back if you want to see an overview (including “the before”) or skip ahead if you’re looking for a different step in the process.

What’s “doing it right?”

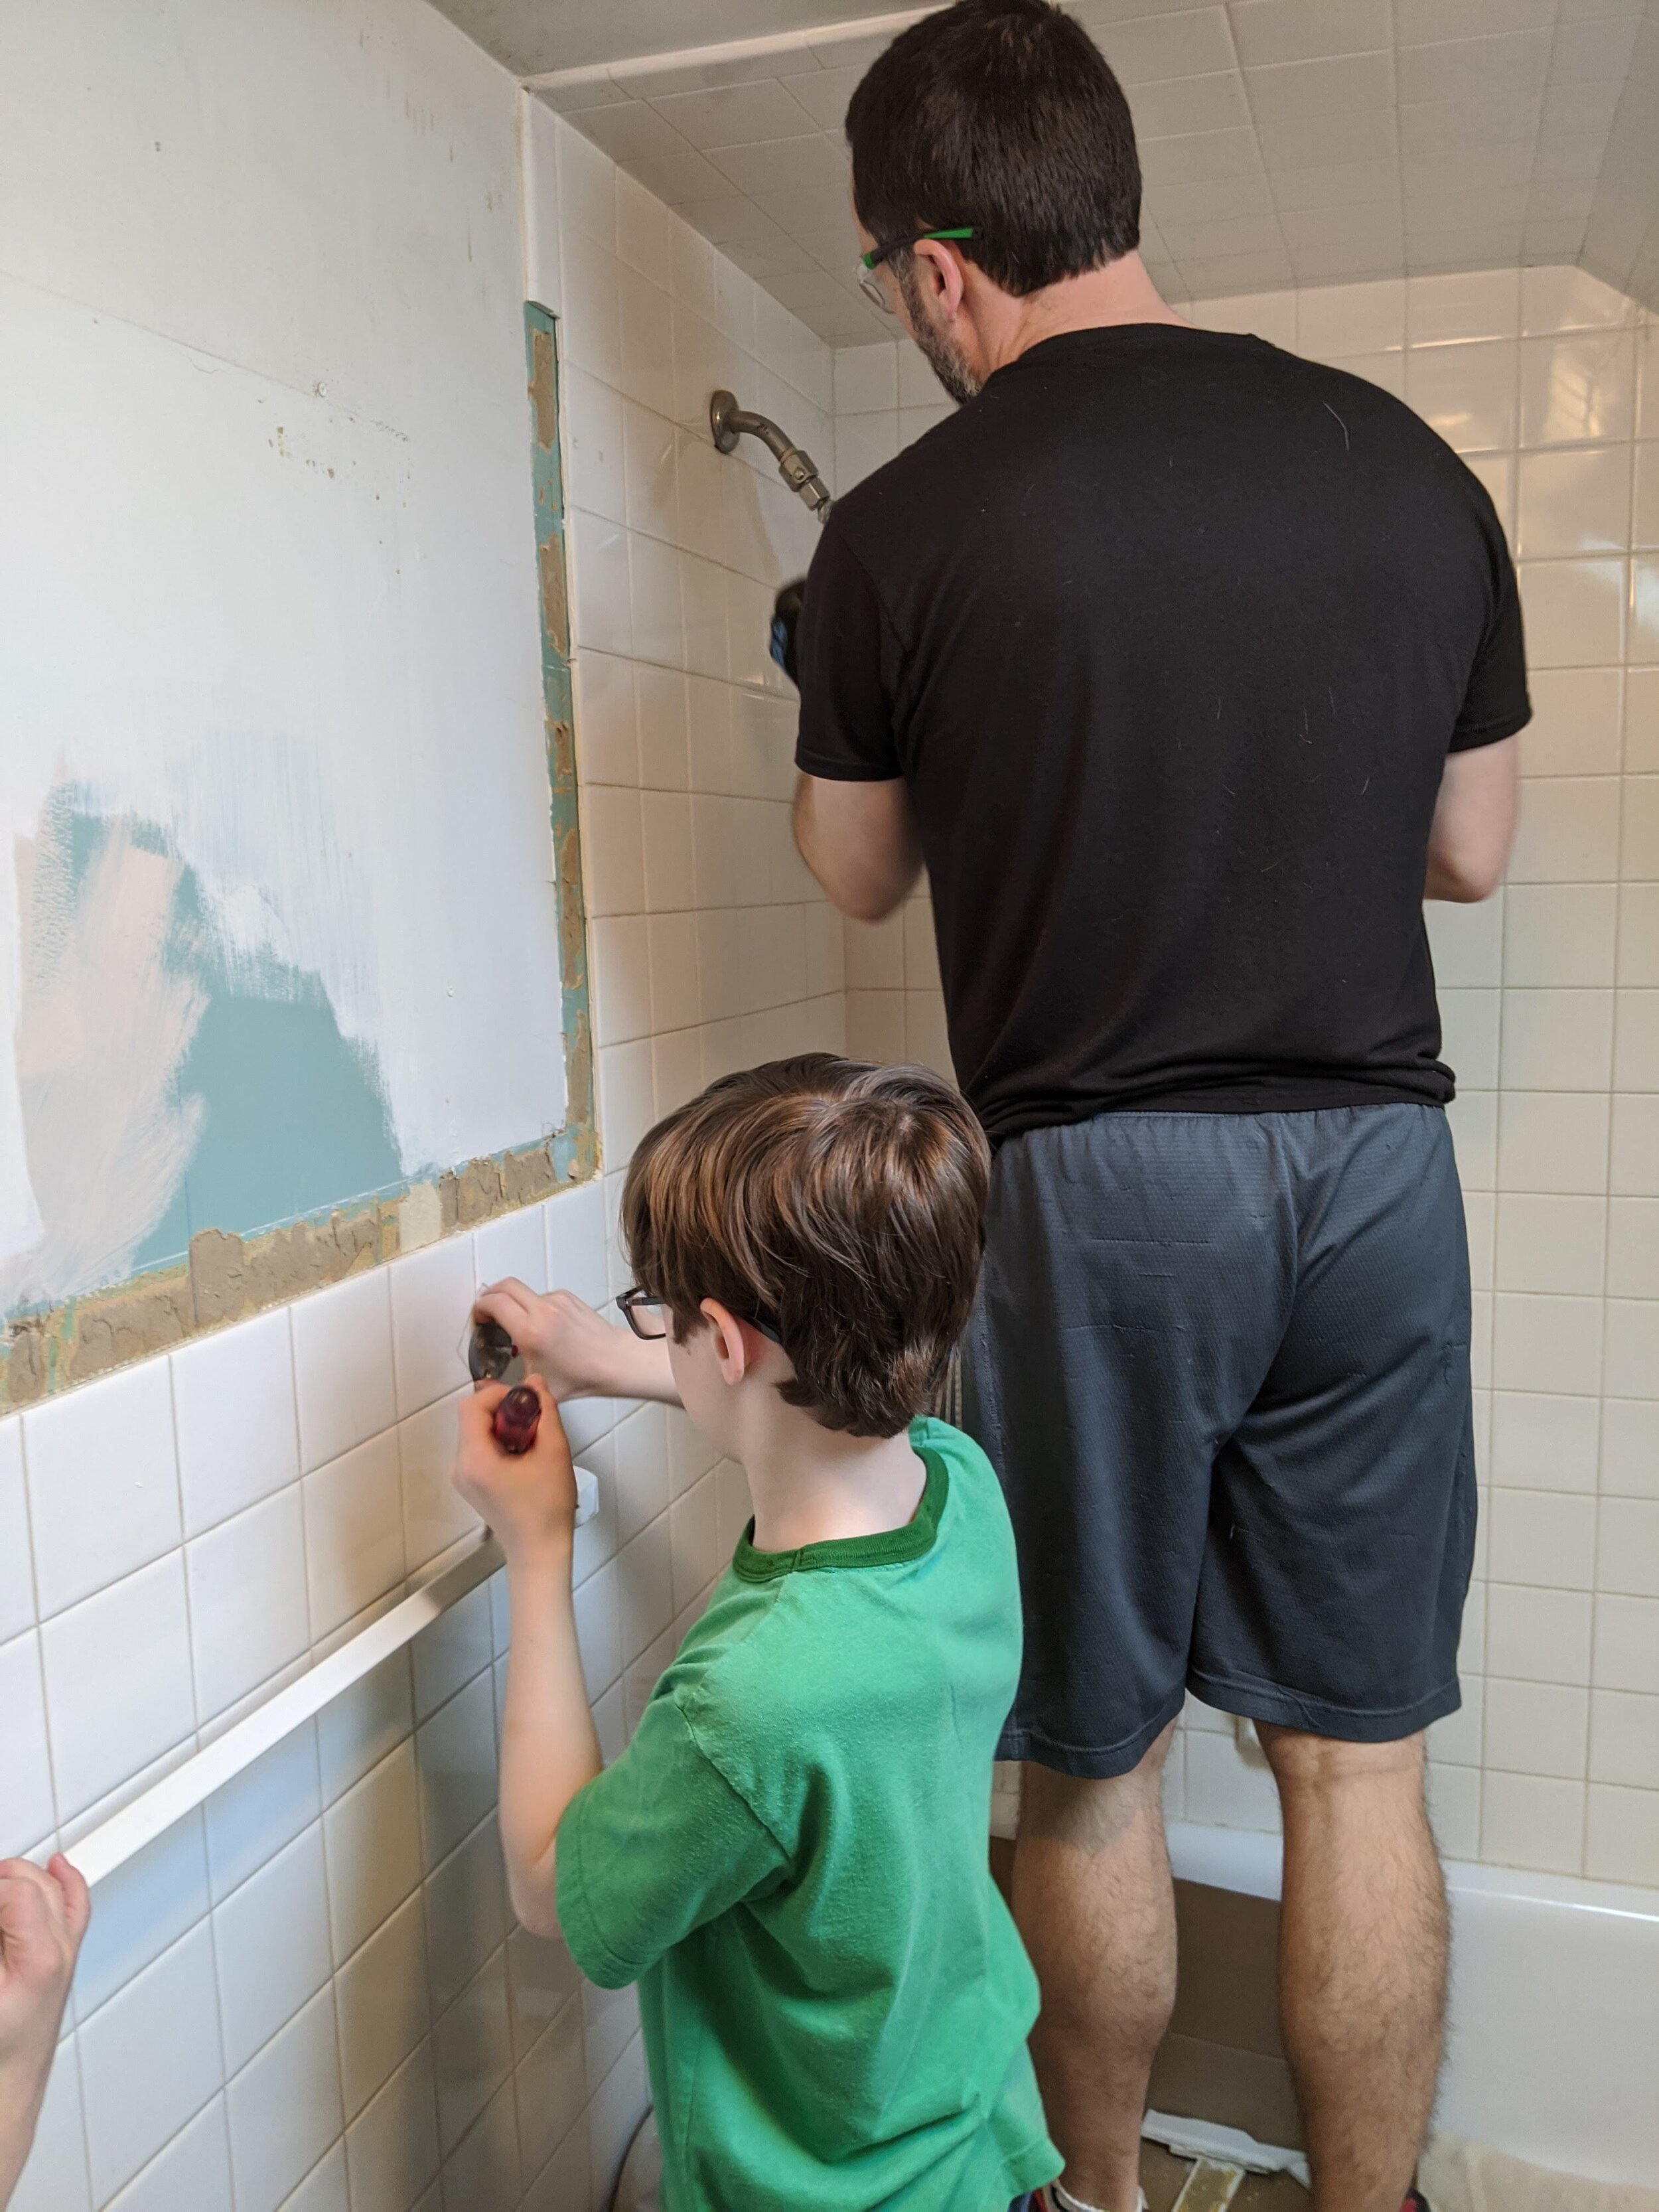
Well, a lot of homeowners probably think “tearing out is the easy part.” And you might be right — it doesn’t require a ton of skill. (Hence why you see my ten-year-old helping.) But it does require good equipment and planning.

My suggestions:

  • You’ll see we are all wearing safety goggles. Do not get this crap in your eyes.

  • For many of the demo (and install) steps, we wore masks. Besides not knowing if you’re unearthing mold, building codes were more lenient in the past. Don’t breathe in something that’s going to make you sick later.

  • Don’t go all Wreck-It Ralph and start smashing everything in sight. In our case (see below), we were able to save the tub, plus preserve a TON of the tiles for reuse. No need to destroy things that can be helpful to someone else. The tiles weren’t bad, just the adhesive was.

  • Carry out and dispose as you go. Don’t pack yourself in with three layers of drywall pieces you can’t crawl over. (I do not speak from experience.)

  • Hear me when I say this: Make the space unusable for the SHORTEST period possible. We kept the toilet and sink in place until the last possible moment, then put them back in ASAP. Don’t yank out the toilet as your first step. Huge regrets in the middle of the night!

STEP 1: TILE REMOVAL

Step zero is taking out the obvious things: shower curtain, outlet covers, vent covers, soap dish.

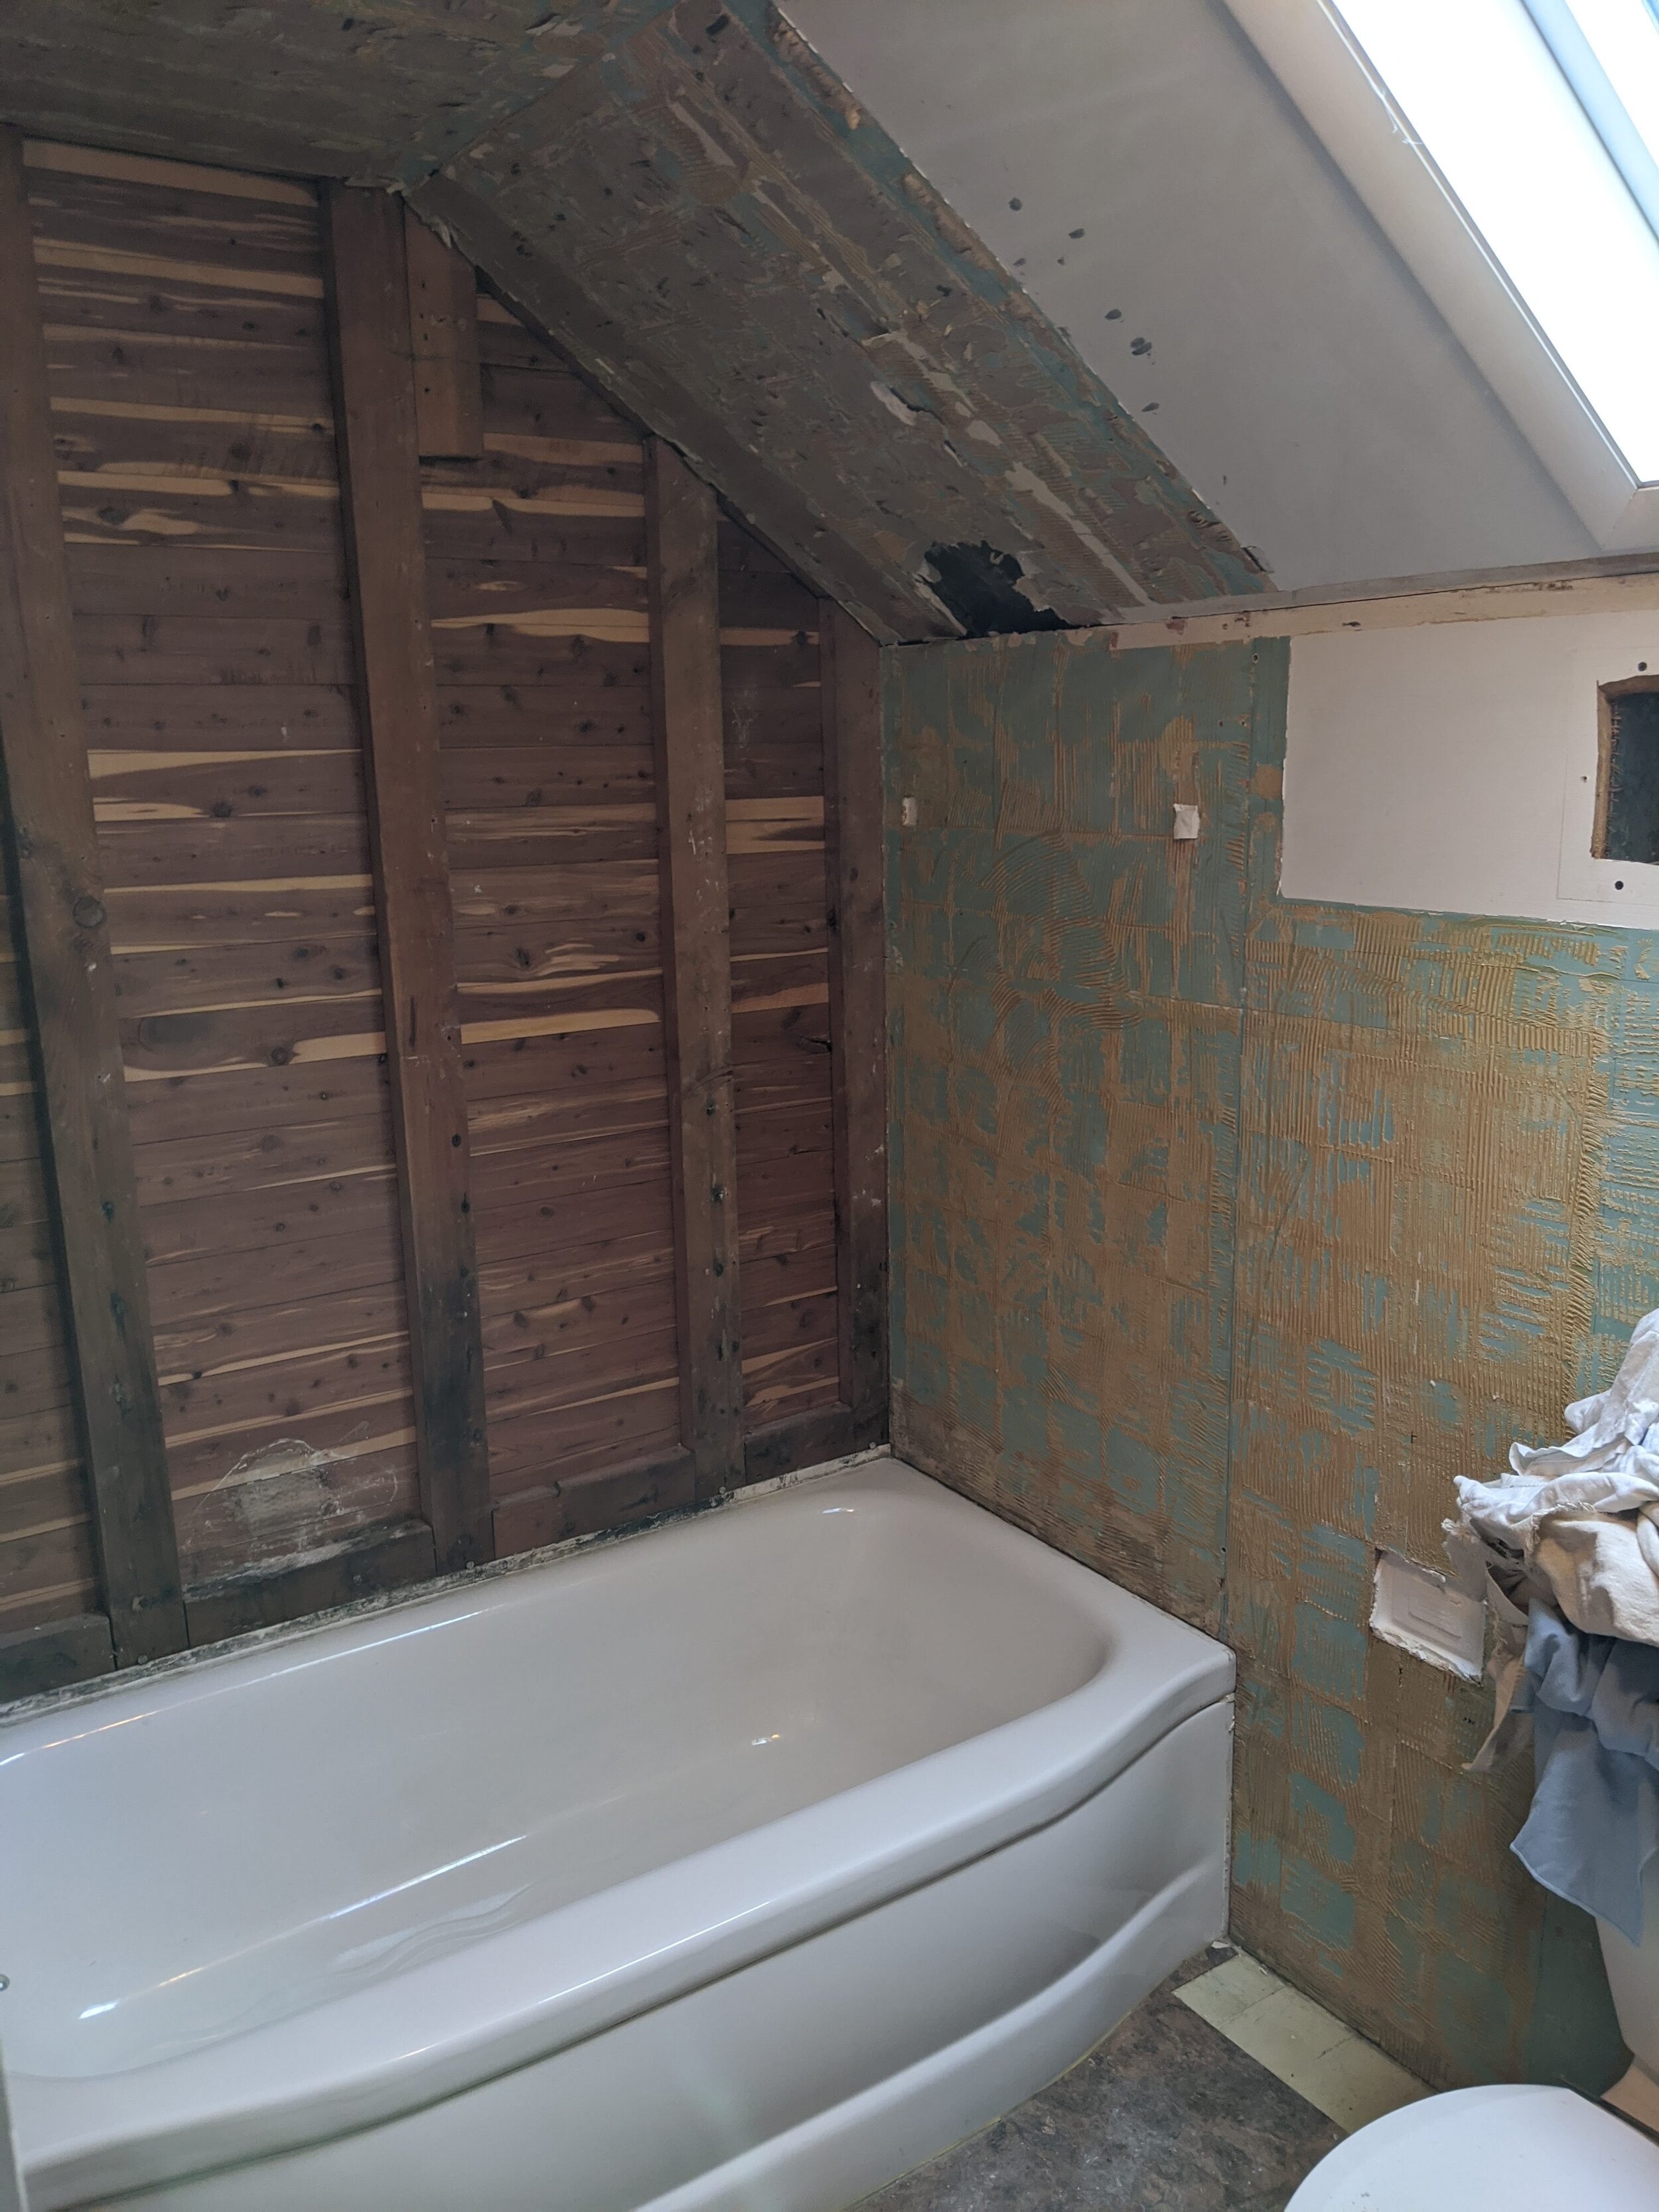
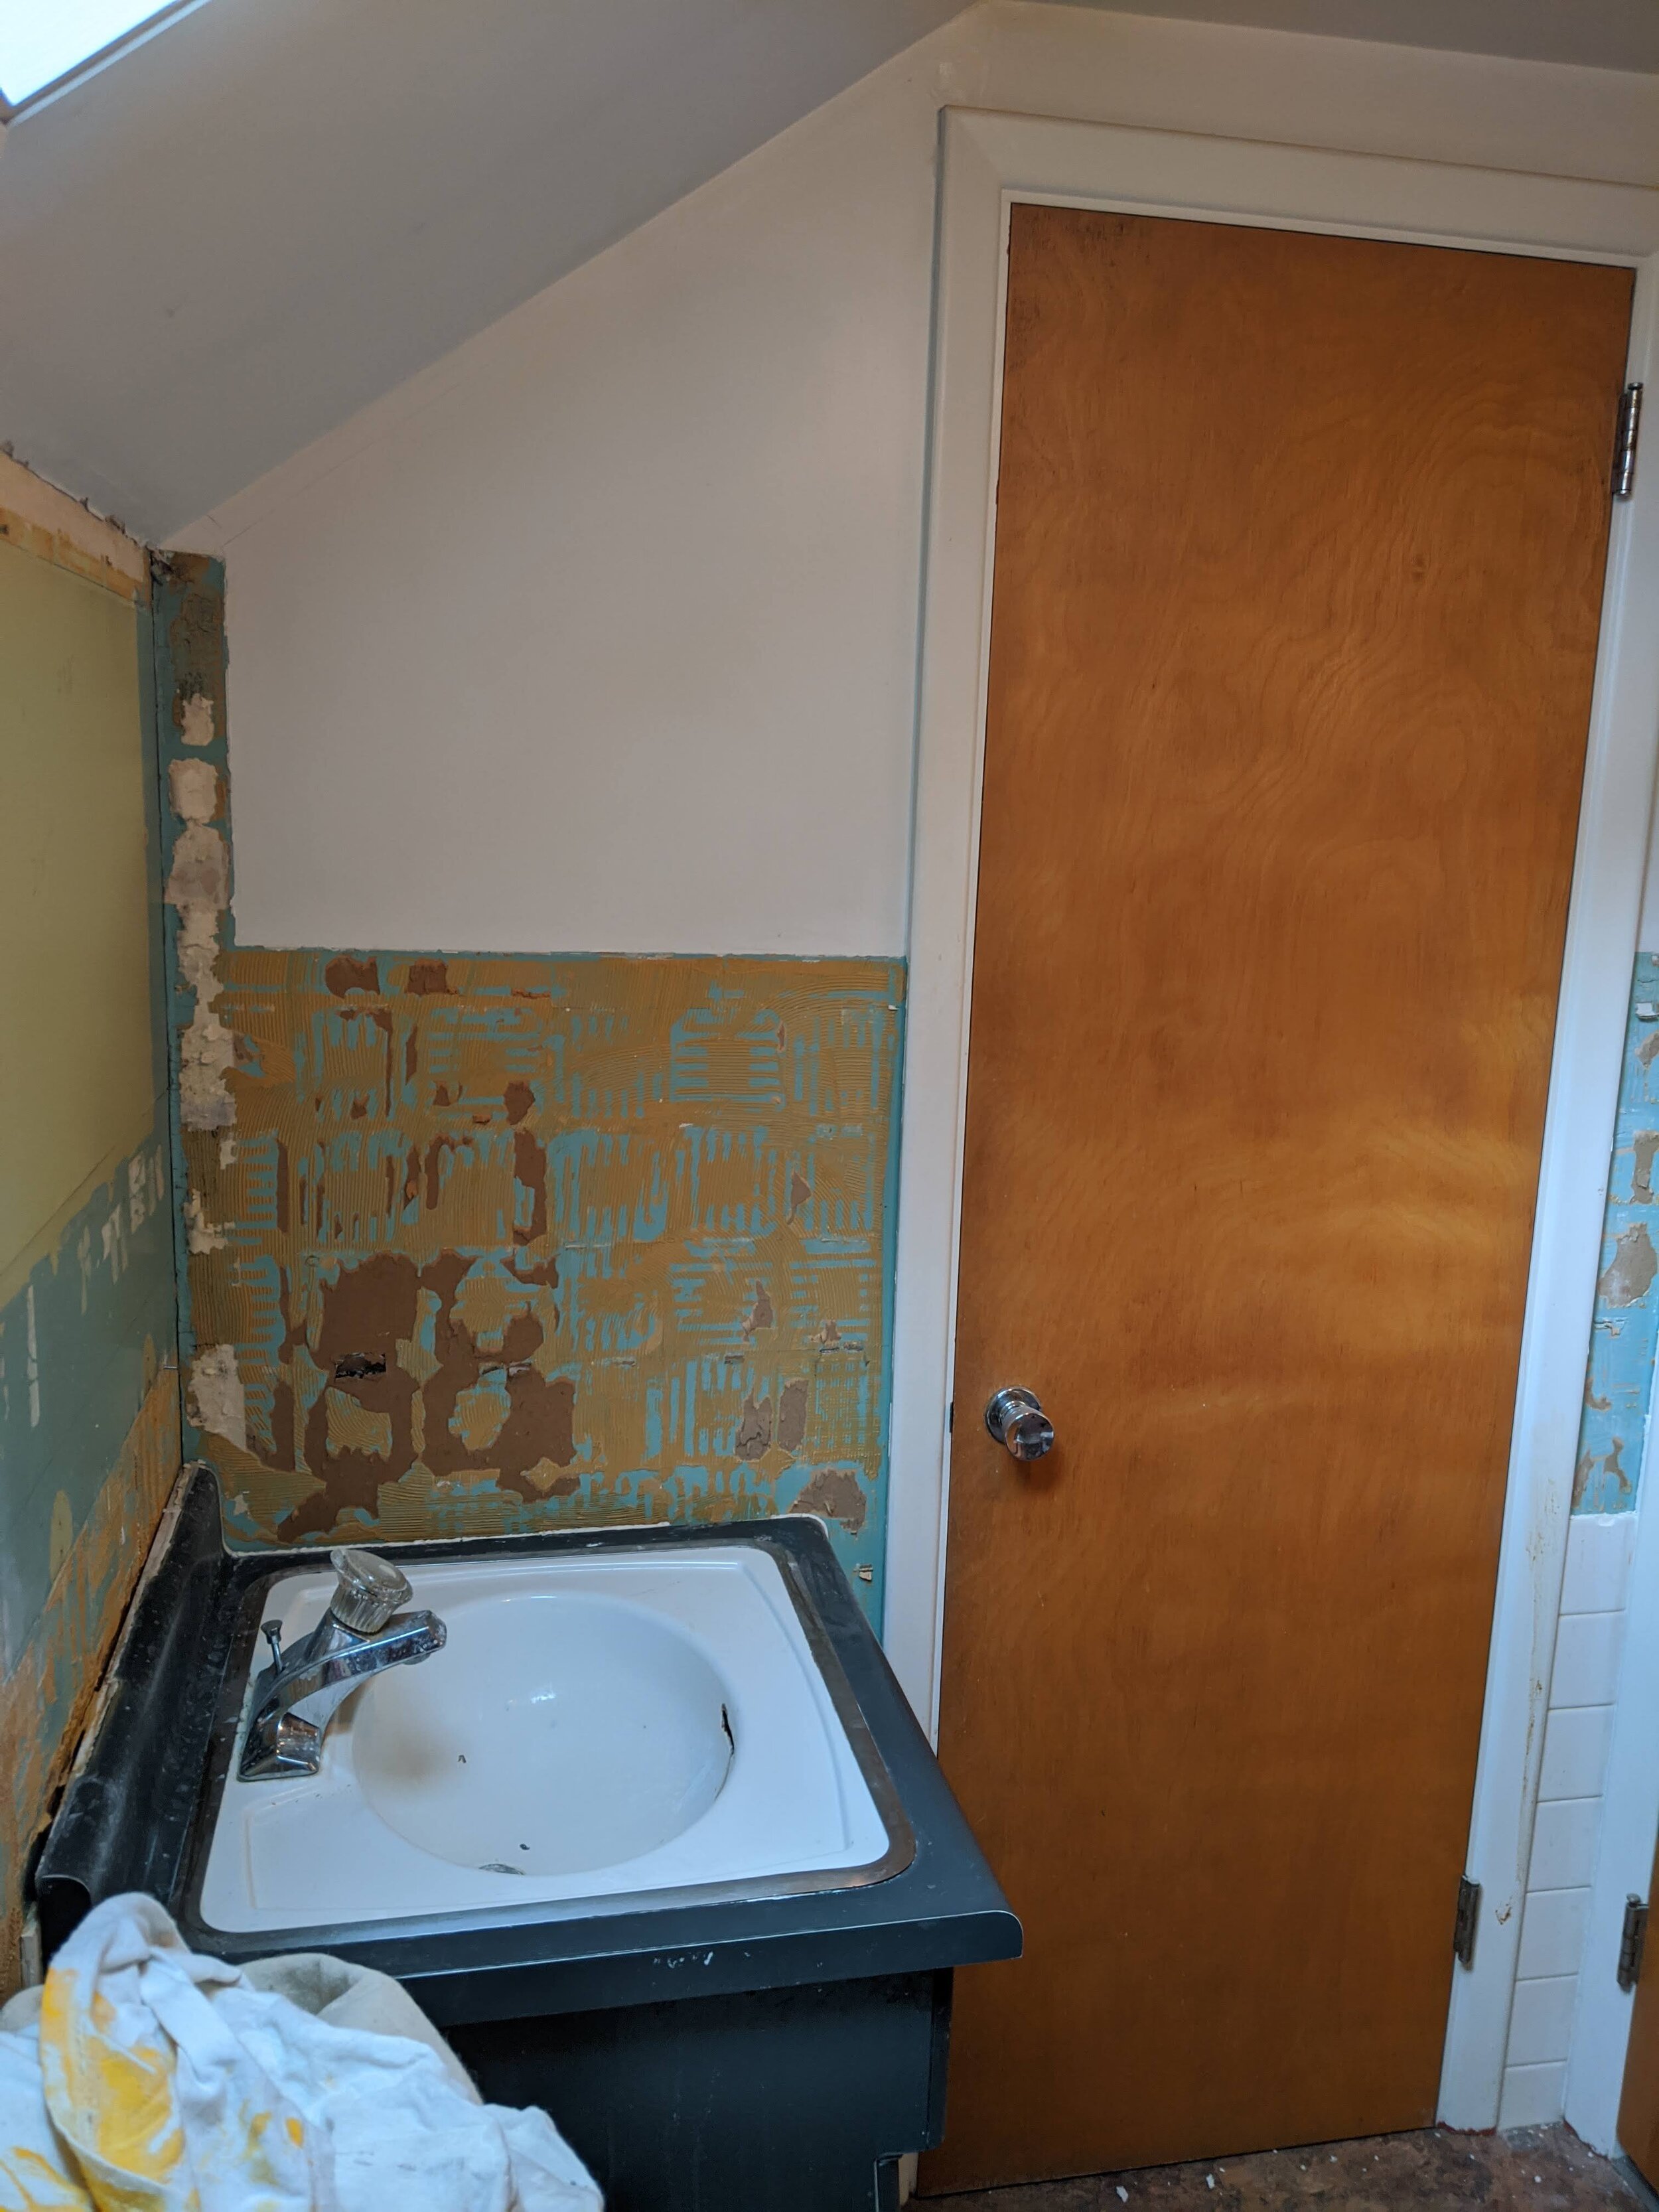
Then, we started (and I do mean “we” because everyone helped, except the baby) with removing the tiles, saving as many as we could for the reuse. The tiles were fine, but we knew behind them was spongy and soft — not good for withstanding the beating of shower water. So we hadn’t been using it.

So, the tile removal was generally fun — tucking a crowbar against the corner and tapping it with a hammer. Most of them popped off whole.

STEP 2: CEILING REMOVAL

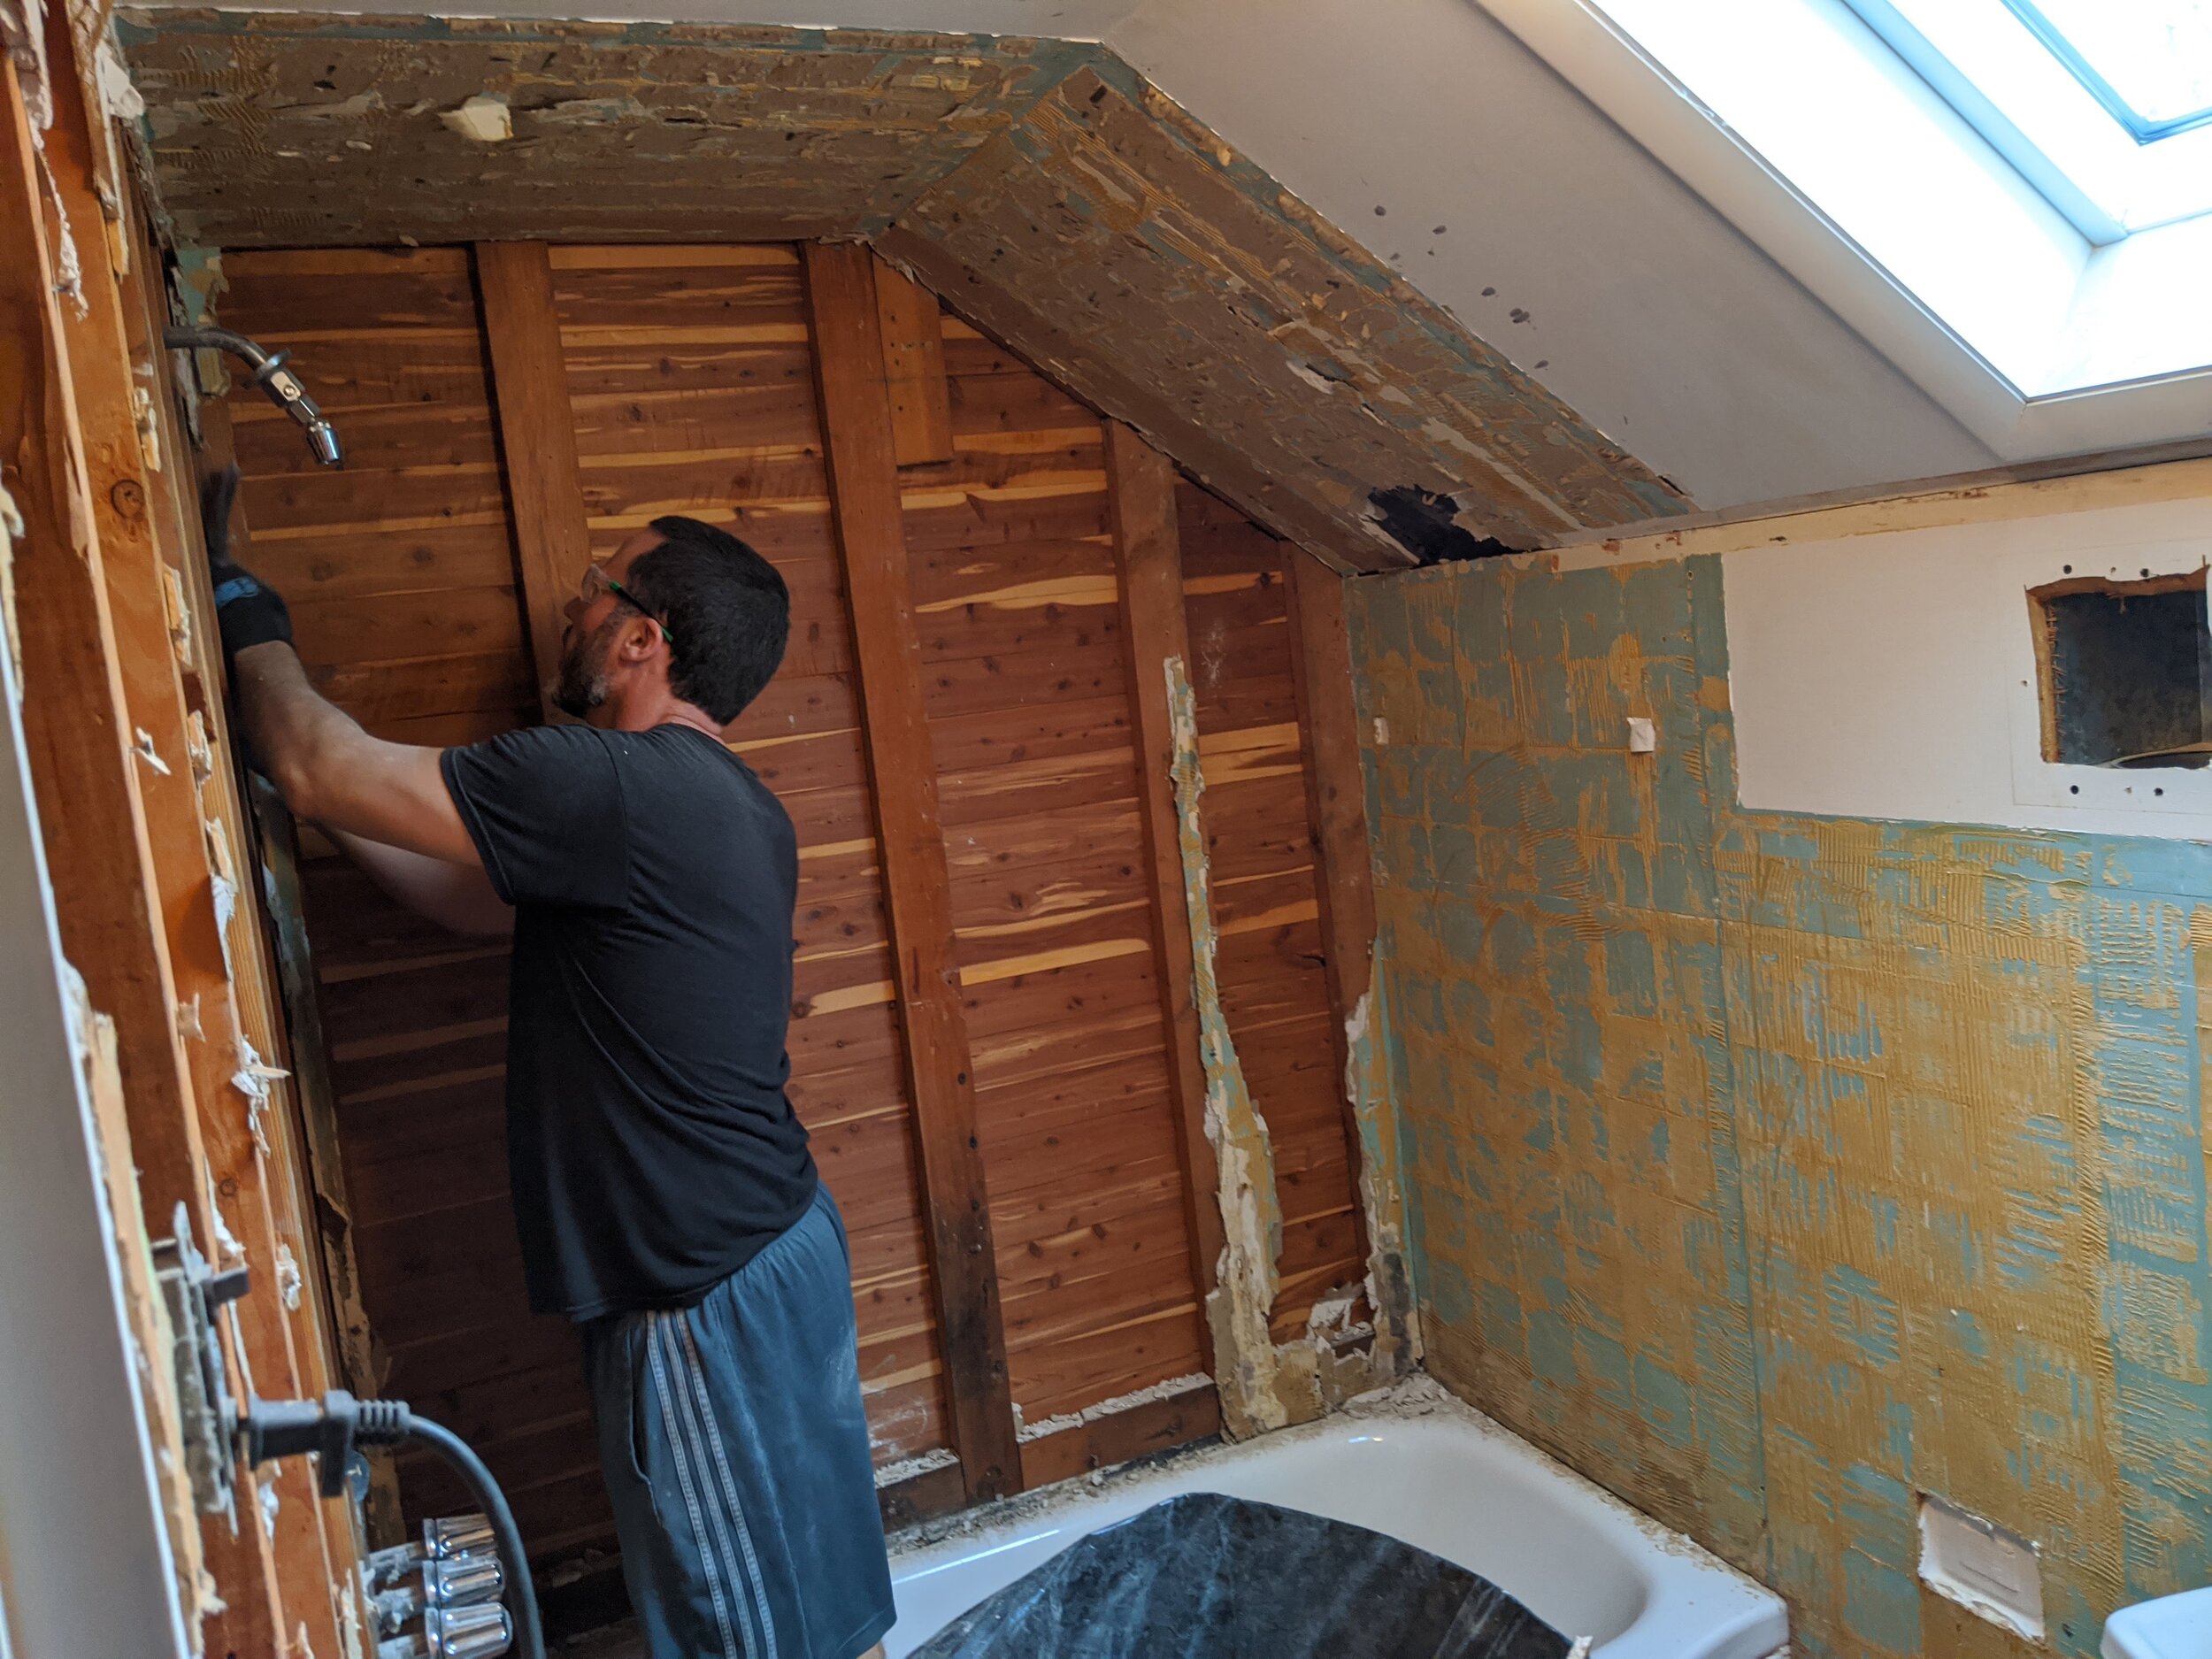
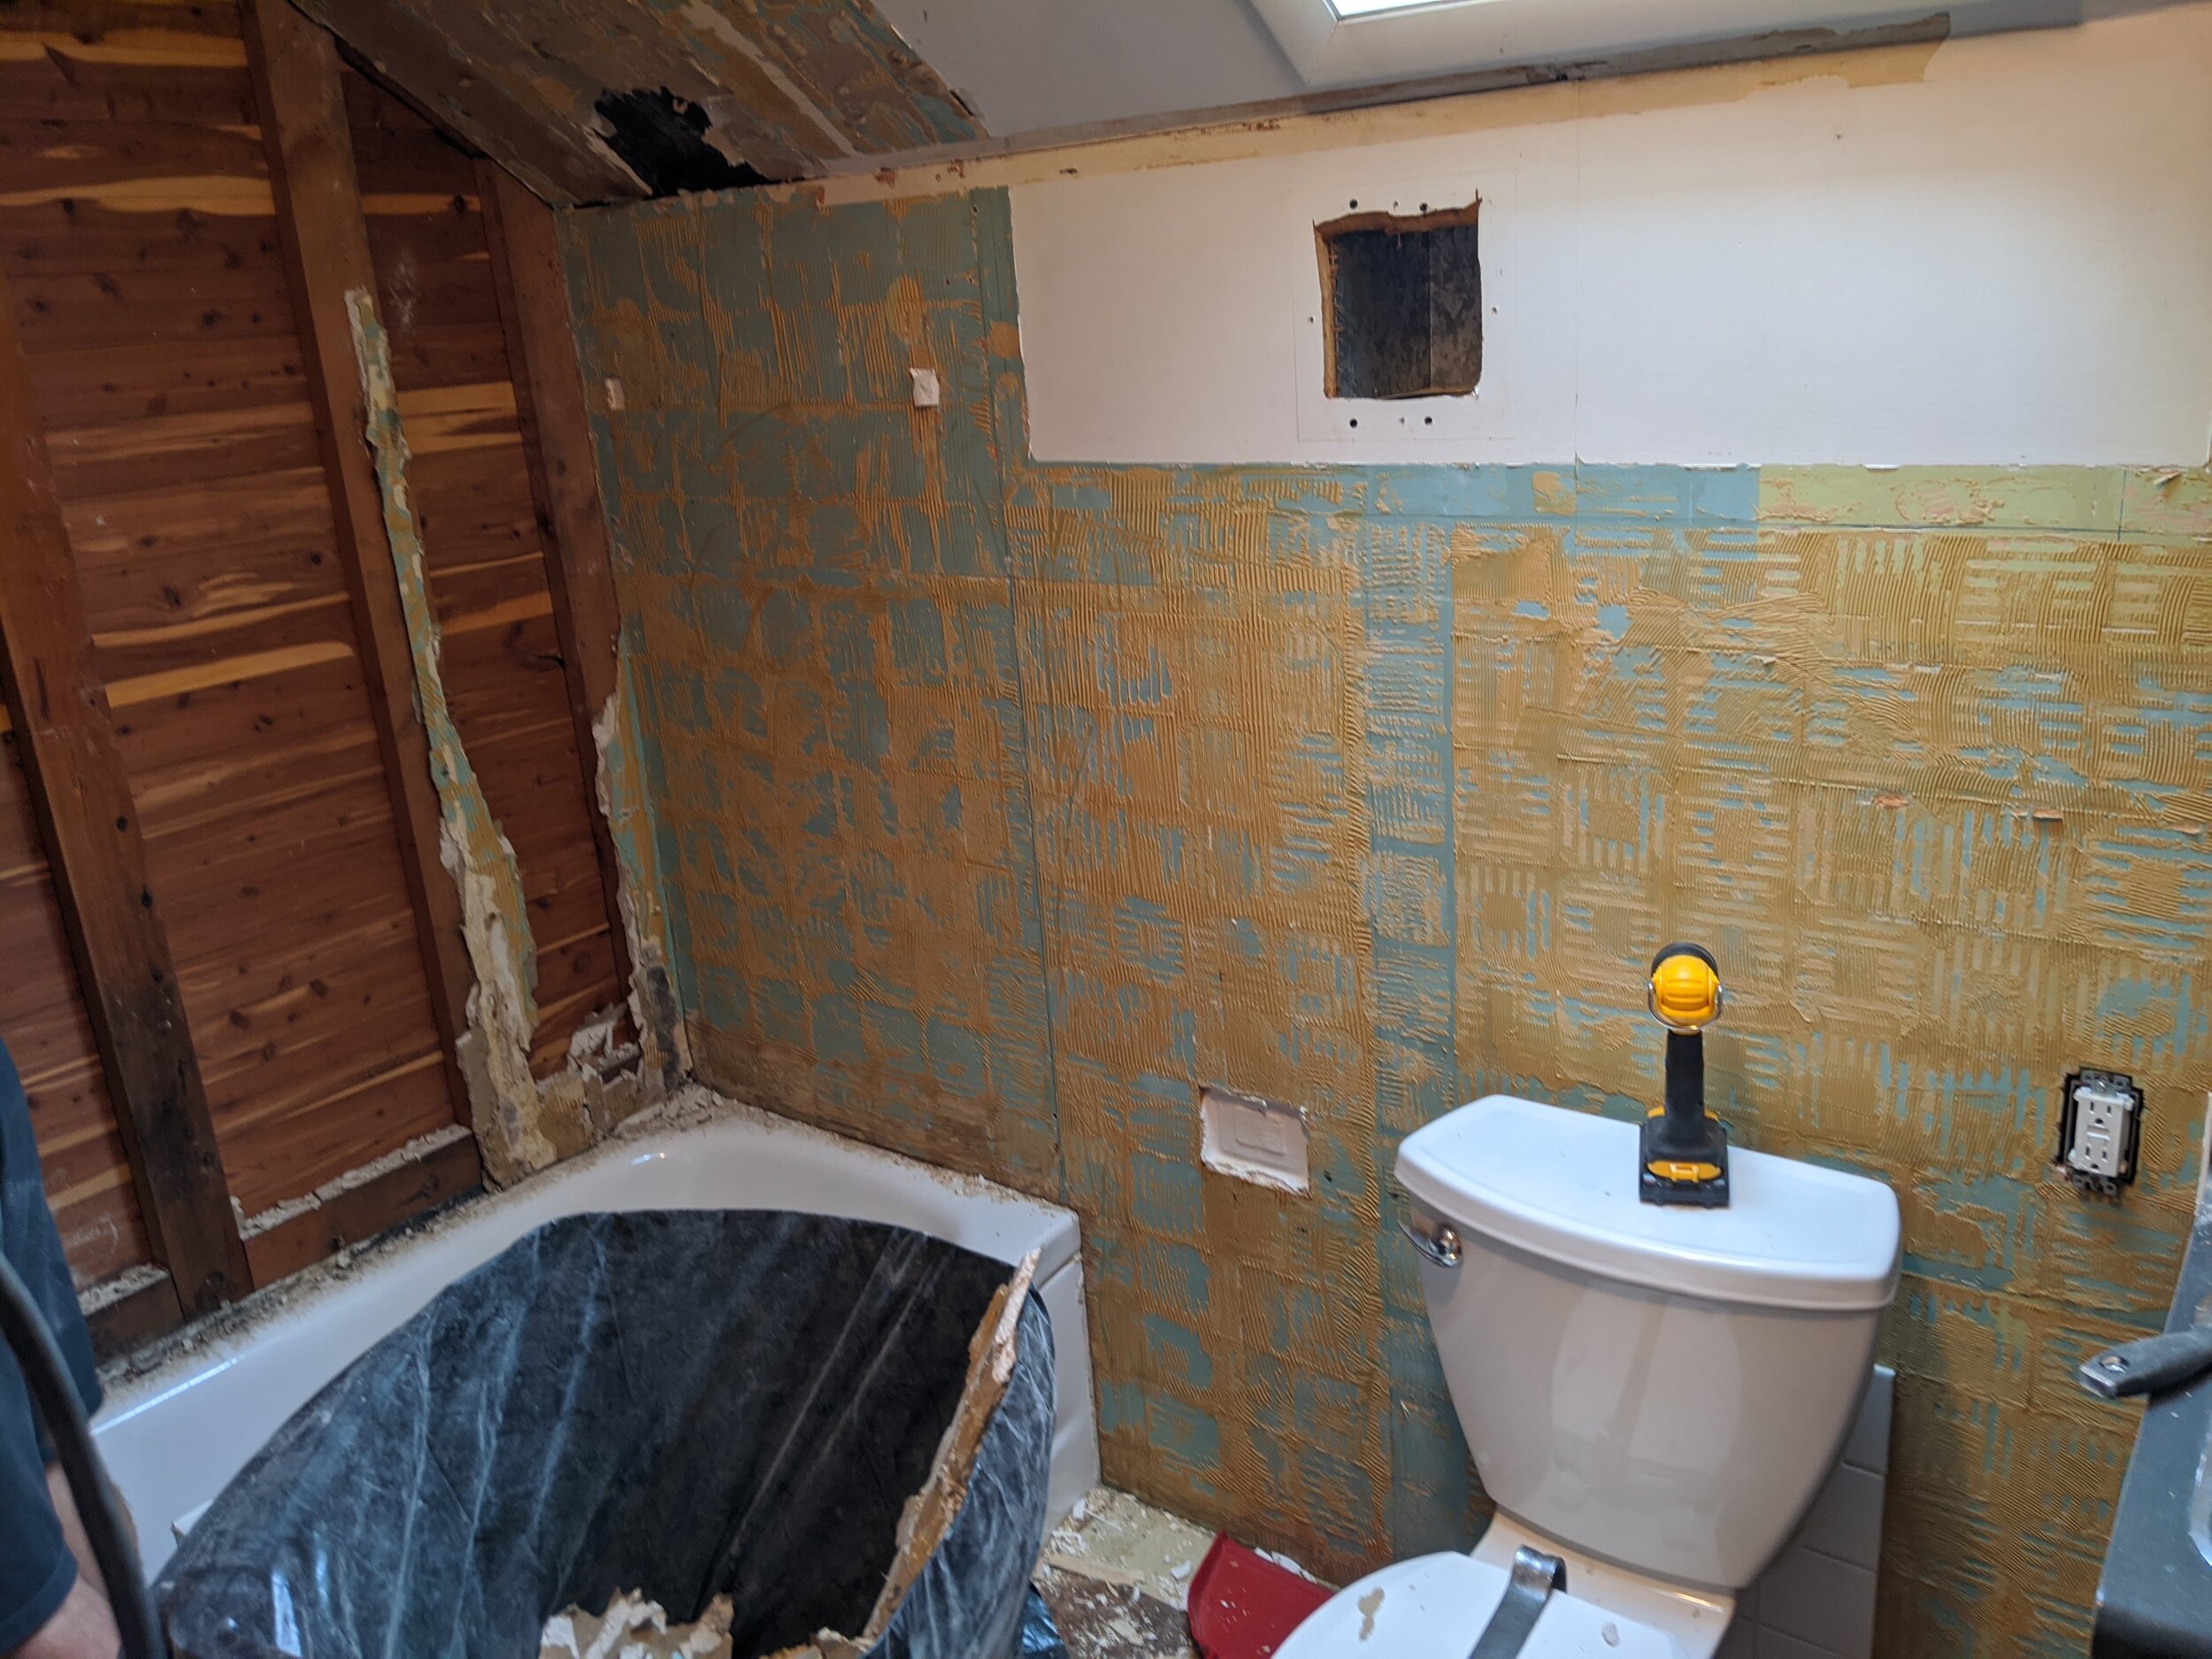
In our case, the ceiling was pressboard and needed to come down. We had to have a clean slate to rewire, add new lights, and paint.

STEP 3: WALL REMOVAL

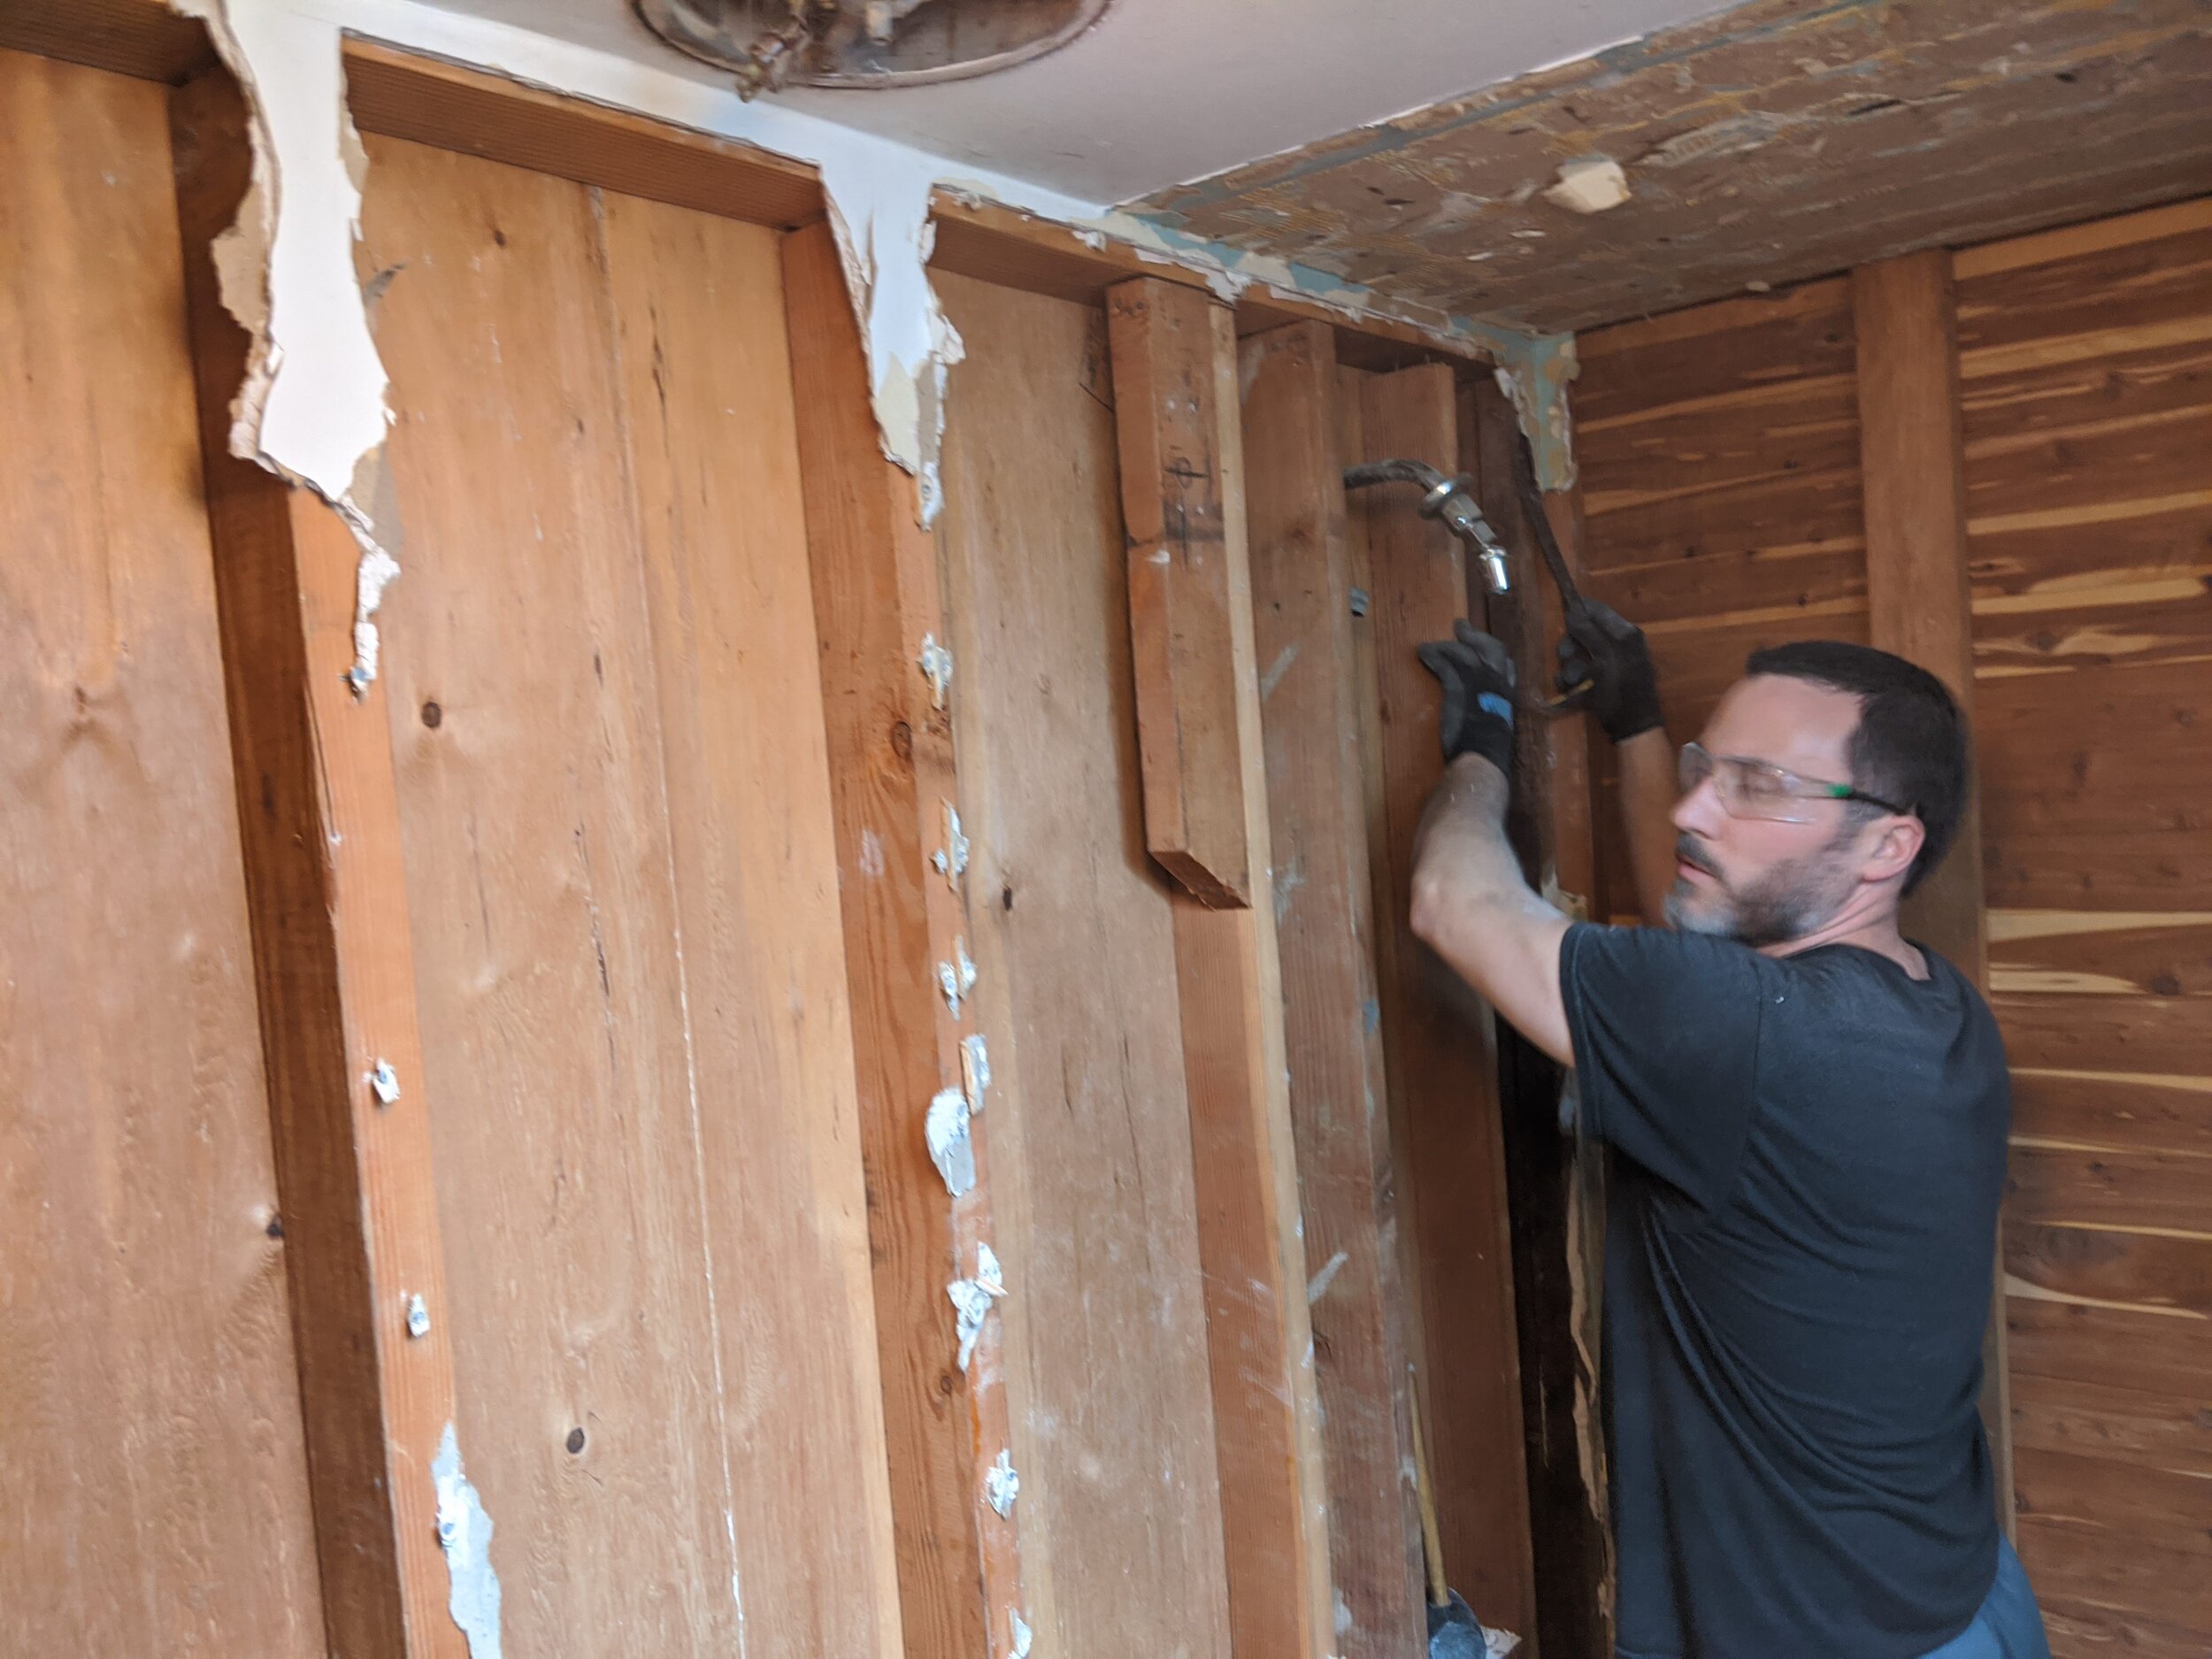
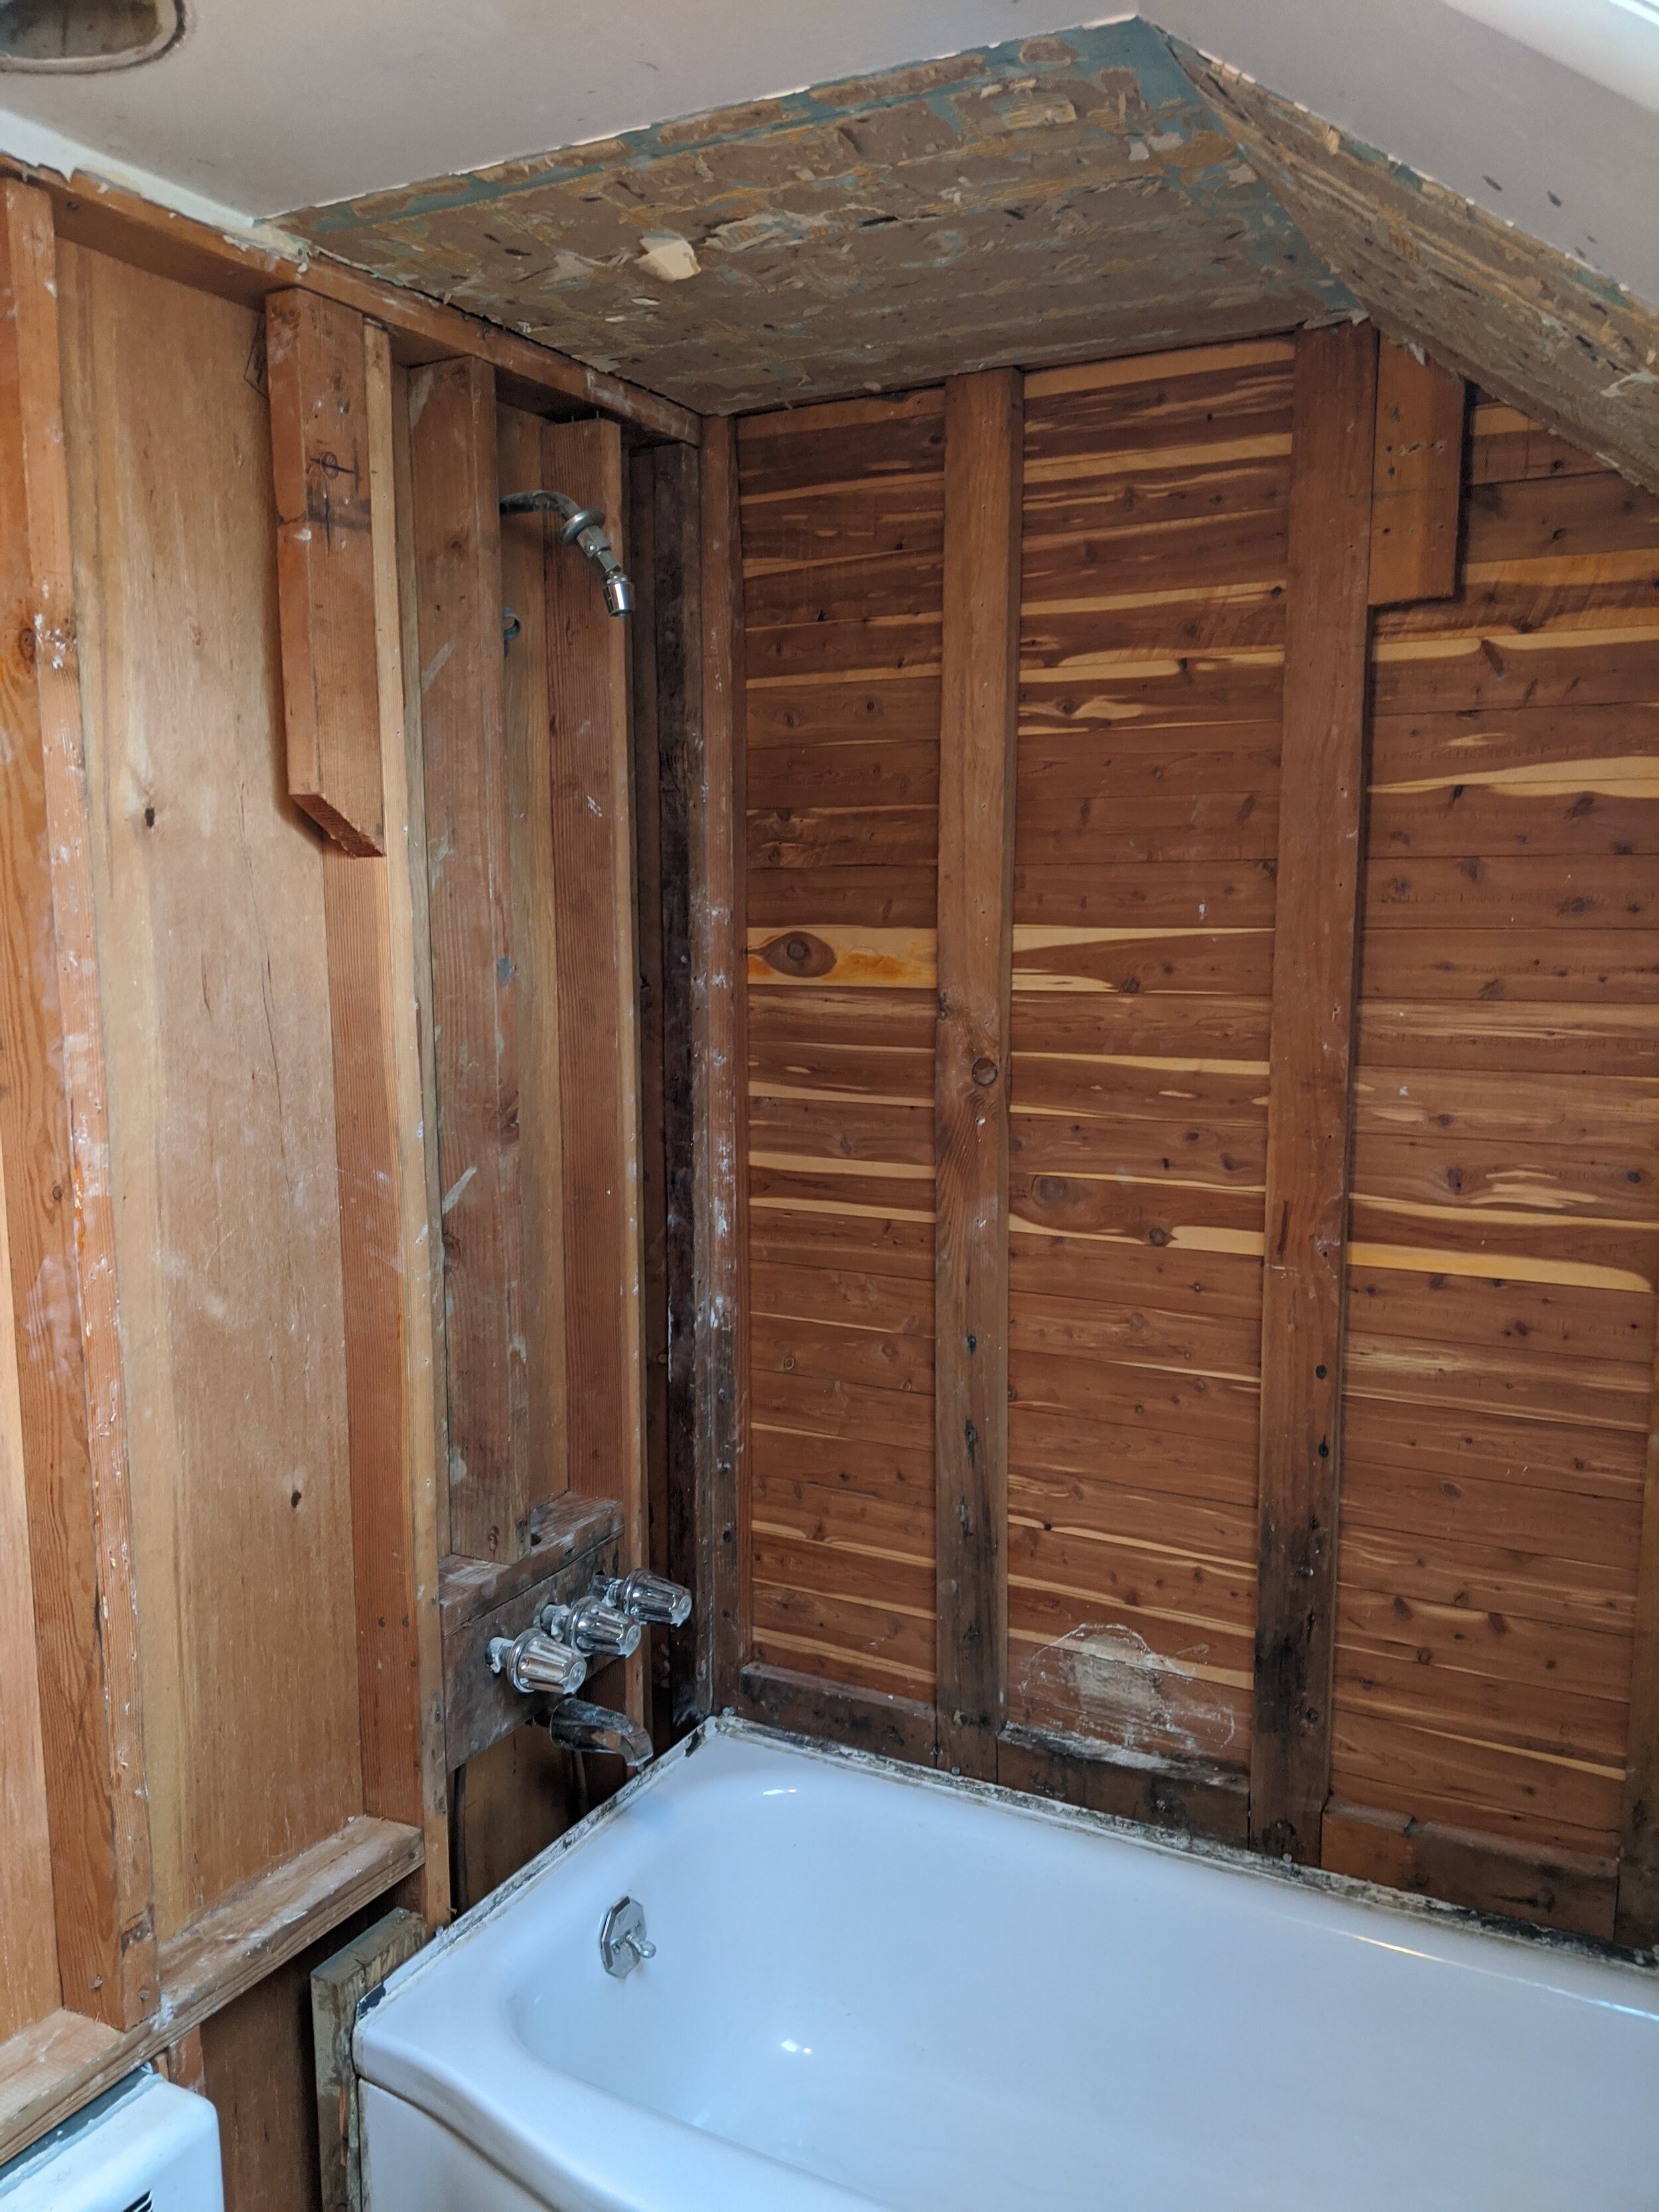
I’m sure there’s some construction person out there saying “you didn’t remove the wall, you removed the stuff covering the wall.” Potato, po-tah-toe. We took out what should have been drywall but was instead a combination of plywood, pressboard, and something that disintegrated when we tried to remove it. Goodie. These are the joys of working in an old house!

A NOTE ABOUT THE TUB

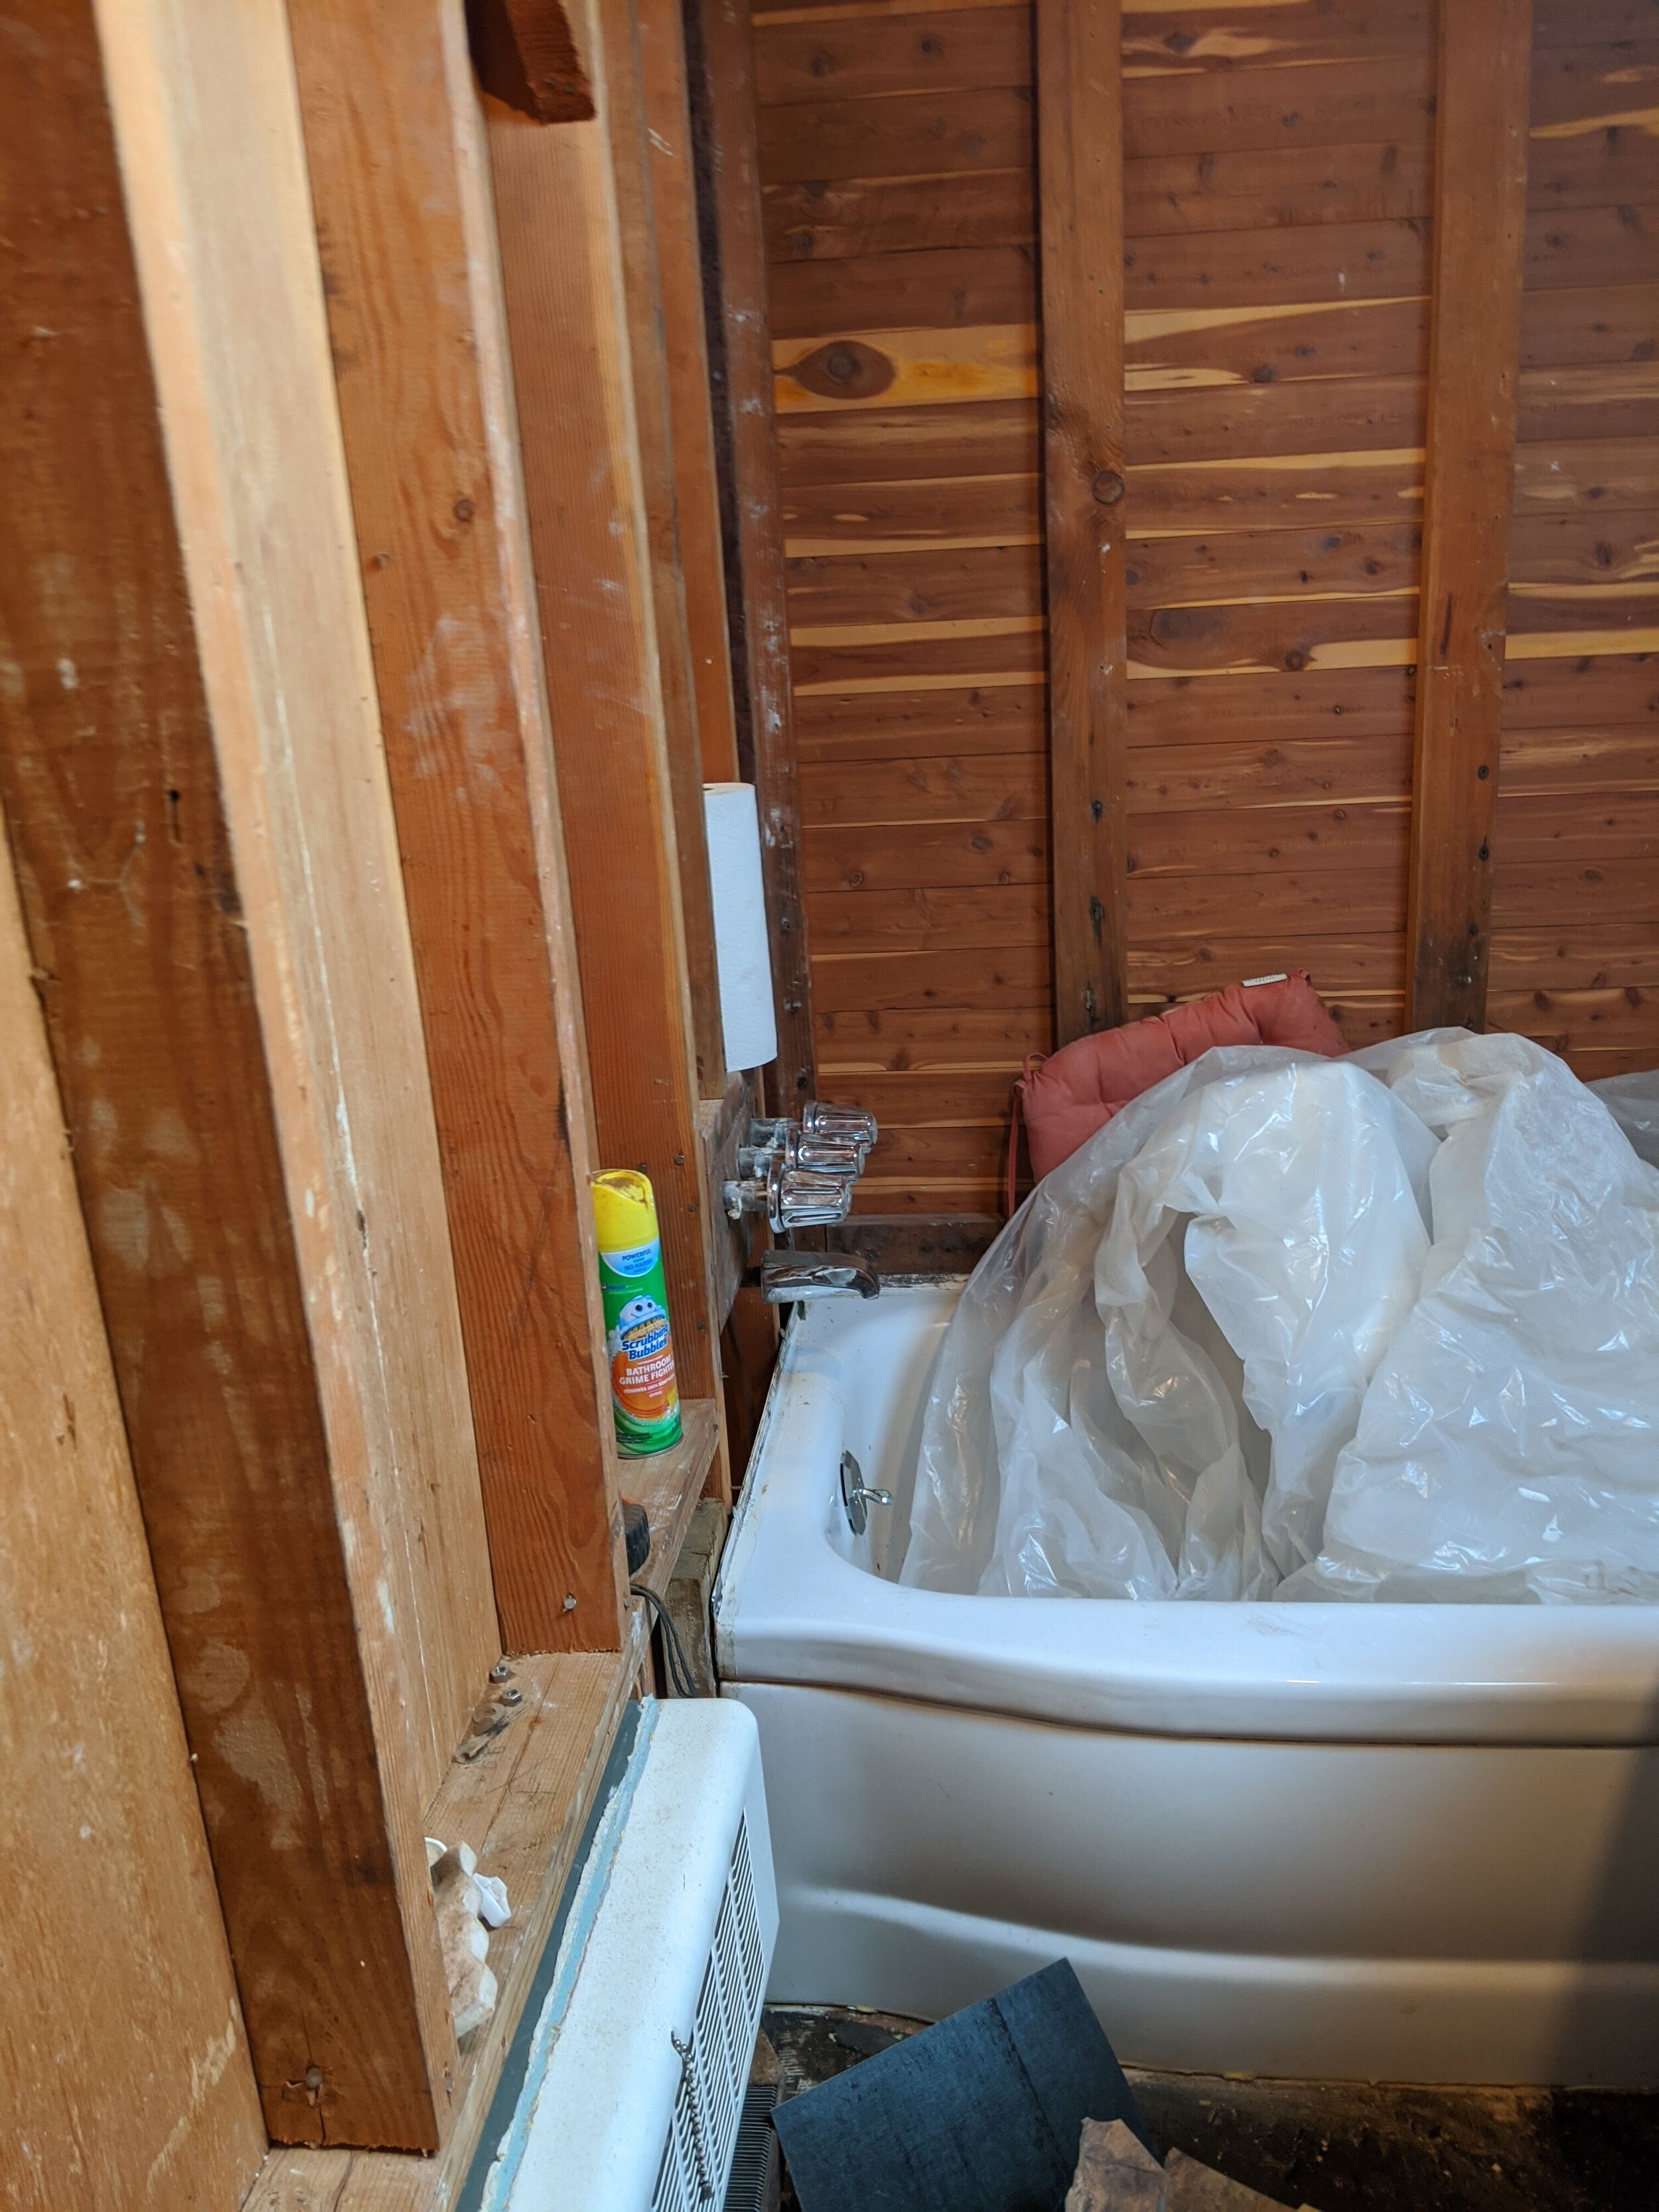
You’ll see in a lot of these pictures that we kept our tub. The heavy duty cast iron tub was actually in great shape, so that stayed. We put new plumbing and hardware in it, and my husband spent an entire Saturday morning getting it leveled to just the right angle so that the water would all go down the drain, PLUS reinforcing it so the squeaks would disappear — but we kept it.

This was one great expense we got to skip. No removal, no yelling PIVOT as we tried to carry it down the stairs — all that was avoided. And it was white! Would have been frustrating to work around a bright pink tub that was installed in the 50s or a yellow tub from the 70s for the design.

 
bathroom-renovation-p1.jpg
 

Click Here to View the Full Blog Archive.      


DIY bathroom reno, start to finish

bathroom-renovation-steps-hor.jpg

Until recently, we had the house with the same upstairs bathroom that your grandma had. (Literally, I think your grandma probably went to the bathroom here.) When we moved in seven years ago, the whole upstairs had been untouched for years since the former occupants were no longer comfortably able to do the stairs due to their age. We ripped out carpet, painted, cleaned, and put in some temporary stopgaps to maintain the bathroom as usable.

Seven years later, we’ve gutted it (literally) and built what I think is a gorgeous, timeless, classy place to pee. (Maybe someday my daughter will take selfies in here, but she just turned one, so let’s table that for a few years.)

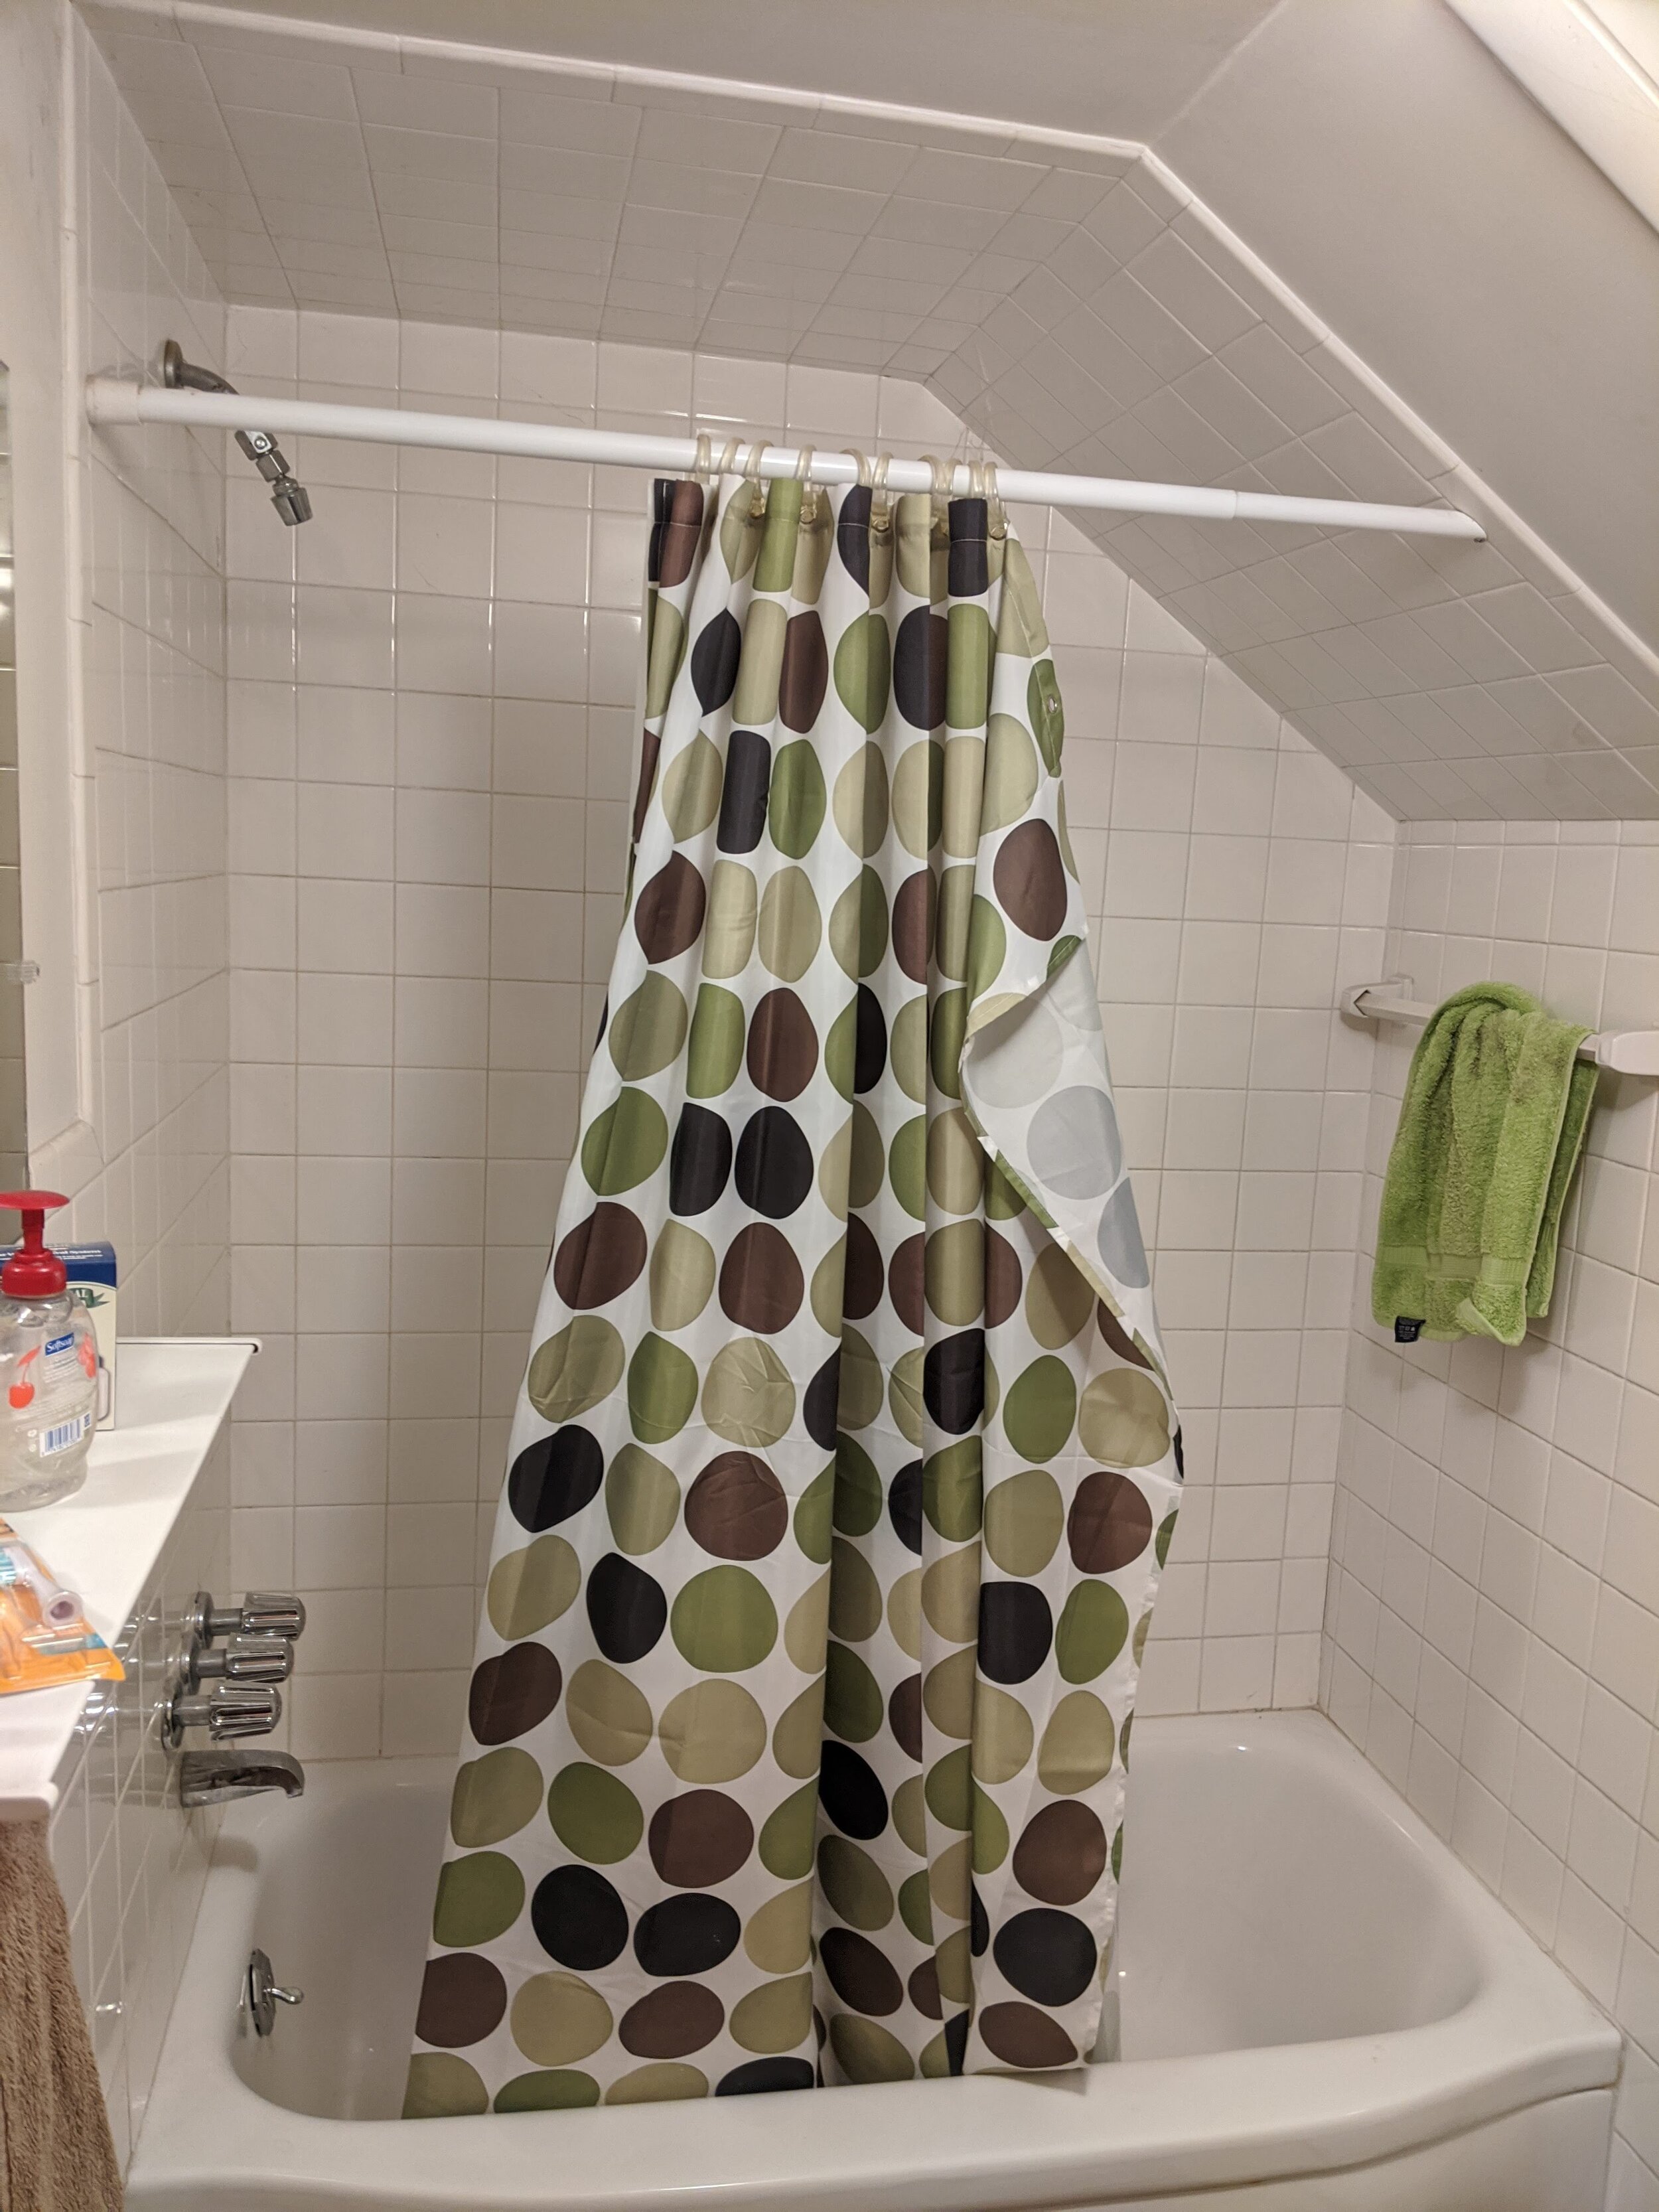
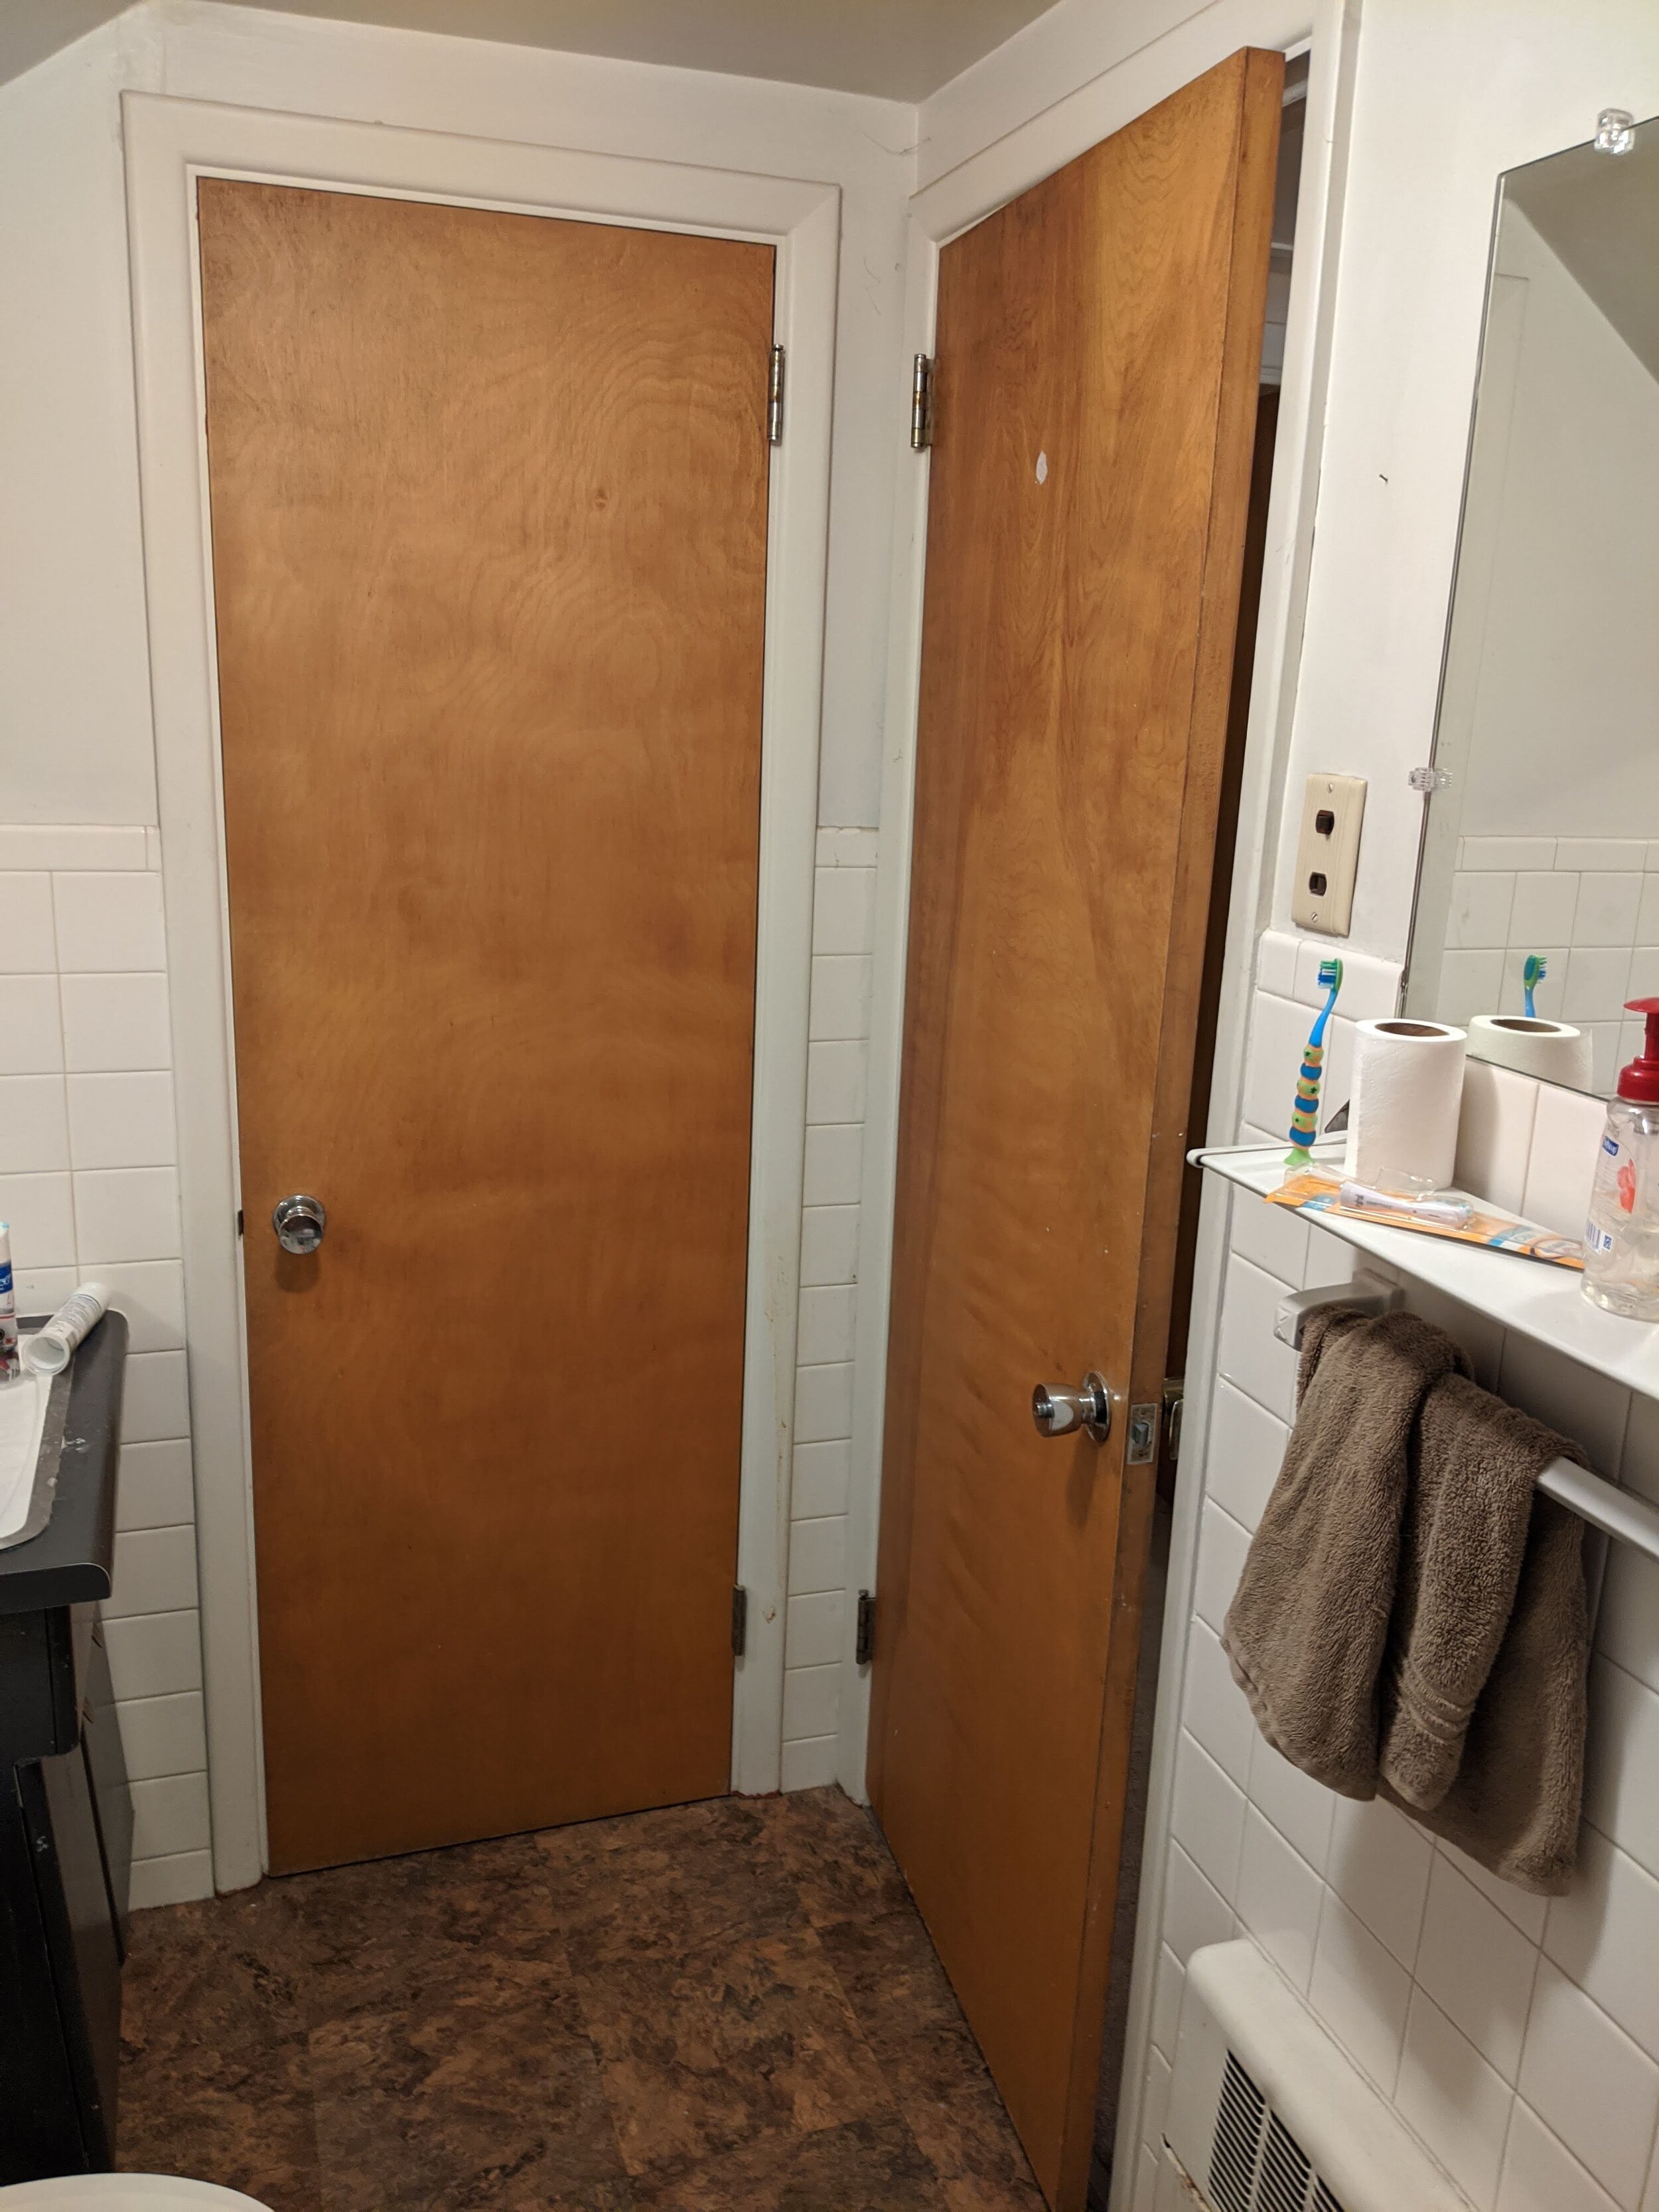
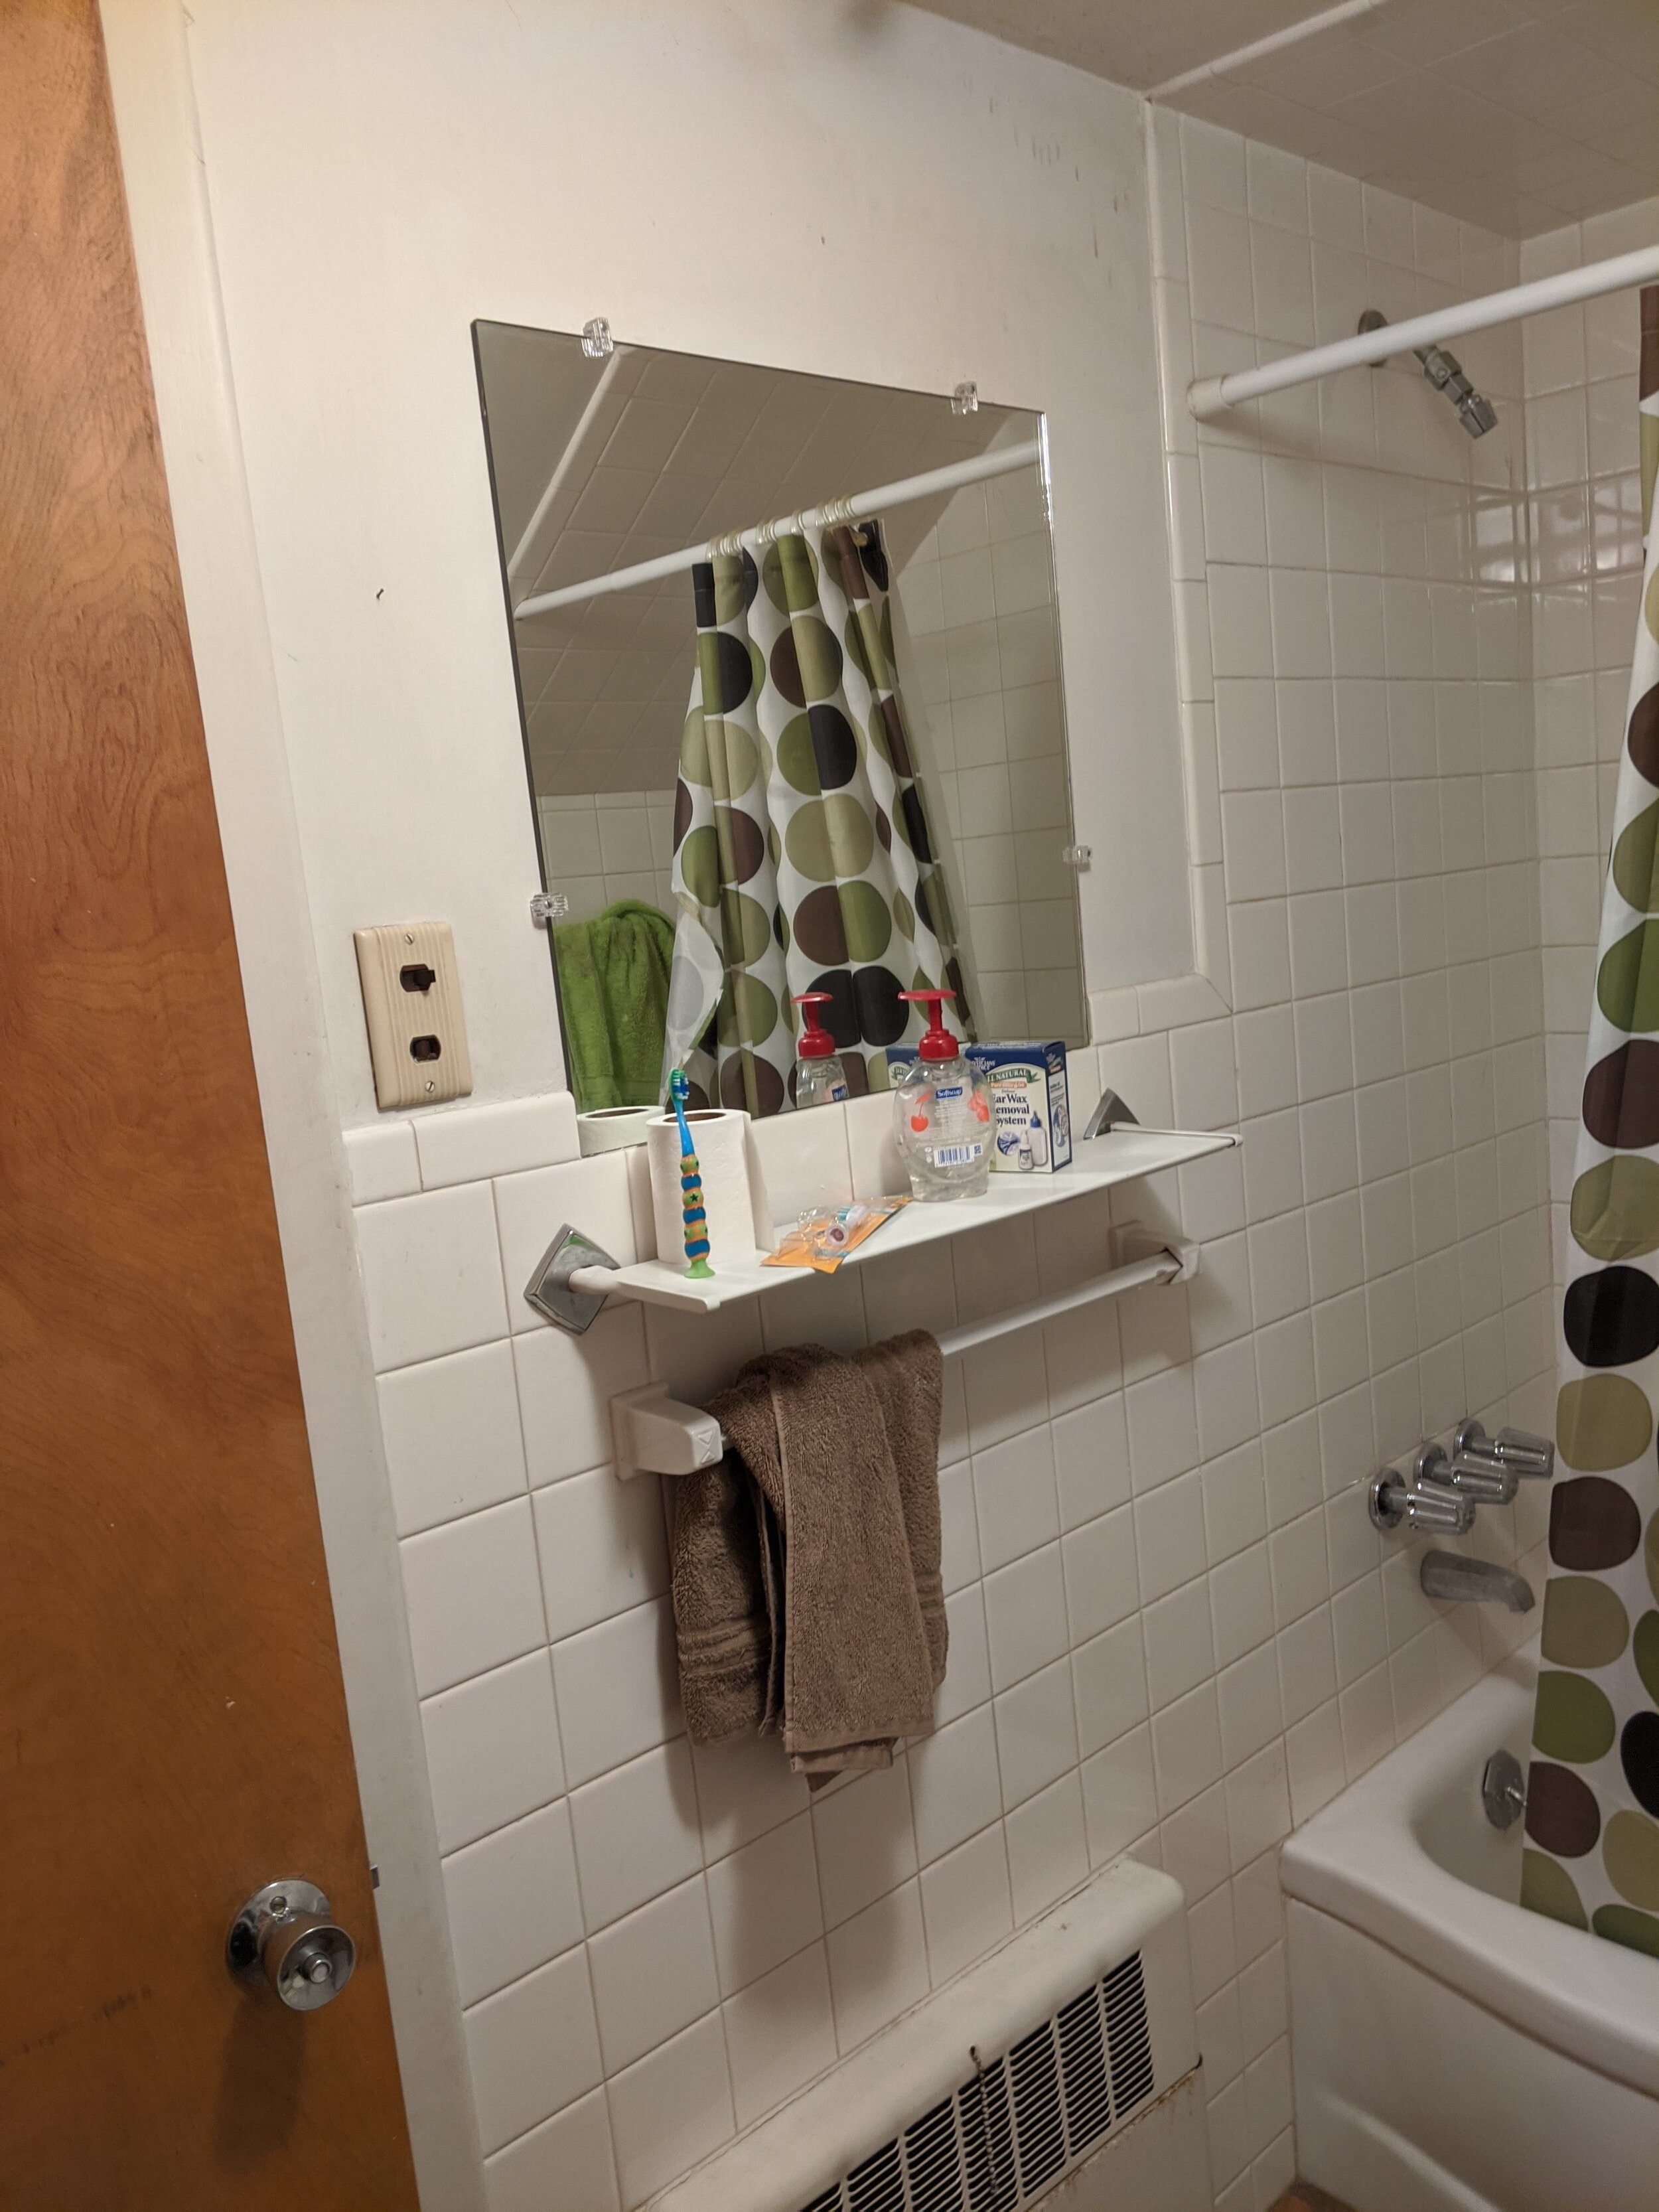
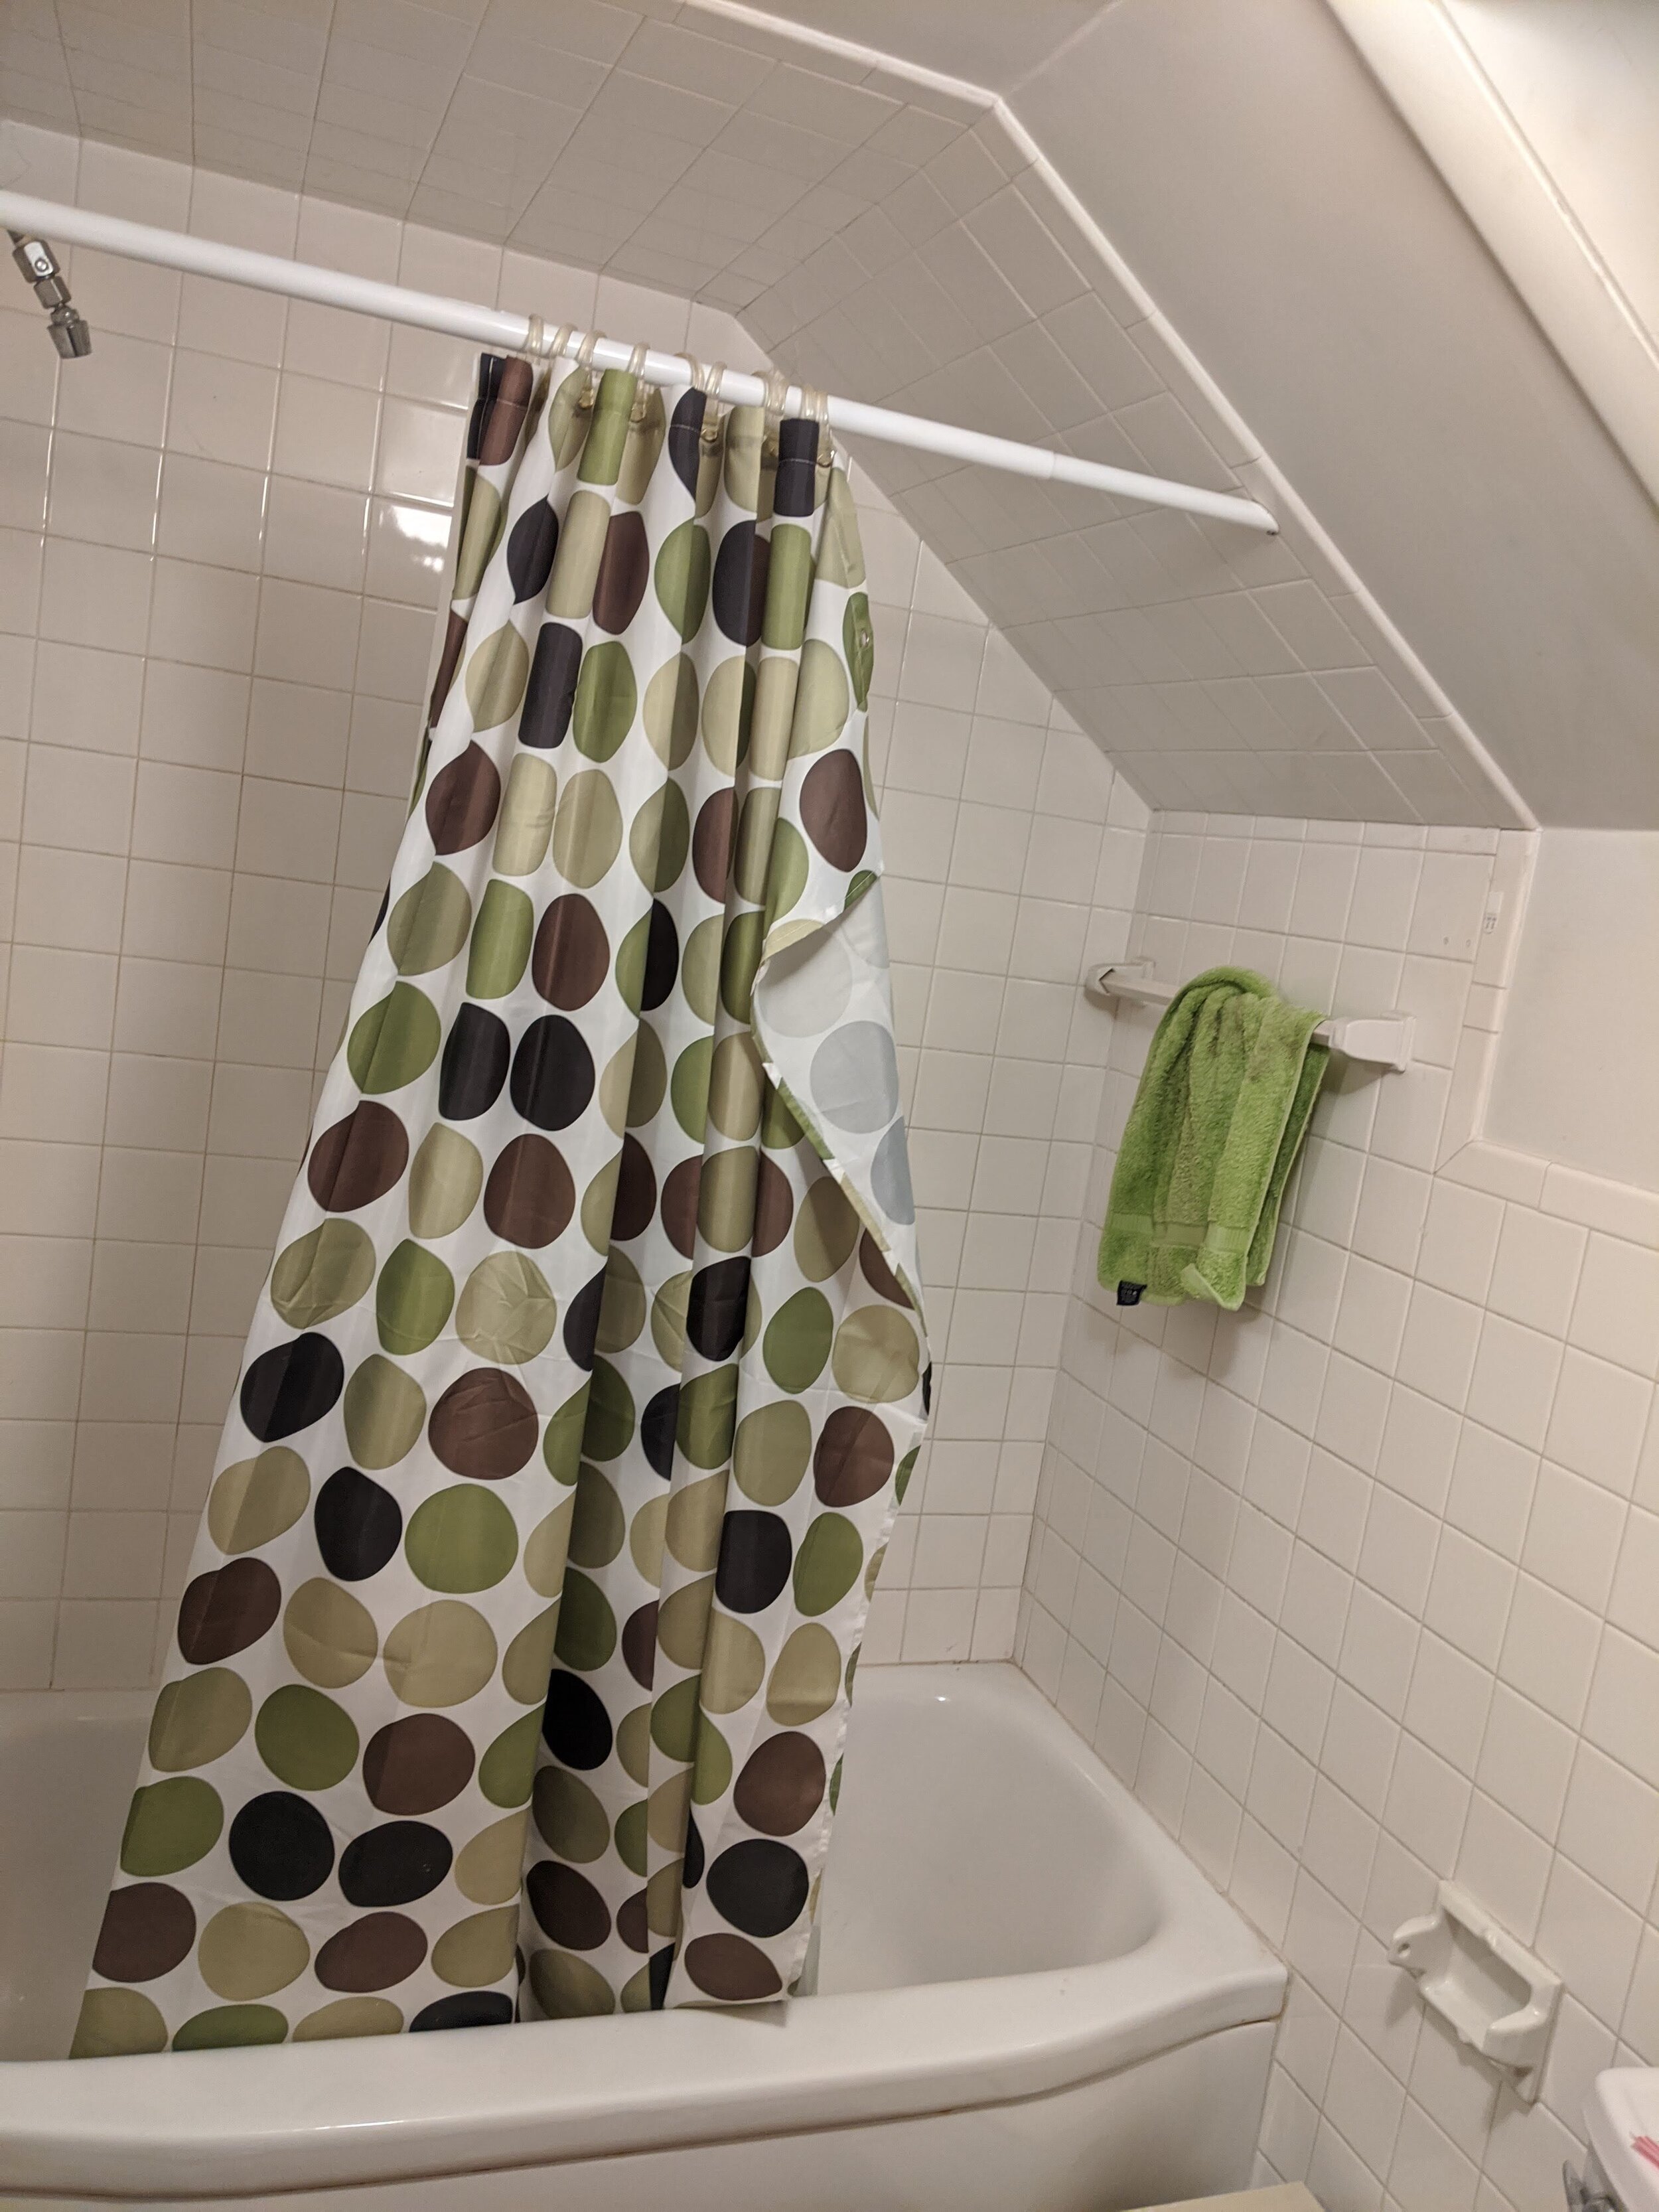
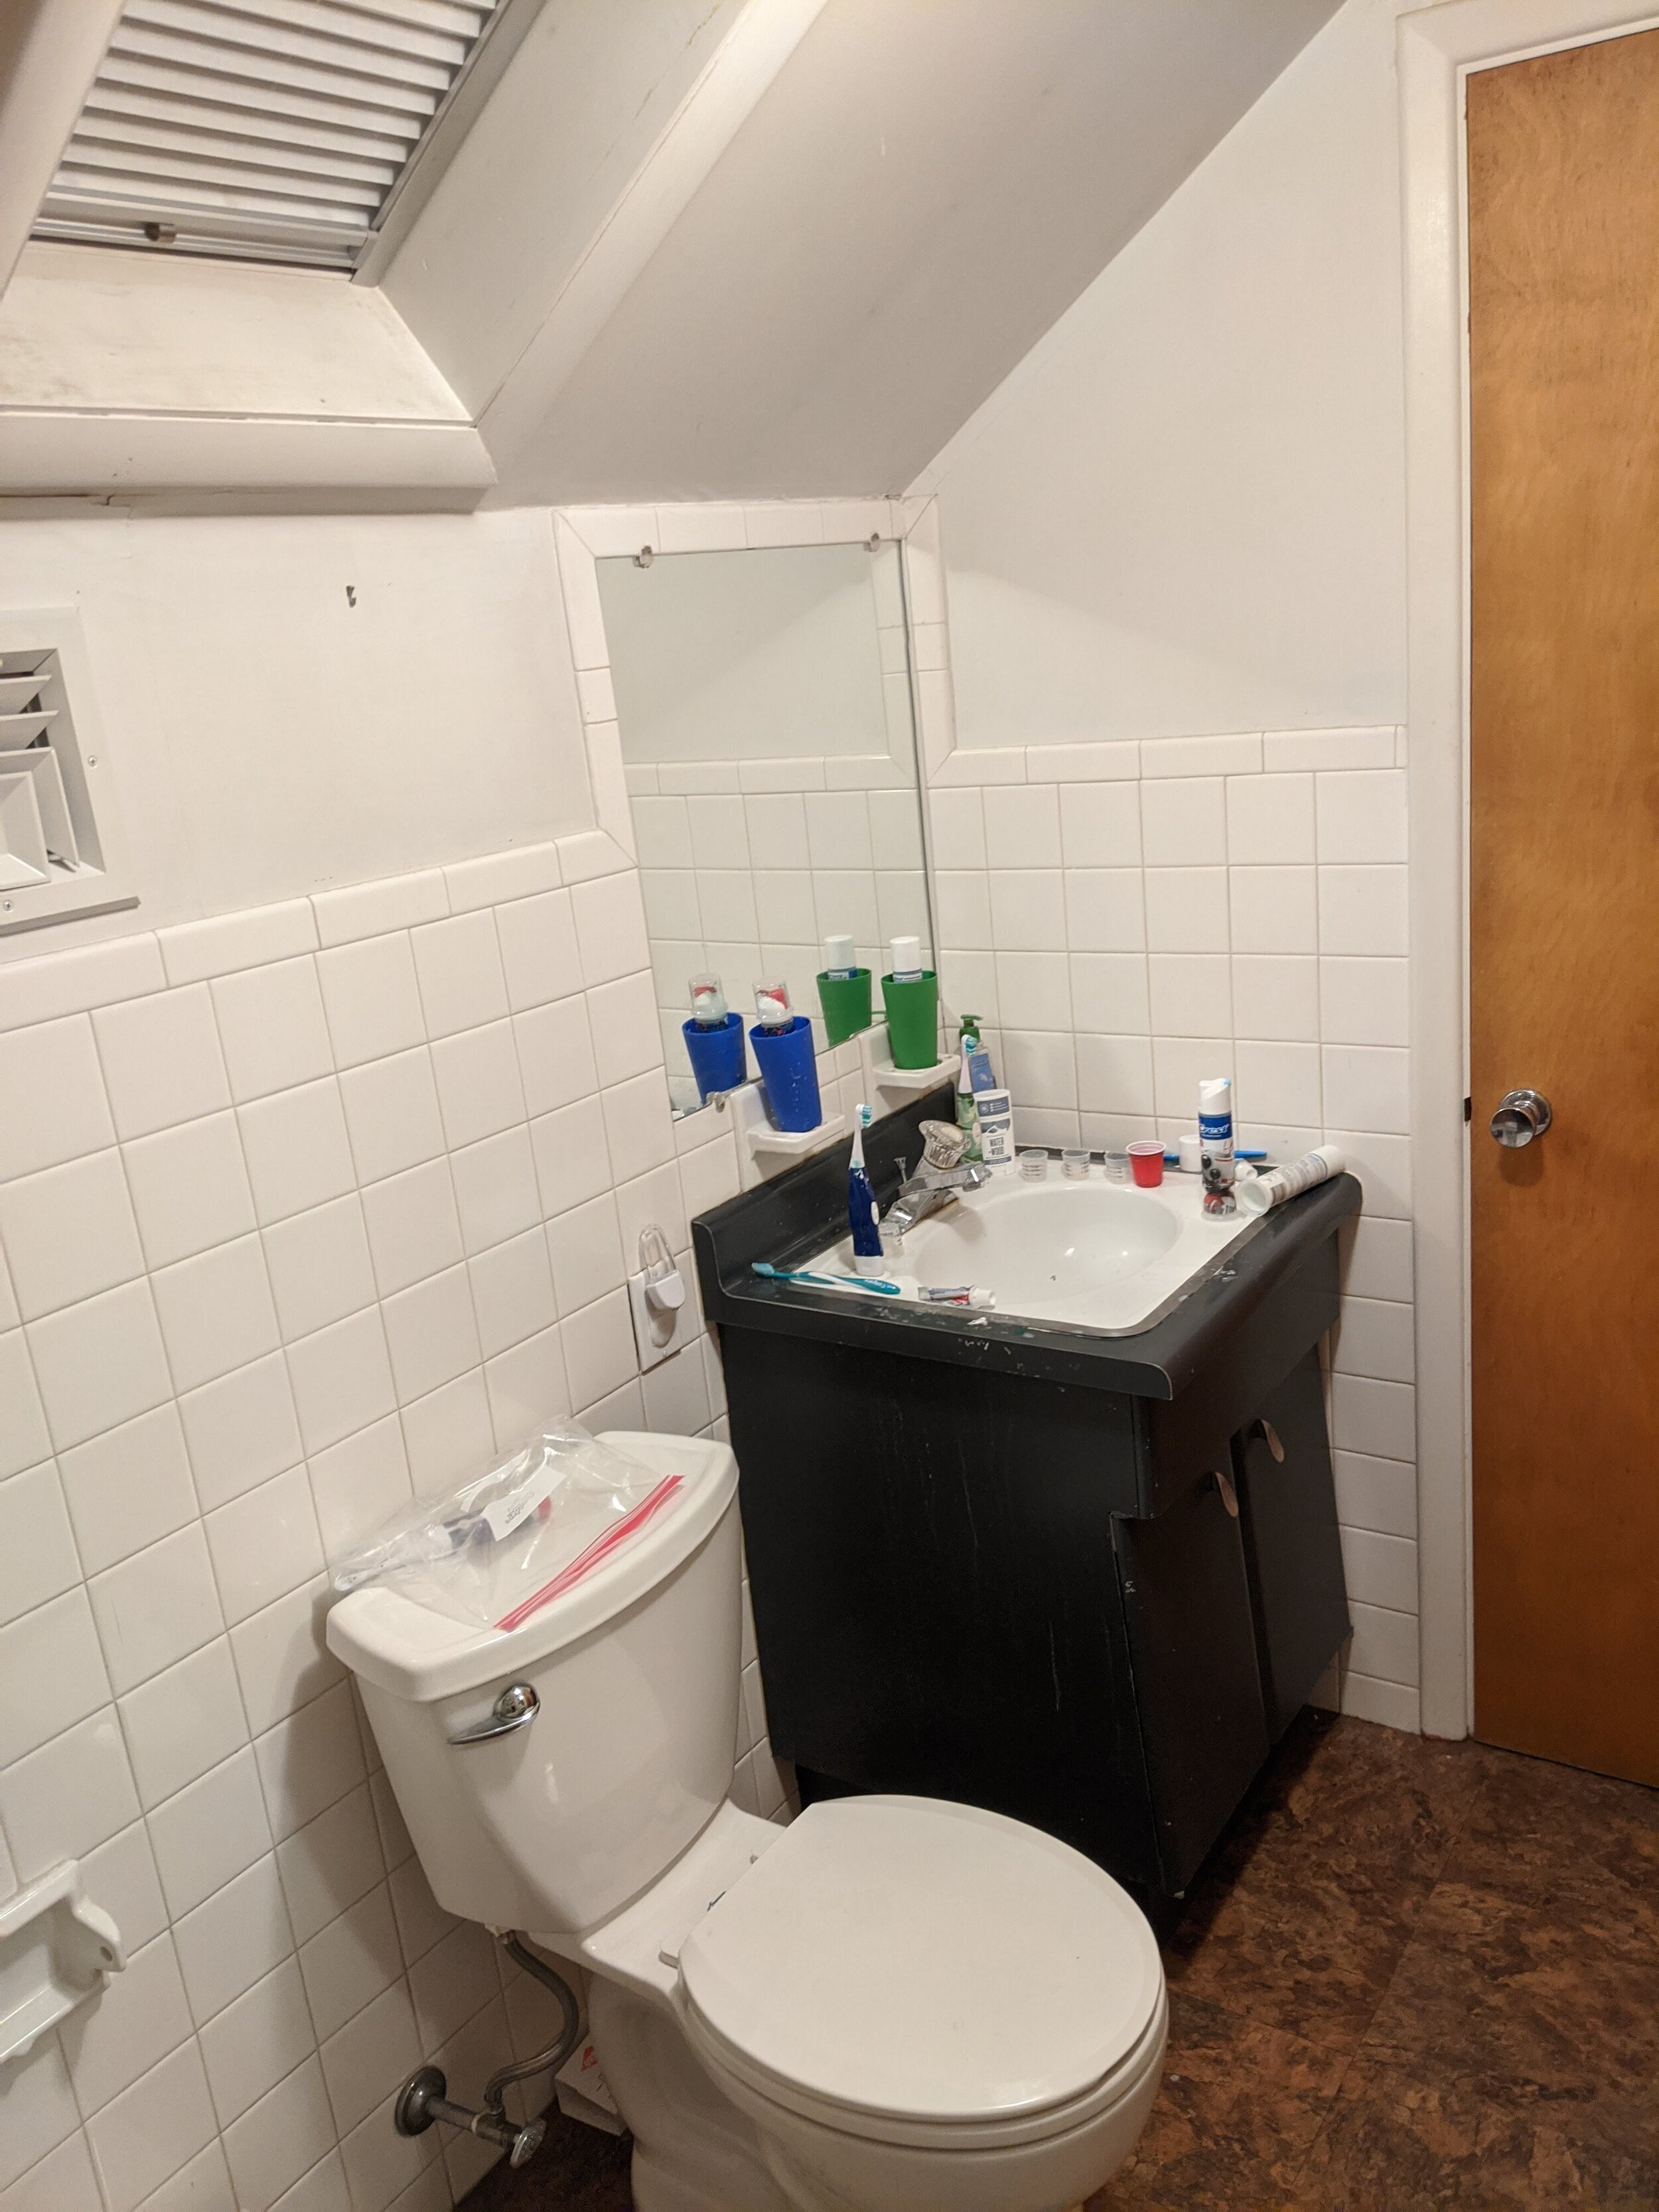
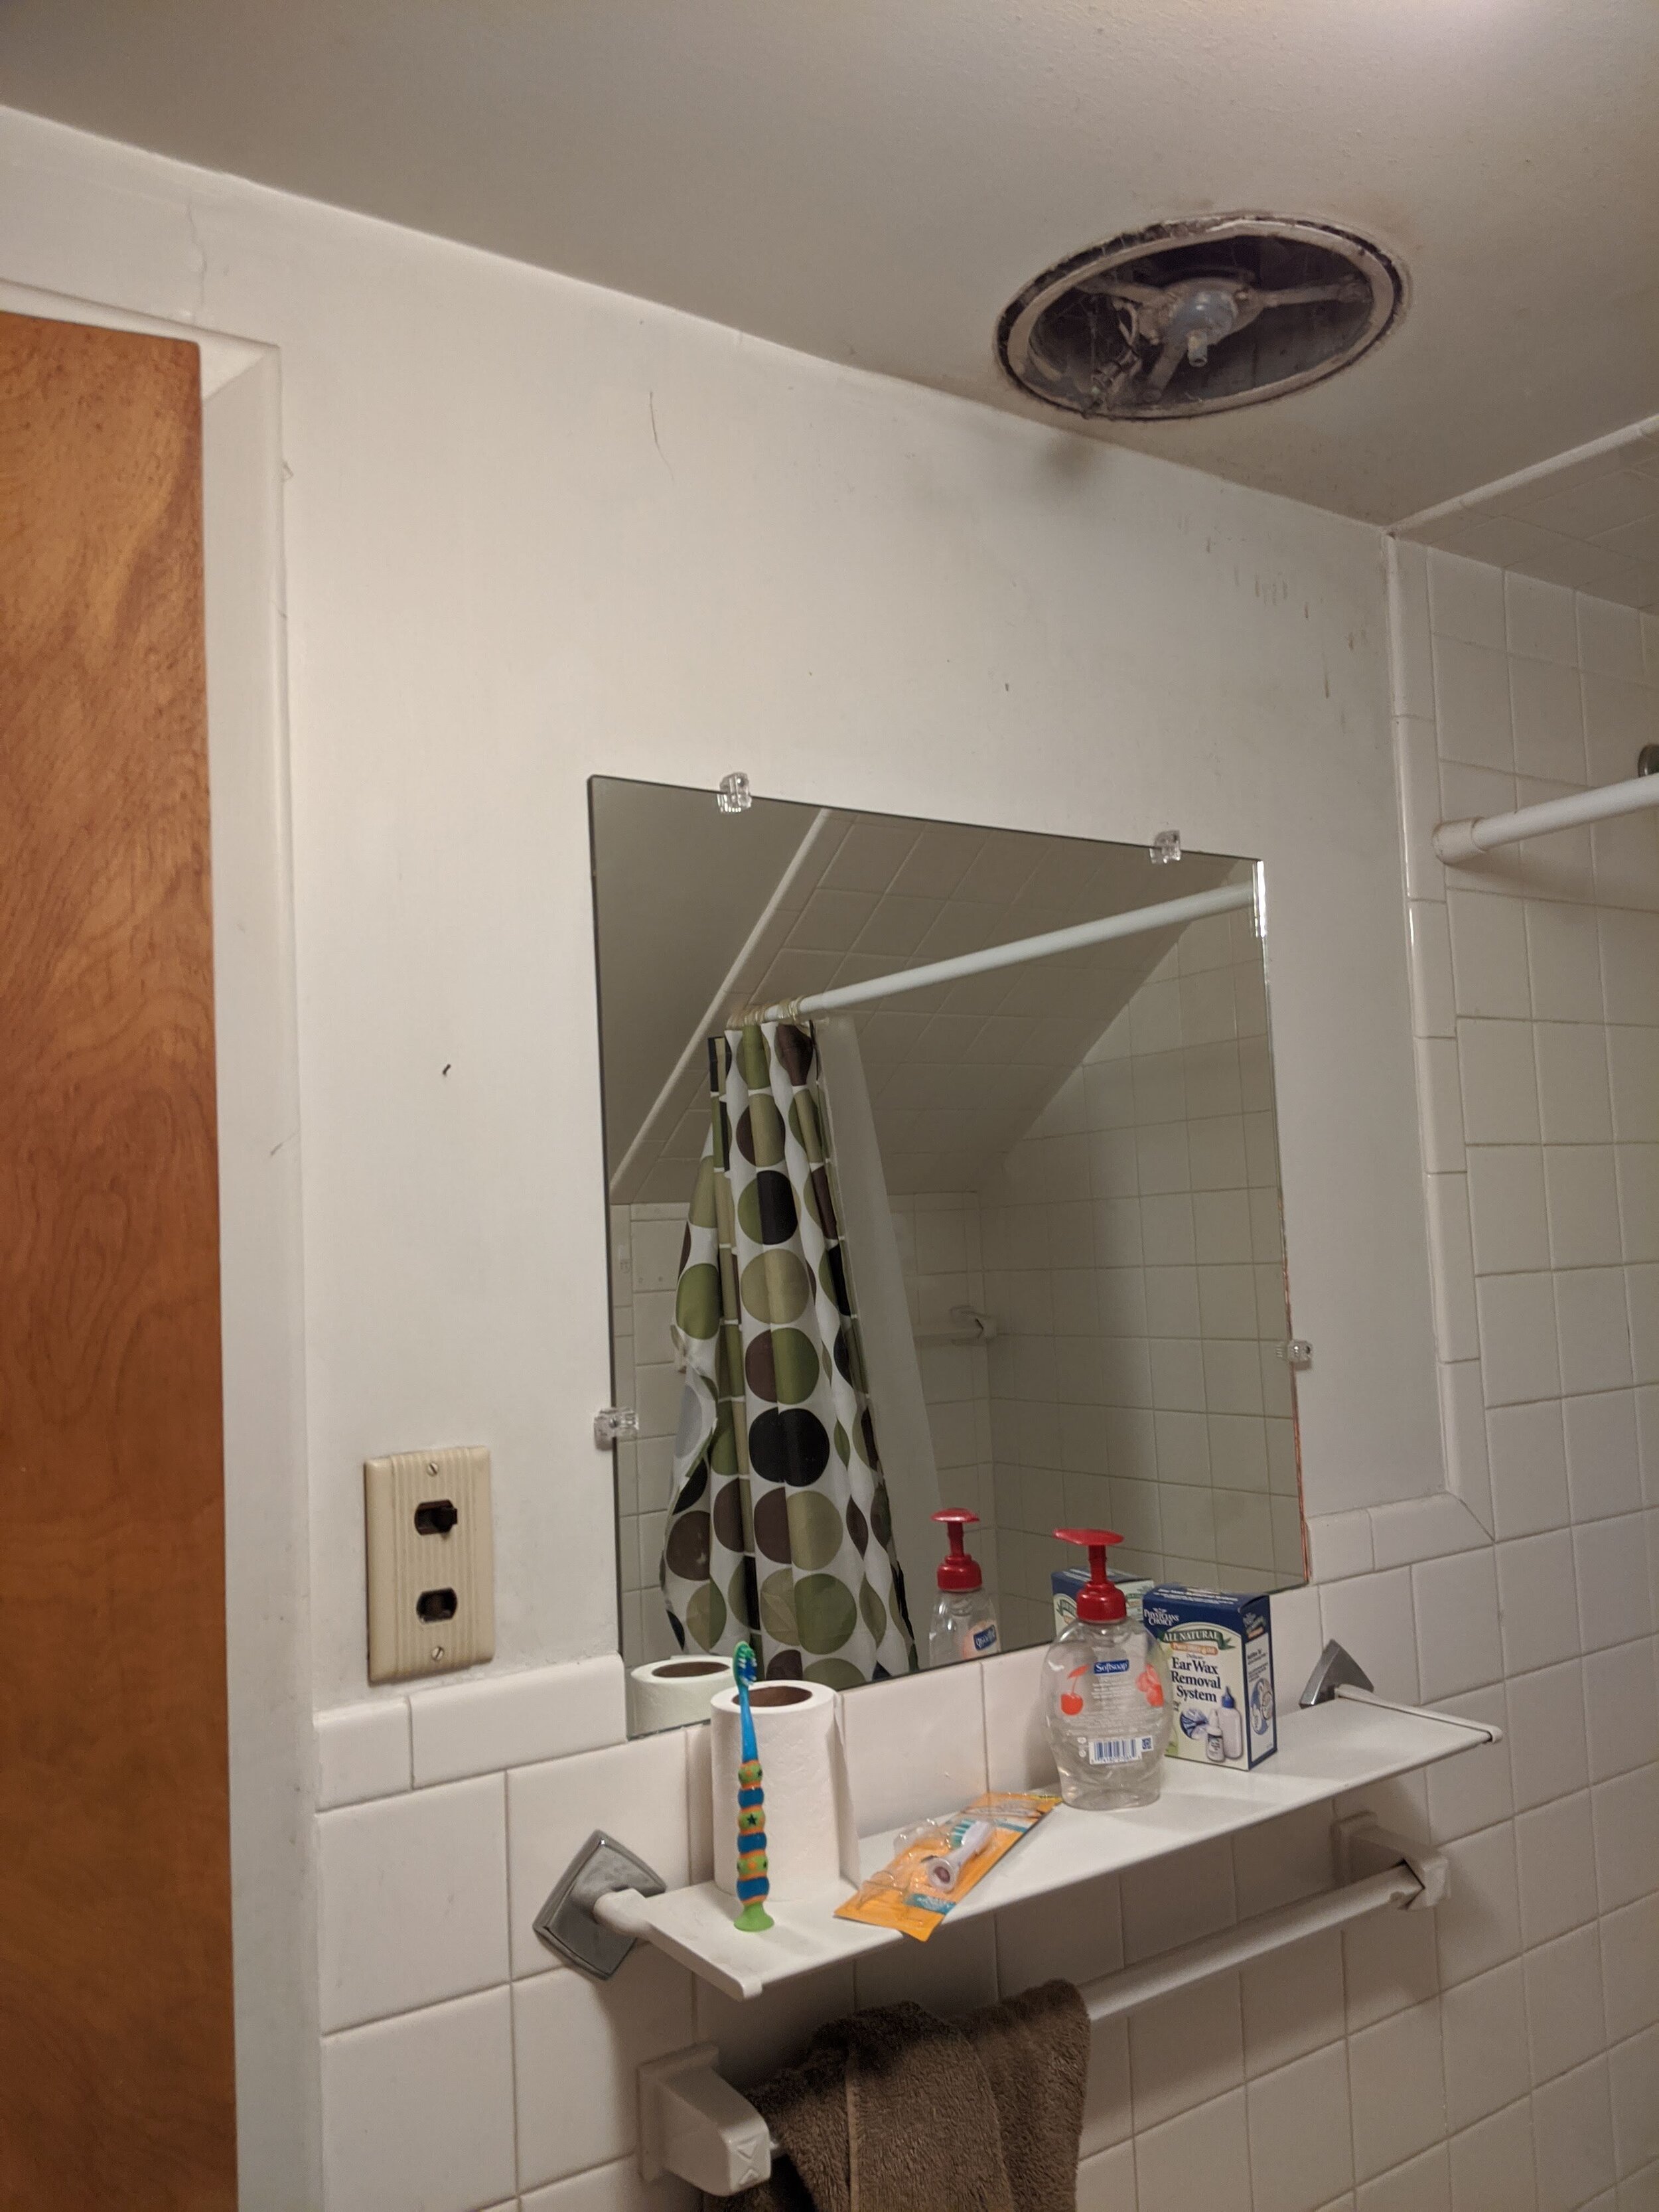
THE BEFORE

  • 4” x 4” square white tile

  • White painted walls

  • Bad lighting

  • College dorm-esque shower head

  • Mirror way too low

  • Giant old heater

  • Ugly yellowish wooden doors

  • Sticky (cheap) linoleum 12” x 12” squares on the floor (we put them there in the stopgap mini-reno seven years ago)

  • Old vanity (also painted in the stopgap mini-reno seven years ago)

To overview the steps of the project:

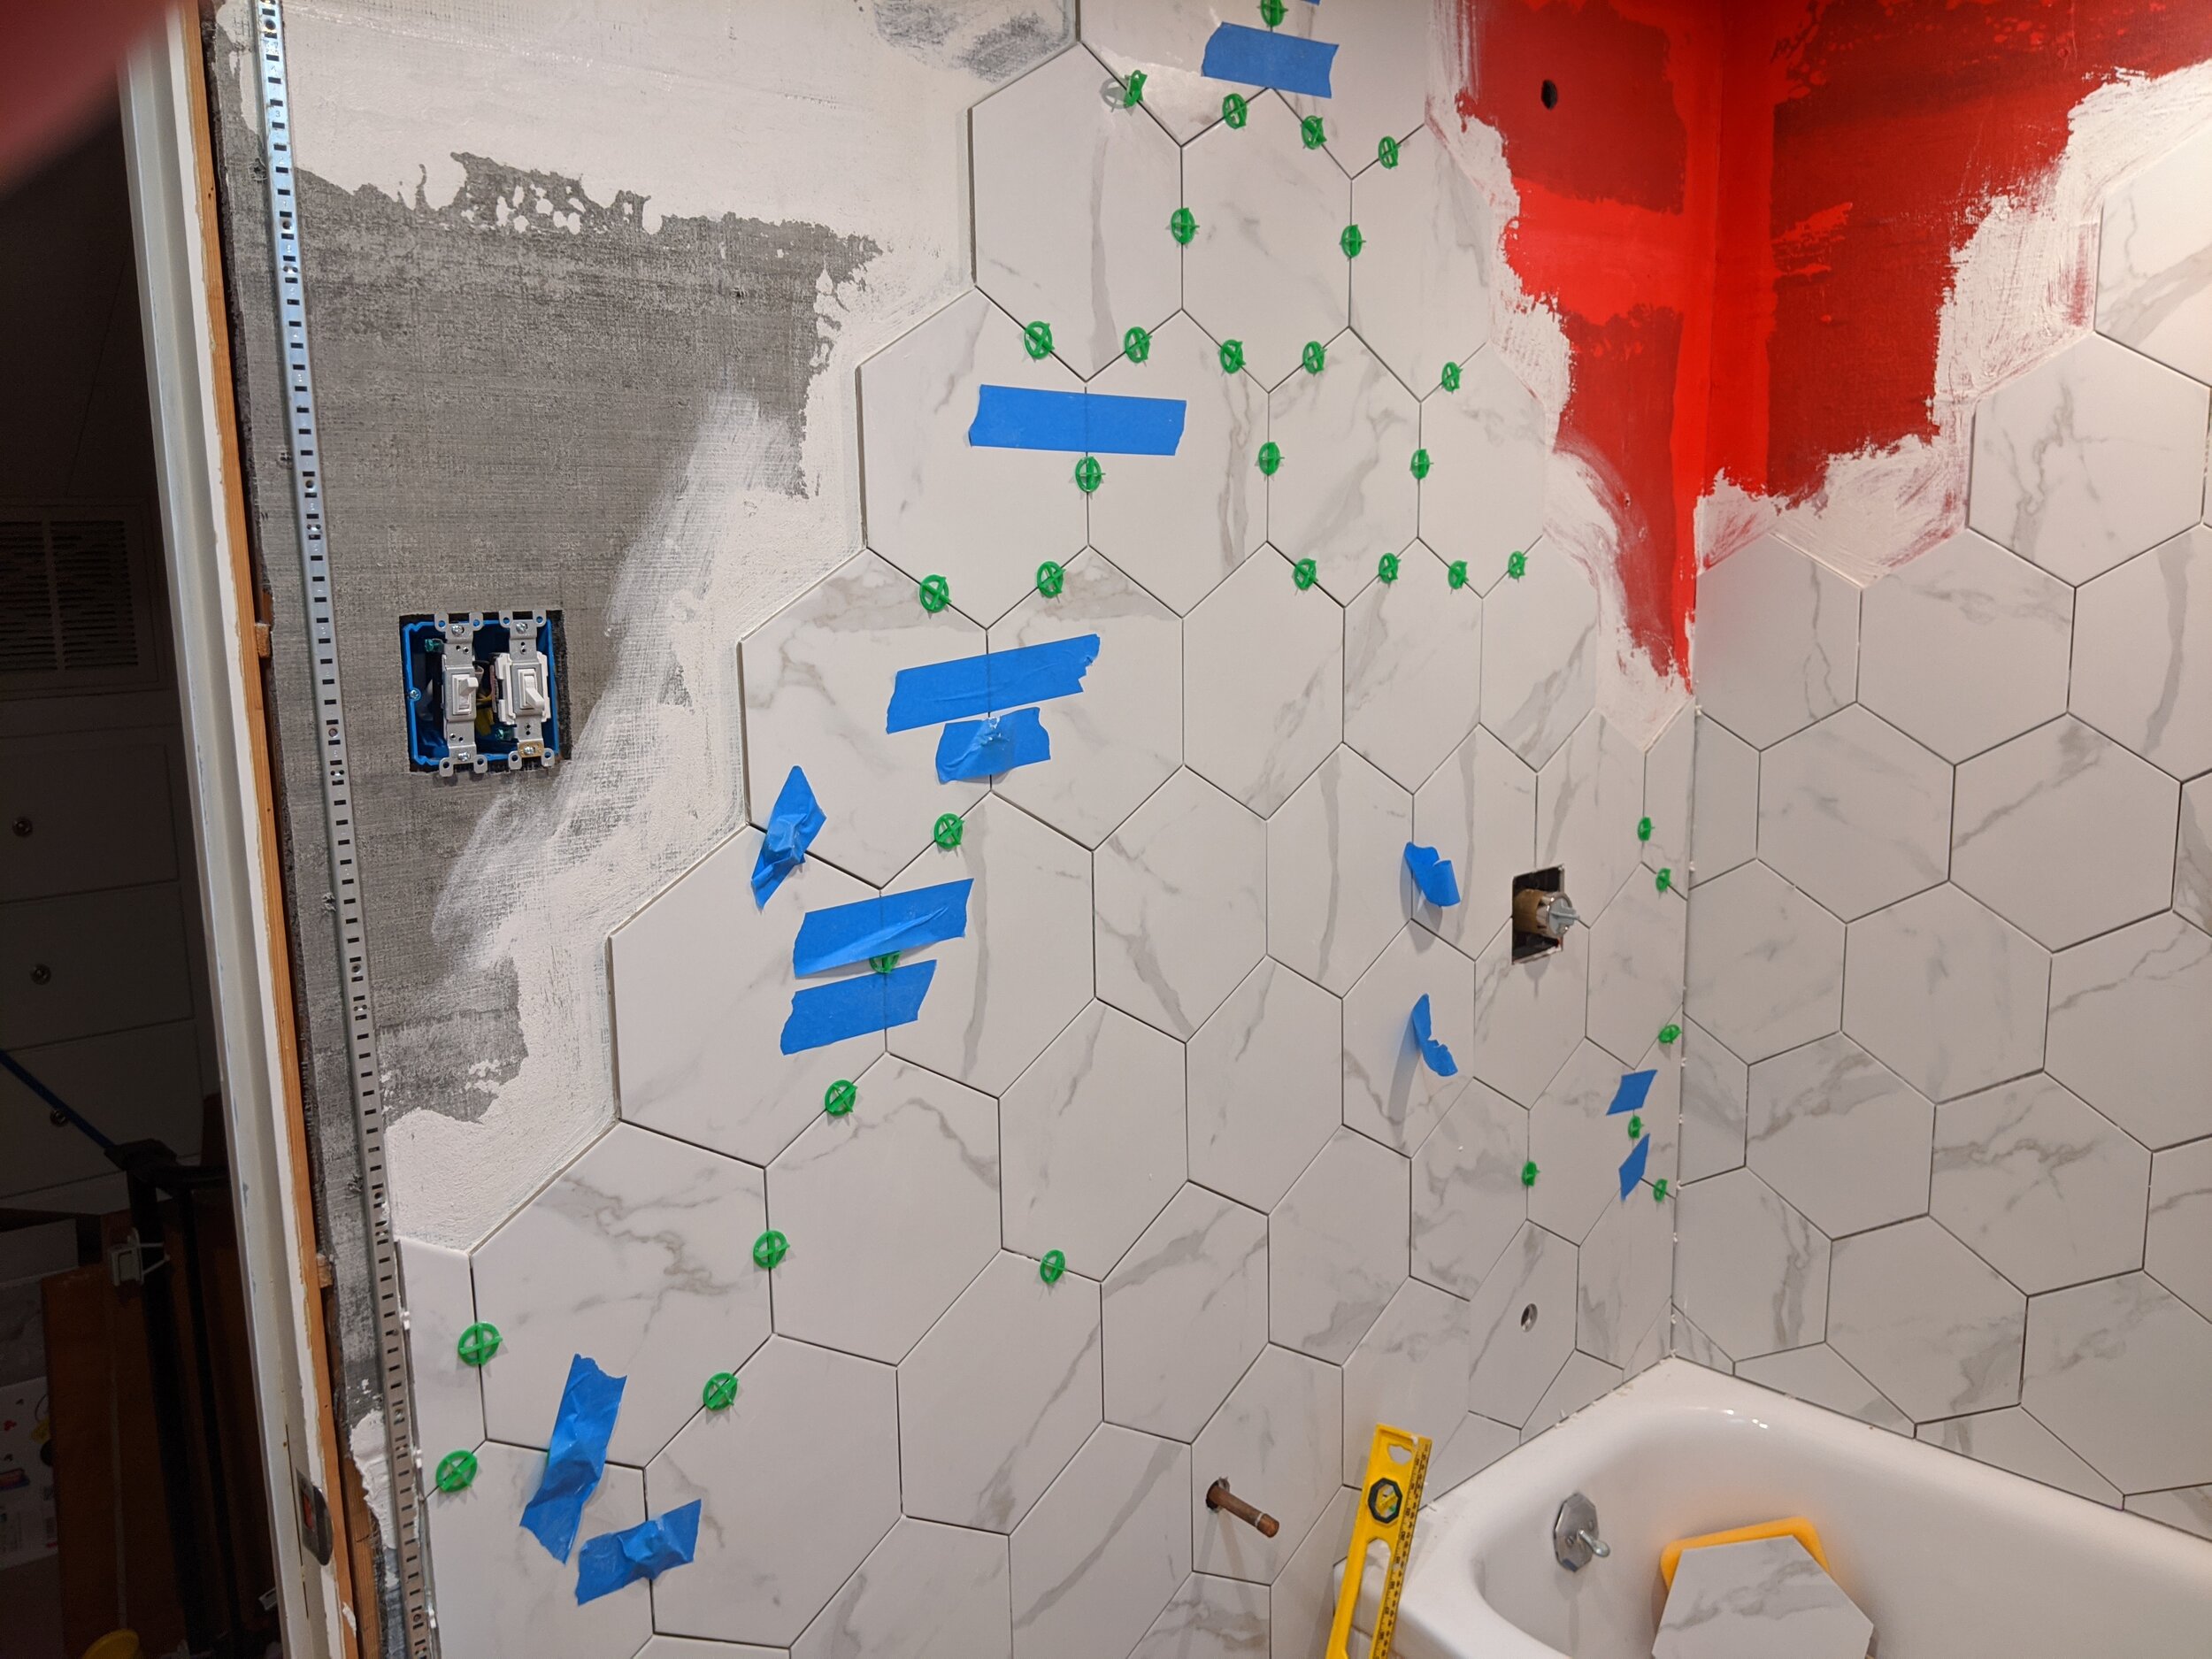
  • Demo tile, ceiling and walls

  • Insulation

  • Demo floor

  • Electrical

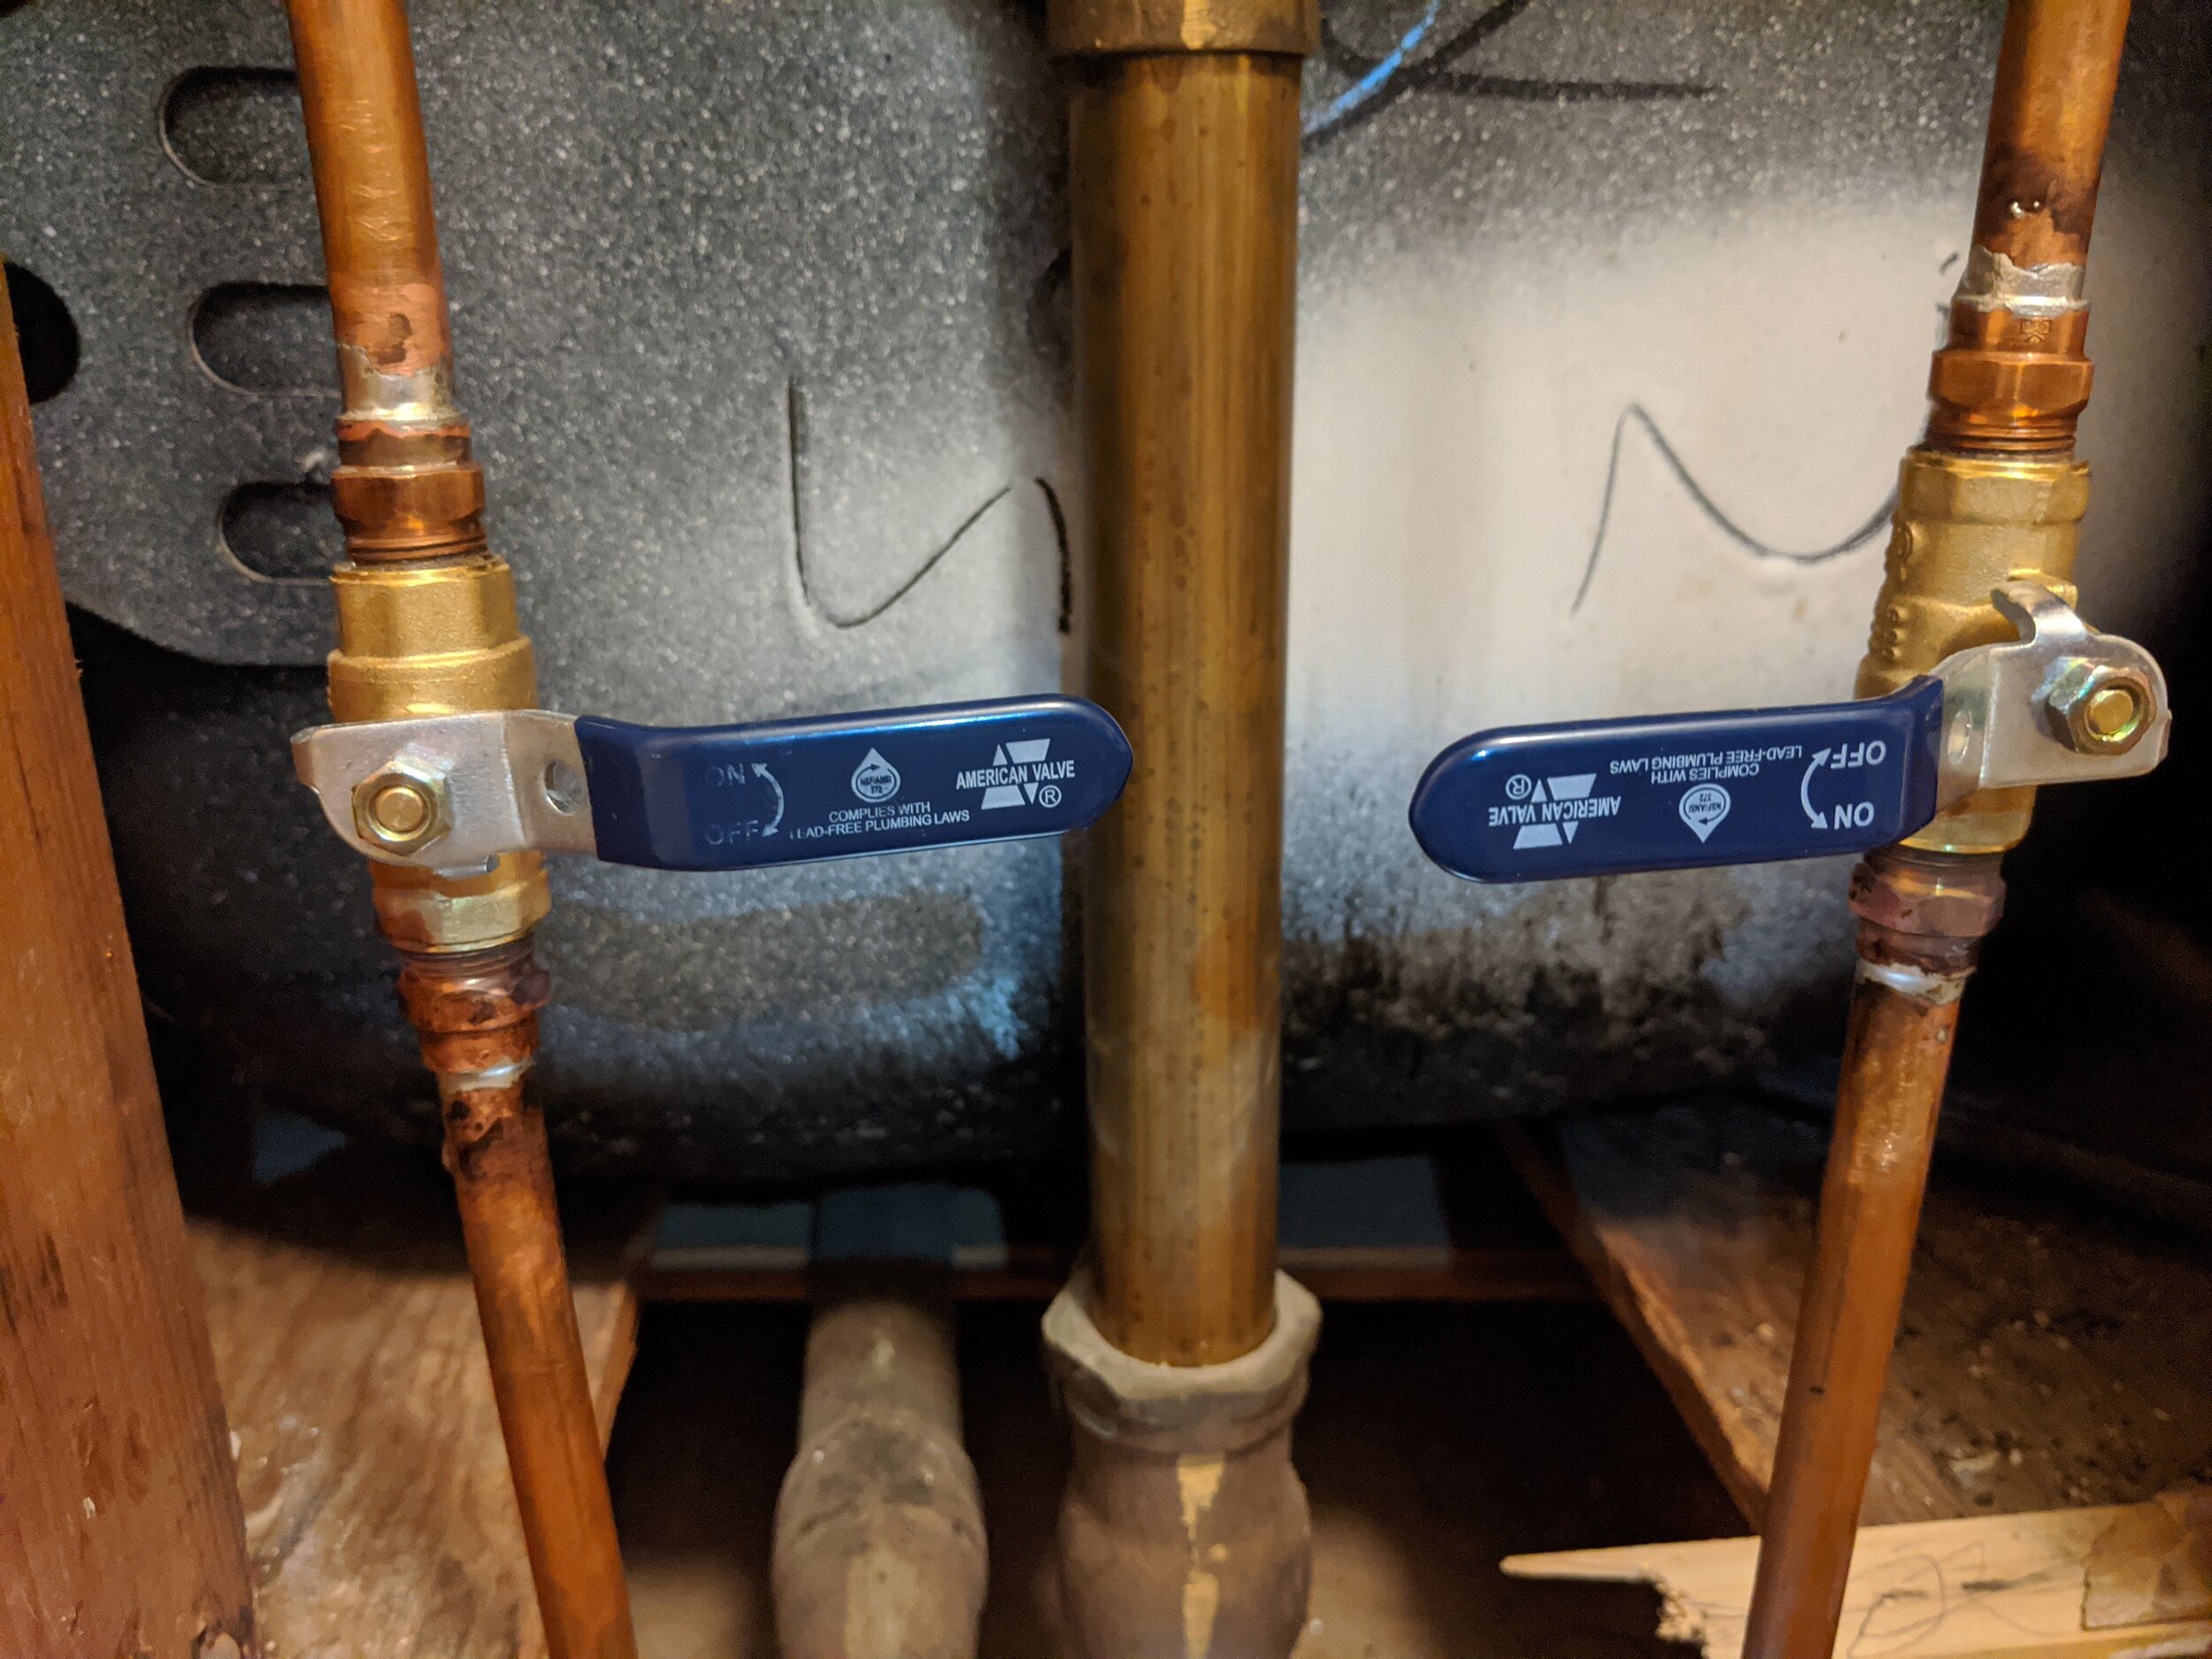
  • Rough plumbing

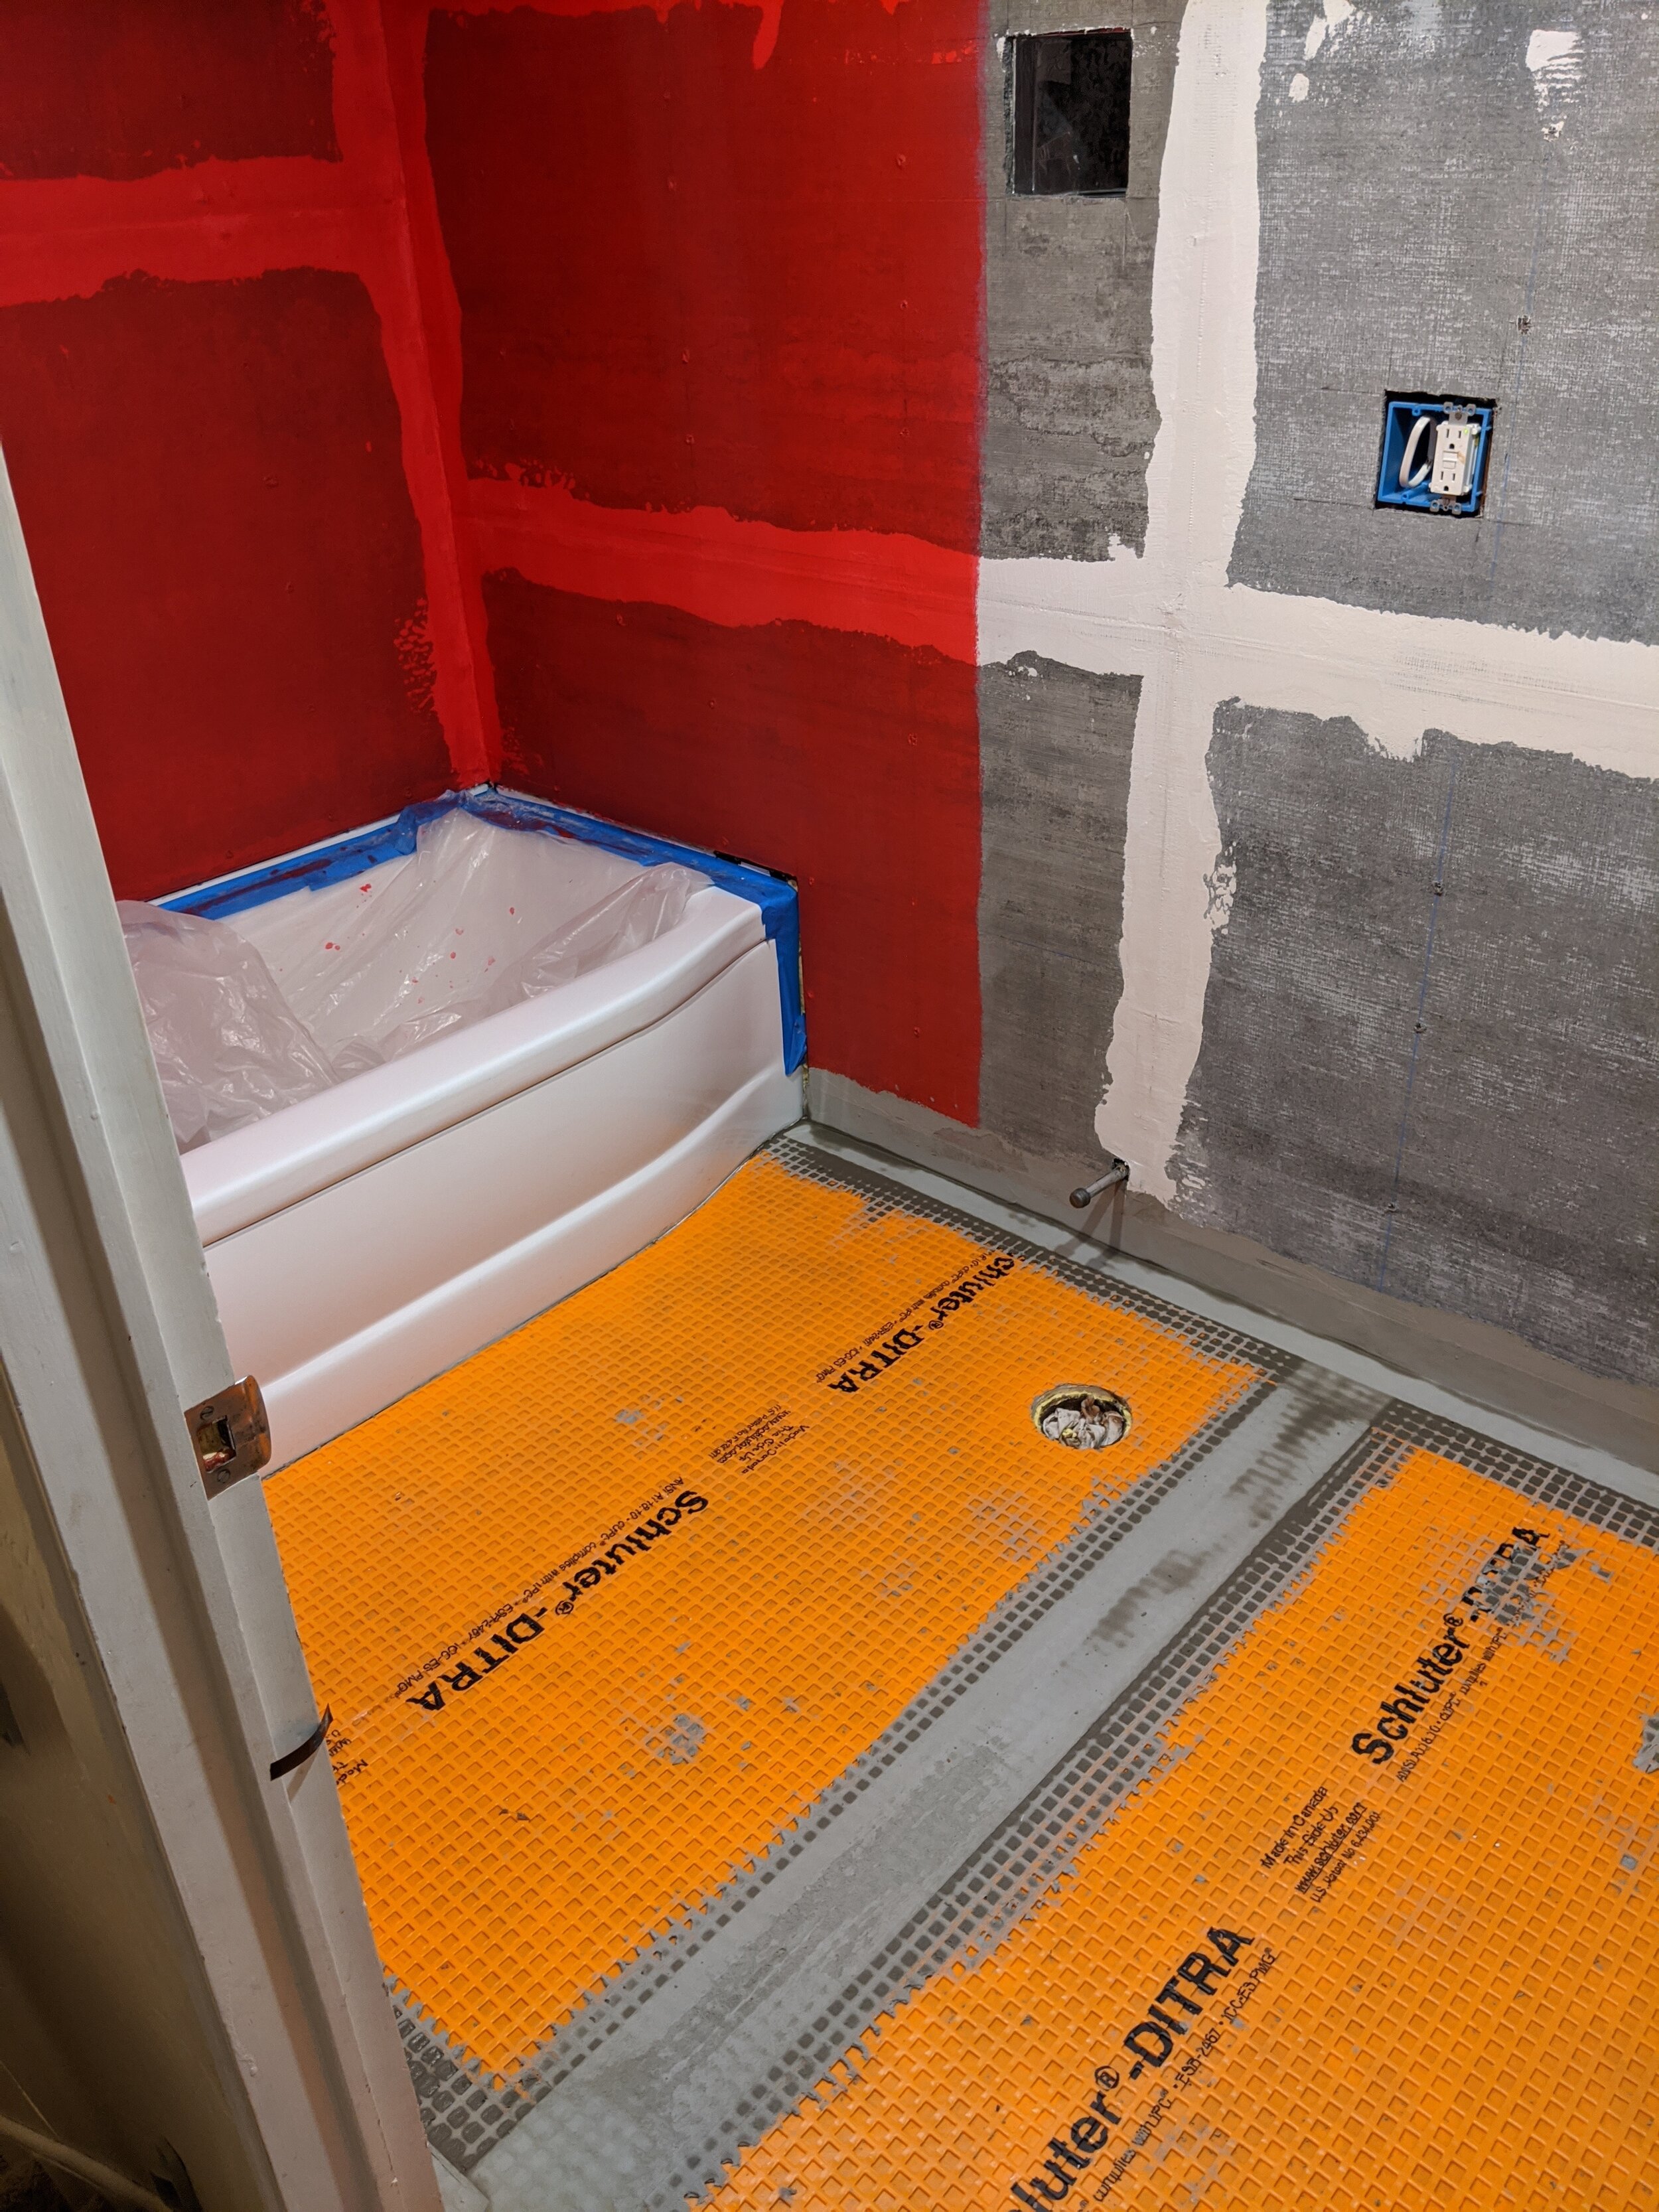
  • Concrete board and drywall

  • Waterproofing shower and floor

  • Tile walls and ceiling

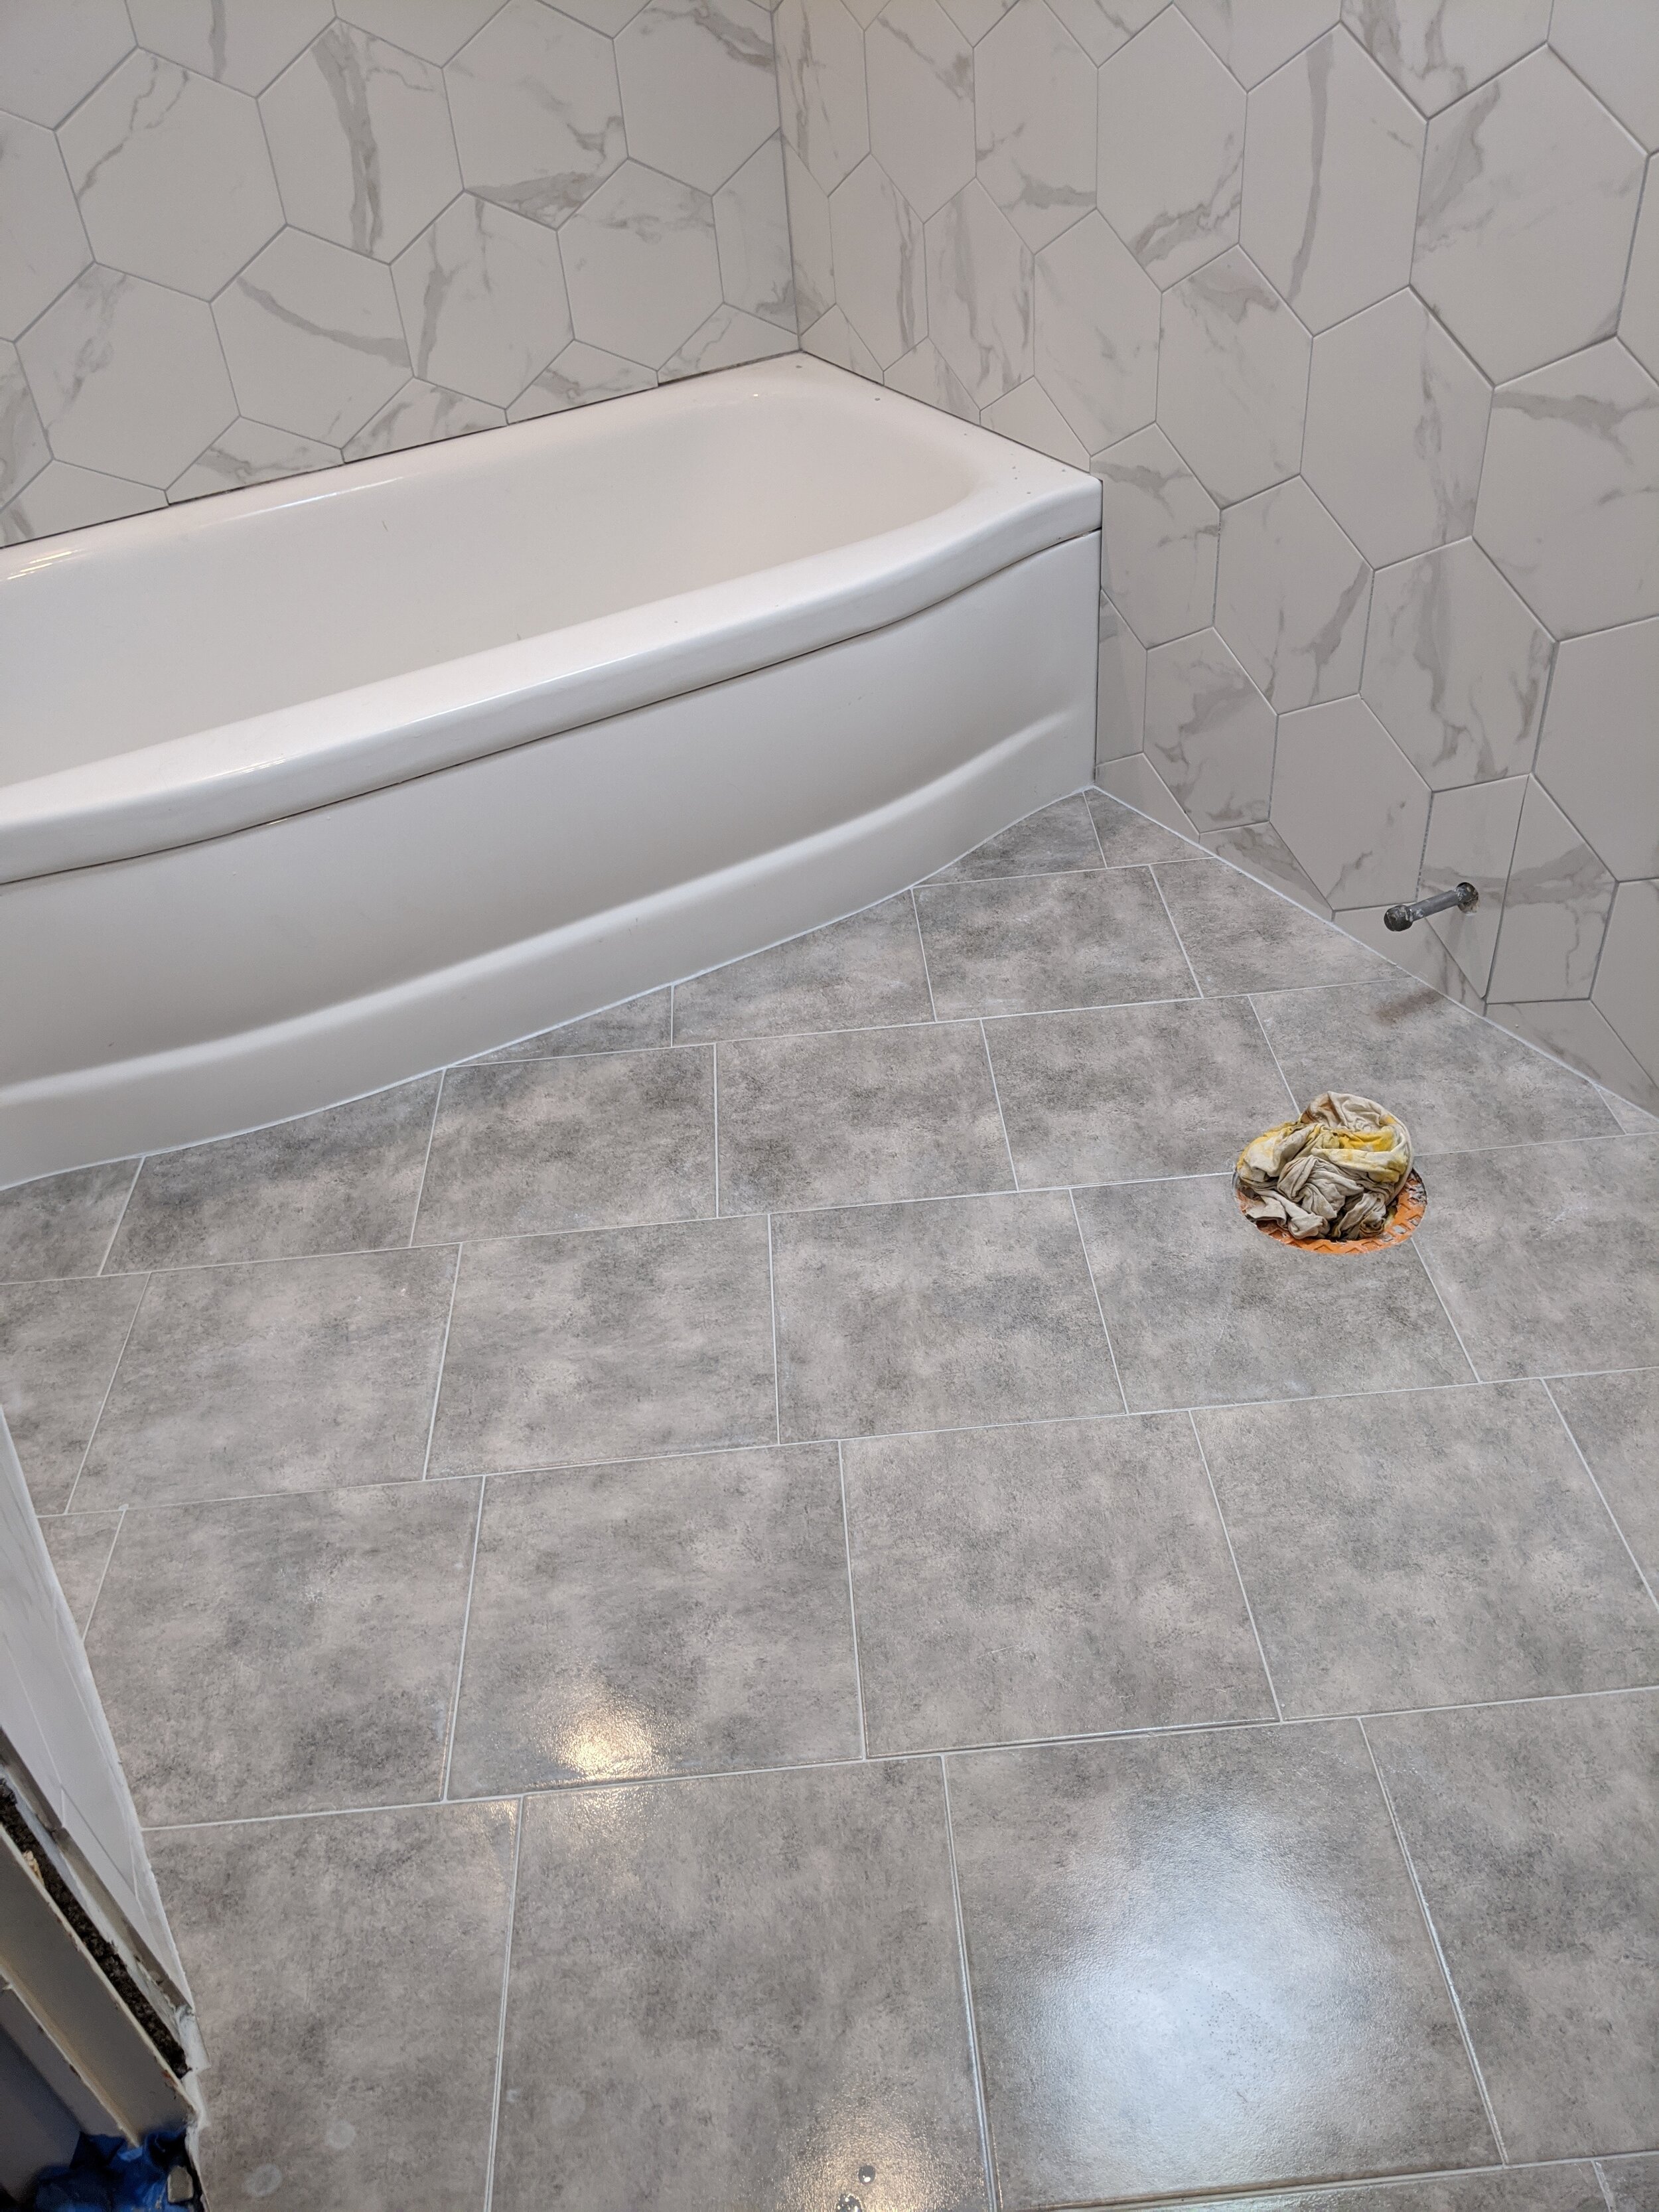
  • Tile floor

  • Install fixtures

  • Finish plumbing

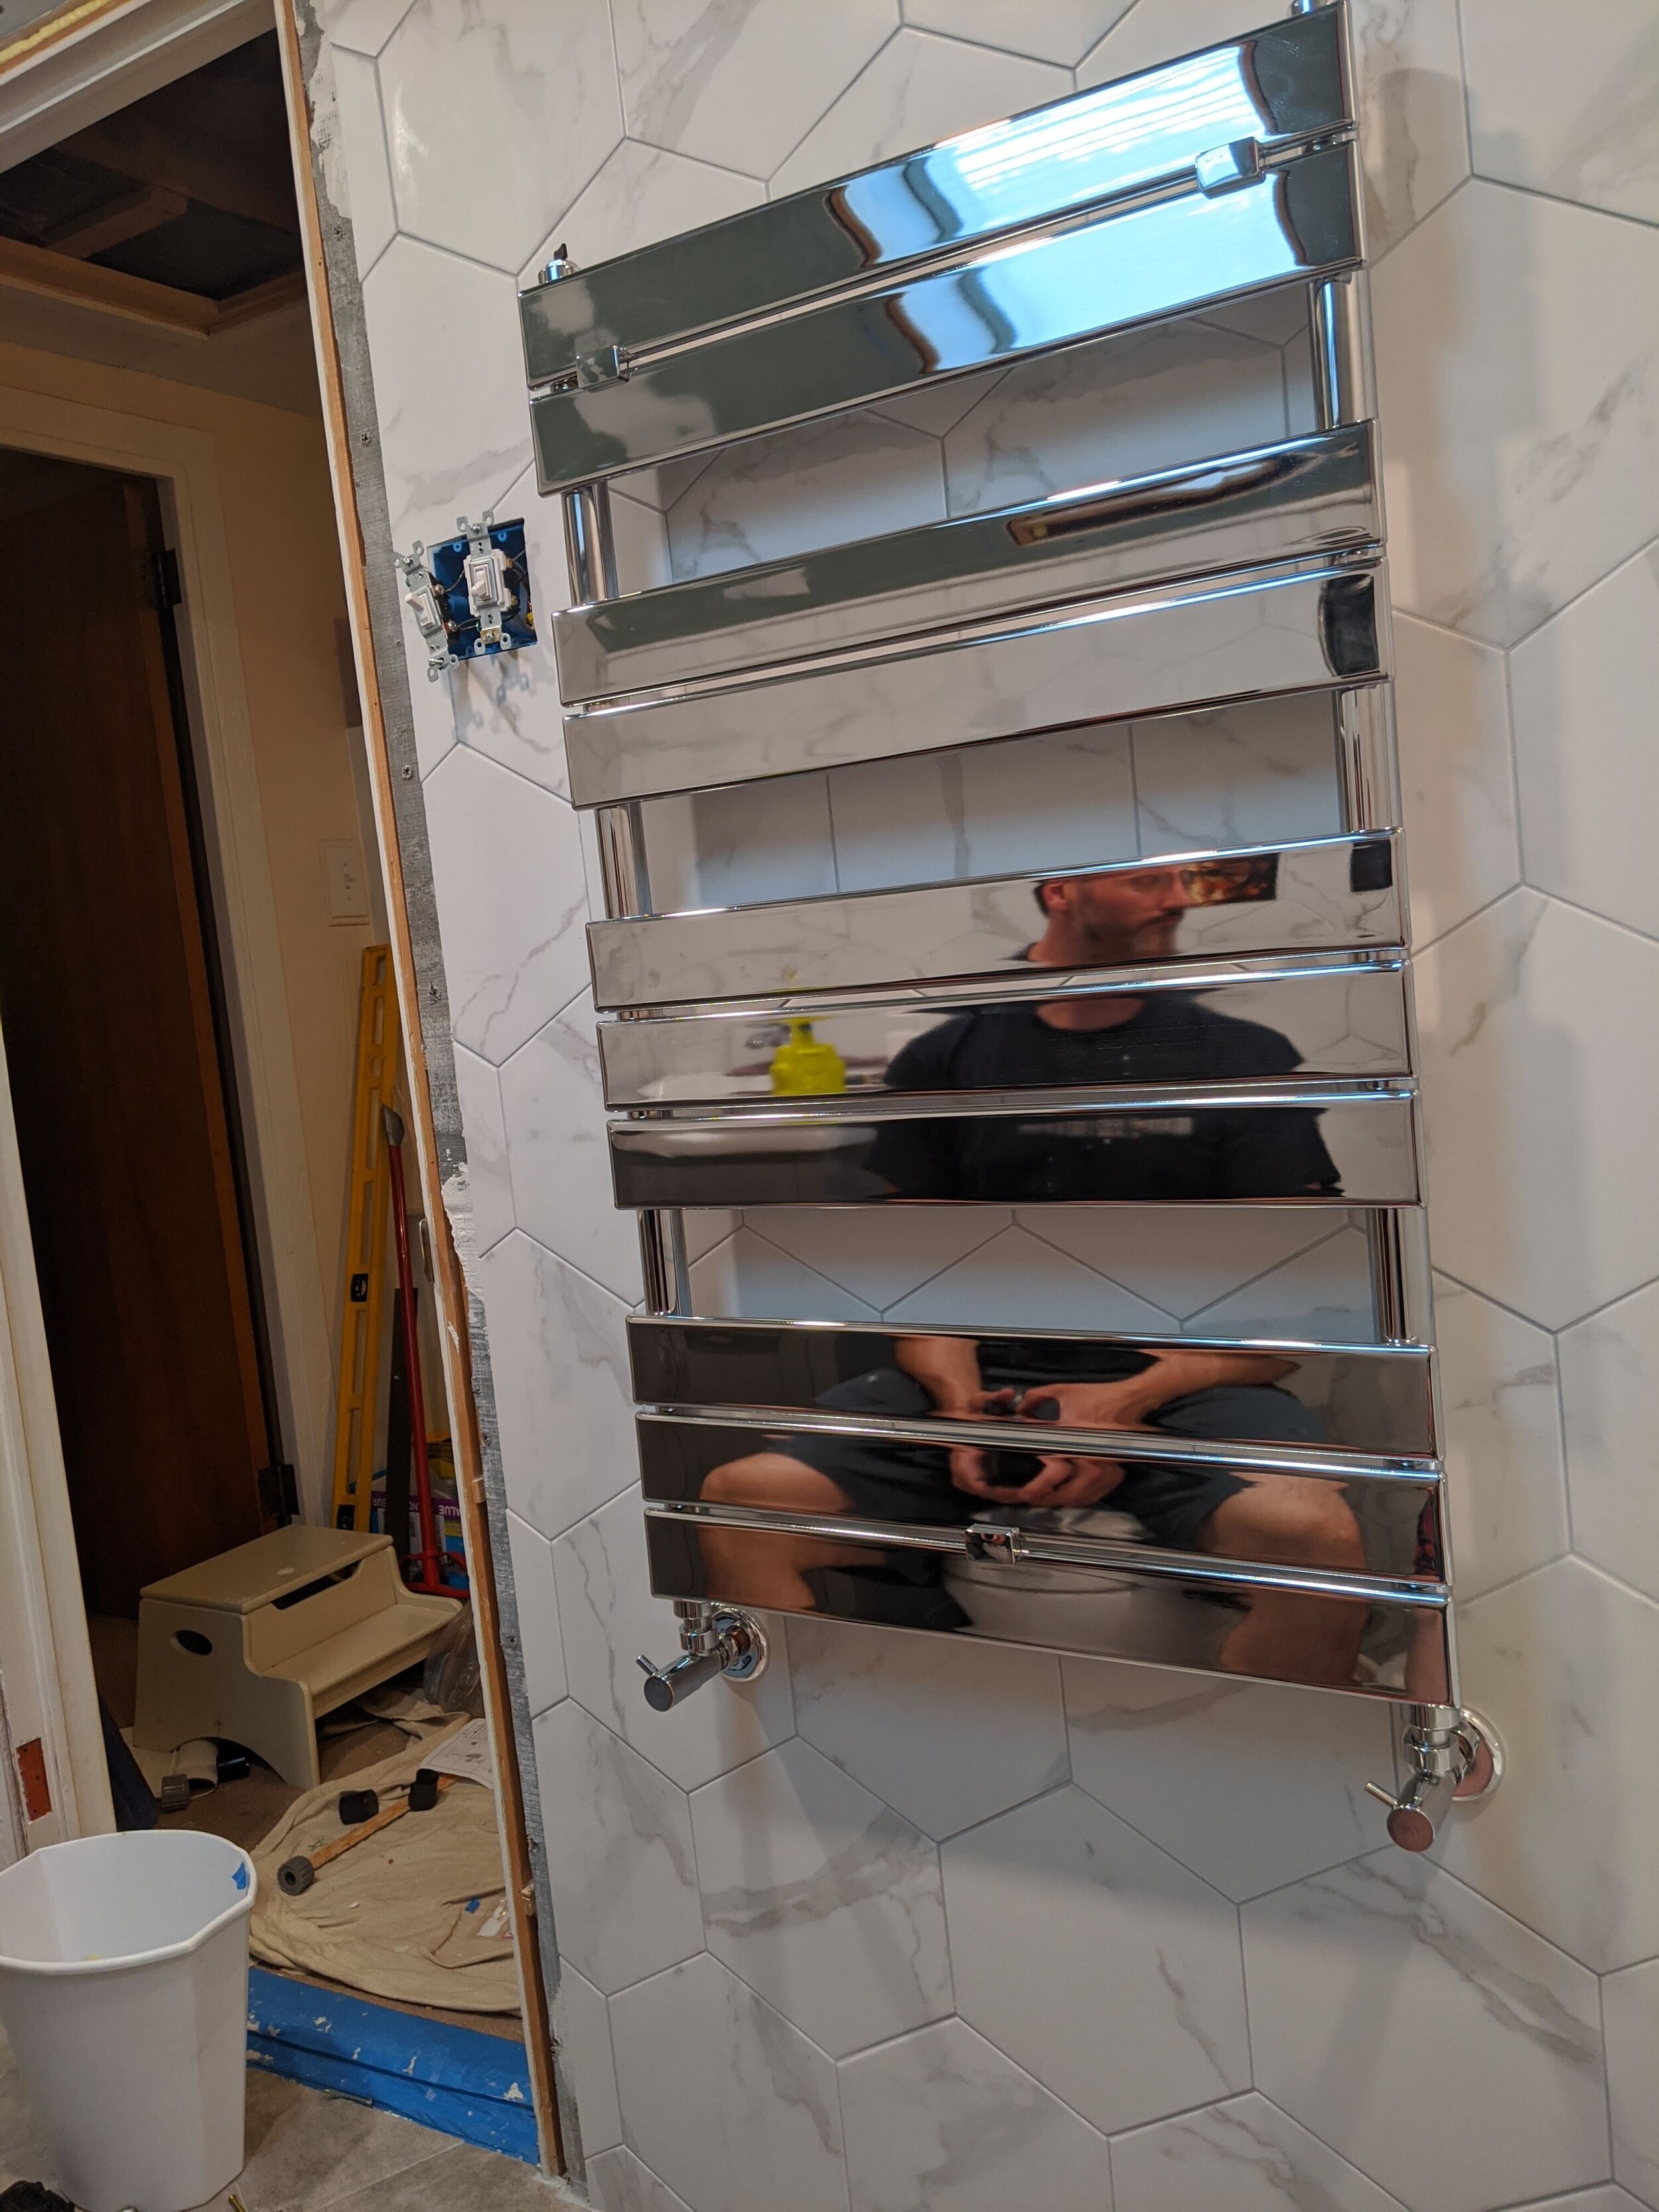
  • Install radiator

  • Install trim

  • Paint everything

  • Re-install doors

  • Finishing touches

My husband has a full-time job, so we did our project over 4 months. We’re lucky another to have two other toilets in the house, so it wasn’t a huge rush. Overall, I really couldn’t be happier with the results. Looking at the pictures, I’m laughing a little at the similarity between my kitchen and bathroom — unintentional. But, hey, I like what I like.

Click forward to see a post for the steps in (much) greater detail.

 
bathroom-renovation-steps.jpg
 

Click Here to View the Full Blog Archive.