UPGRADING THAT OLD, YUCKY DECK: stairs and railing pillars

upgrading-deck-stairs-pil-h.png

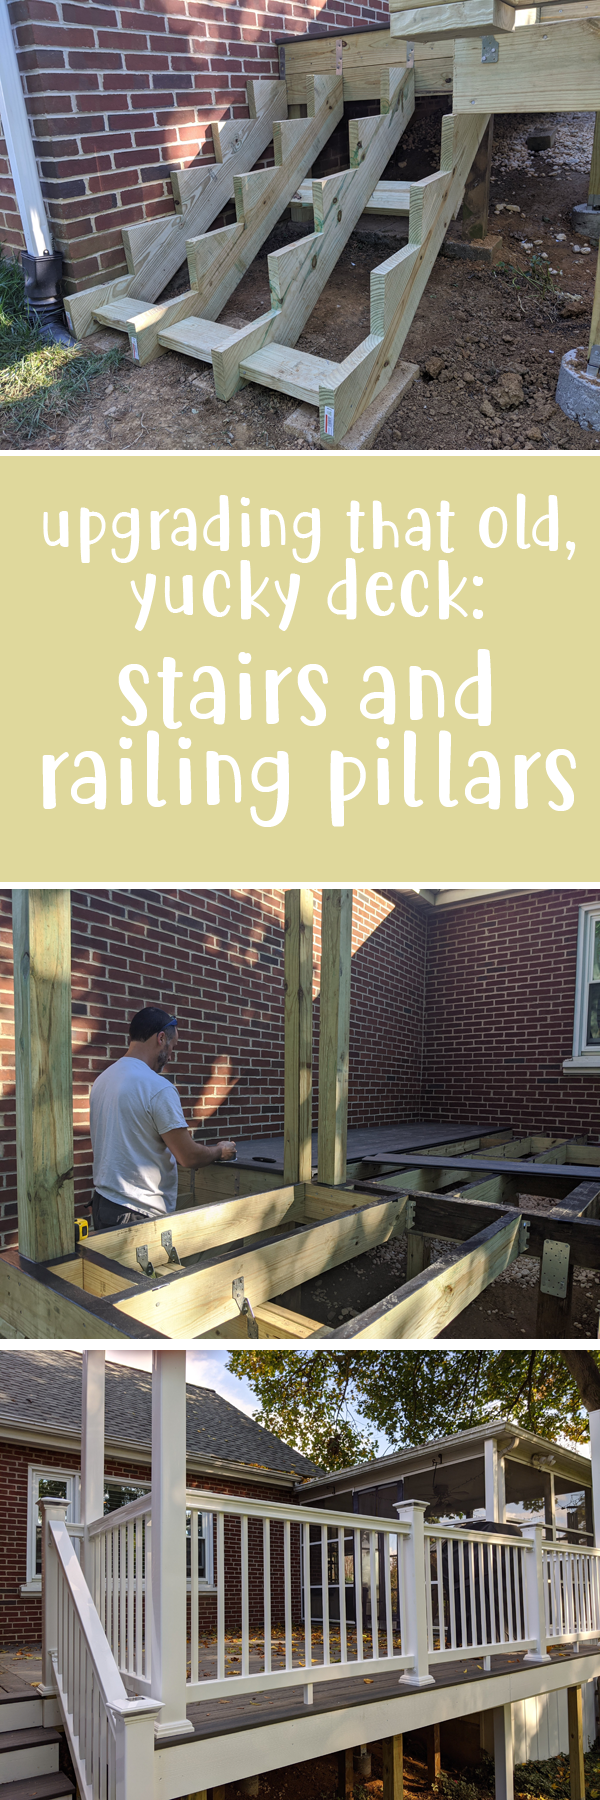
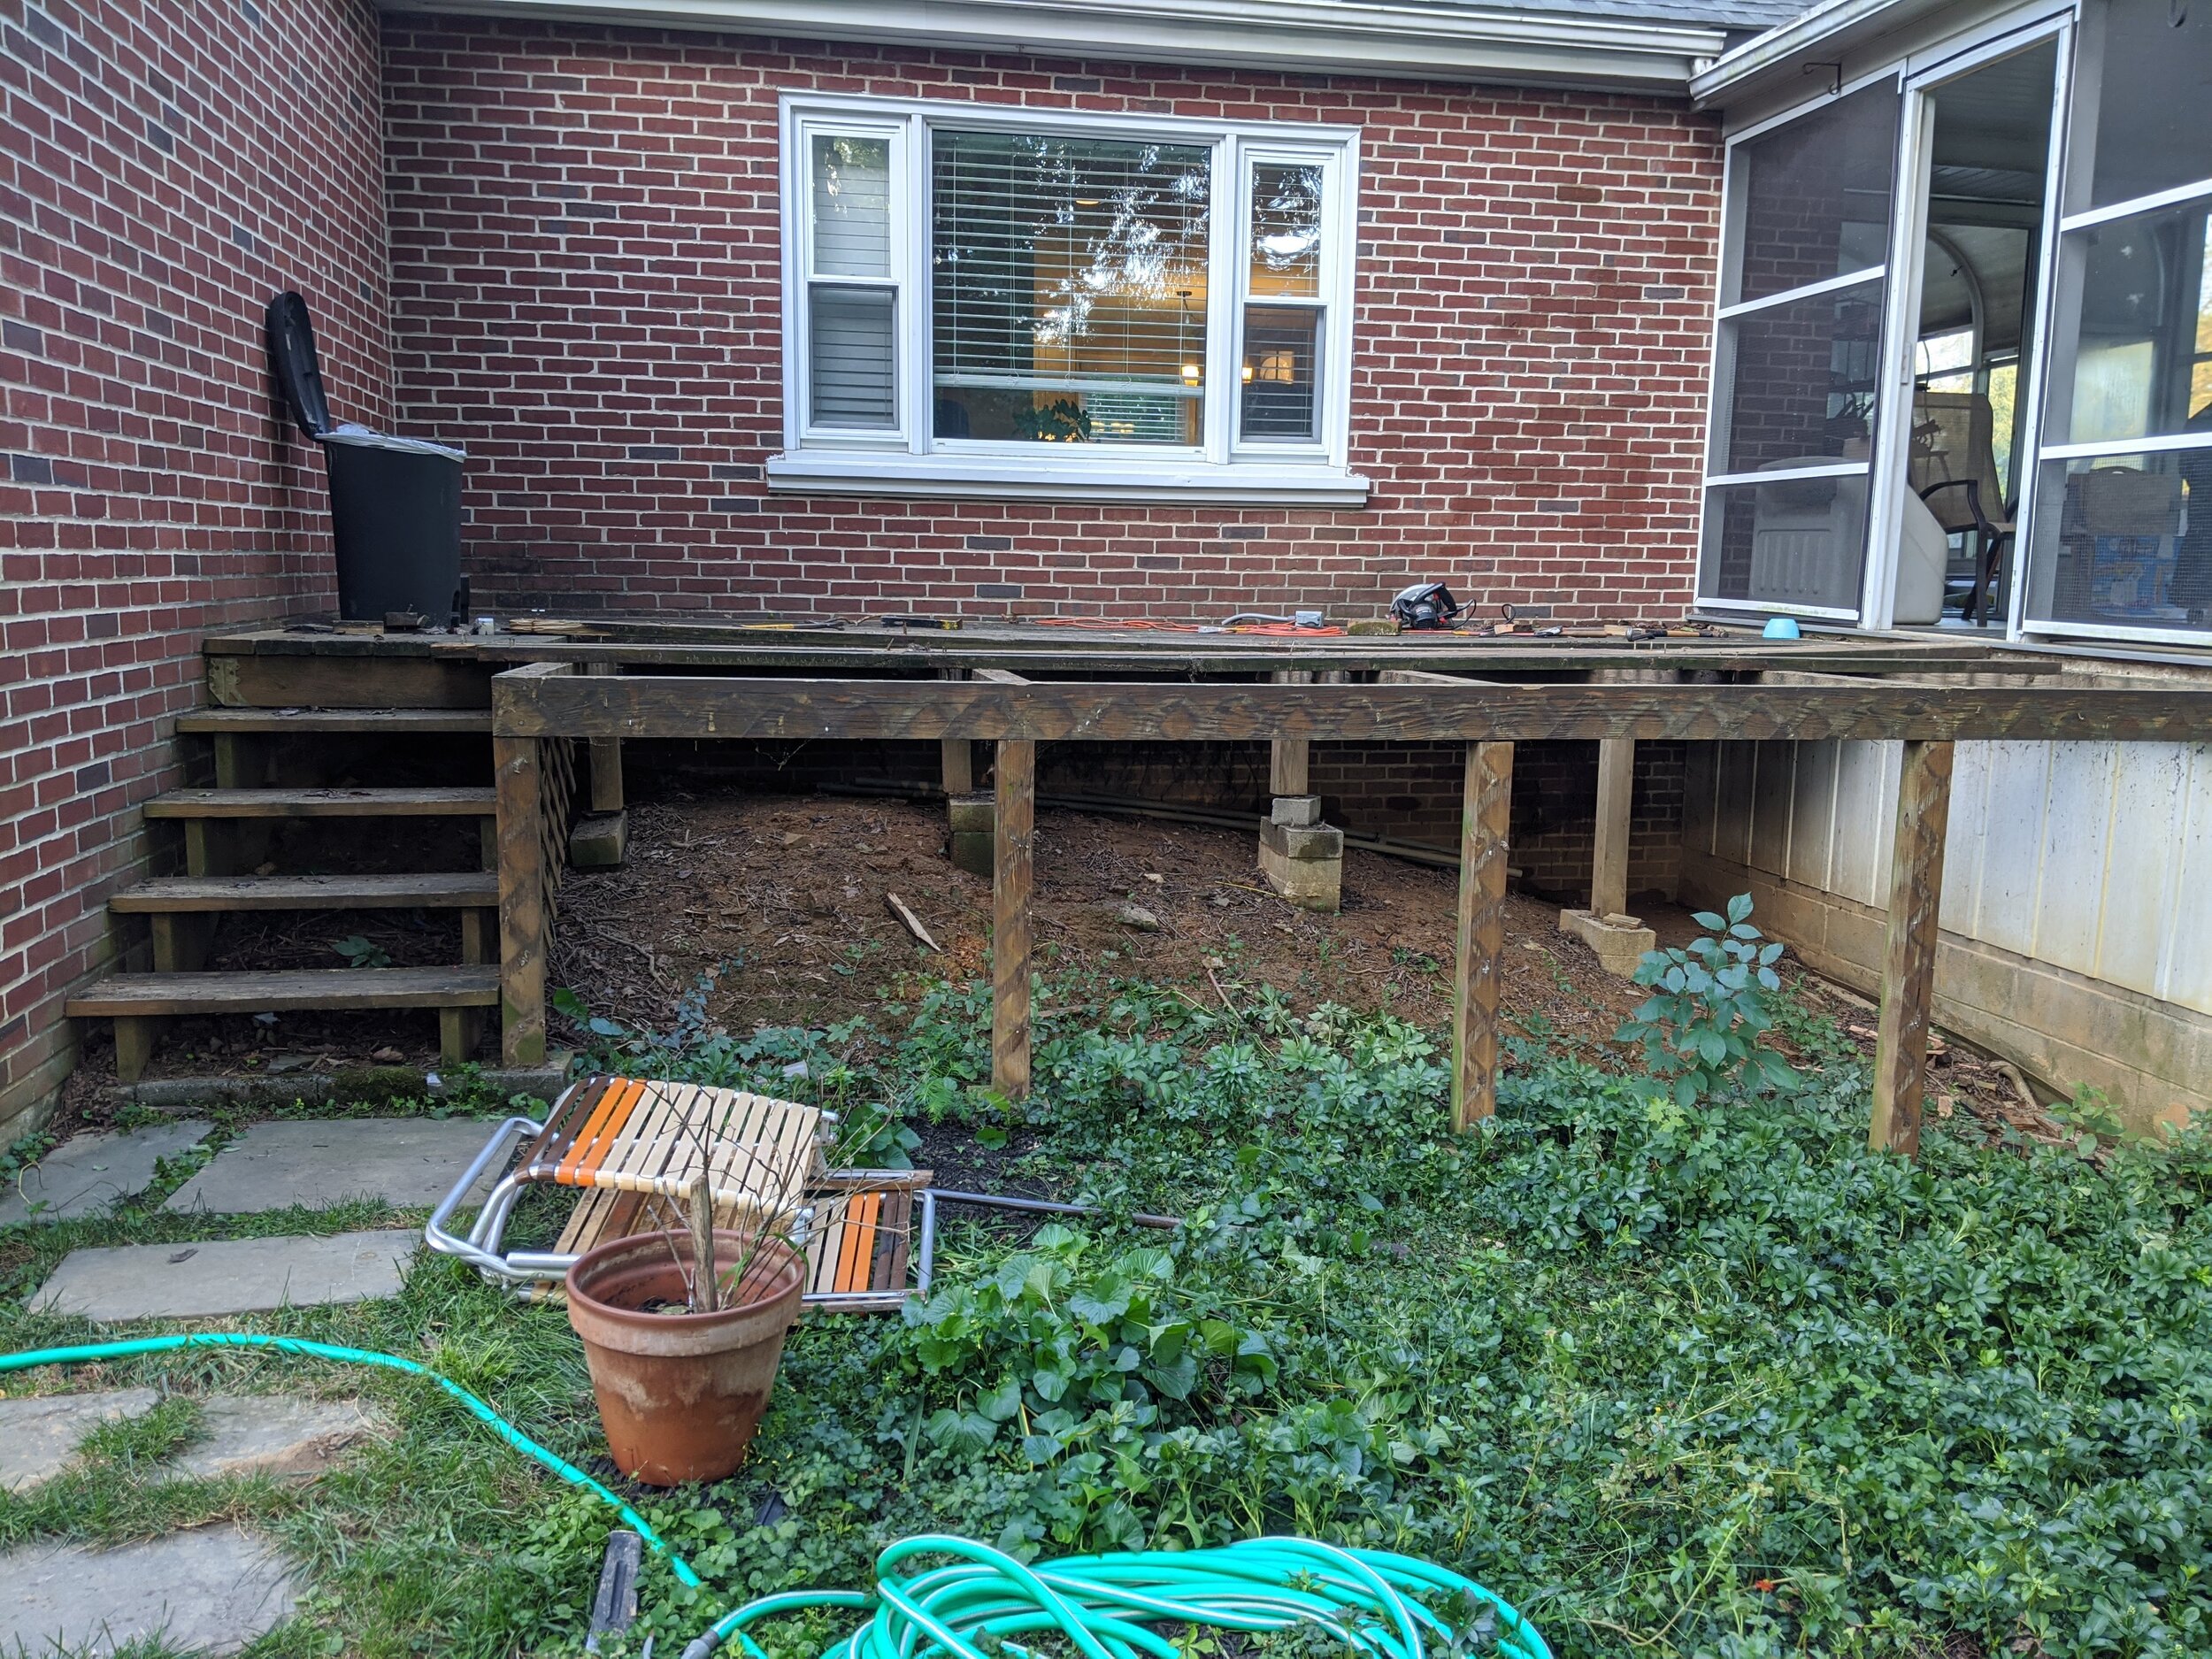
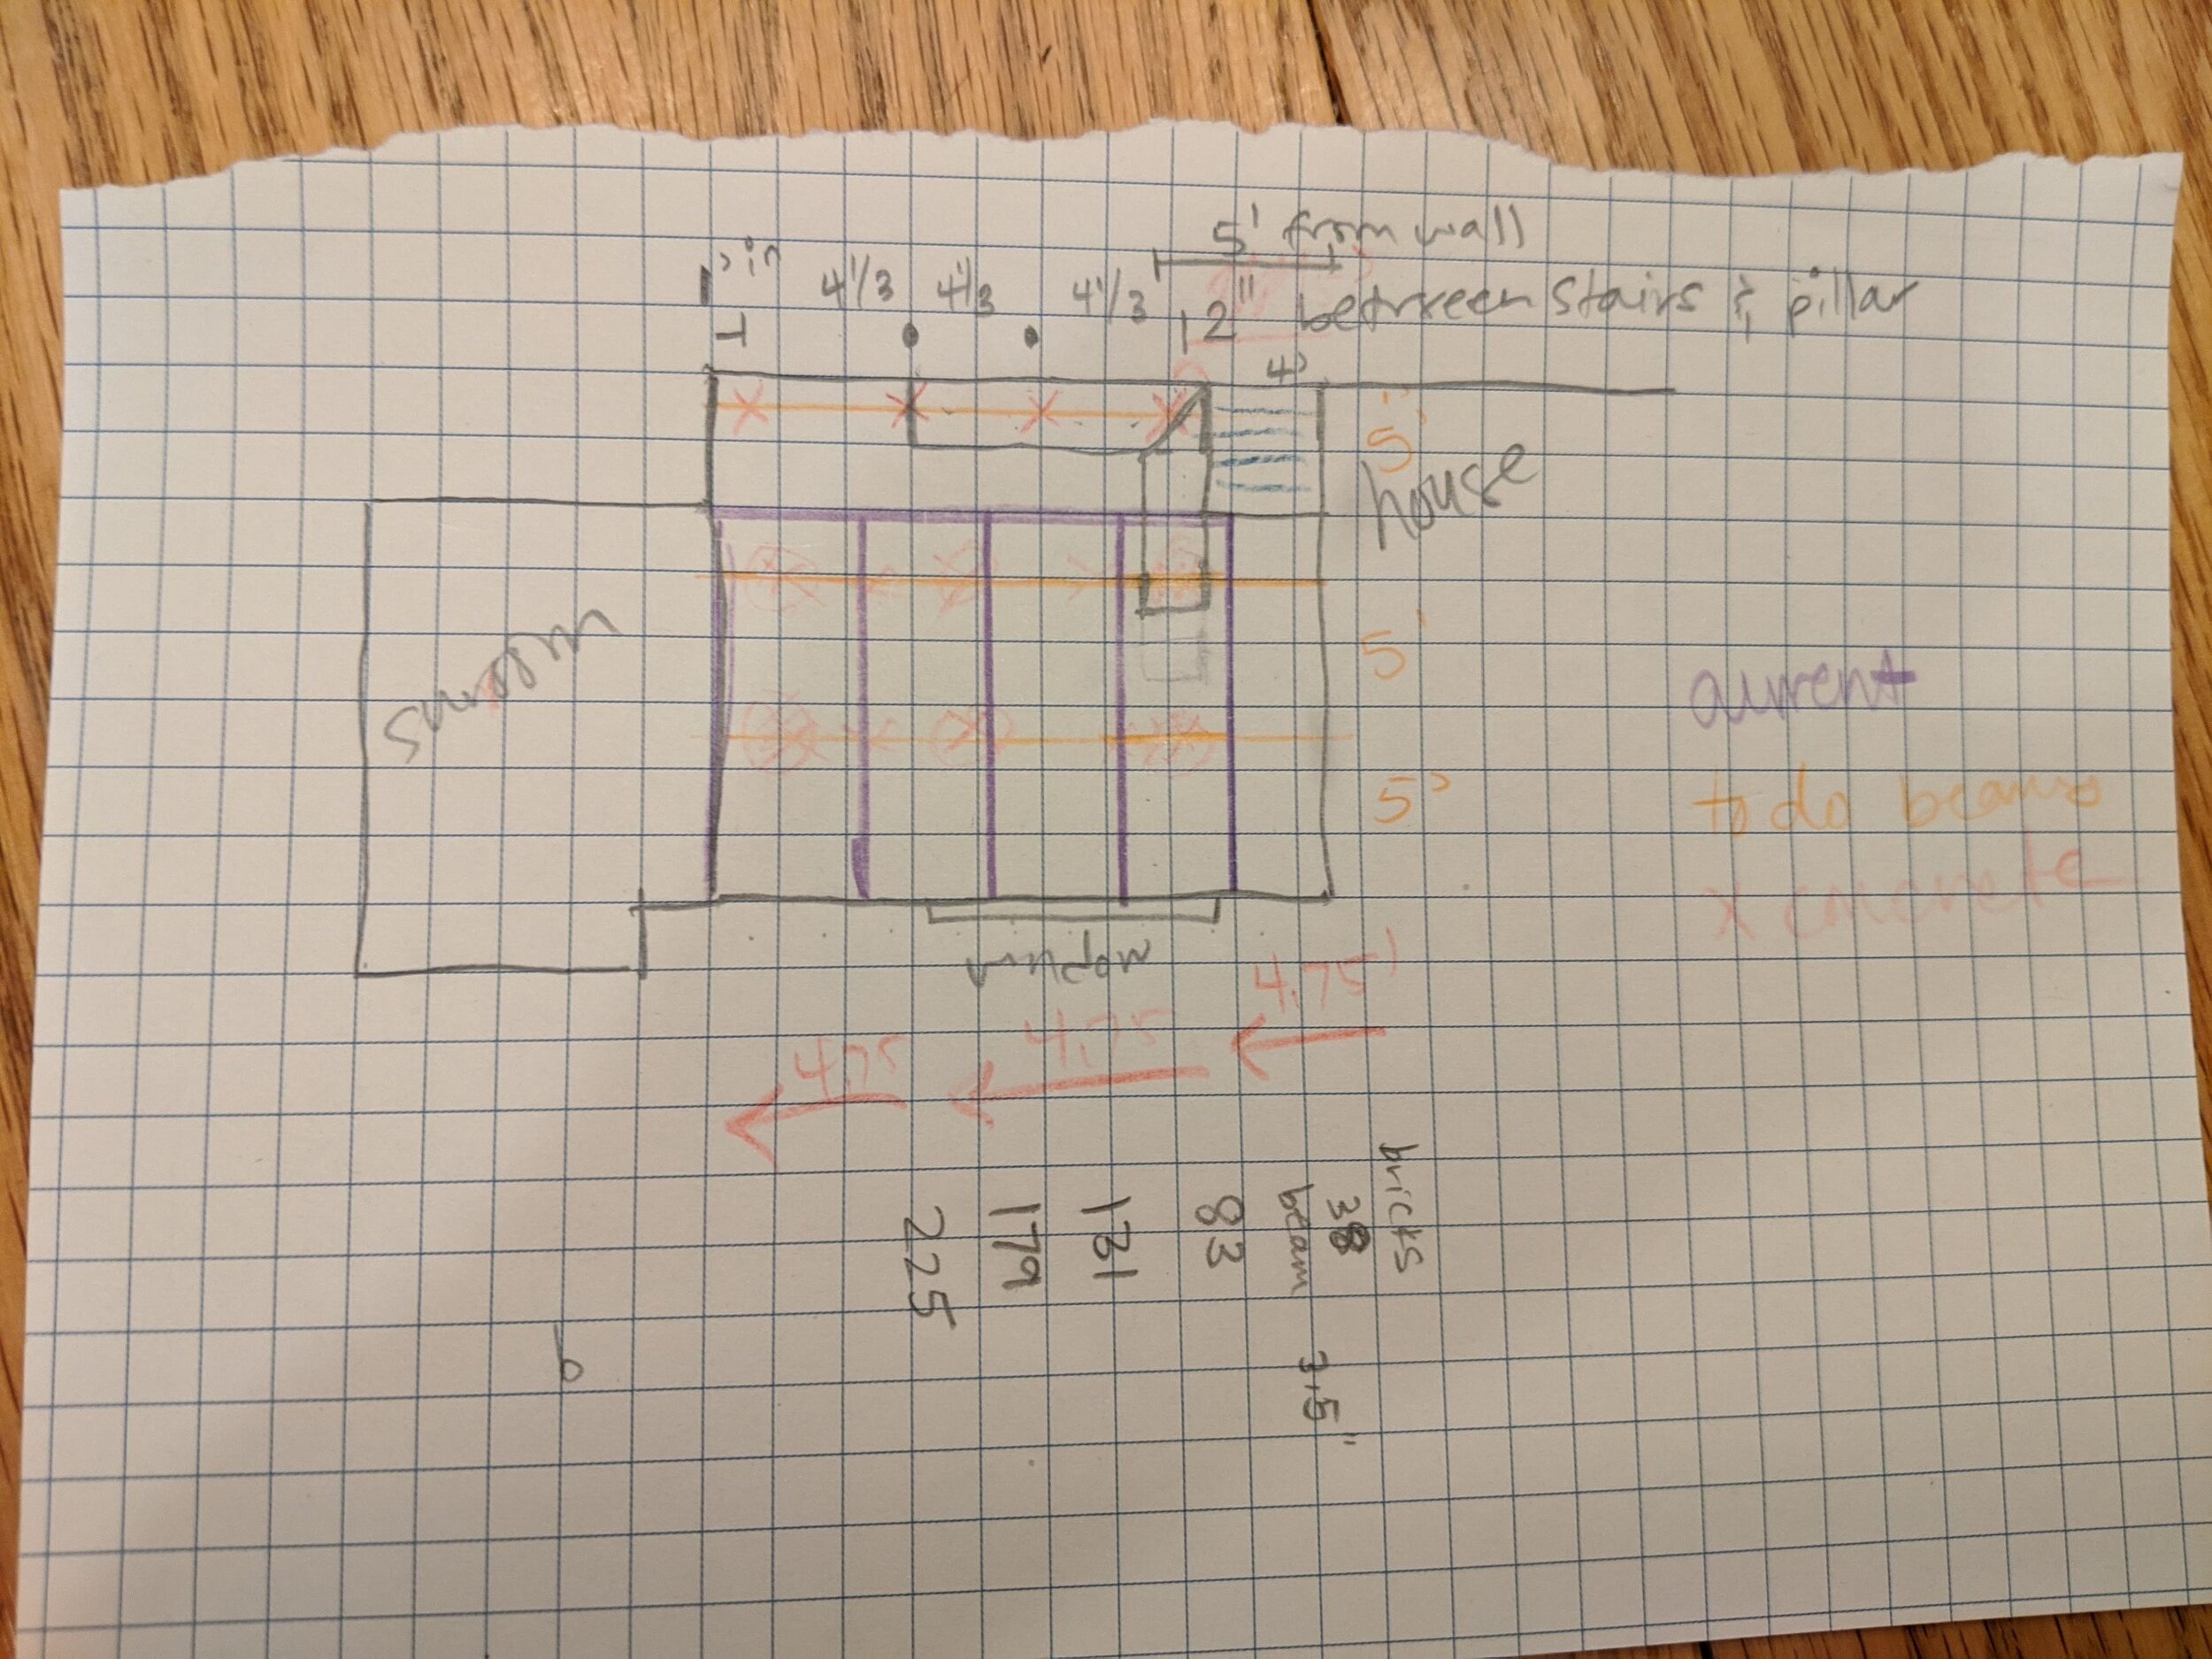
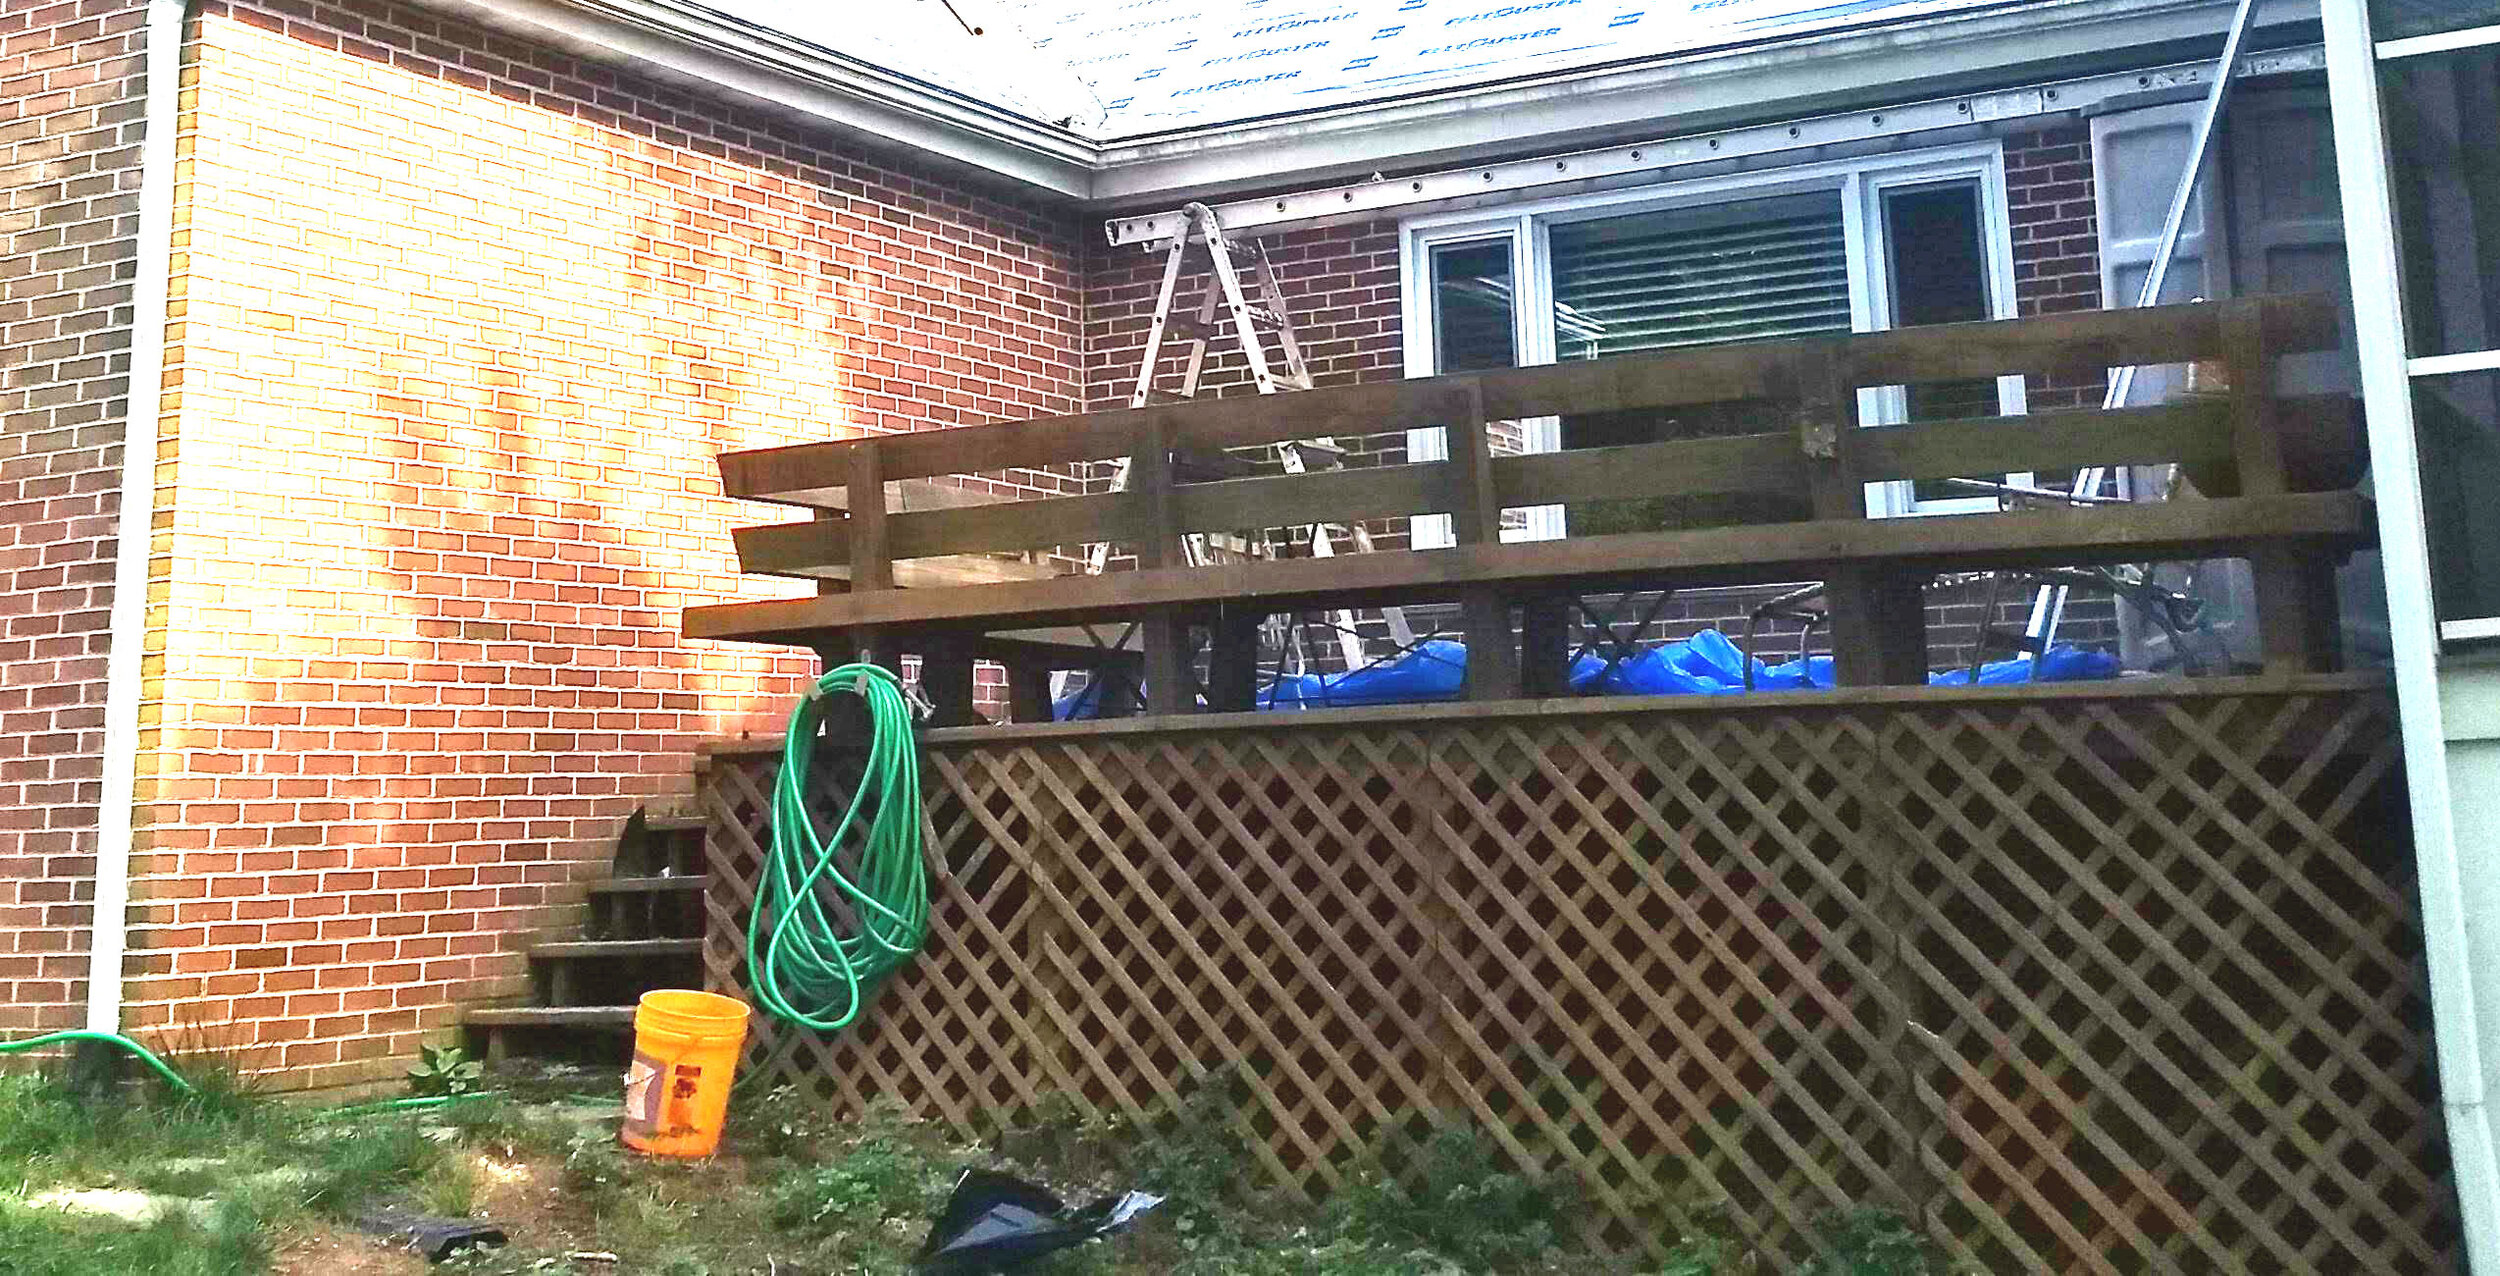
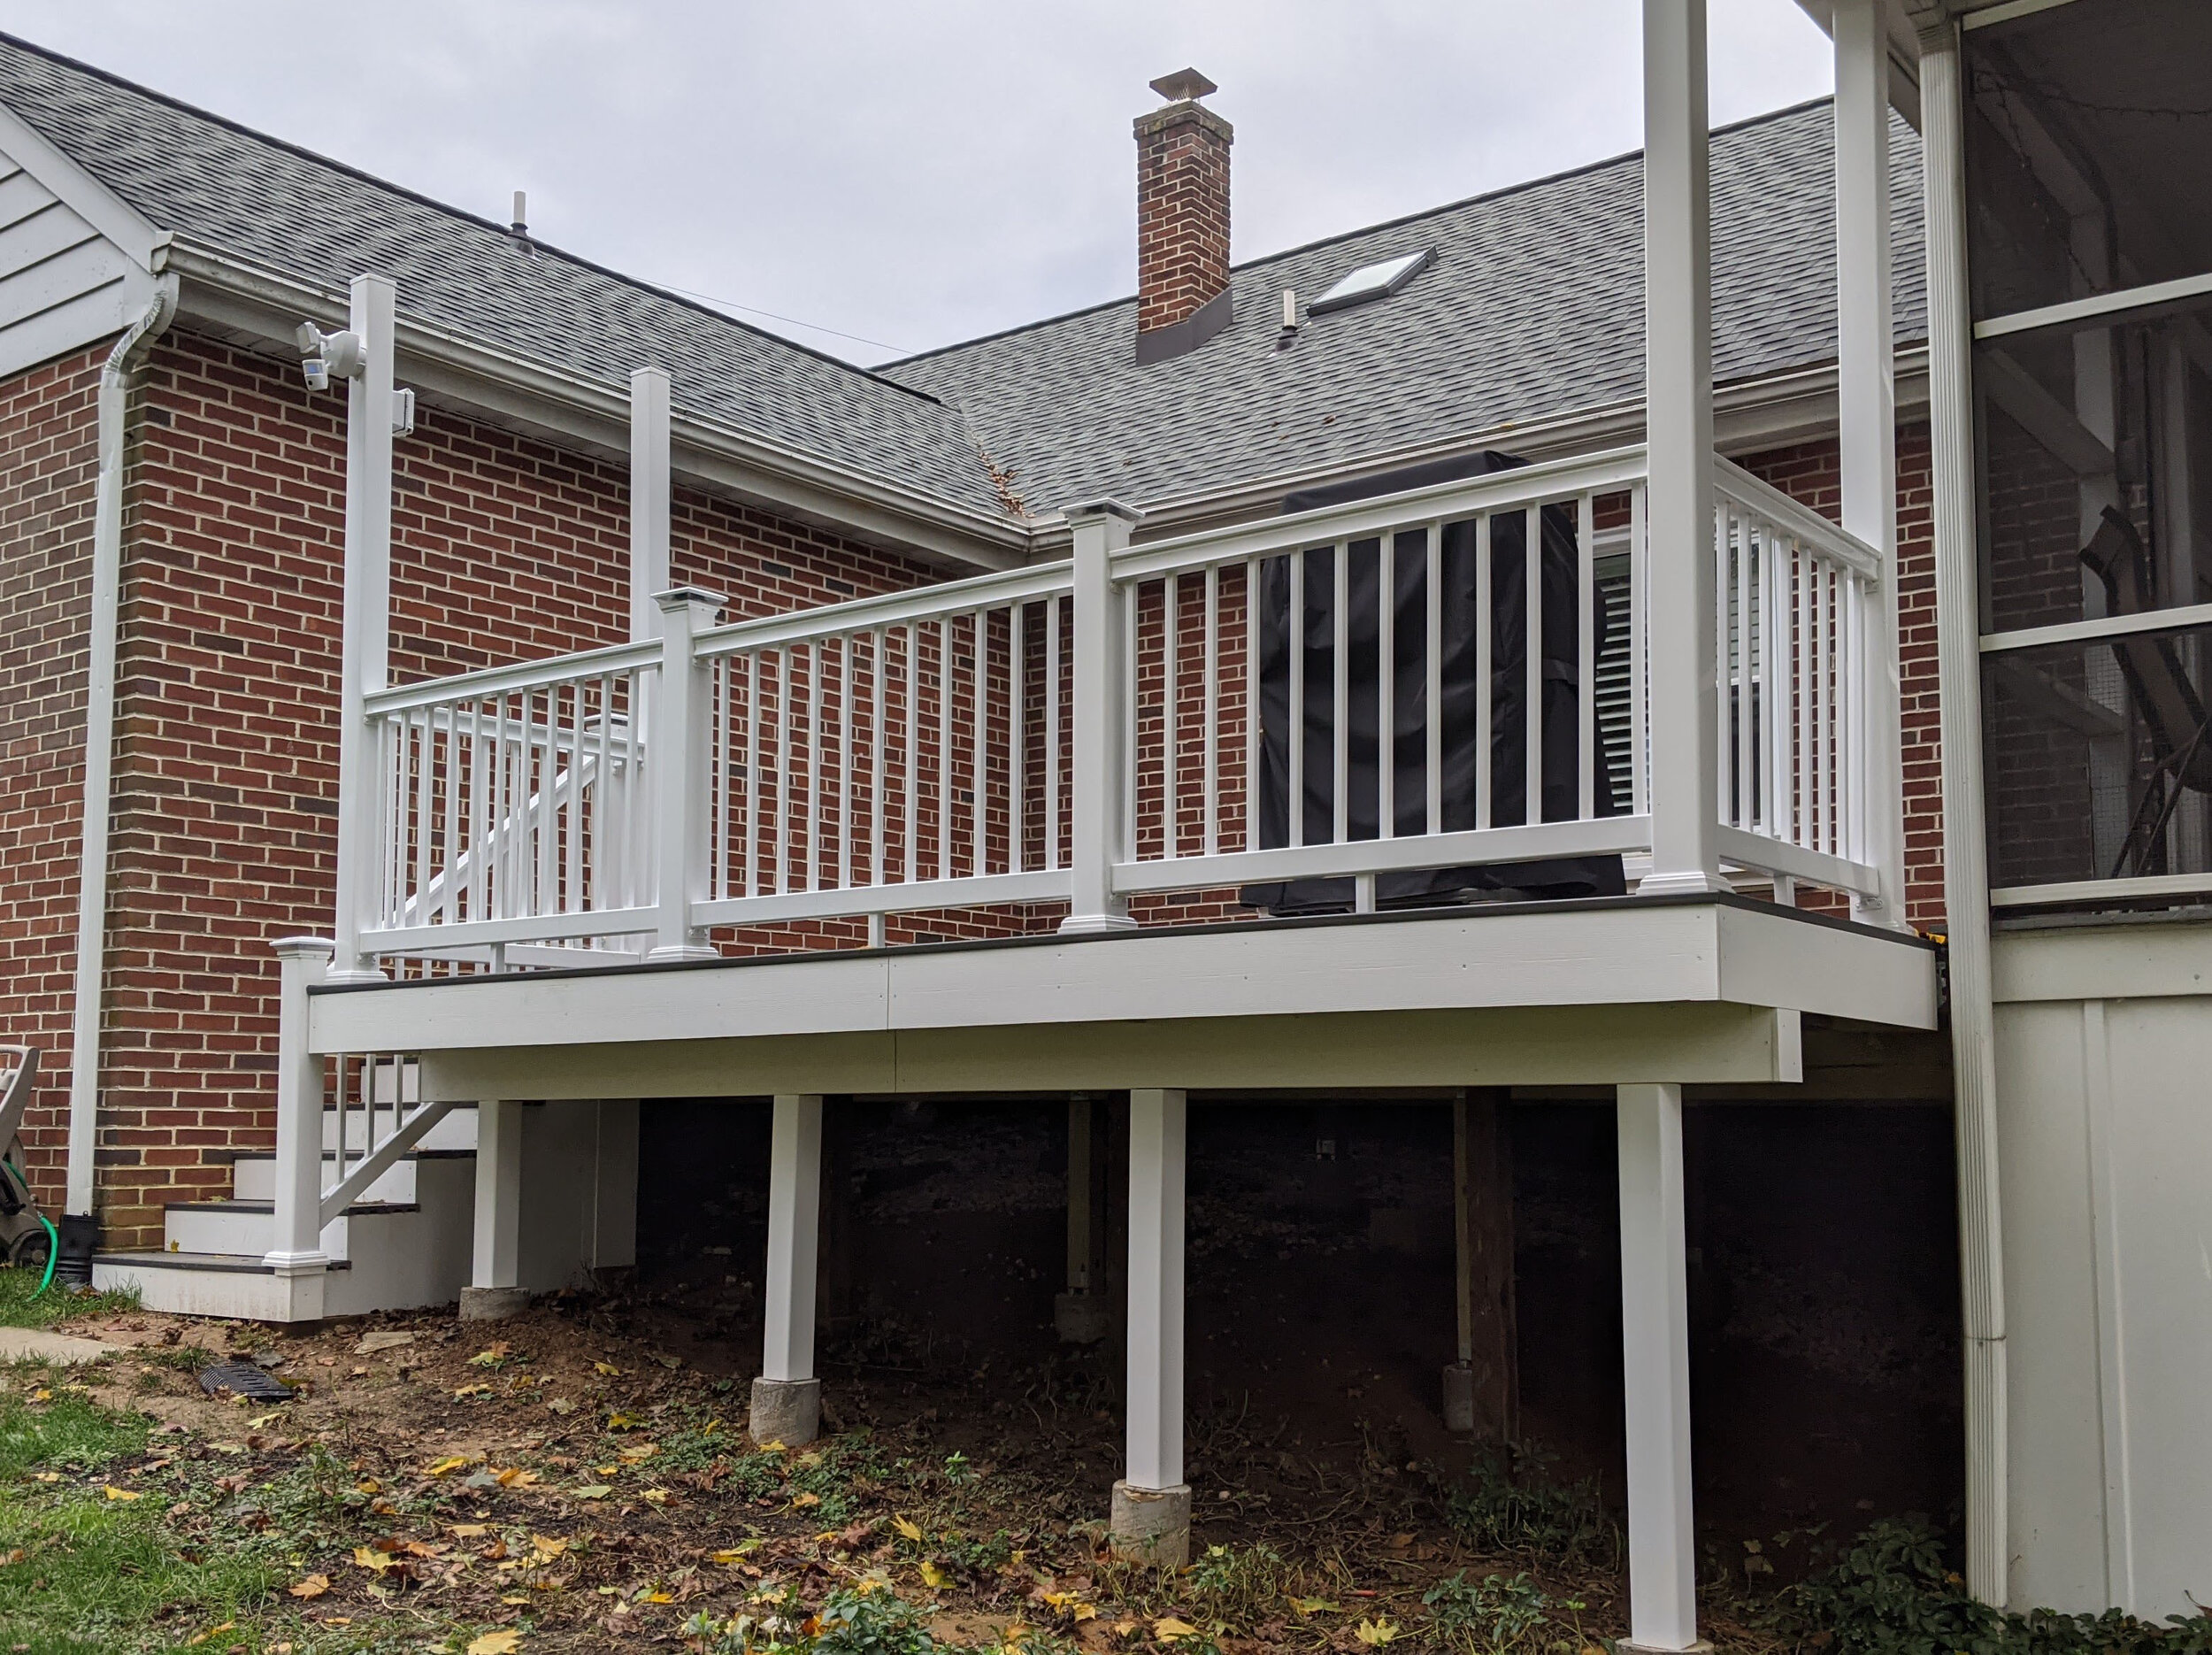
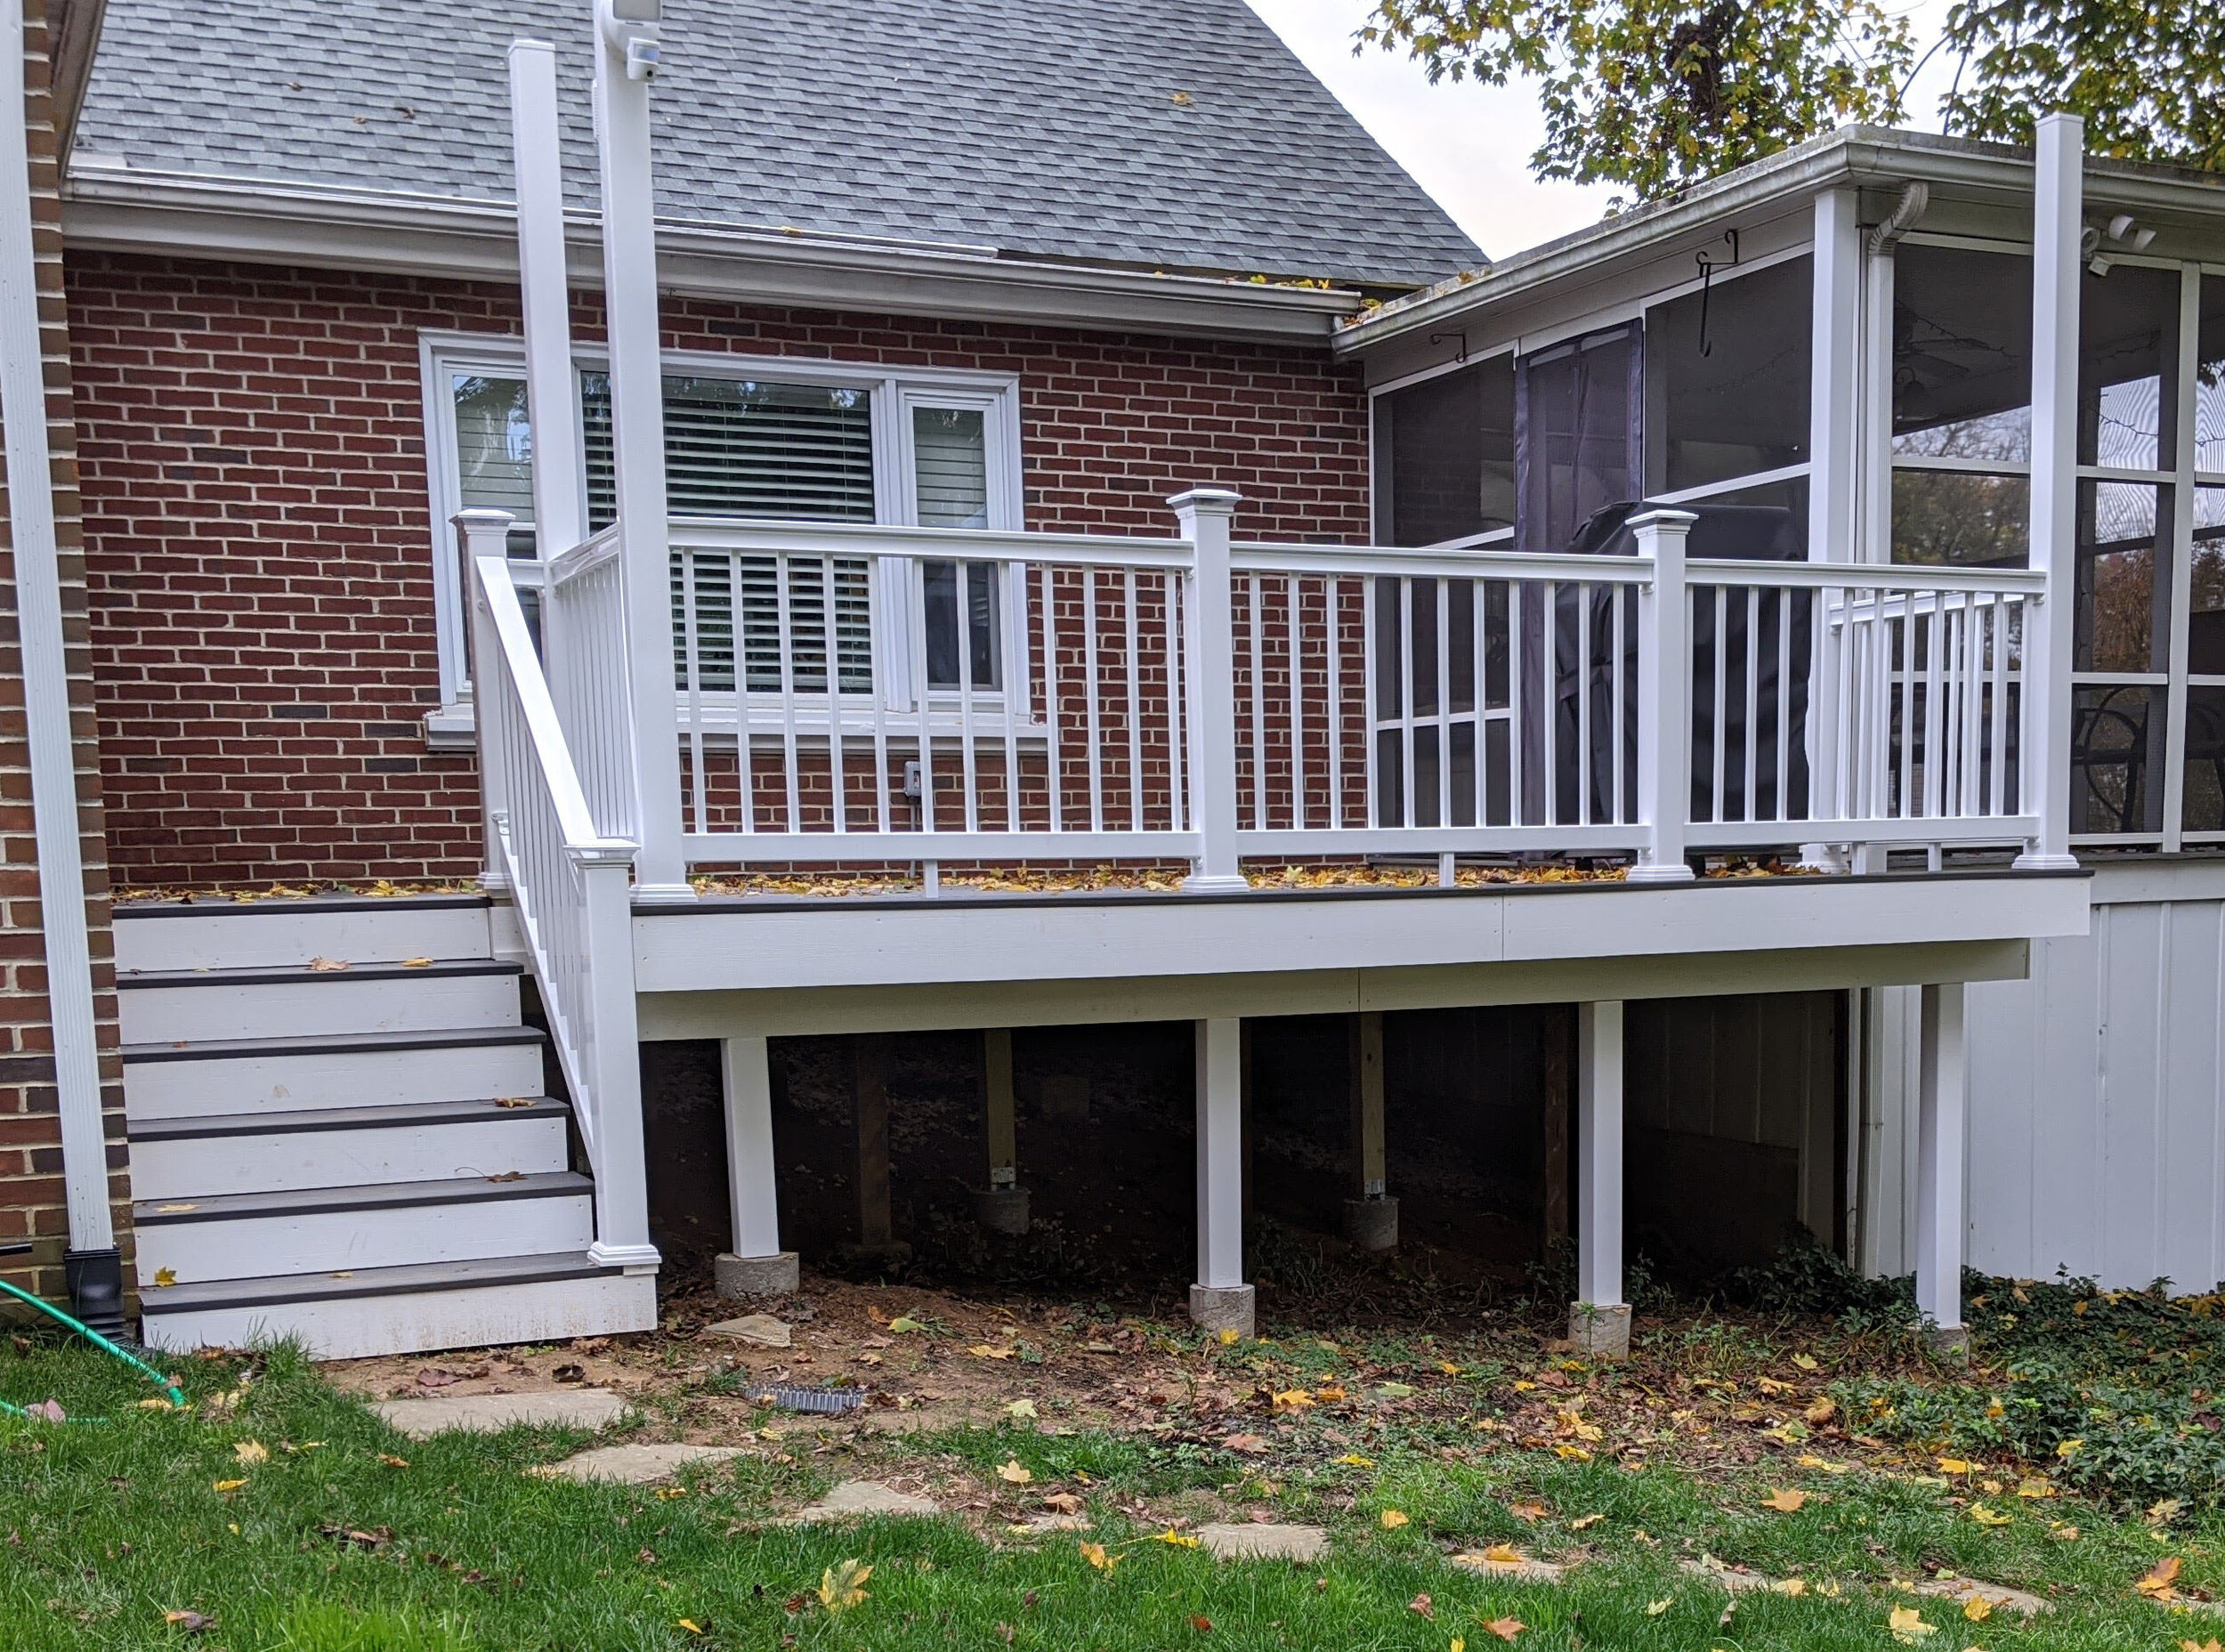
Old deck had 3’ wide stairs, and we wanted these wider. They are 4’ now. This was a multi-step process.

STAIRS

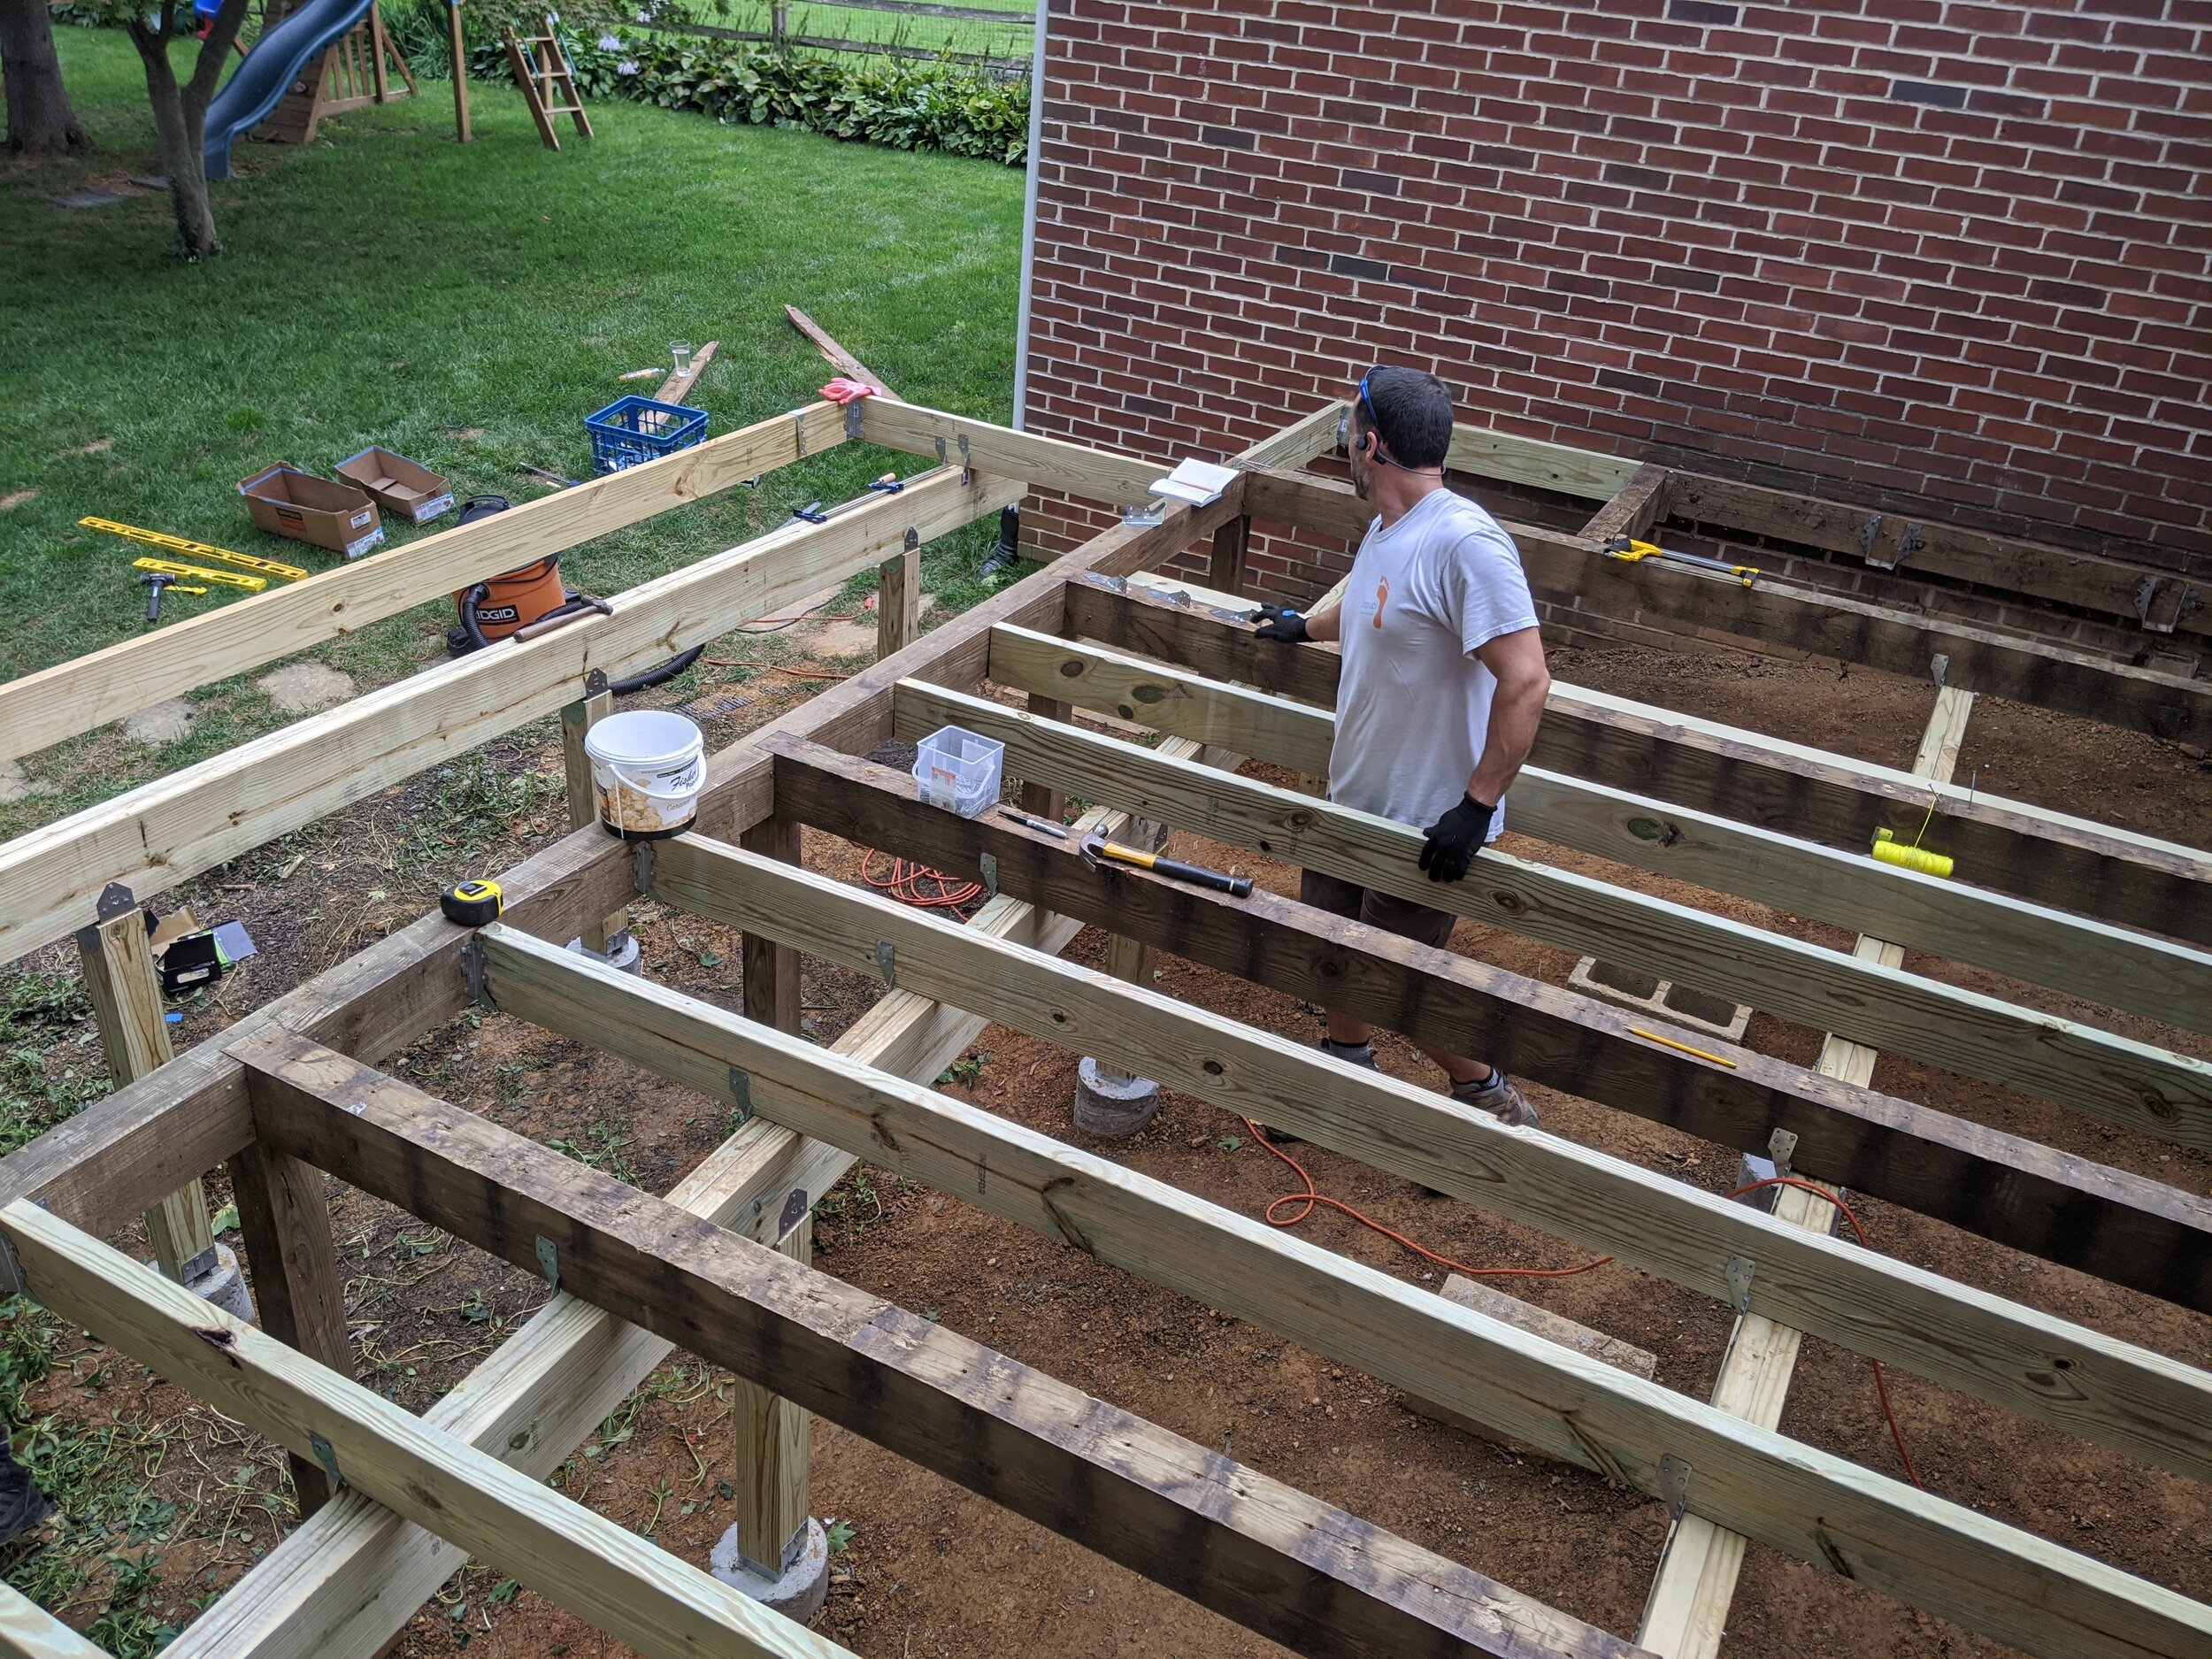
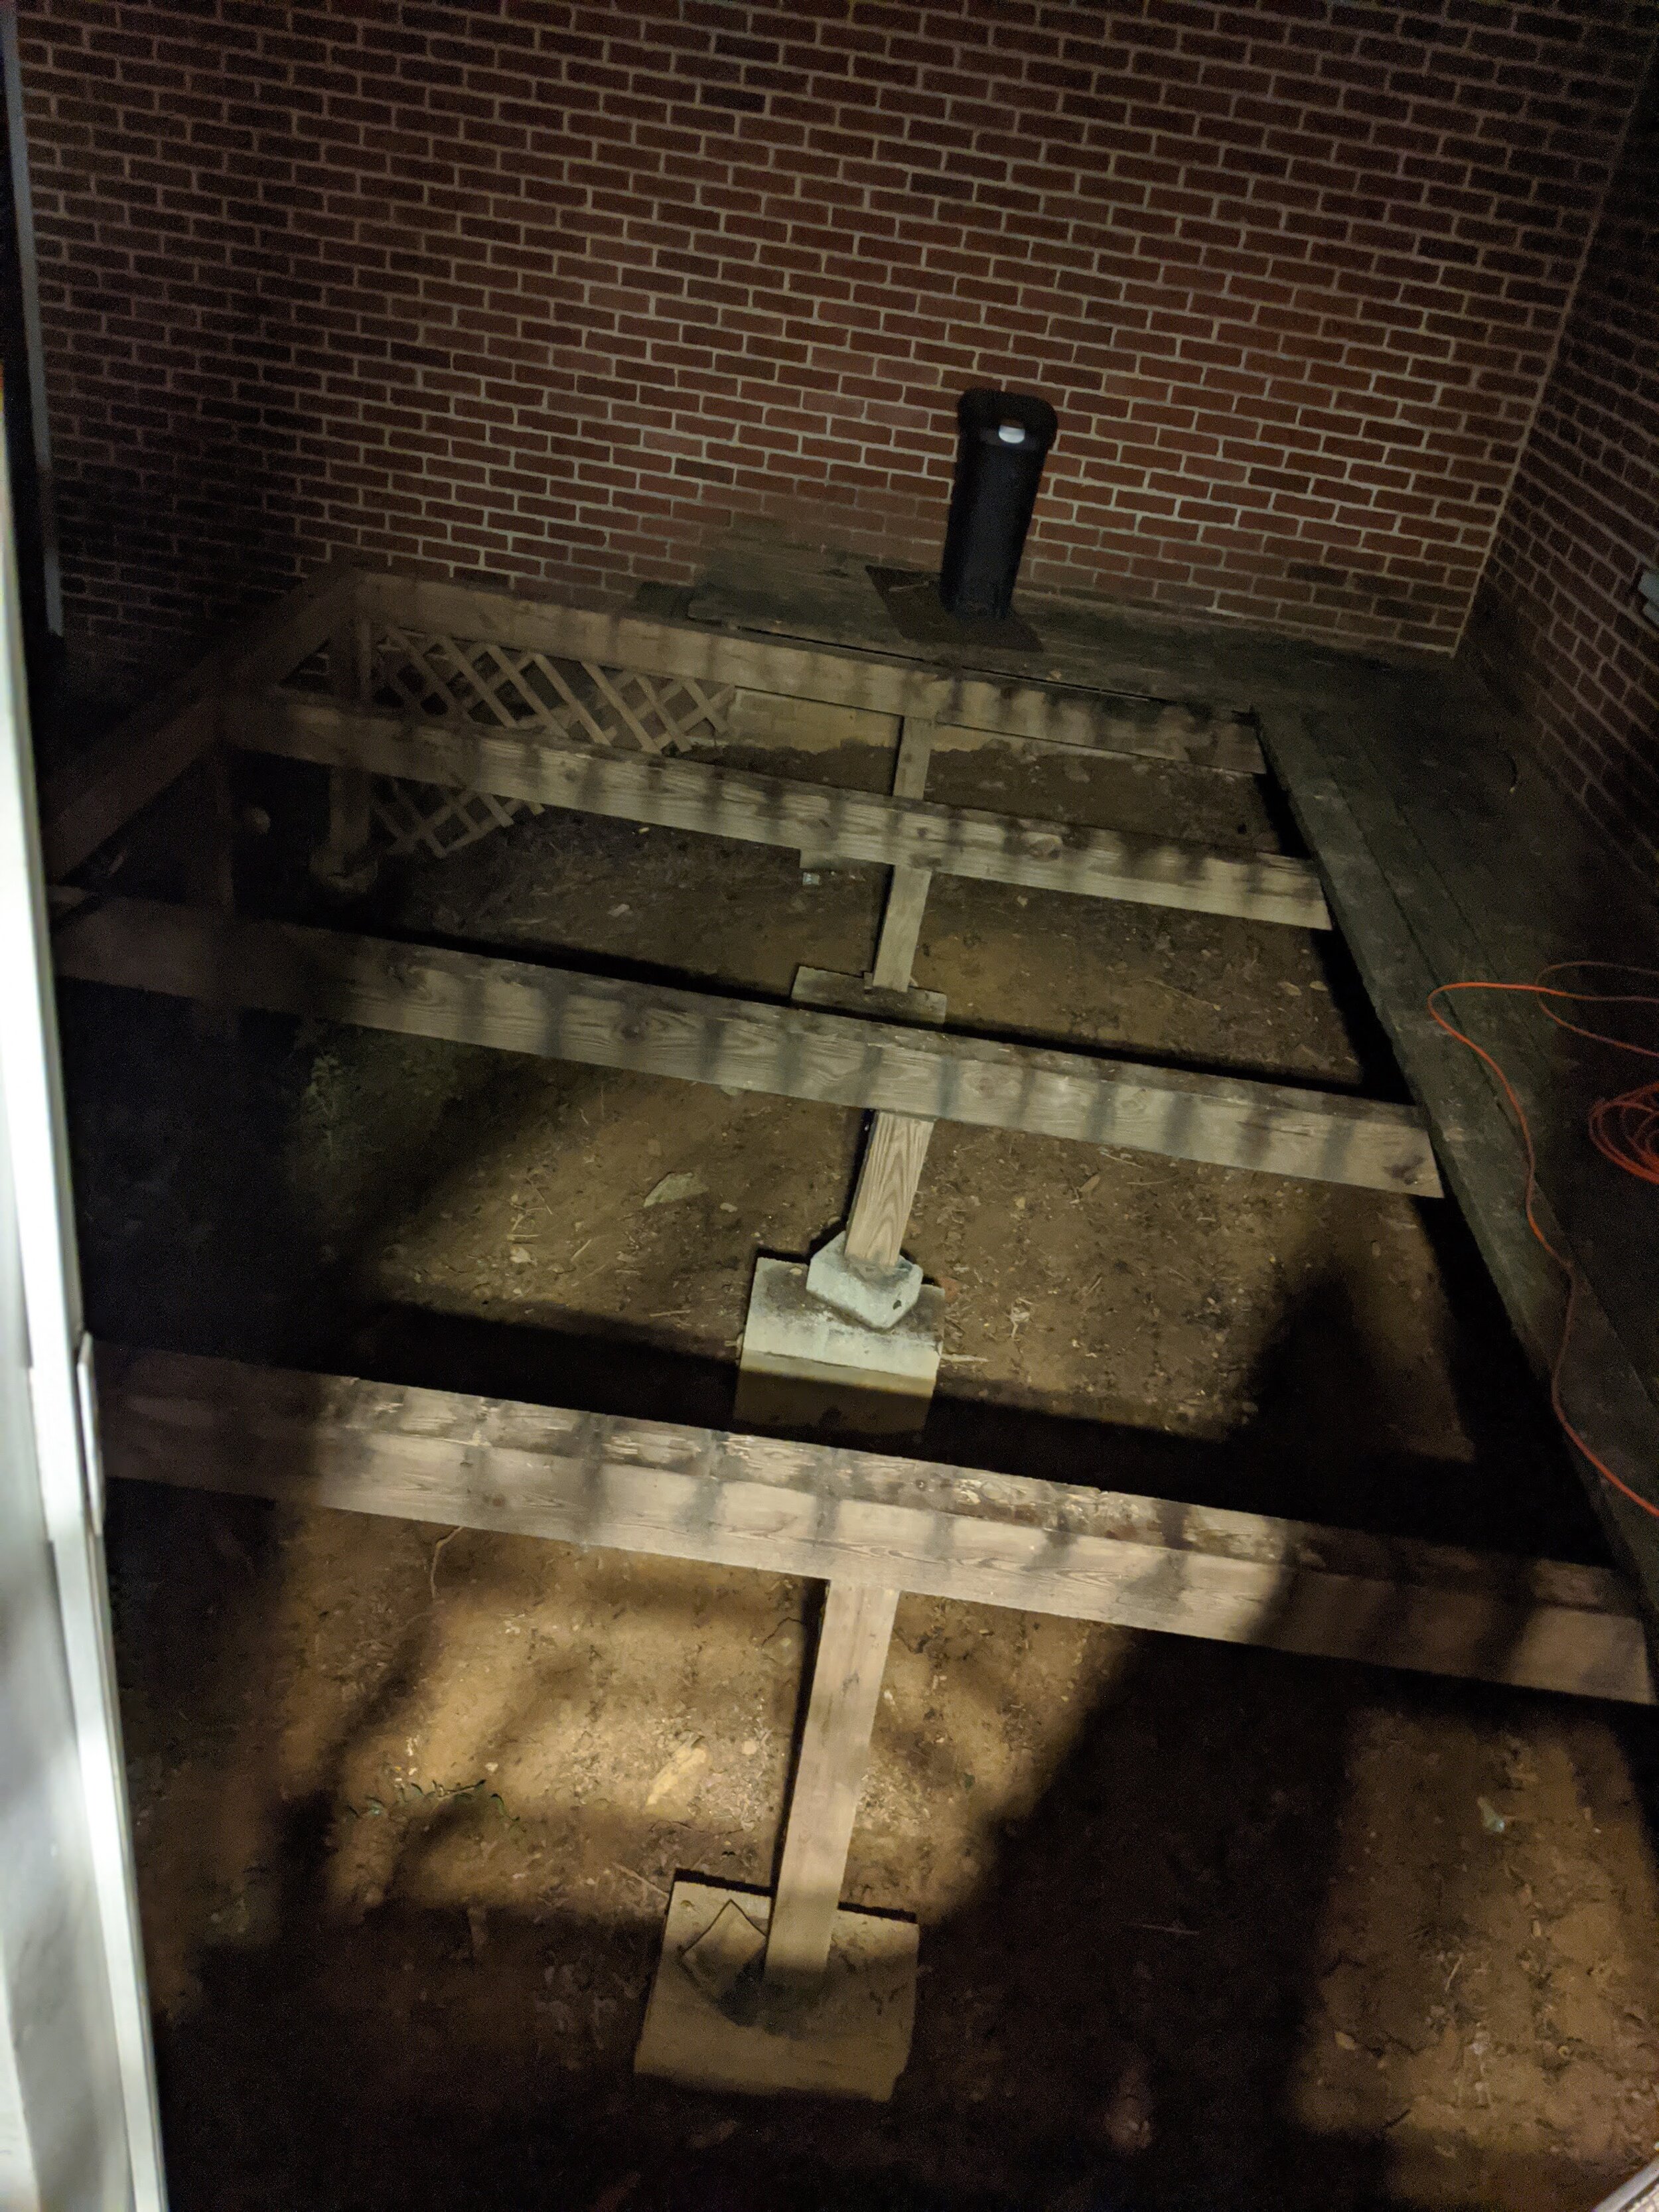
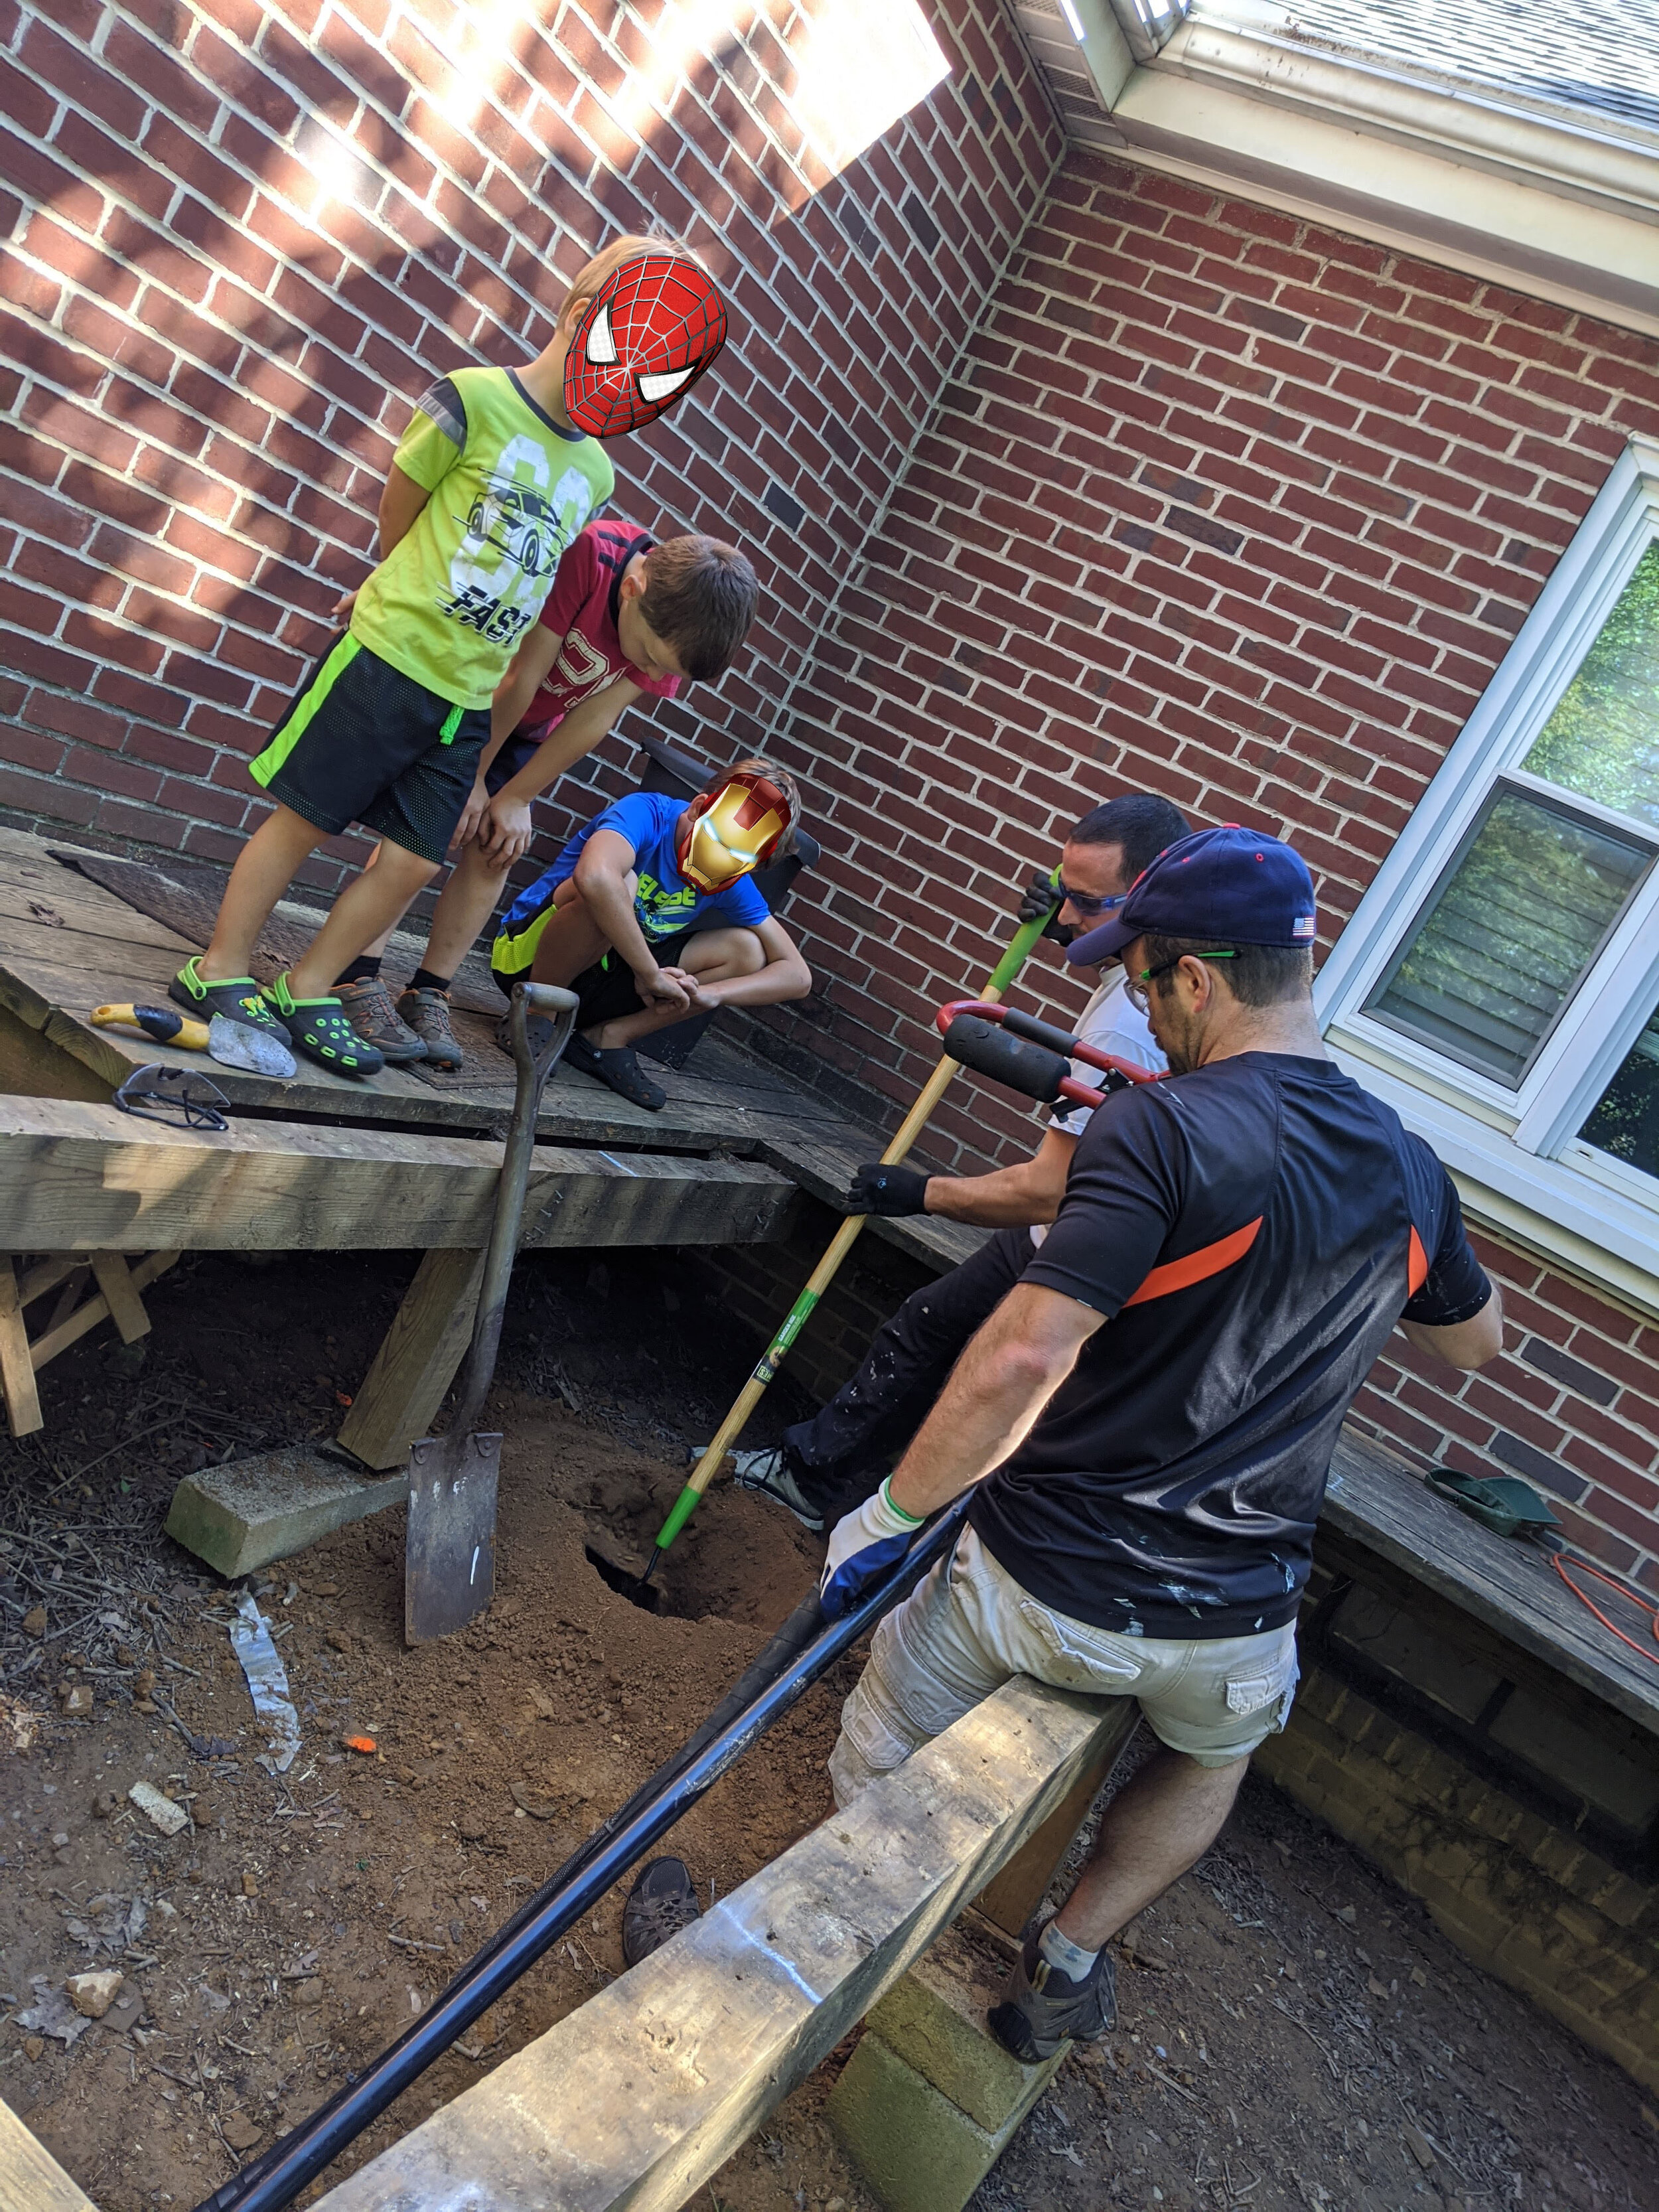
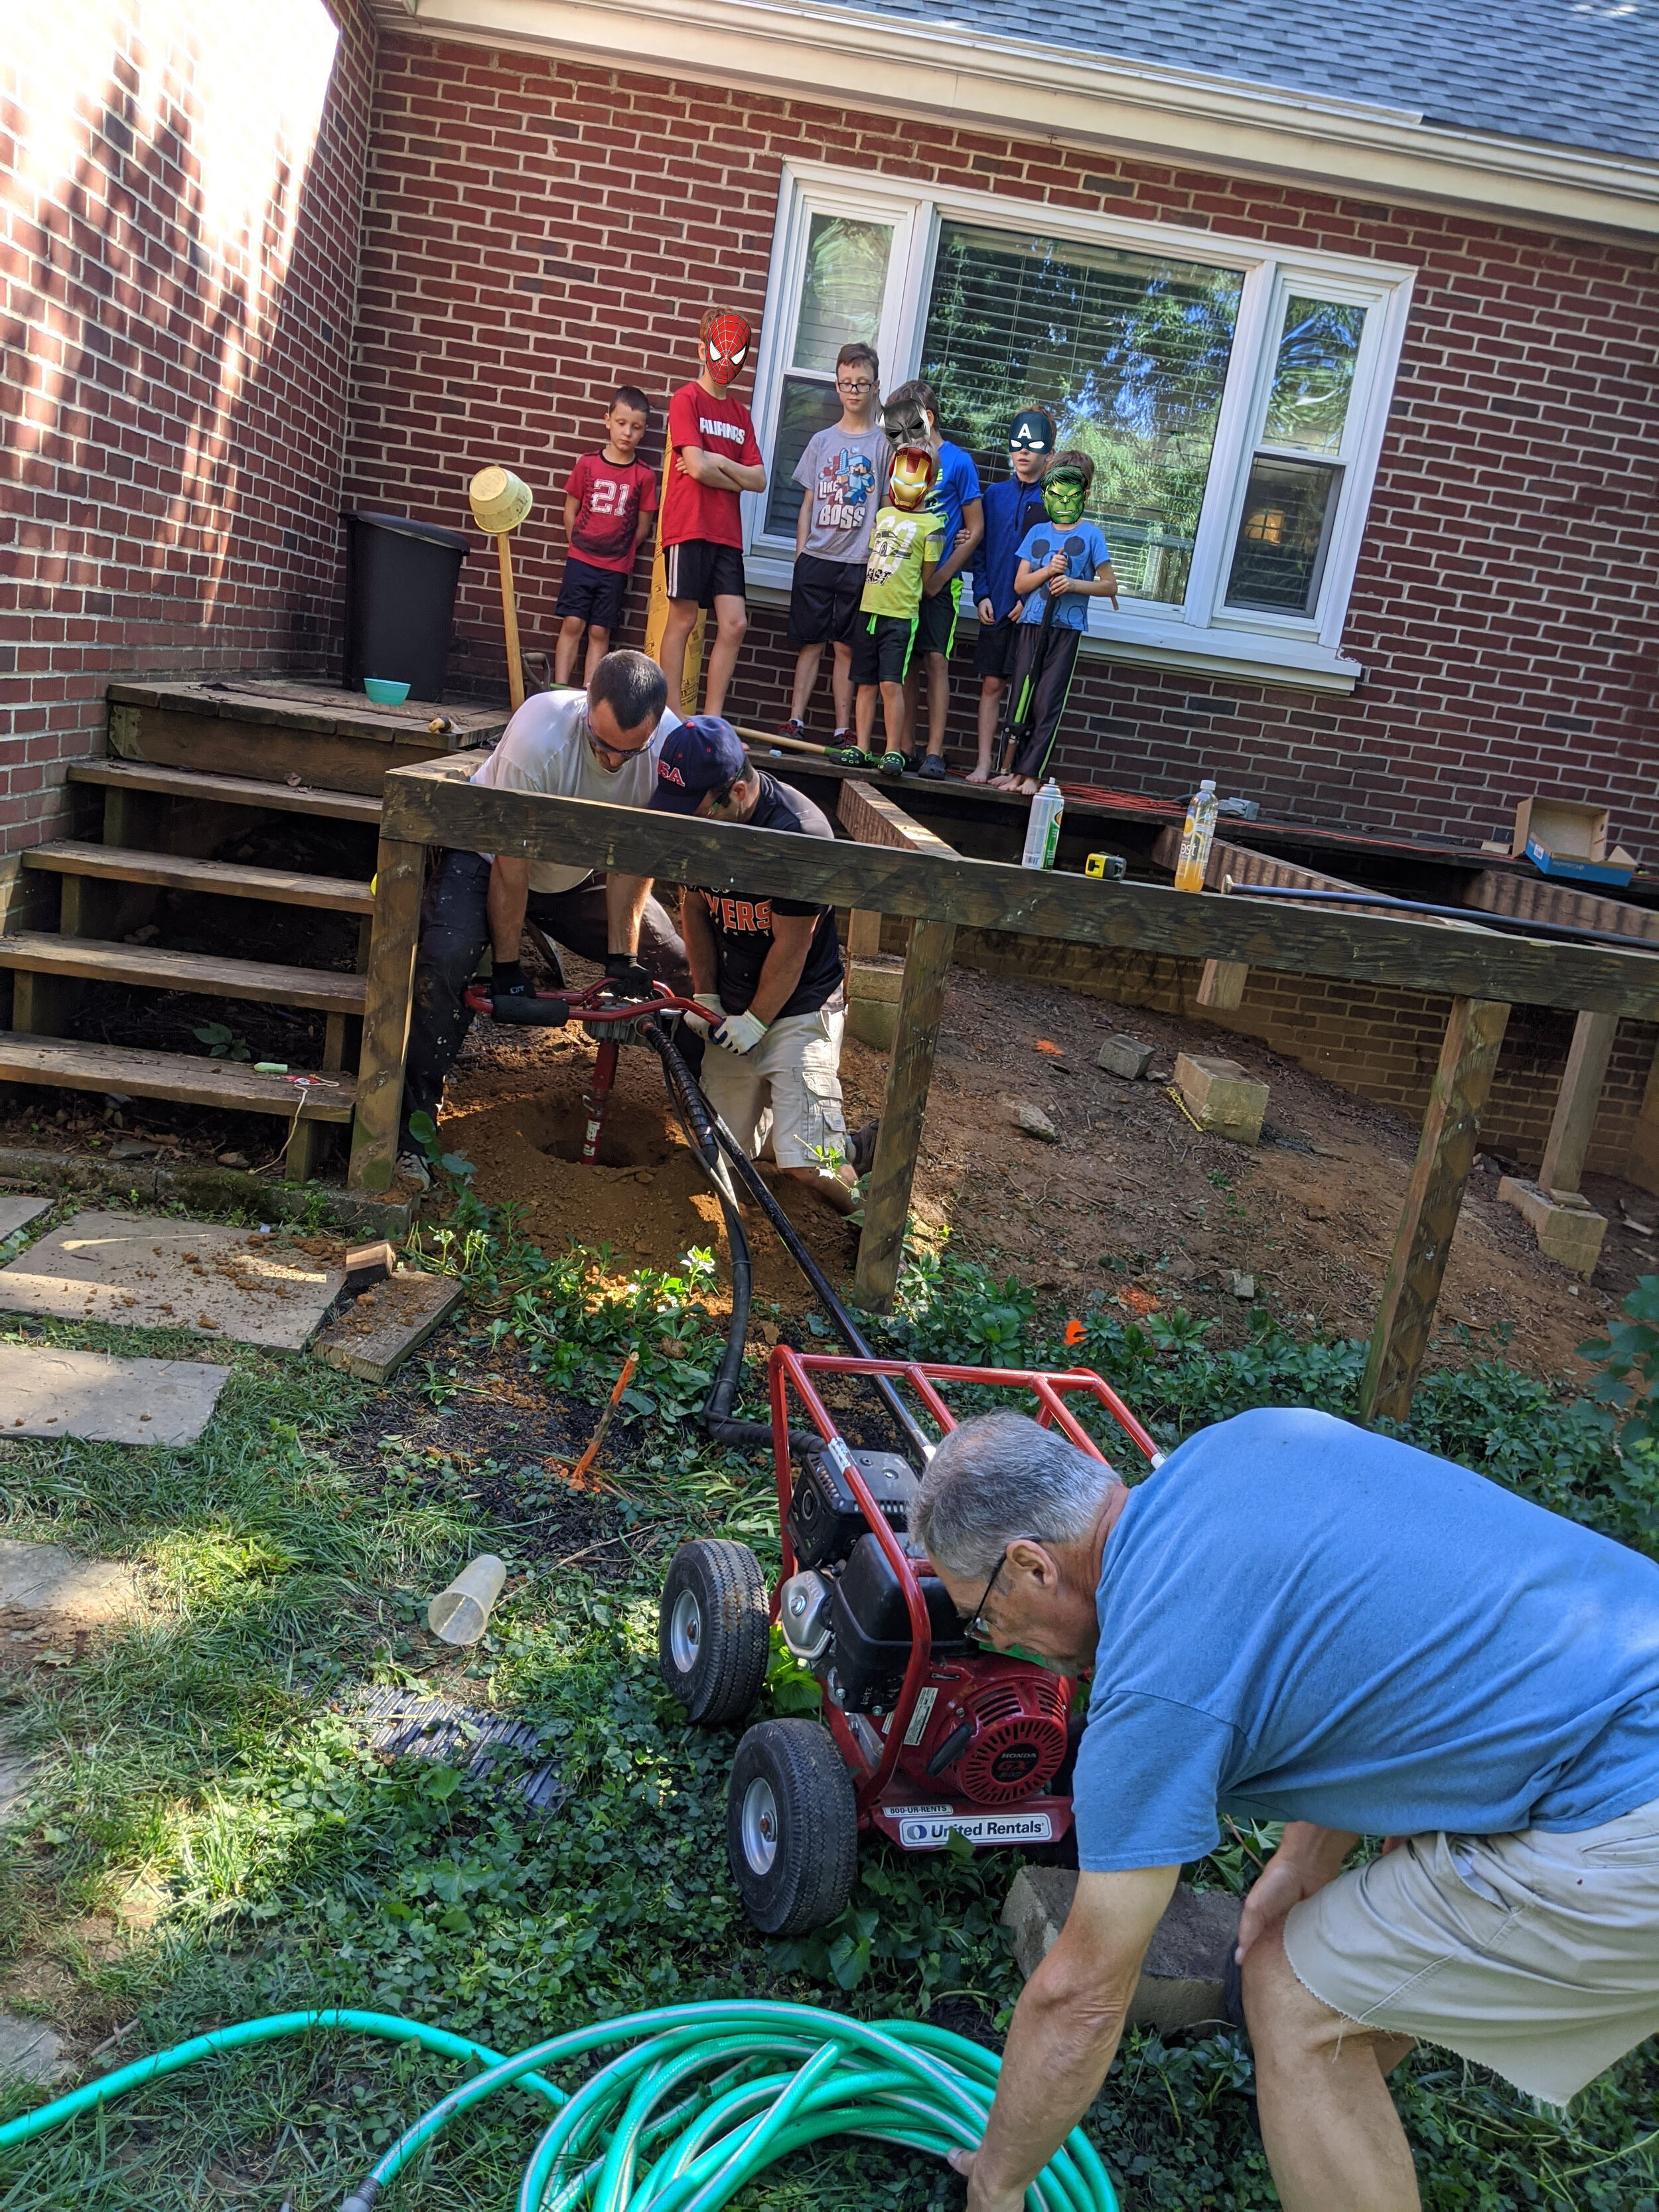
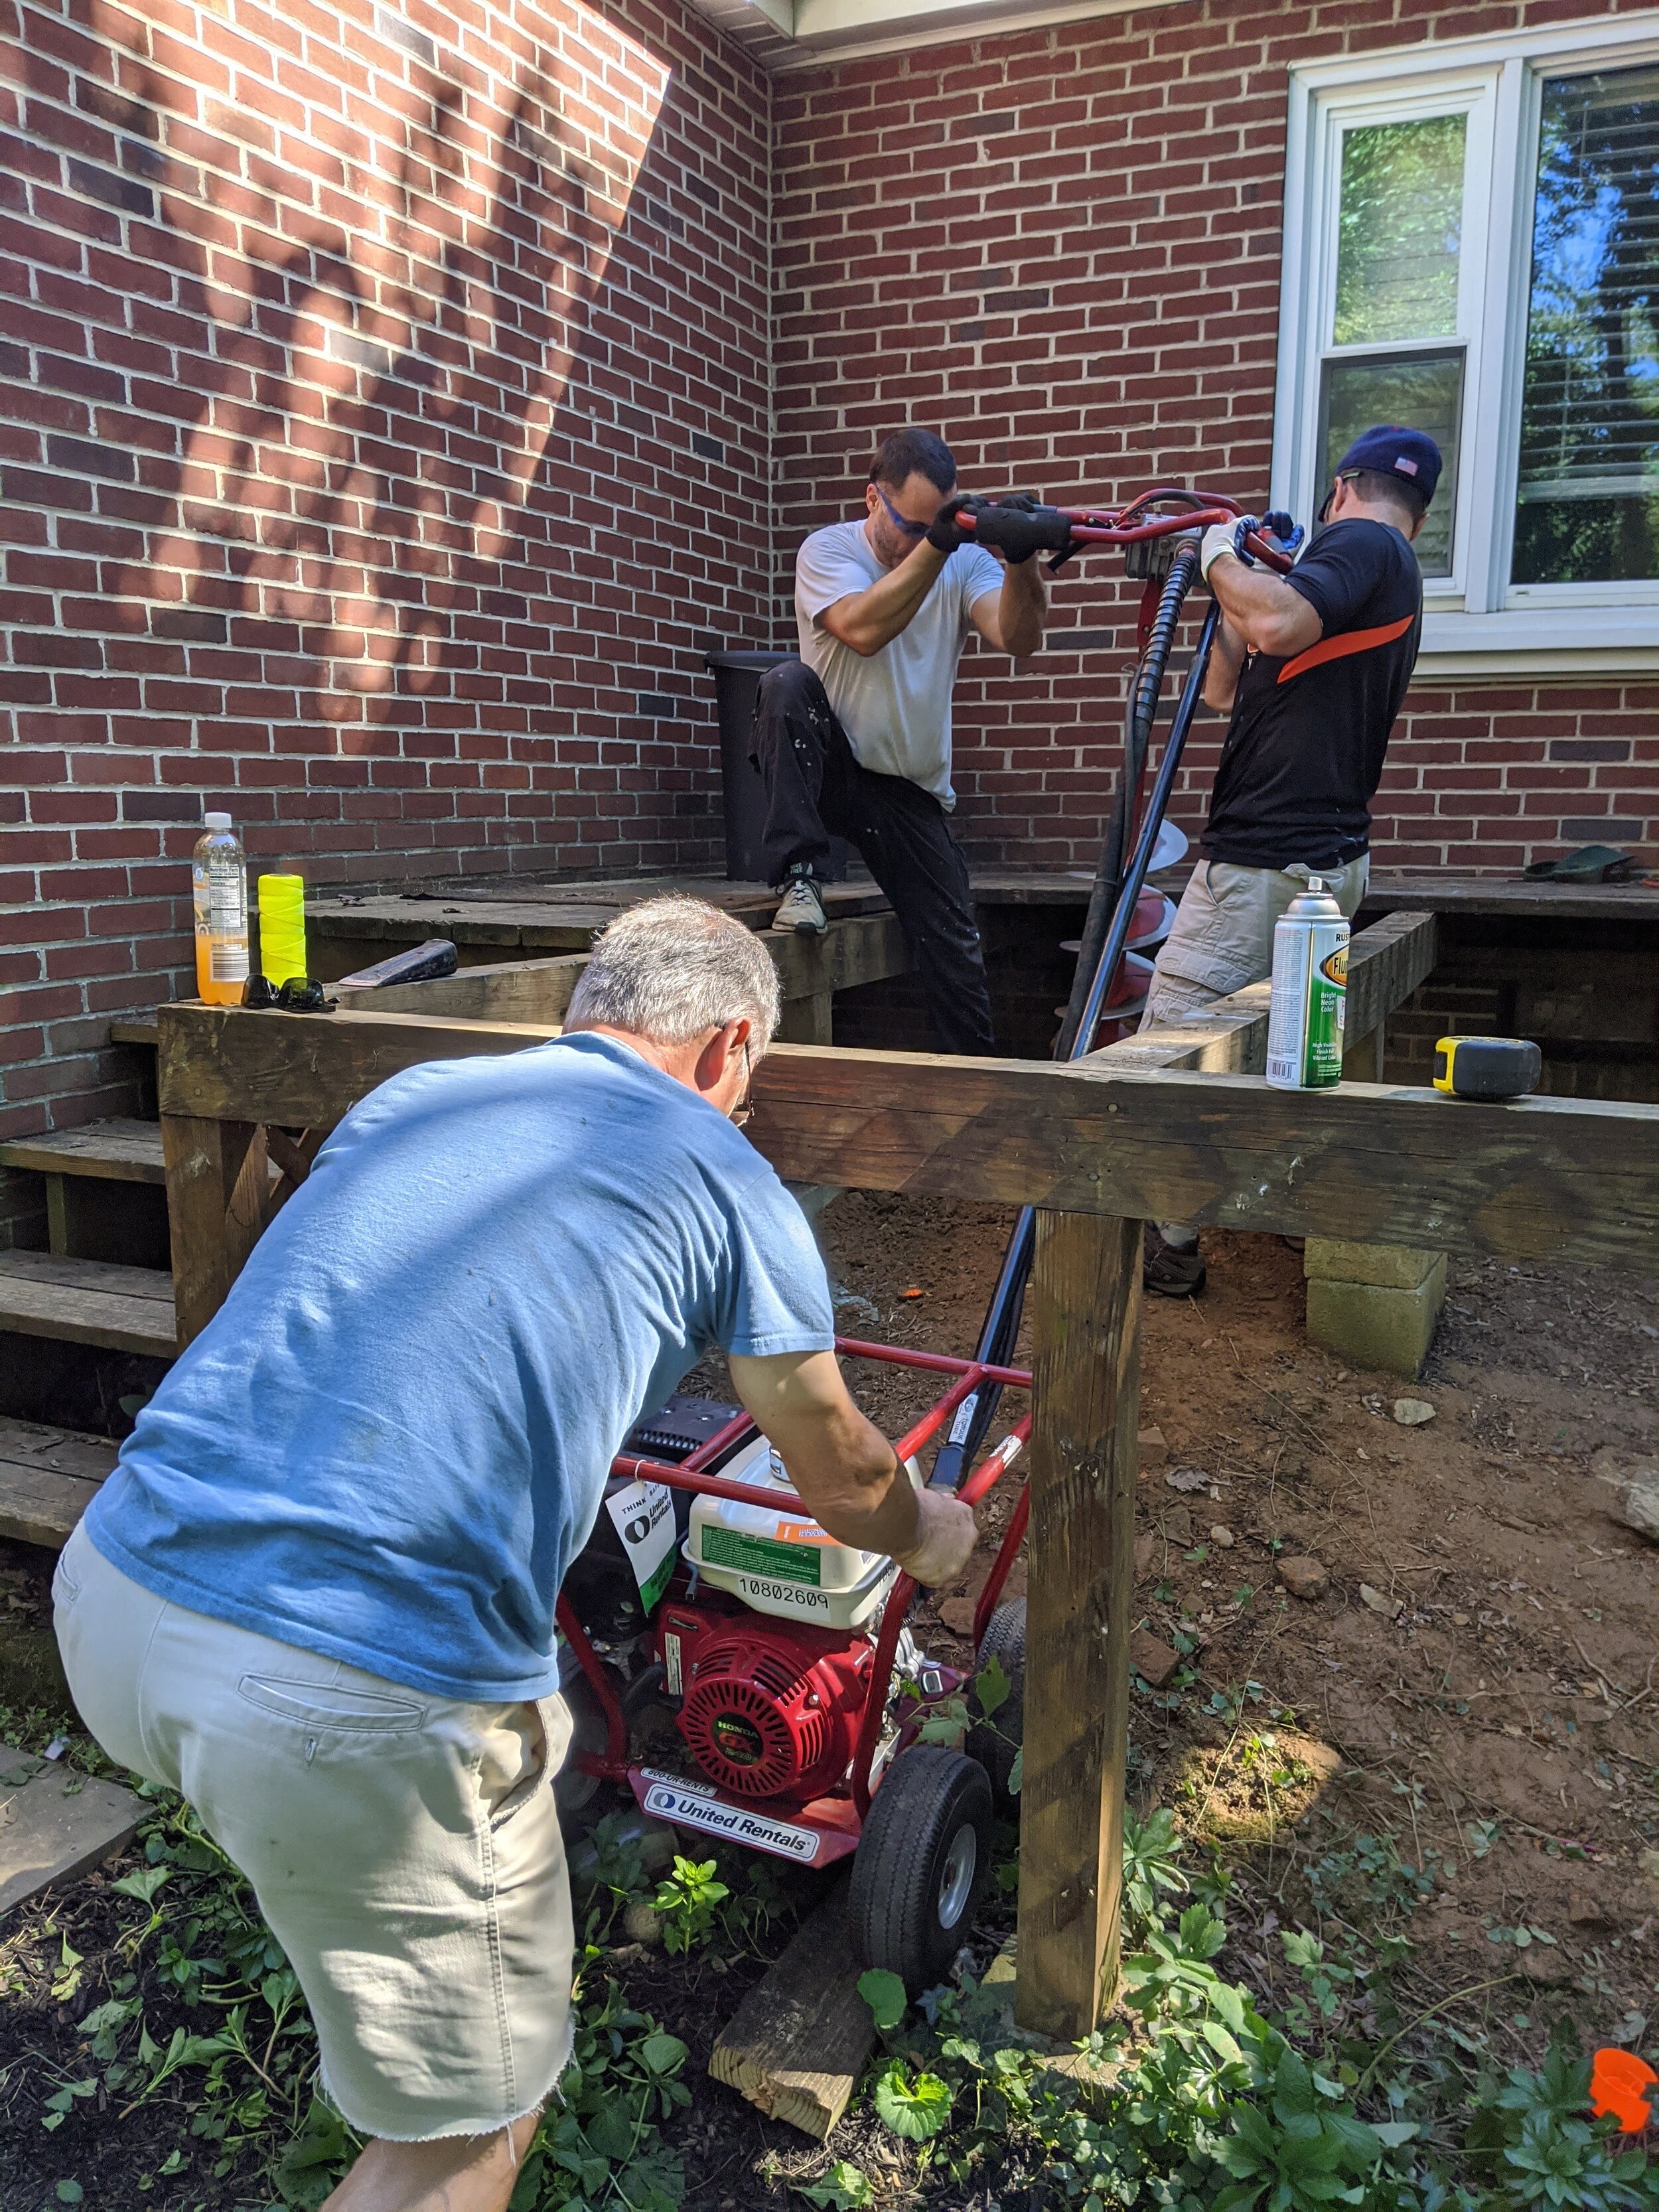
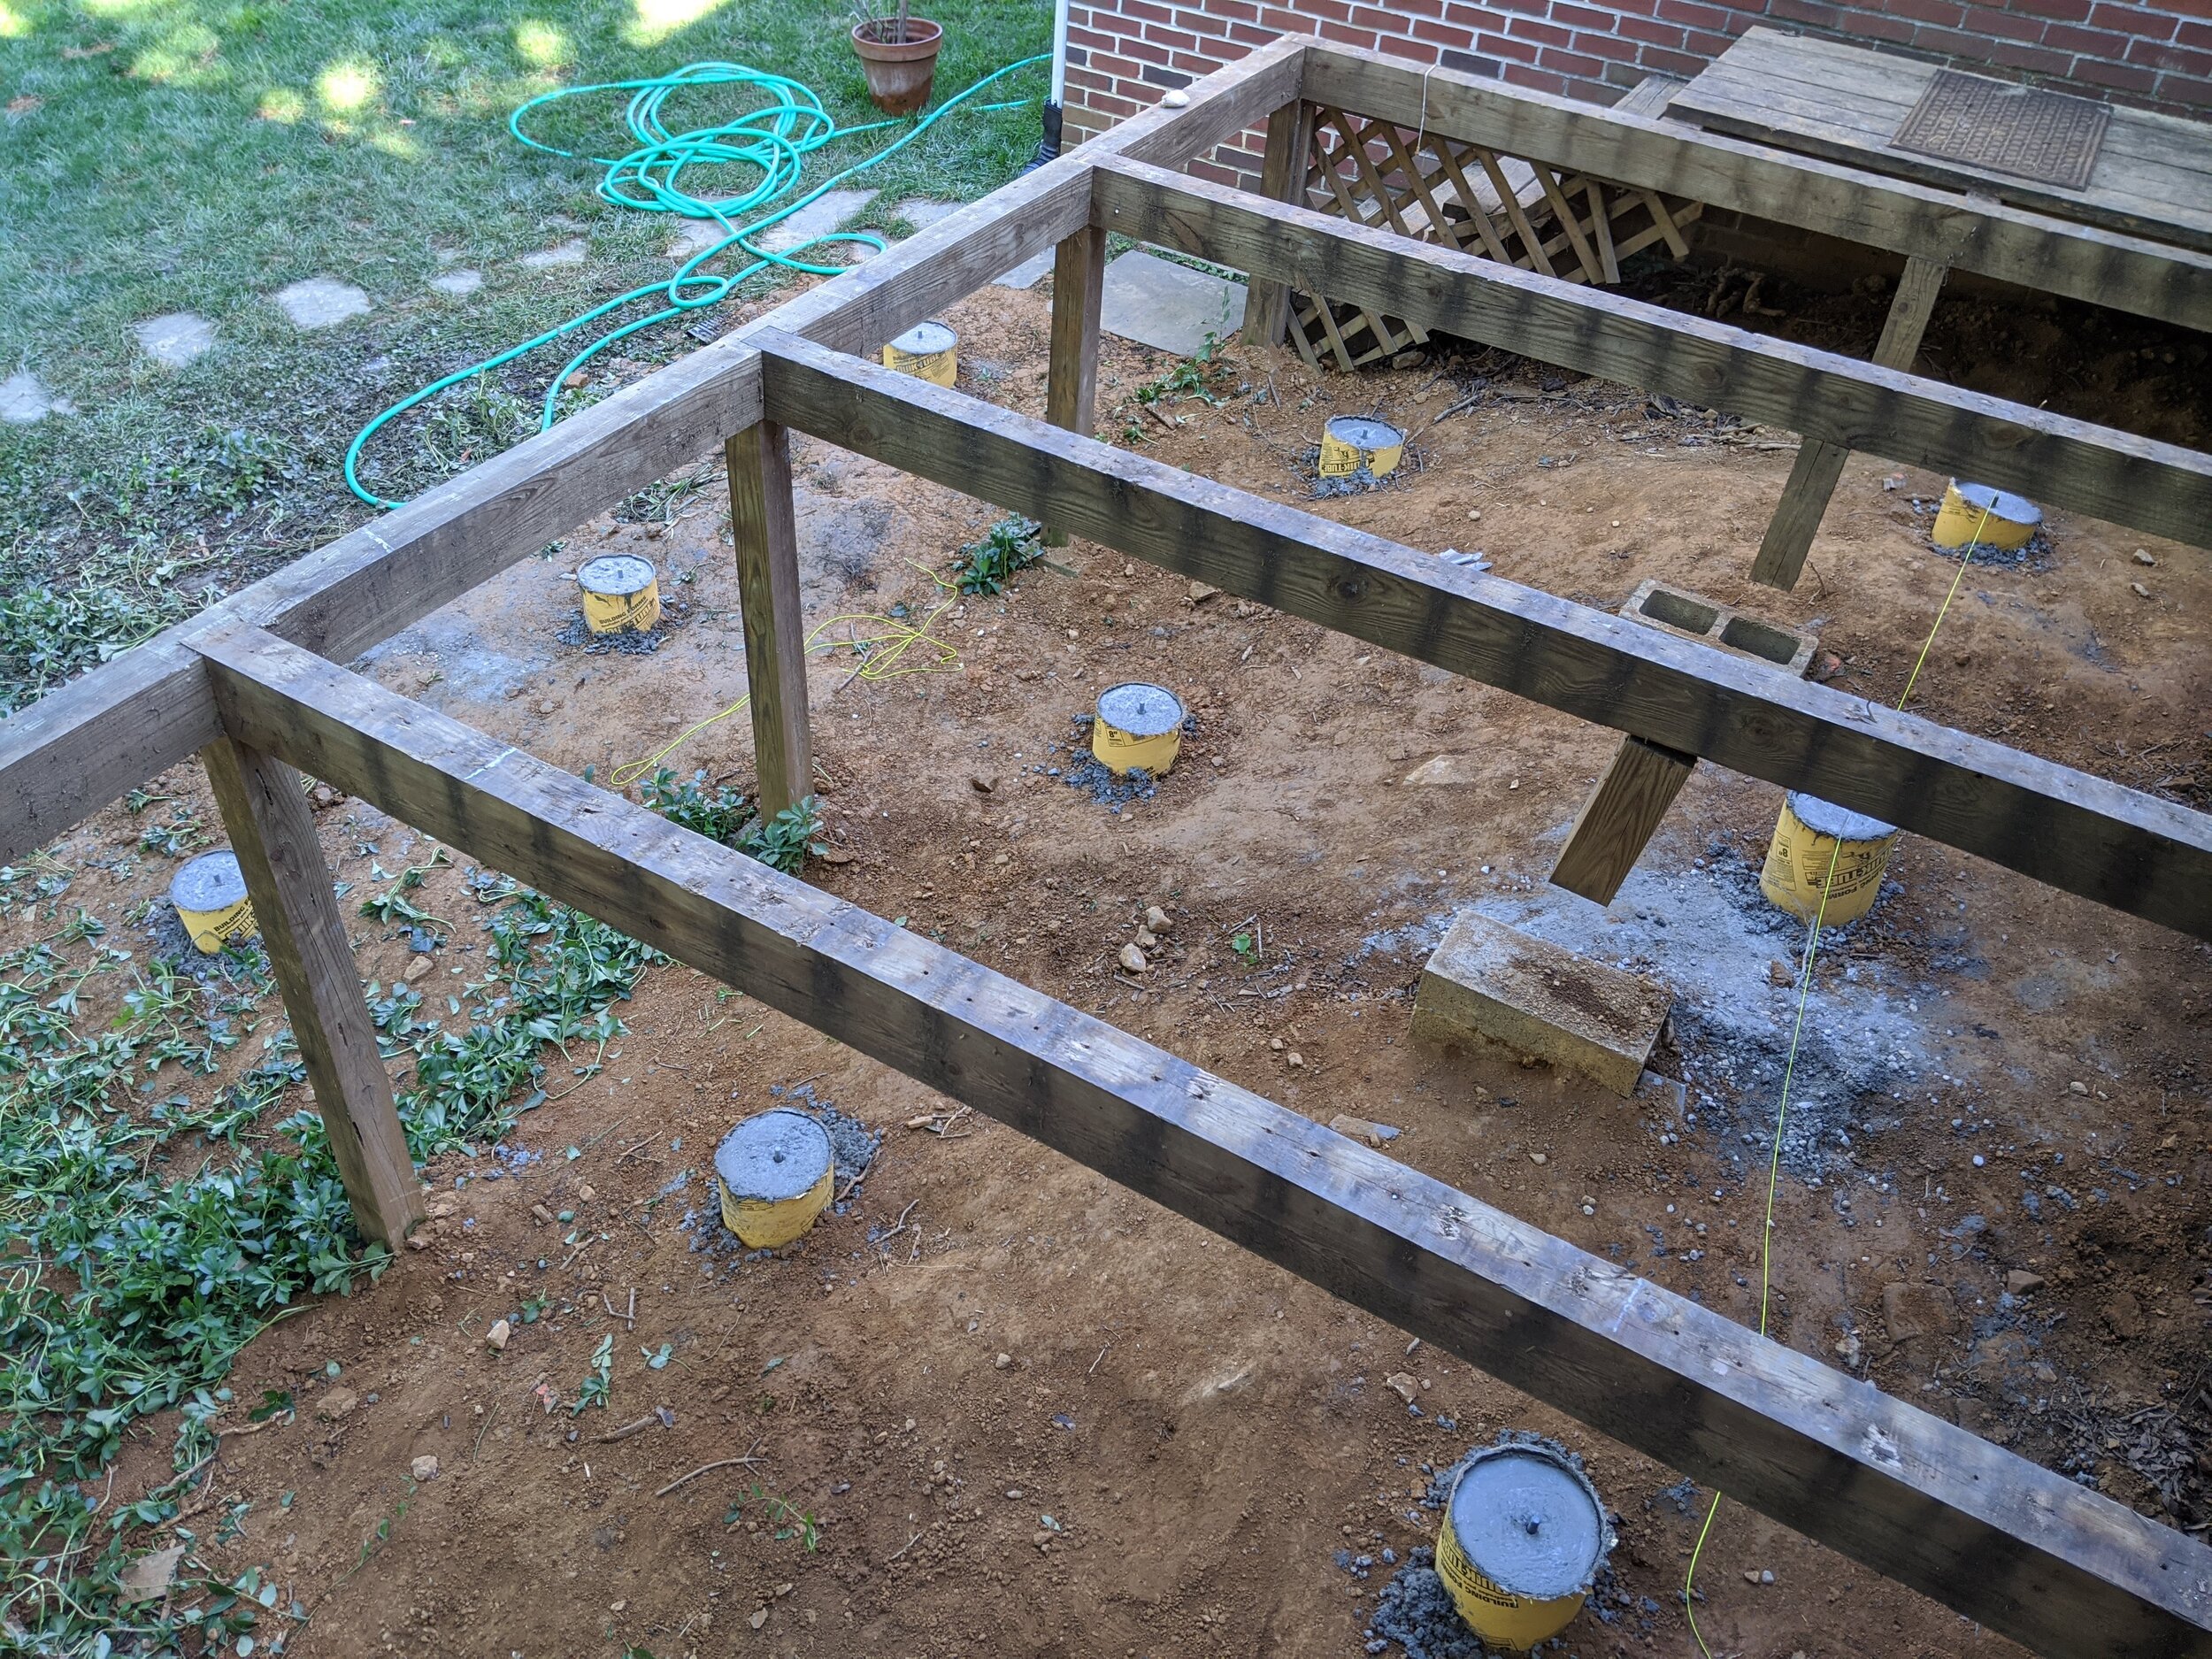
First, as you can see, we reinforced the area where the steps were going to hang. We also prepped the ground here to make sure the bottom was going to land where we wanted.

IMG_20200915_072959.jpg
IMG_20200919_093213.jpg

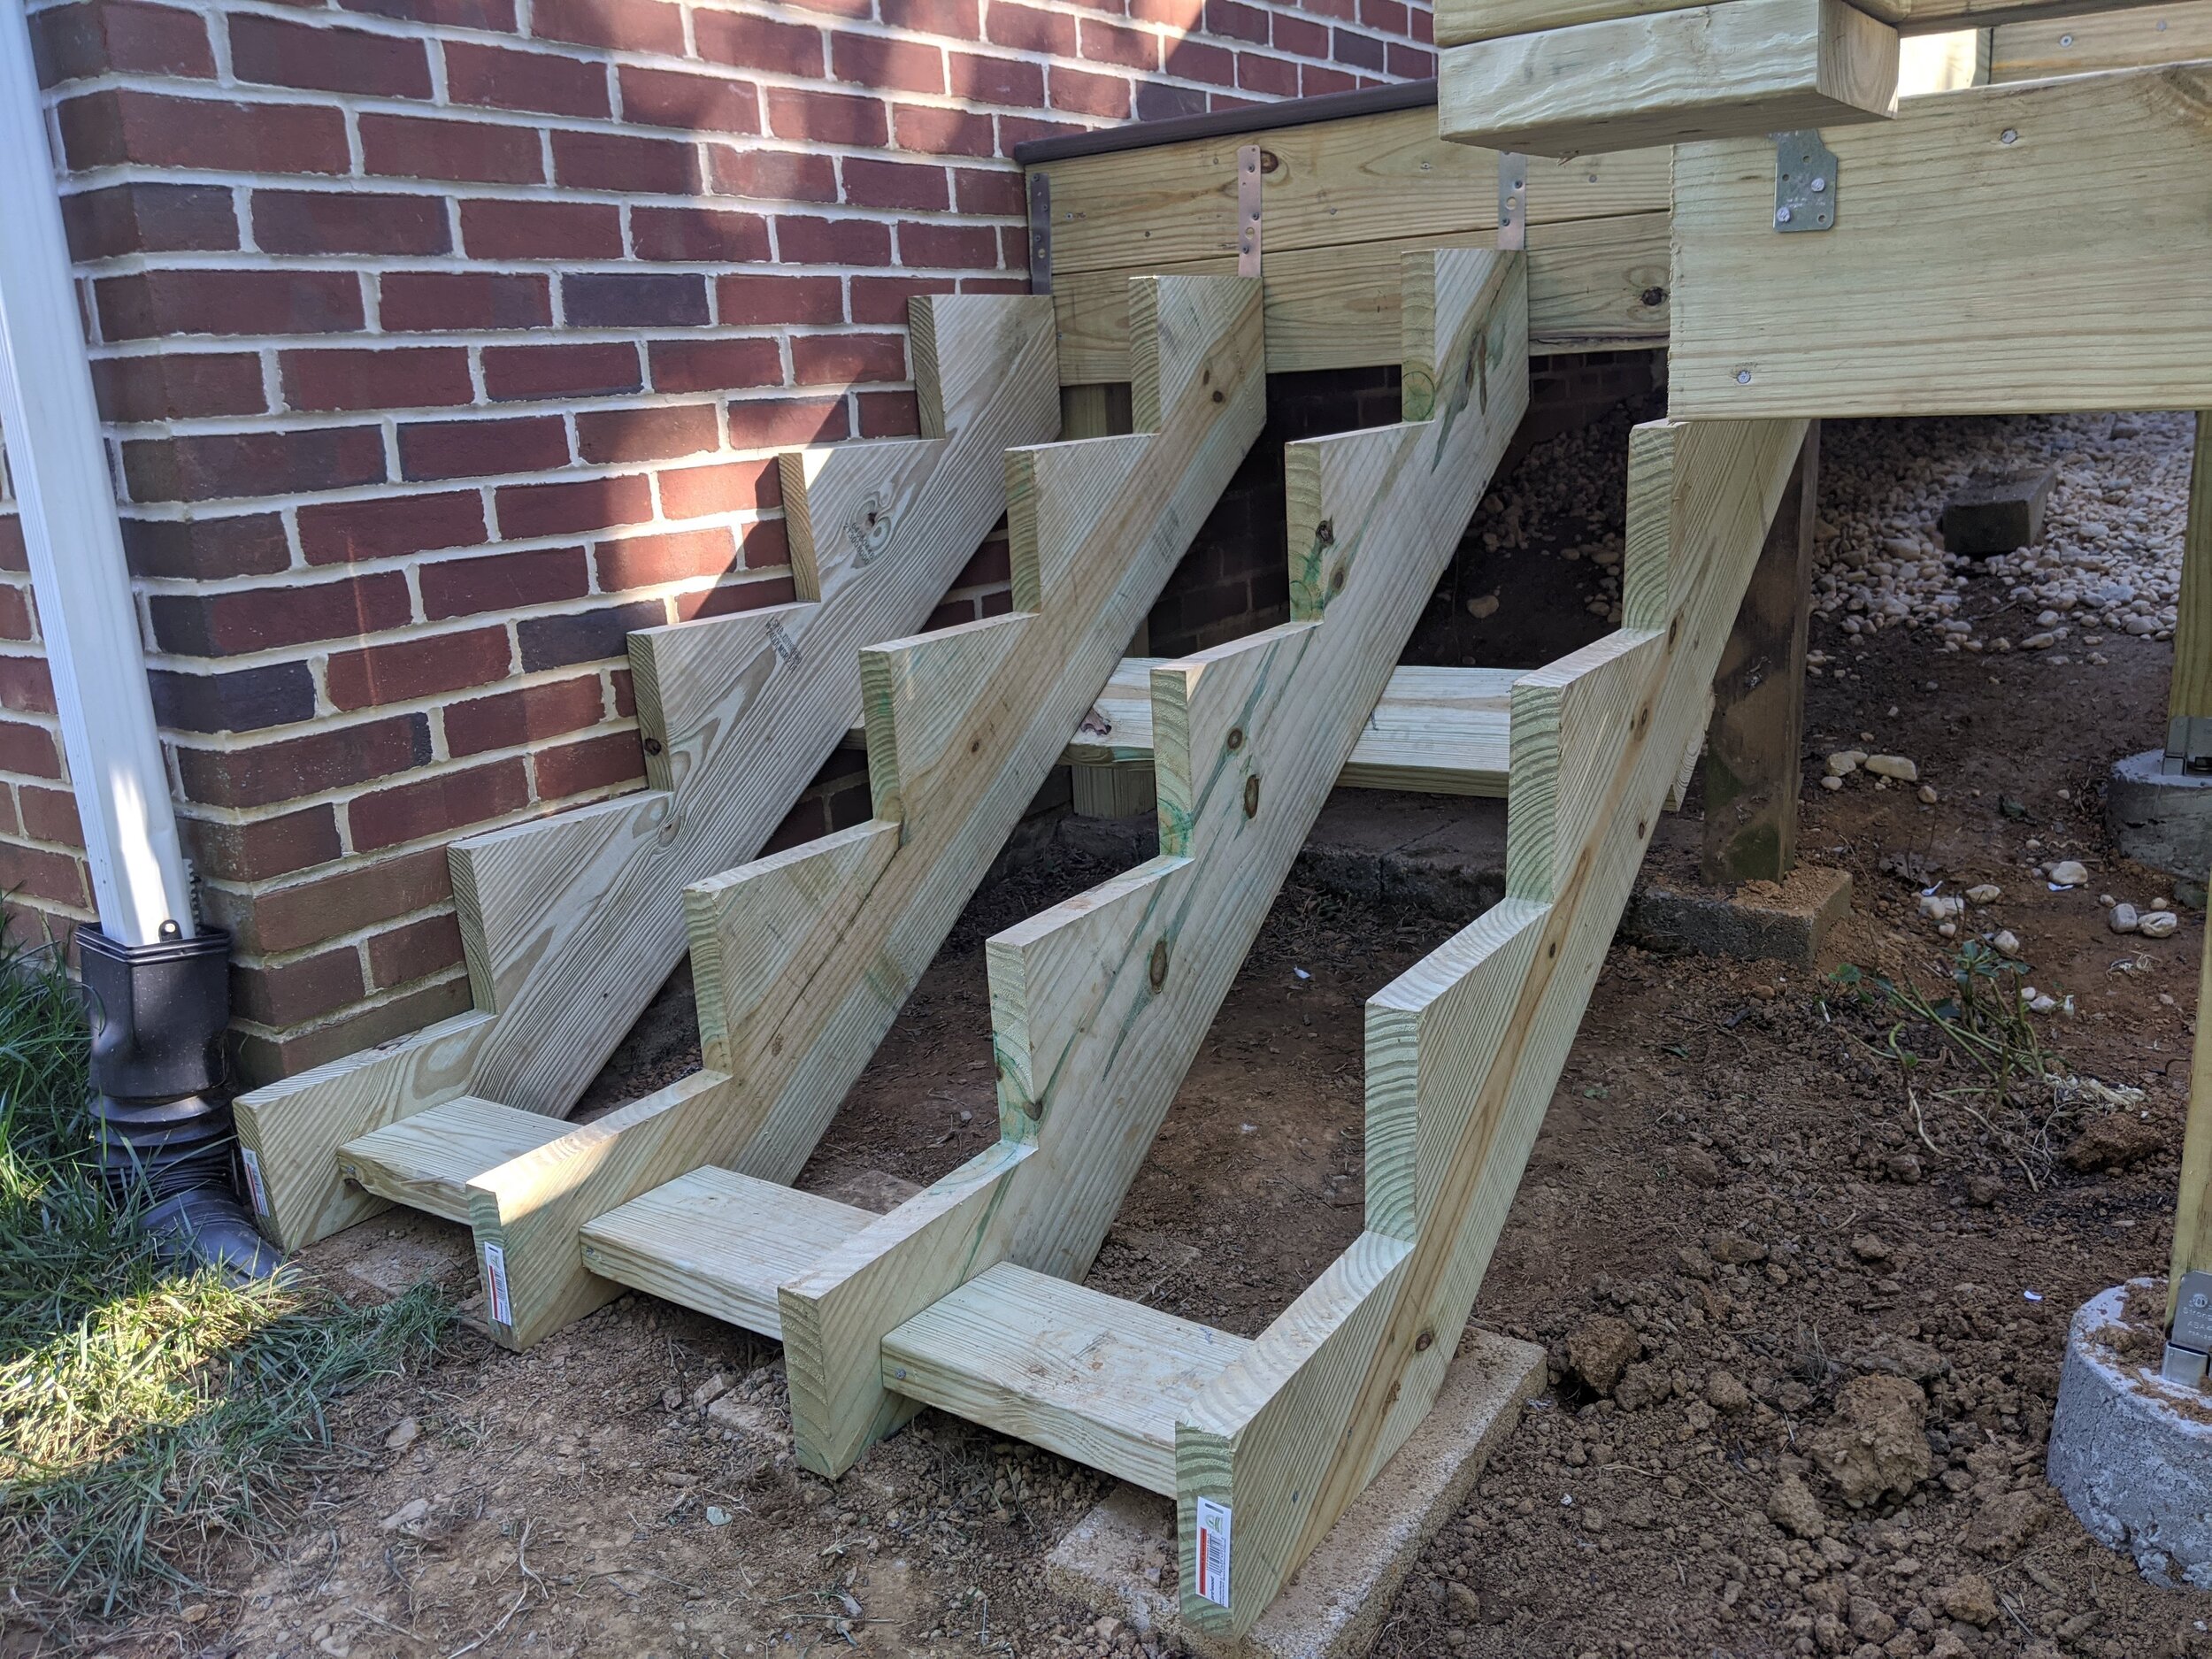
Next step was to hang the stair treads. Because we are using composite decking, we wanted to make sure they didn’t bow. That’s why they are four treads. Previously, we had four steps but now, there’s more of a drop because we moved everything four feet out. So we’re at five steps.

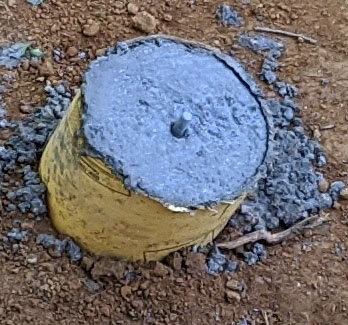
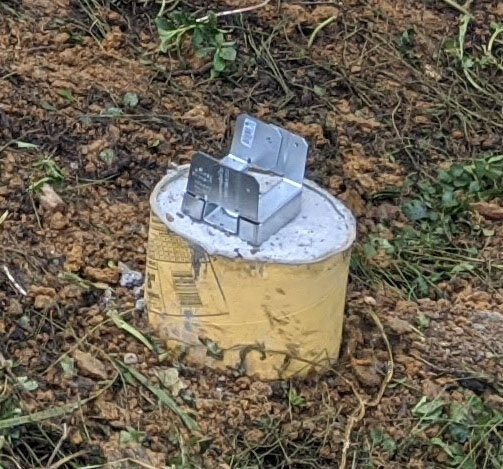
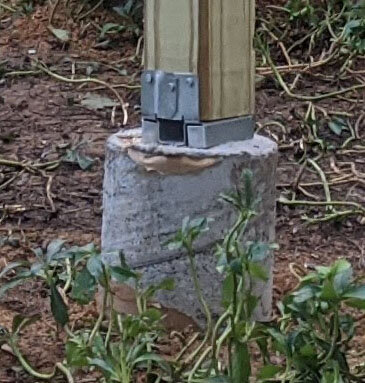
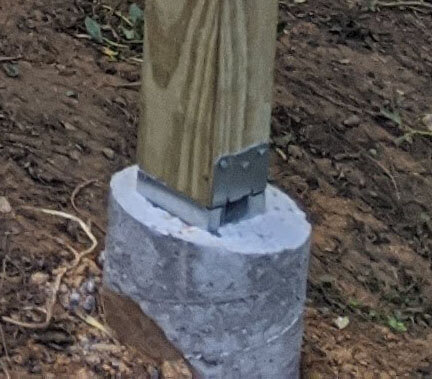
Hubs dug in concrete blocks to make sure the front didn’t dip over time, one under each tread. The cross pieces are used like the studs on the deck, to make sure nothing twists or slides side-to-side.

Then, we put joist tape on the skyward surfaces to make sure there was no rot from rainwater. Finally, we started putting on deck boards! We only put on the front at this time (so that no one was walking on the stair treads) and because these were a special kind of composite board with no groove in the side. (Different than what goes on the rest of the deck.)

Now…there is a LOT of trim/fascia work that got done on the stairs (plus the rest of the treads of course) but I’m putting that at a later step because we finished that up at the end.
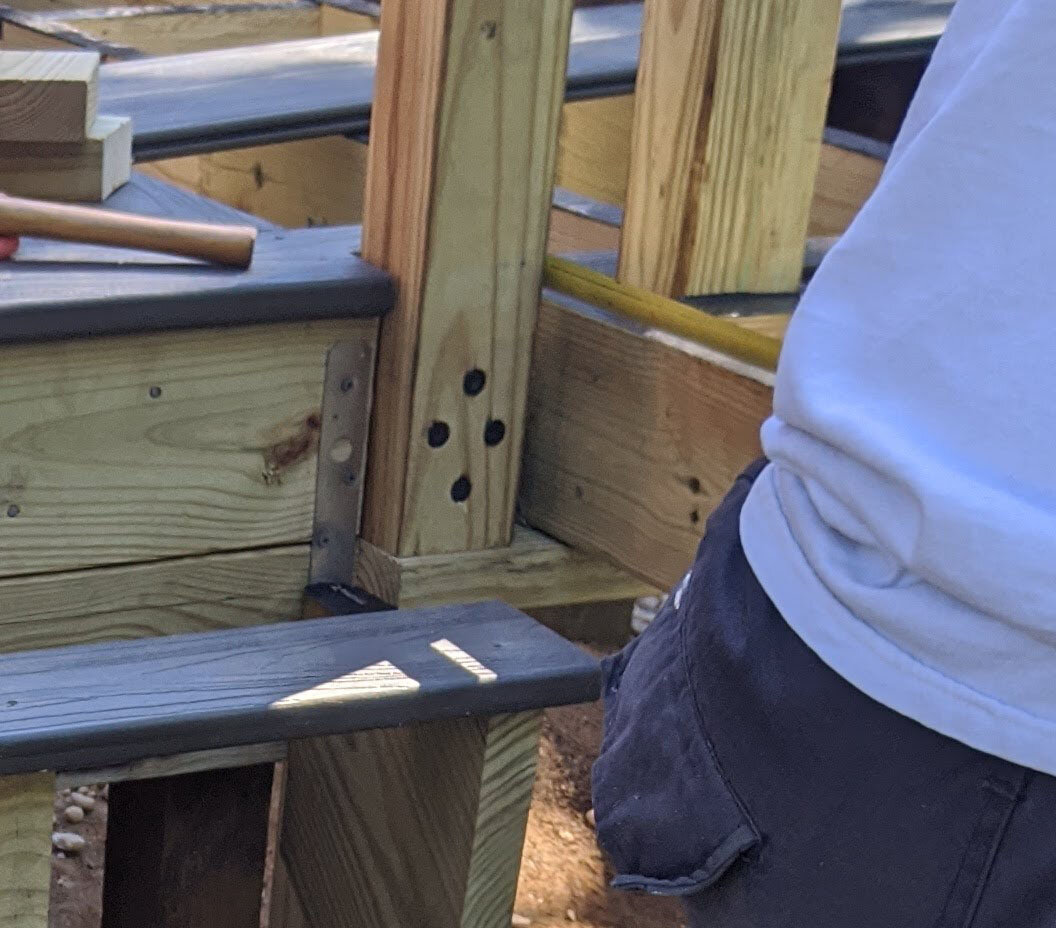
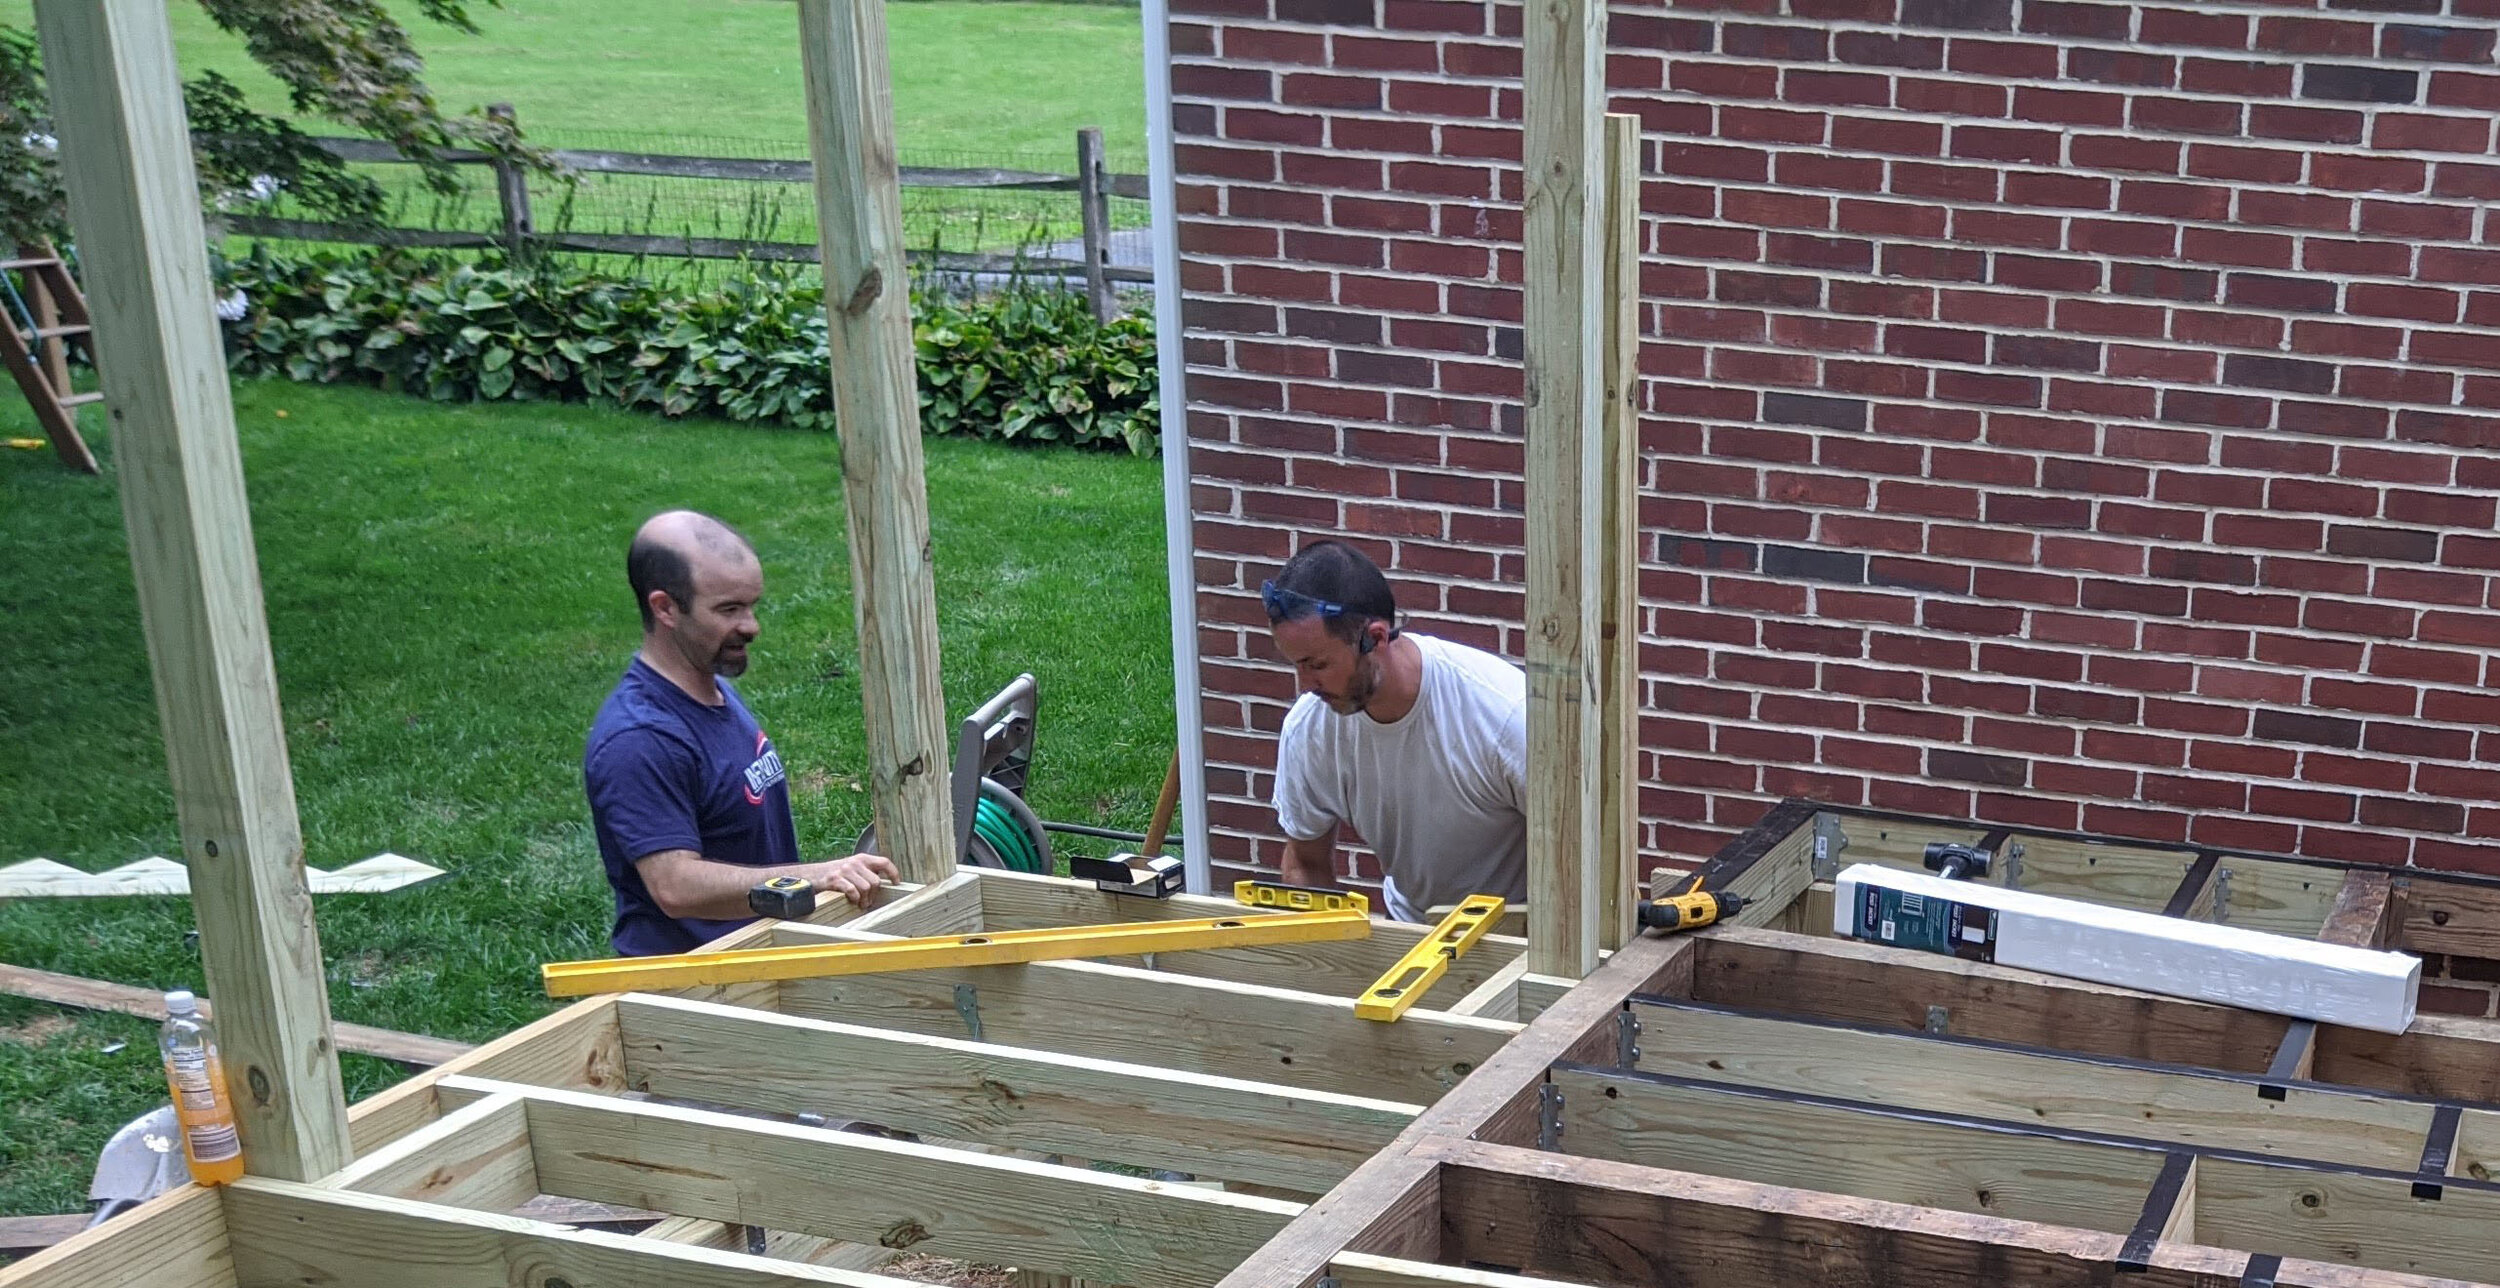
IMG_20200919_104328.jpg

RAILING PILLARS

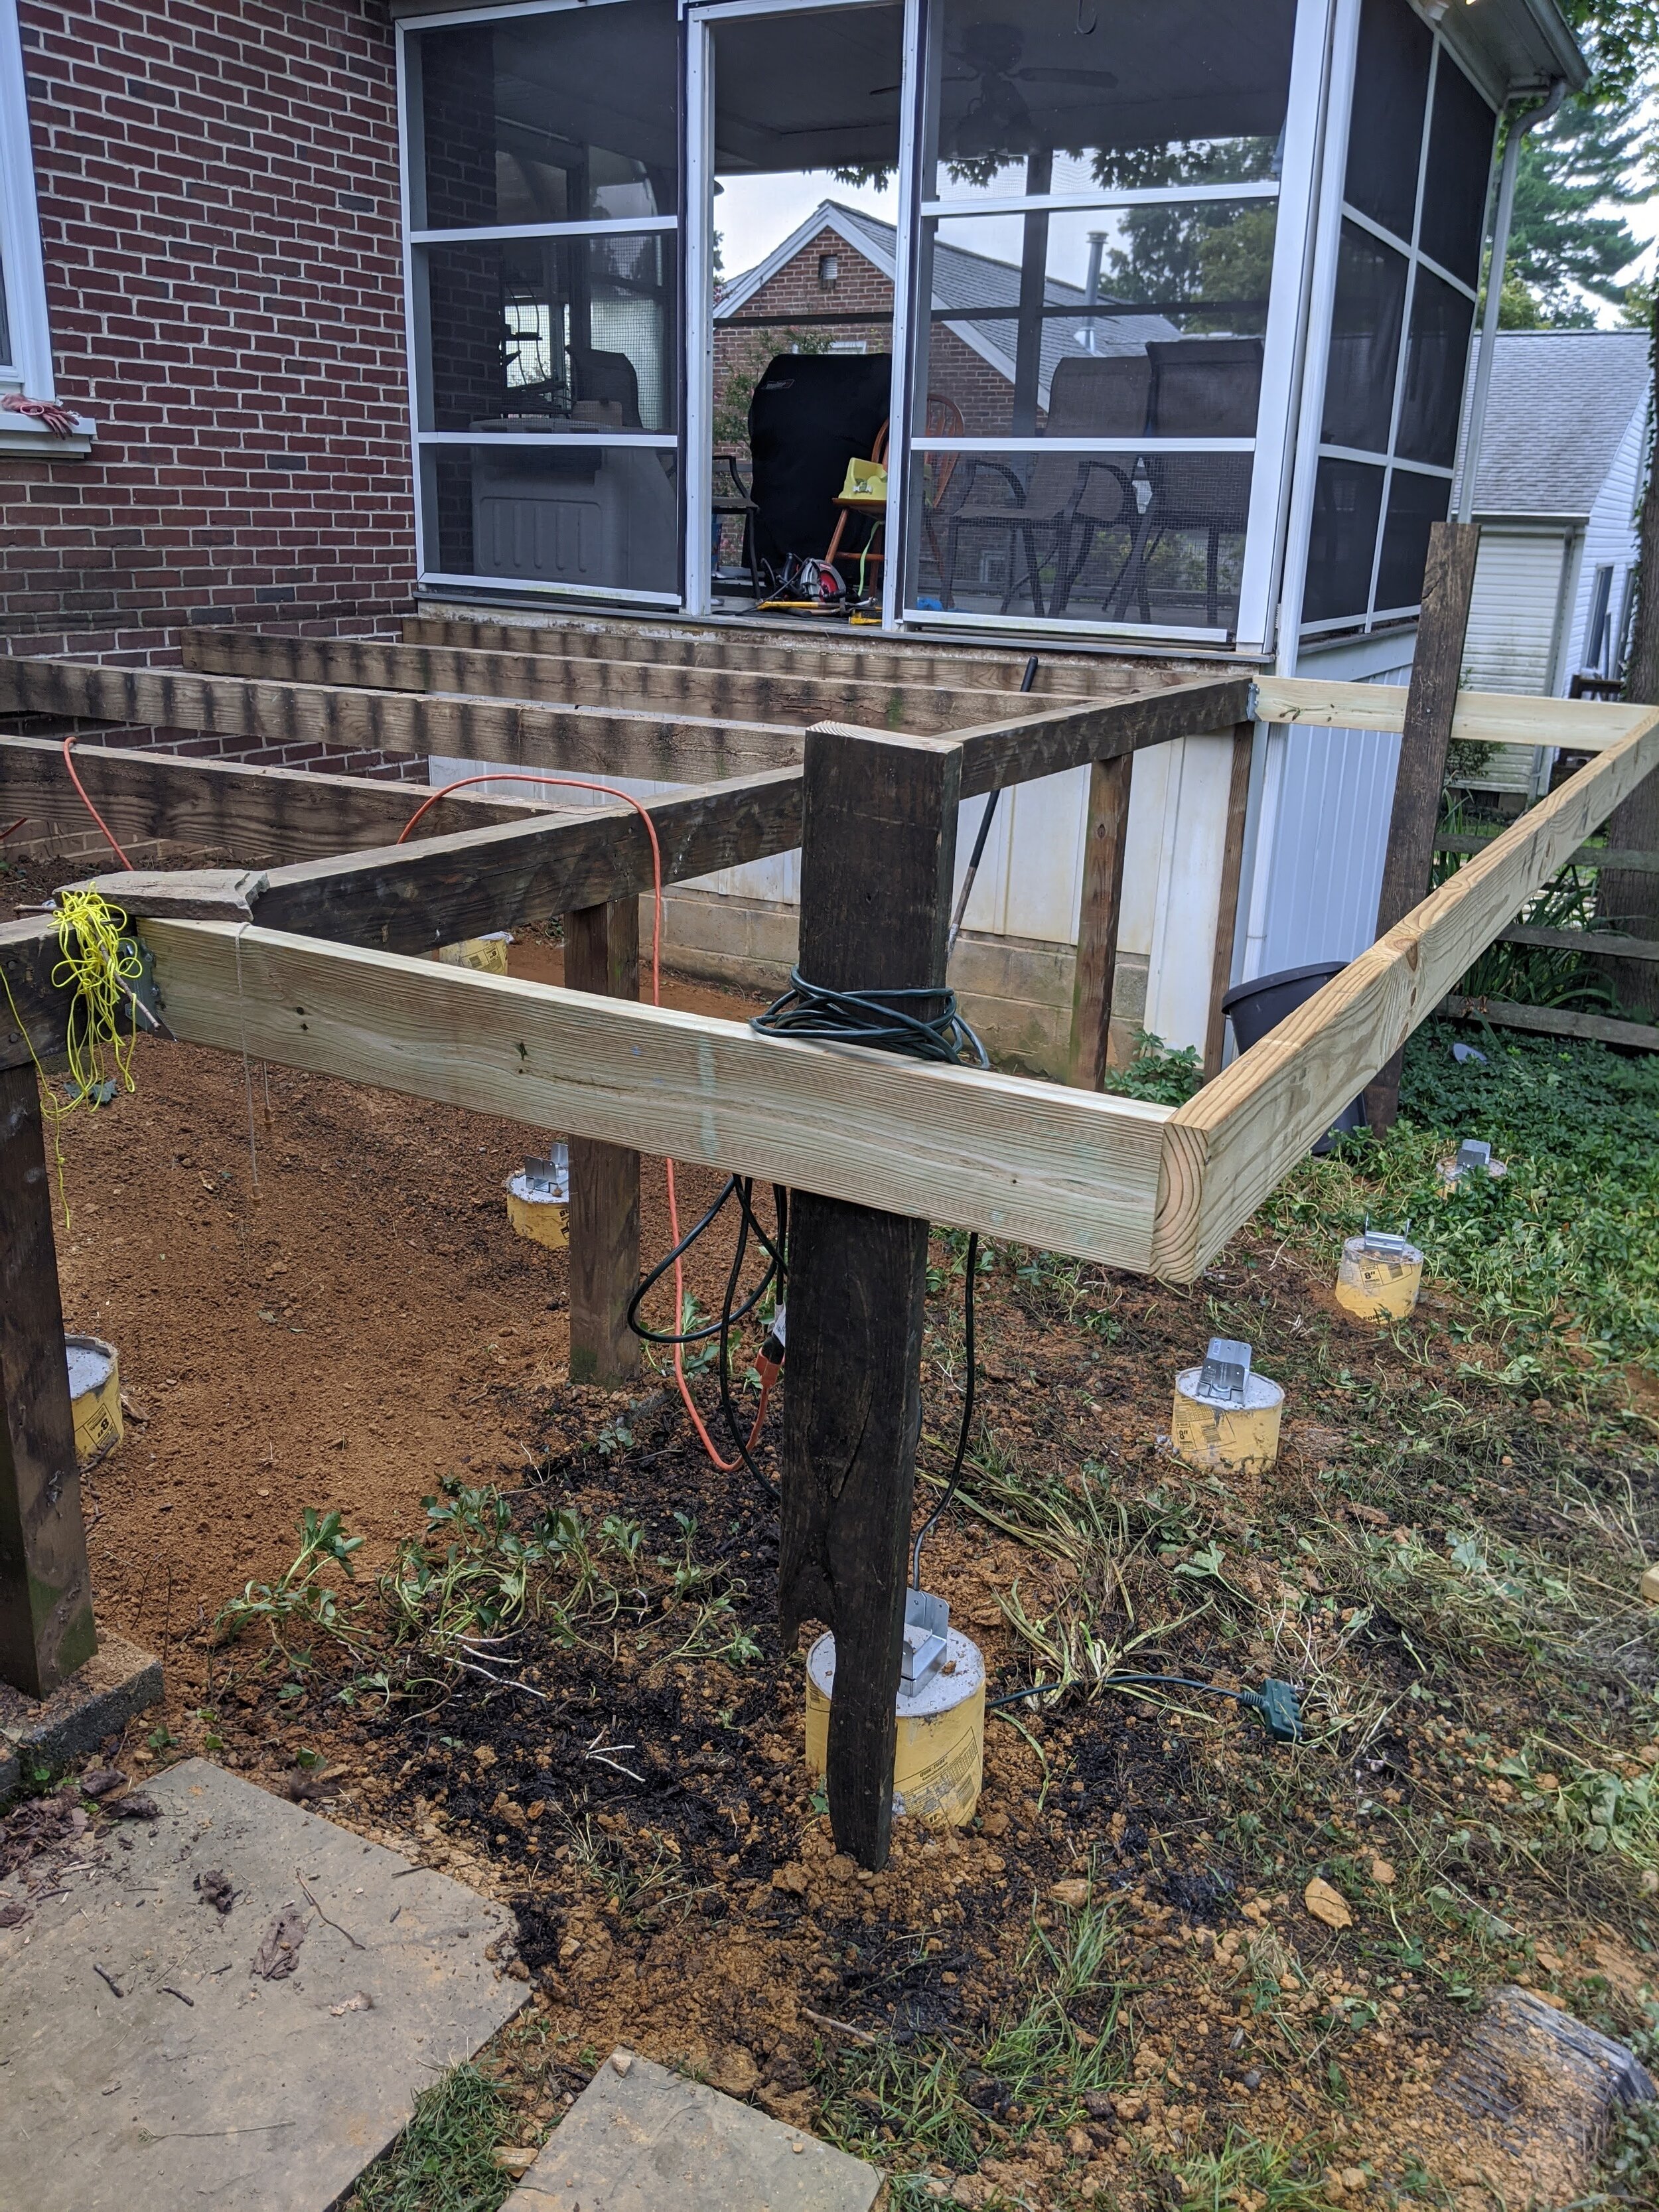
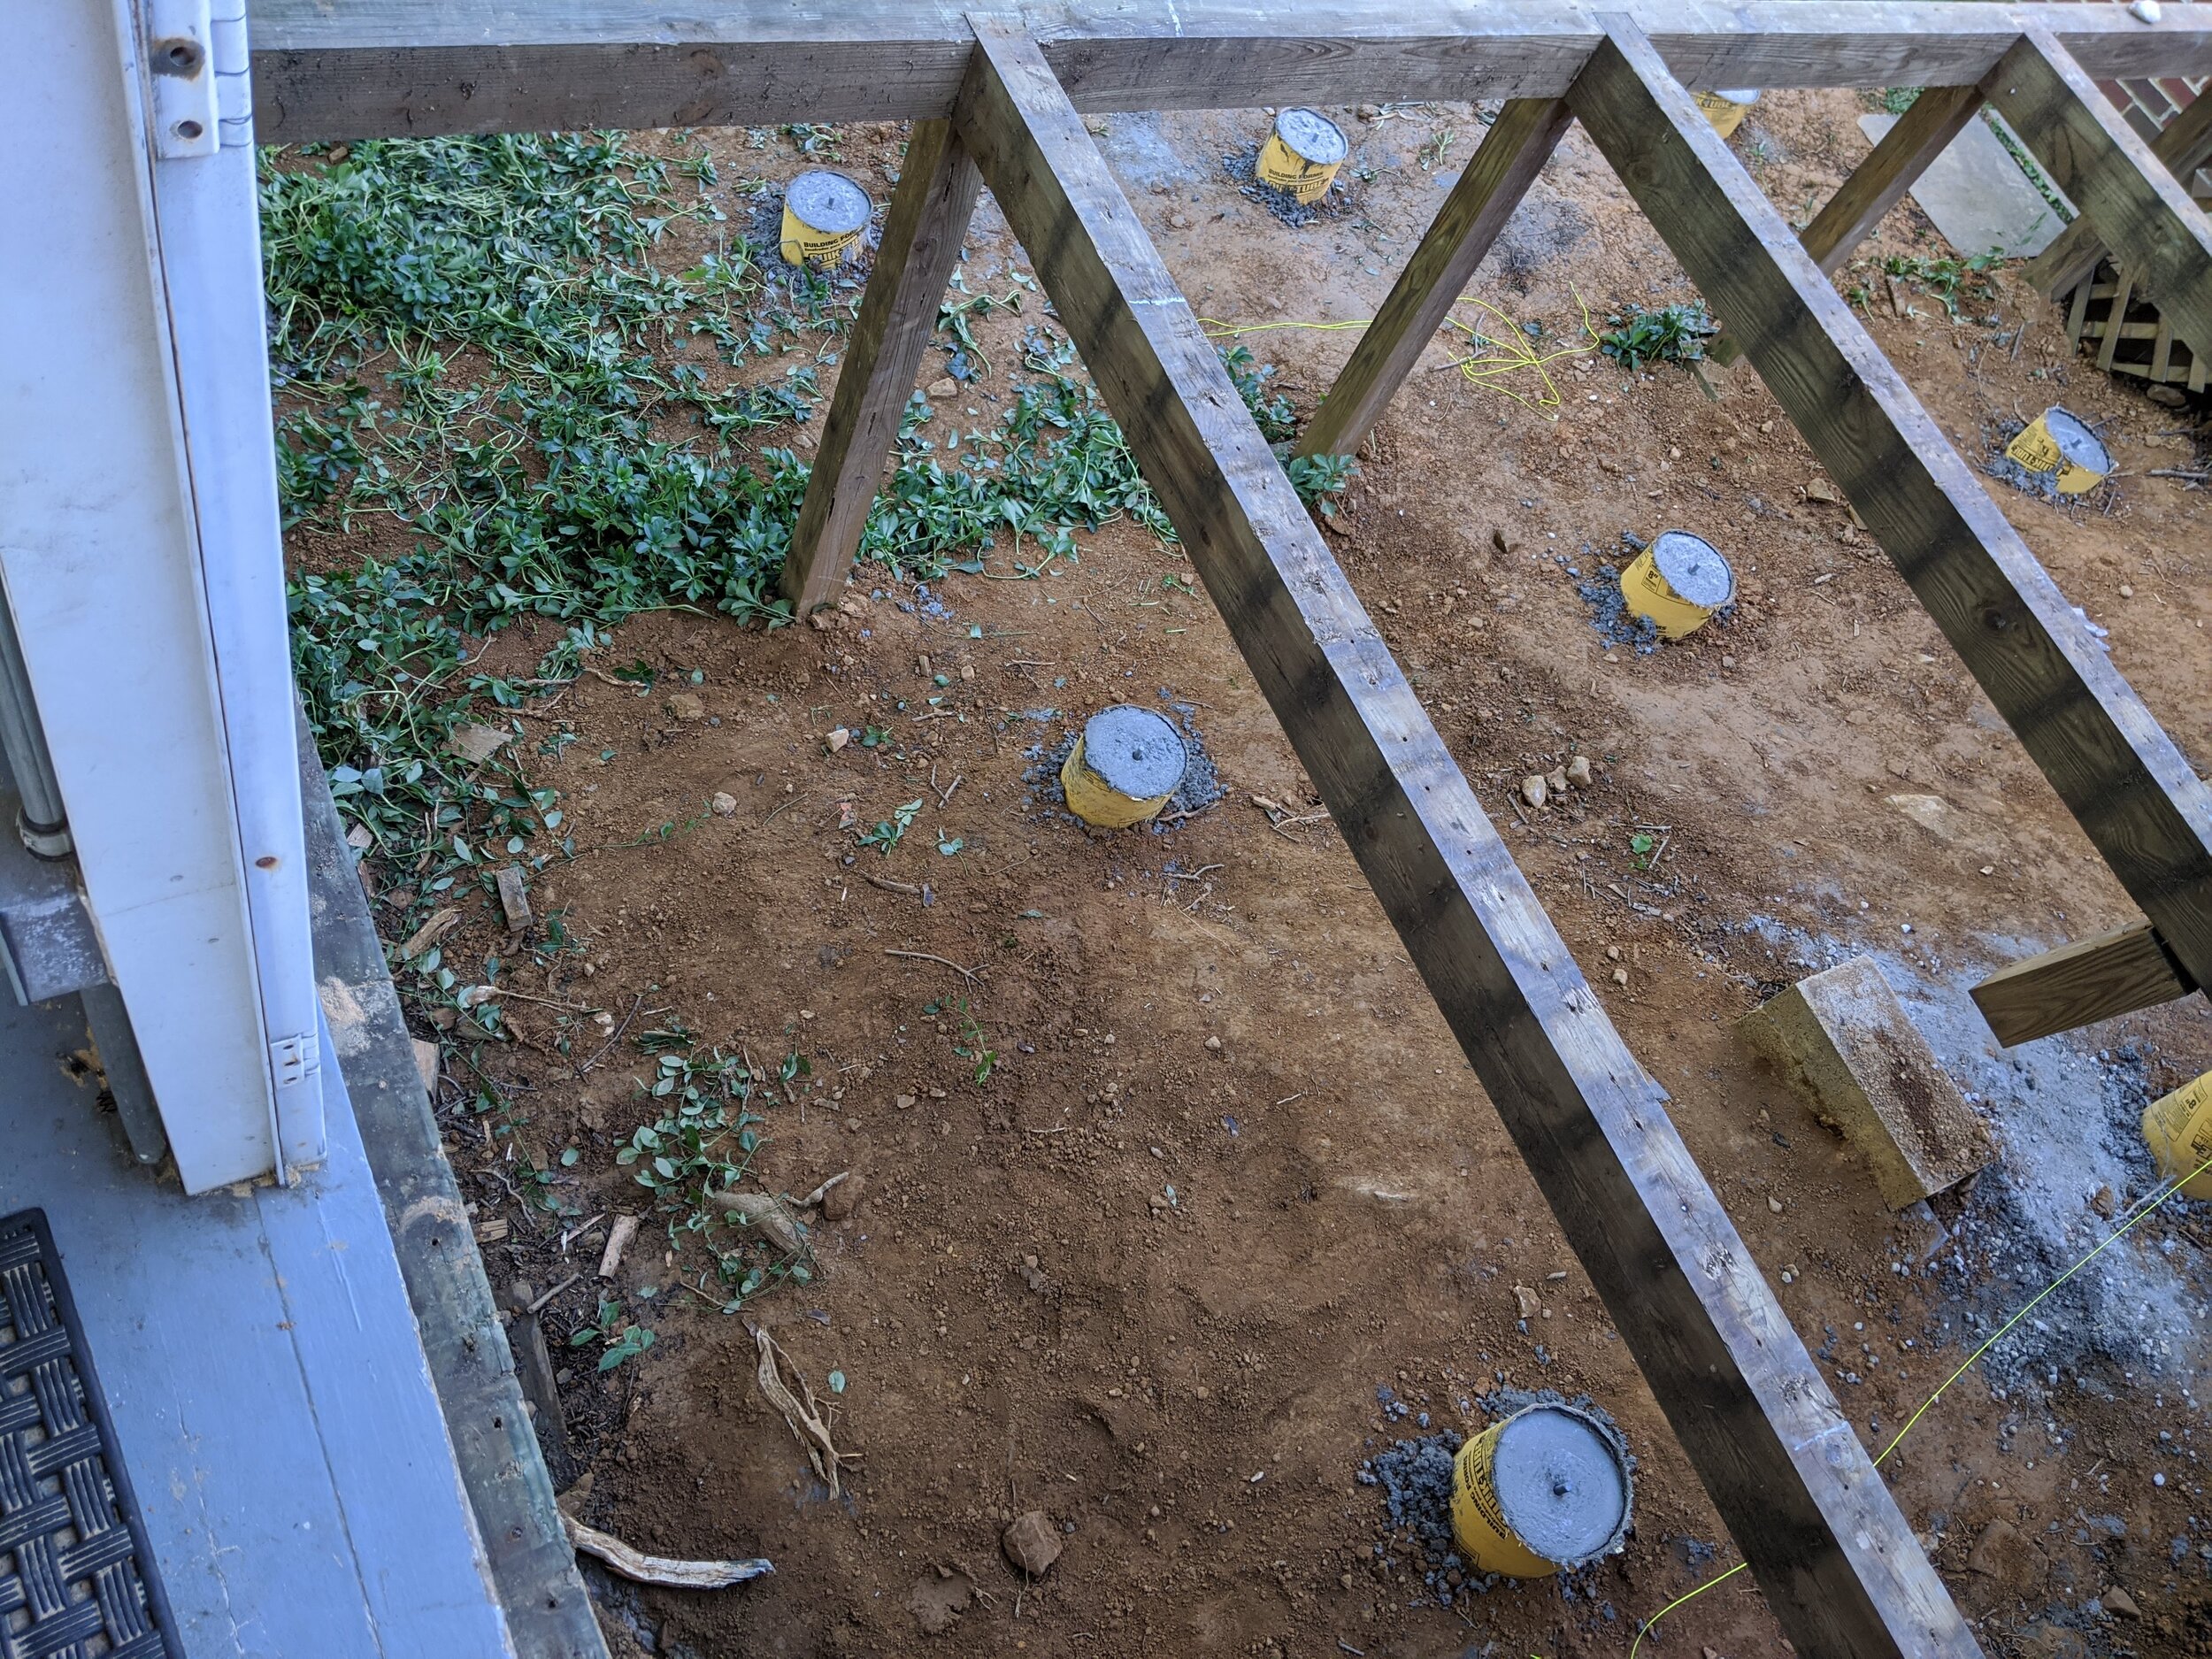
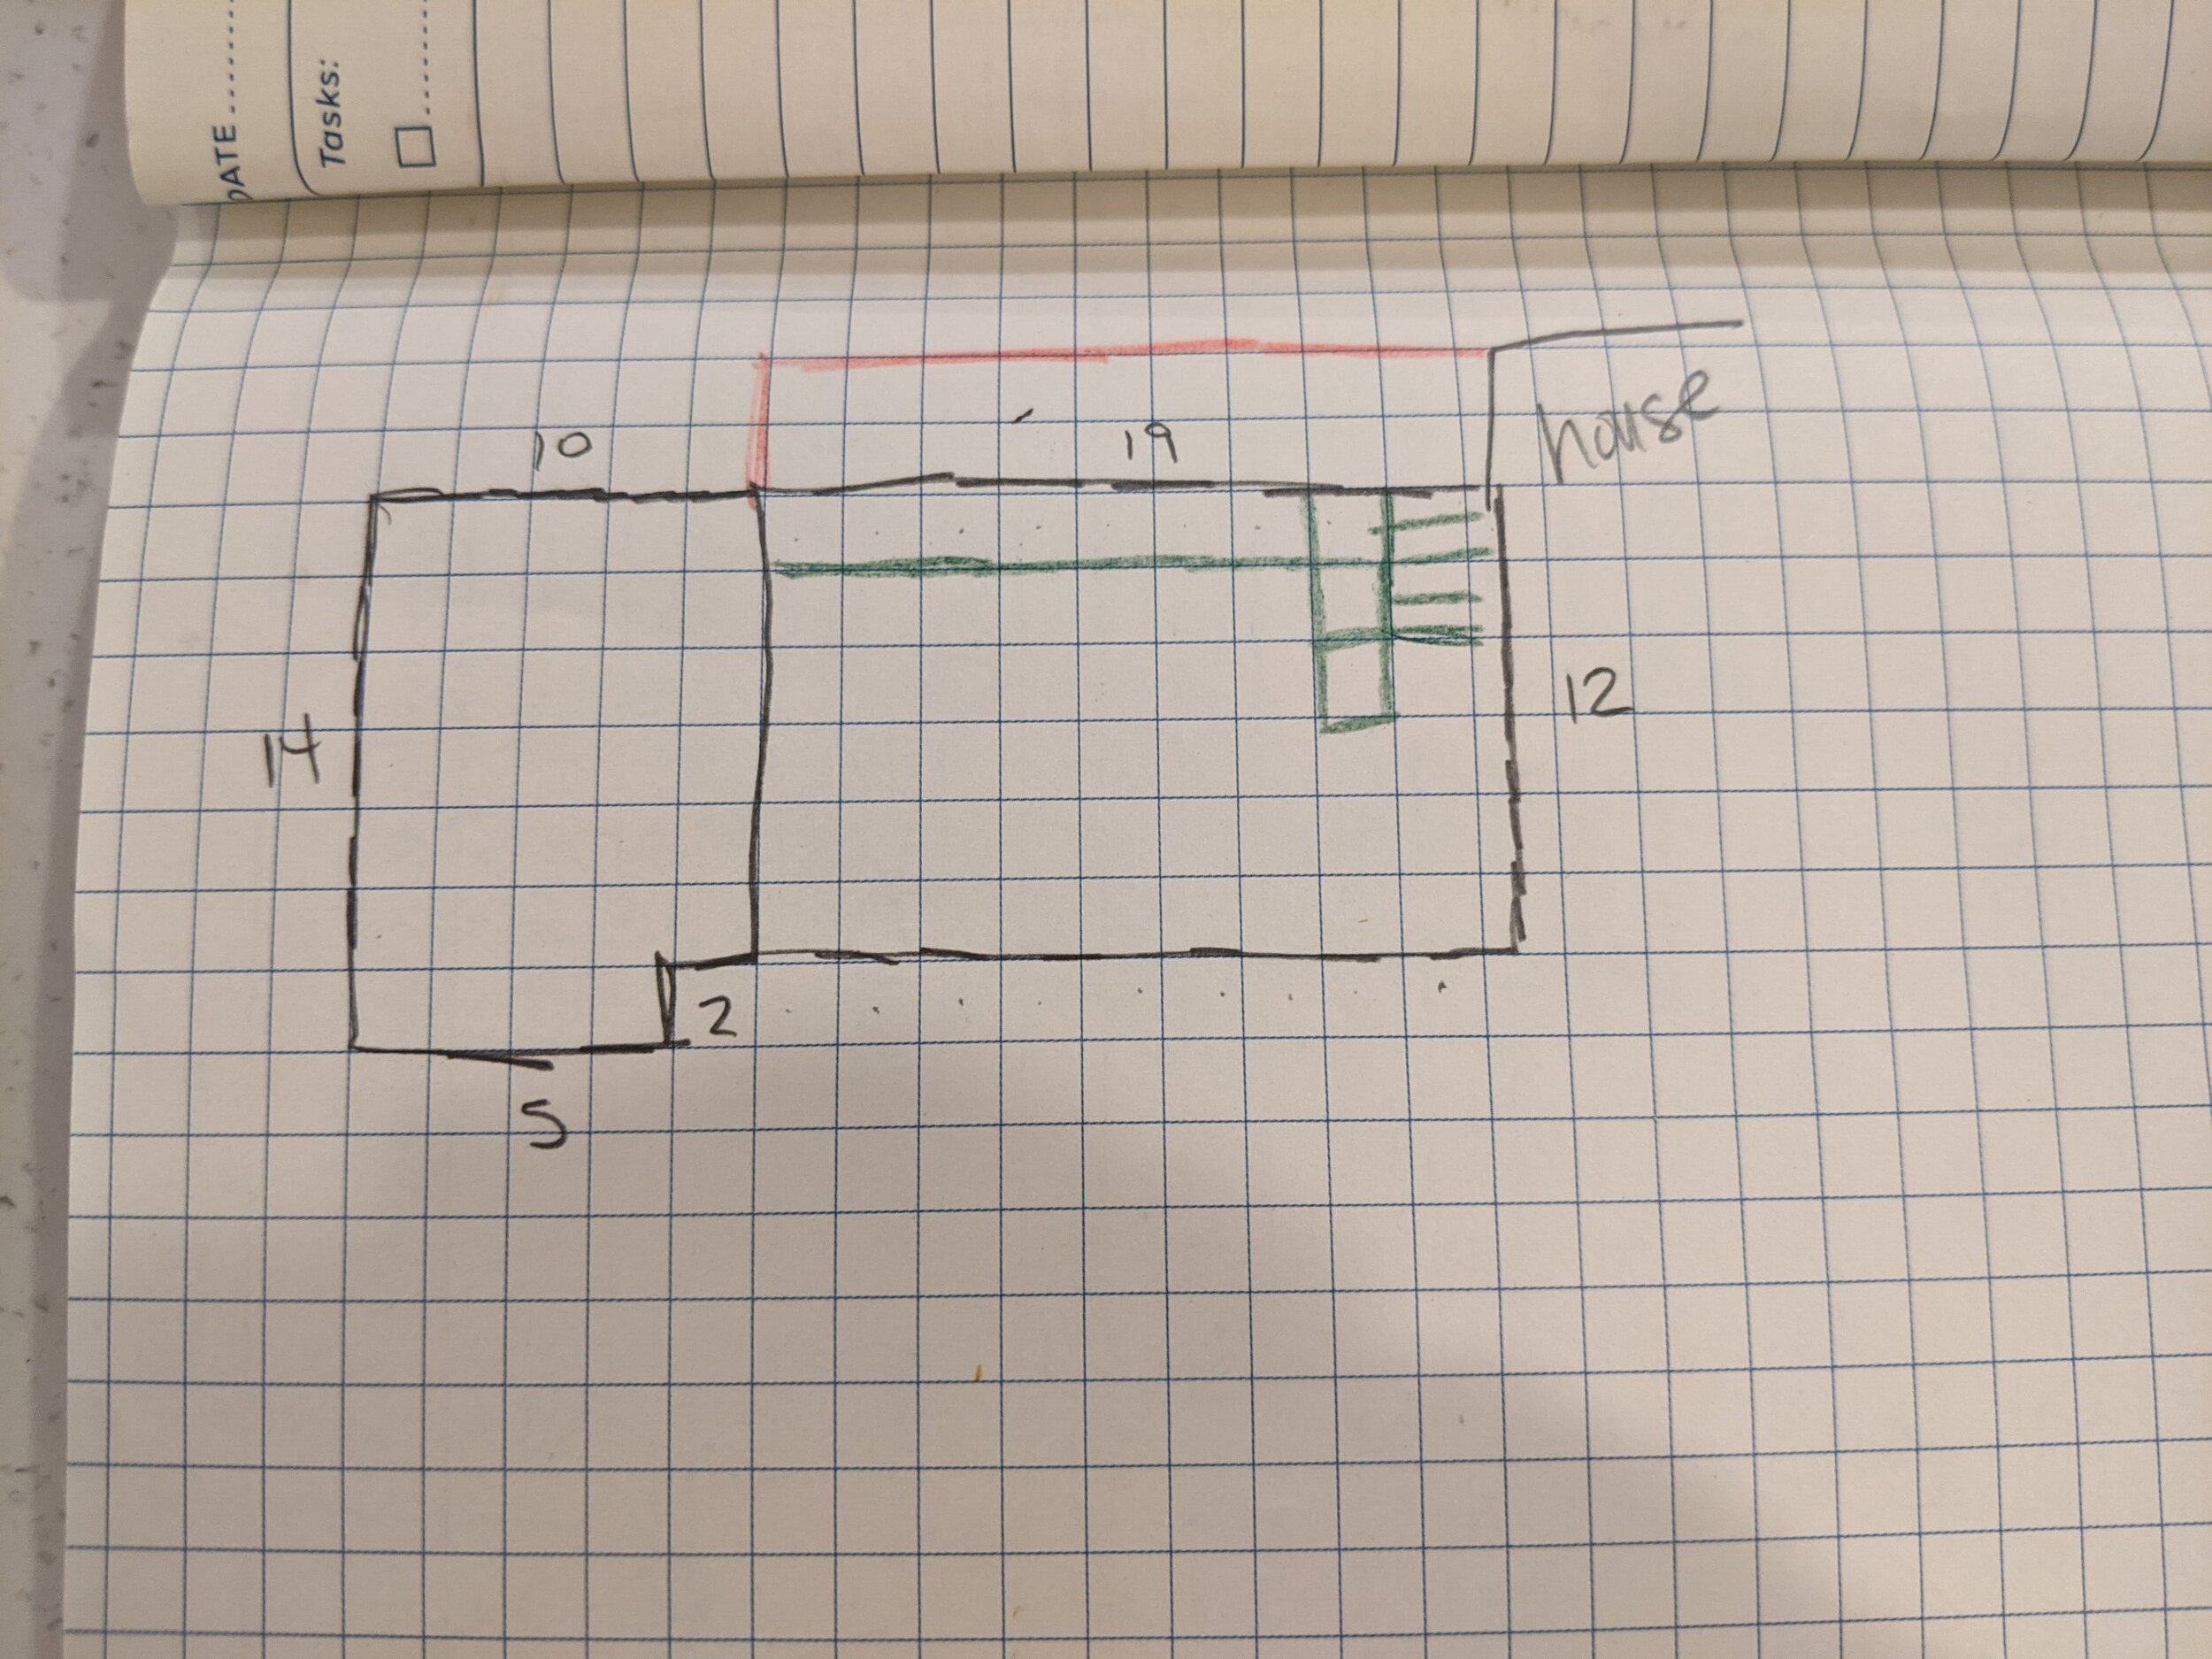
Deck railing comes in 6’ sections, which means if you’re doing a deck that 6, 12, or 18 feet, you’re in luck! But if you’re doing any other size deck, you’re doing a lot of cutting. We had planned ahead of time what our pillar placement would be so we could build the space into the framing and footers. Everything worked out according to plan (that dirty fingerprint plan)!

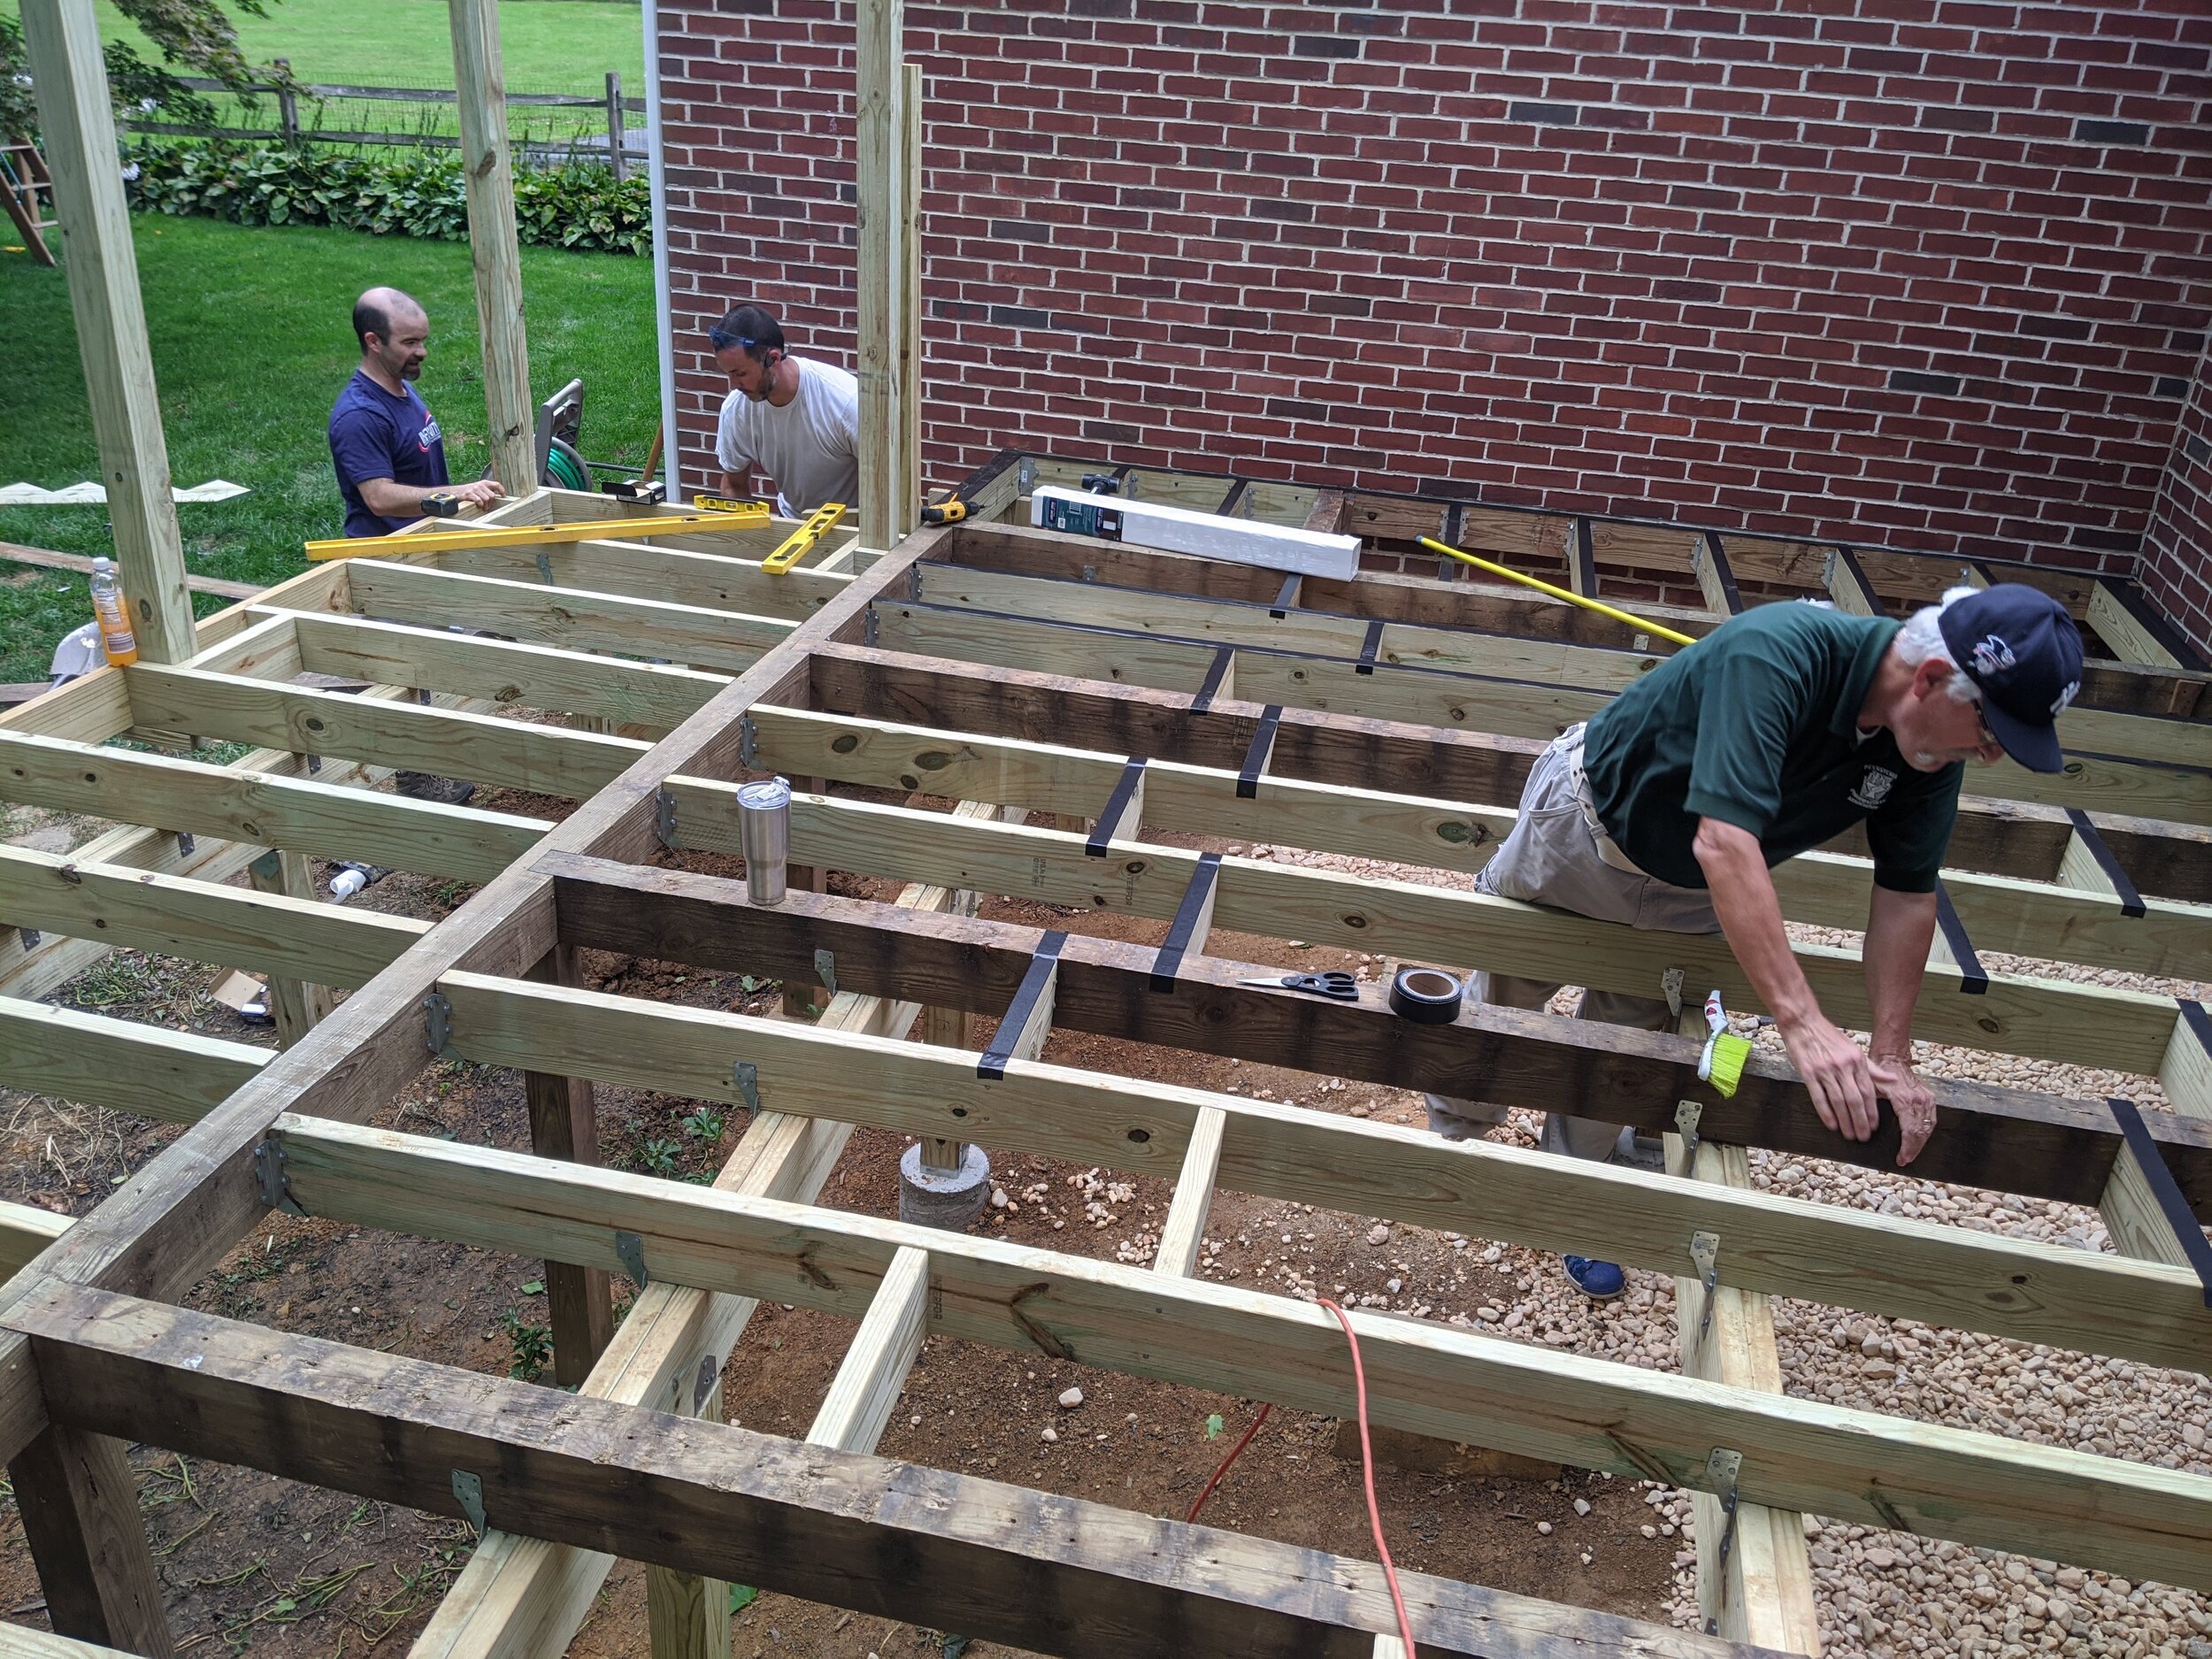
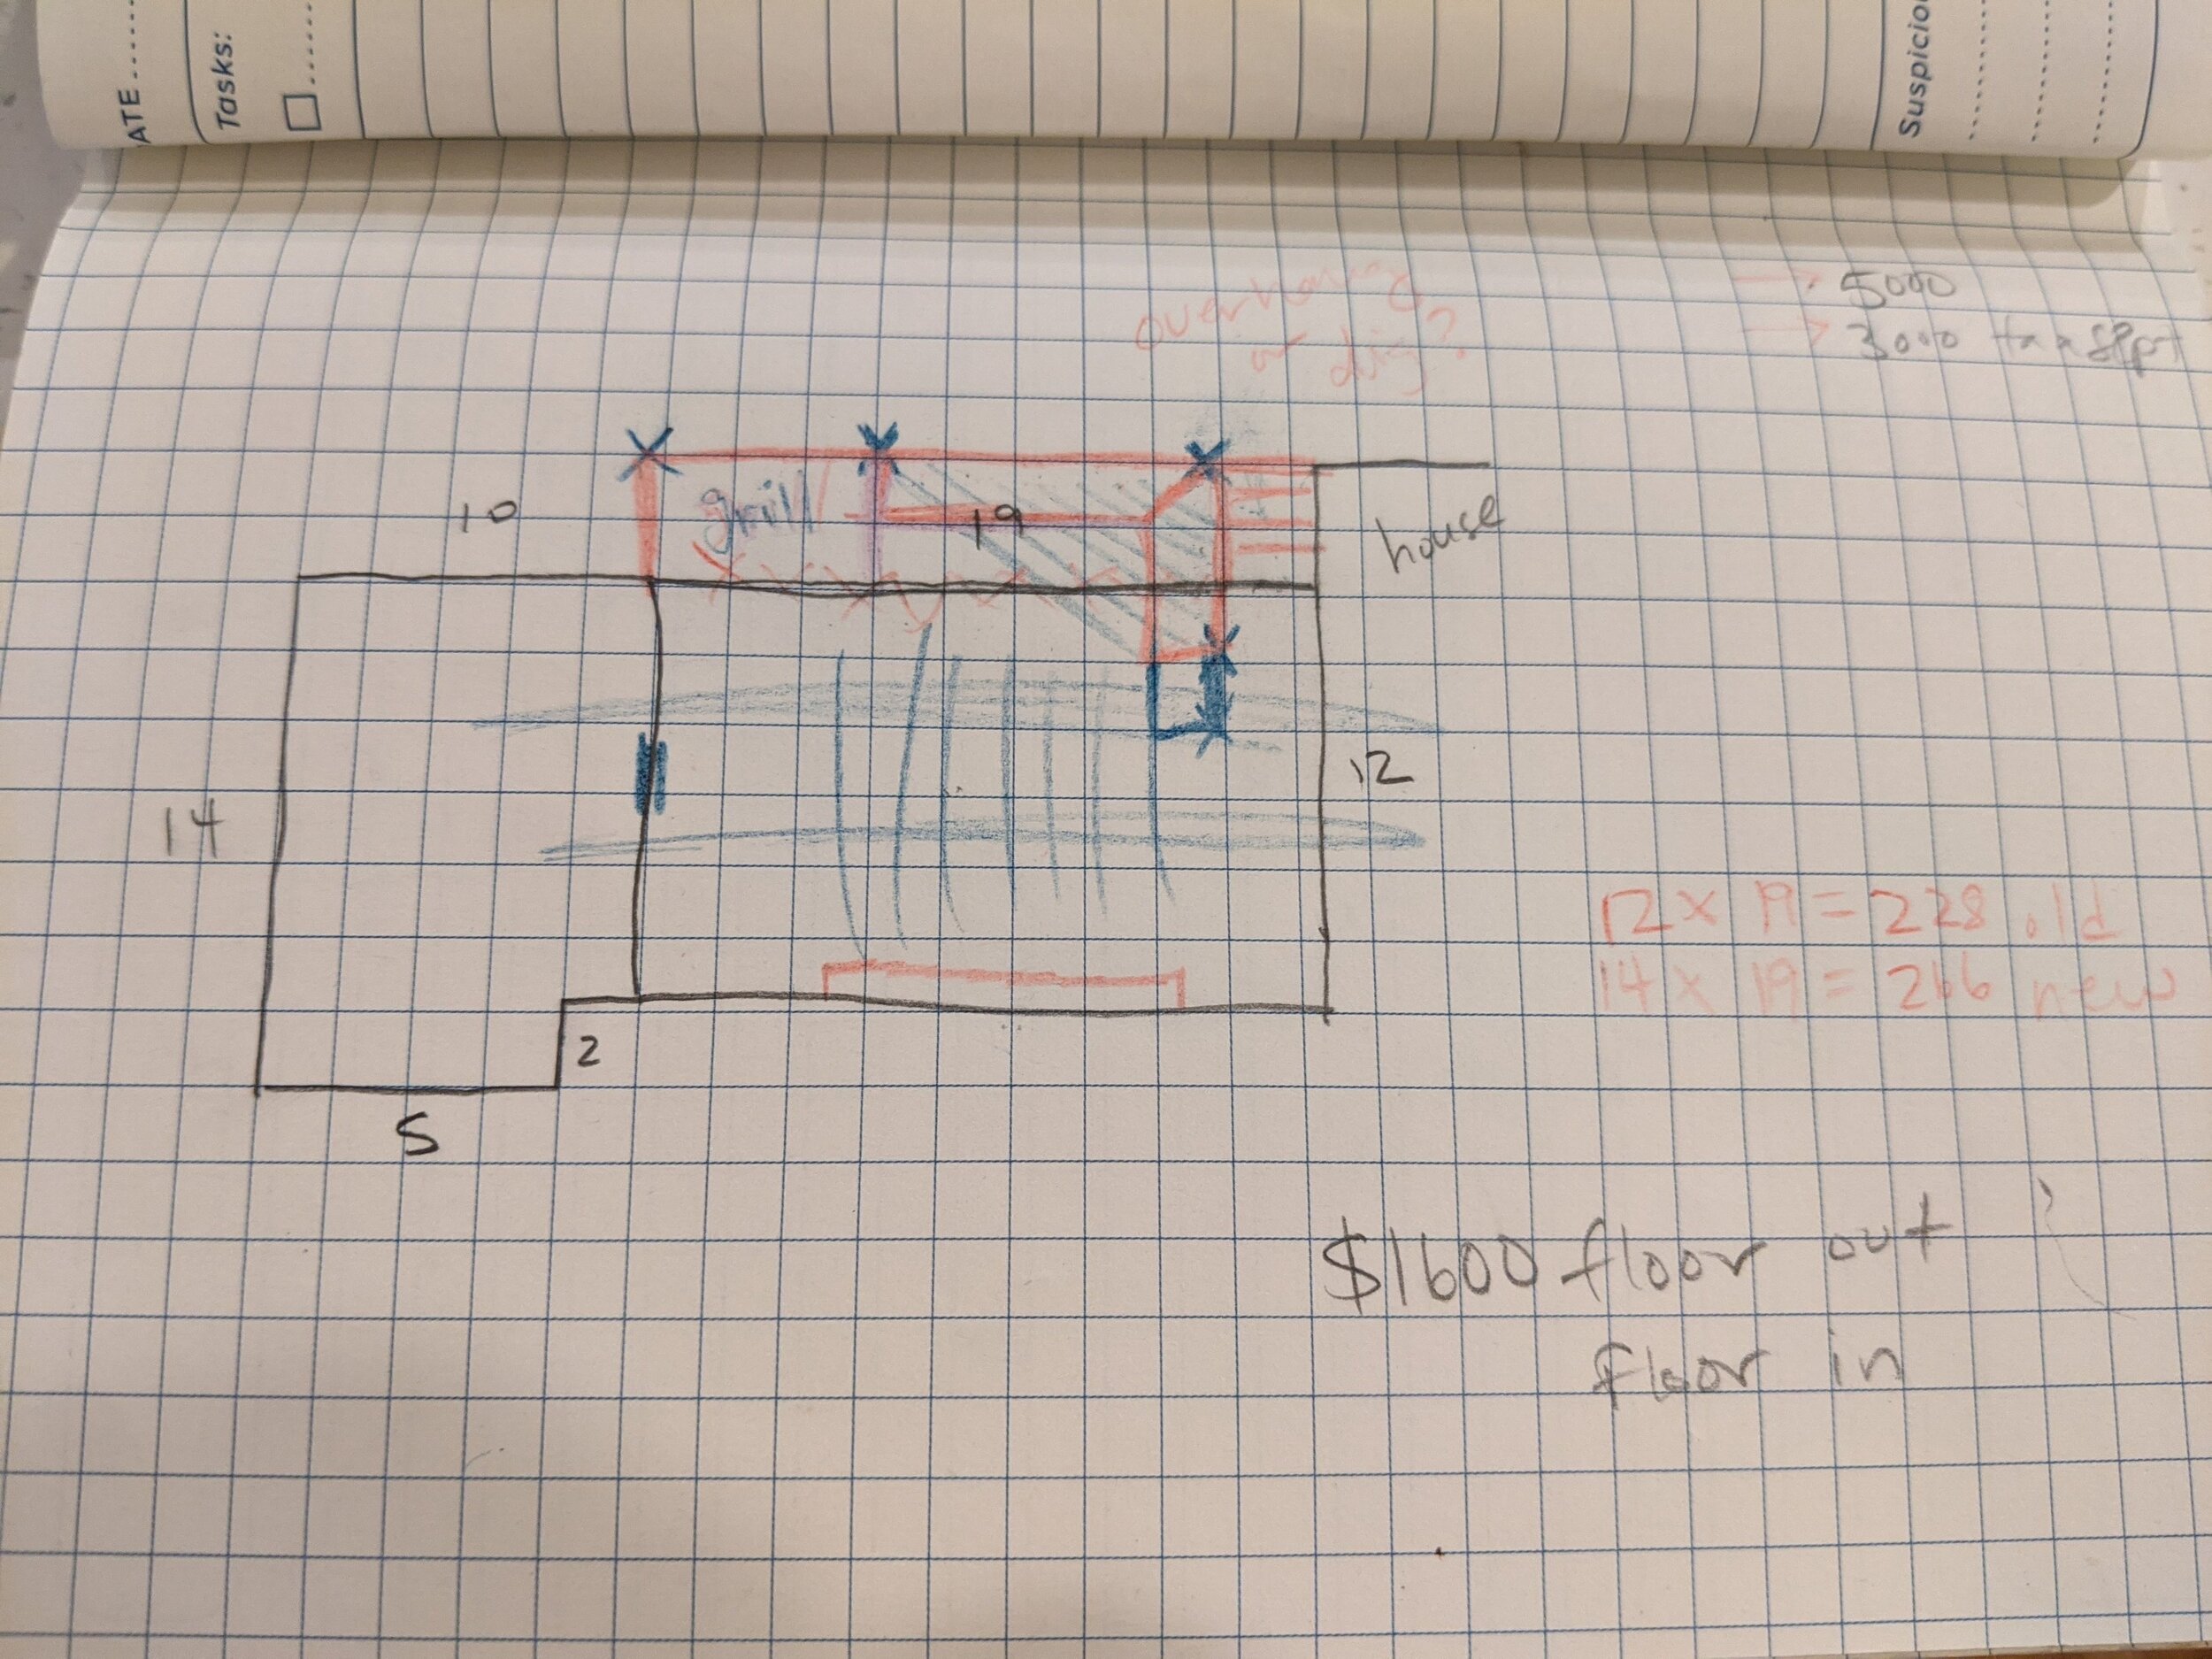
This is from later in the process, but I wanted you to be able to see the ‘boxes’ we built around the pillars with framing wood so that when we screwed in, we had lots of layers to go through.

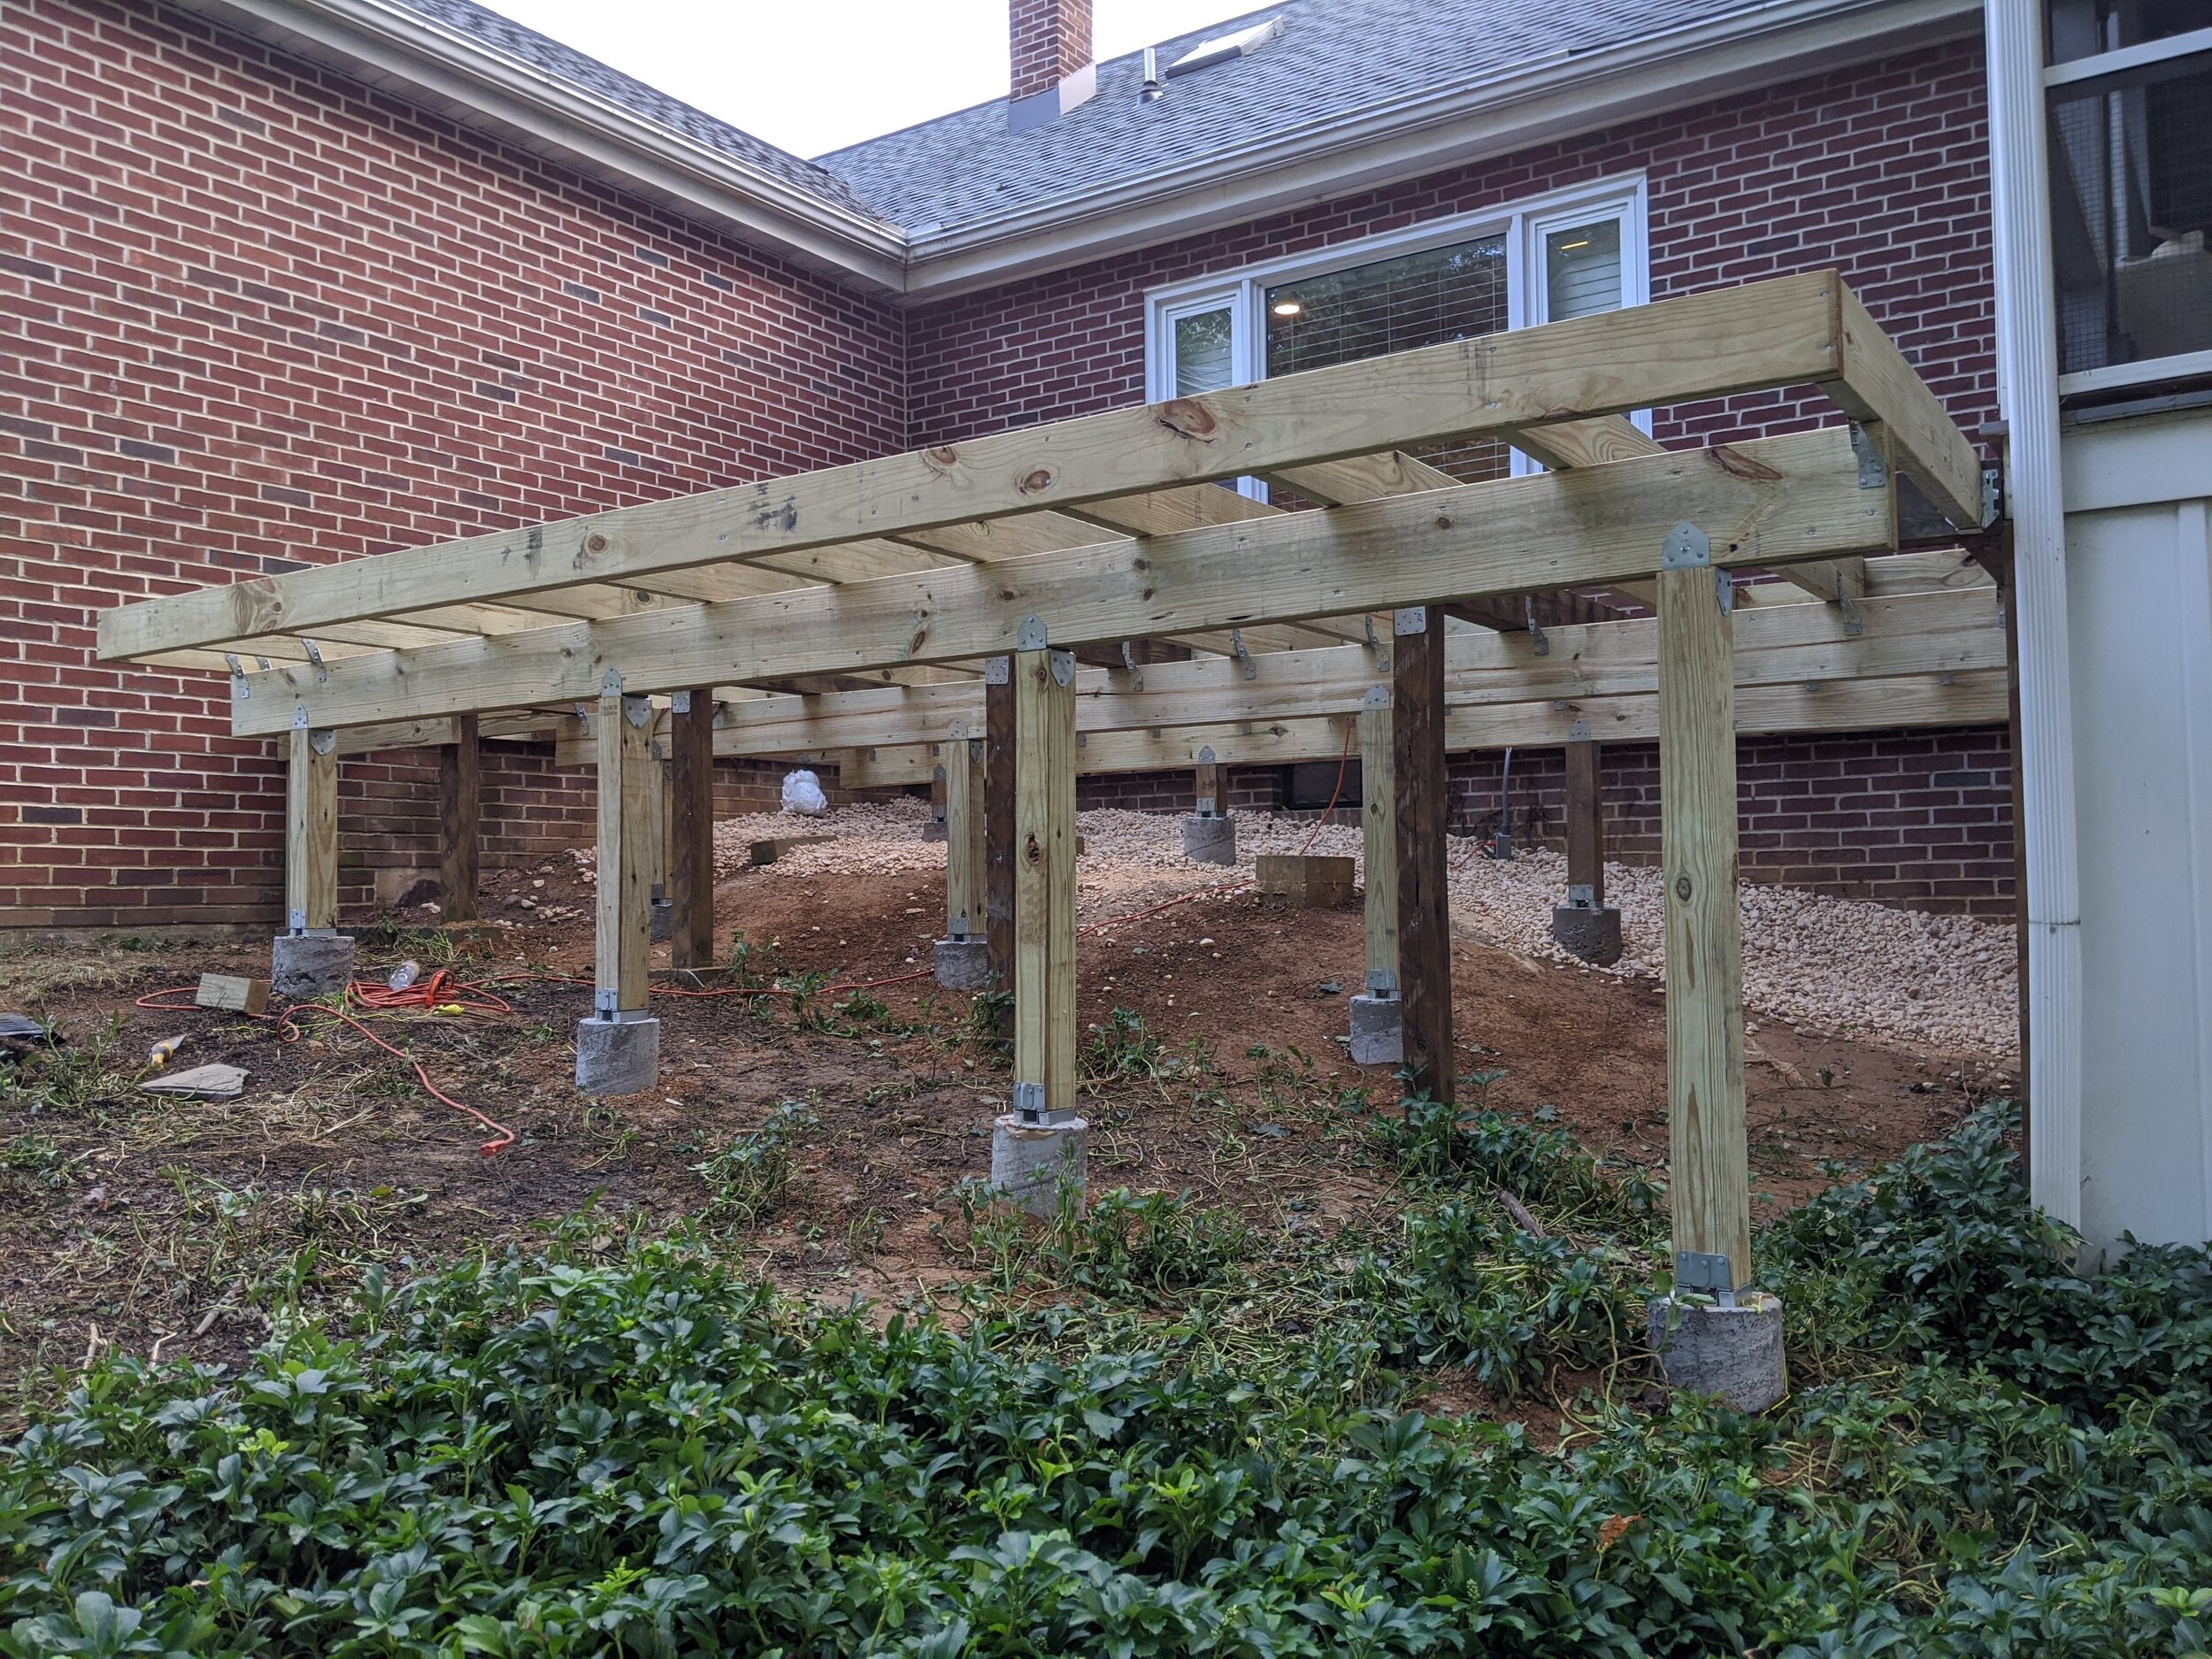
We are planning a Phase 2 that’s a pergola top for this, so four of the pillars are much taller than others because they will be supports for that.

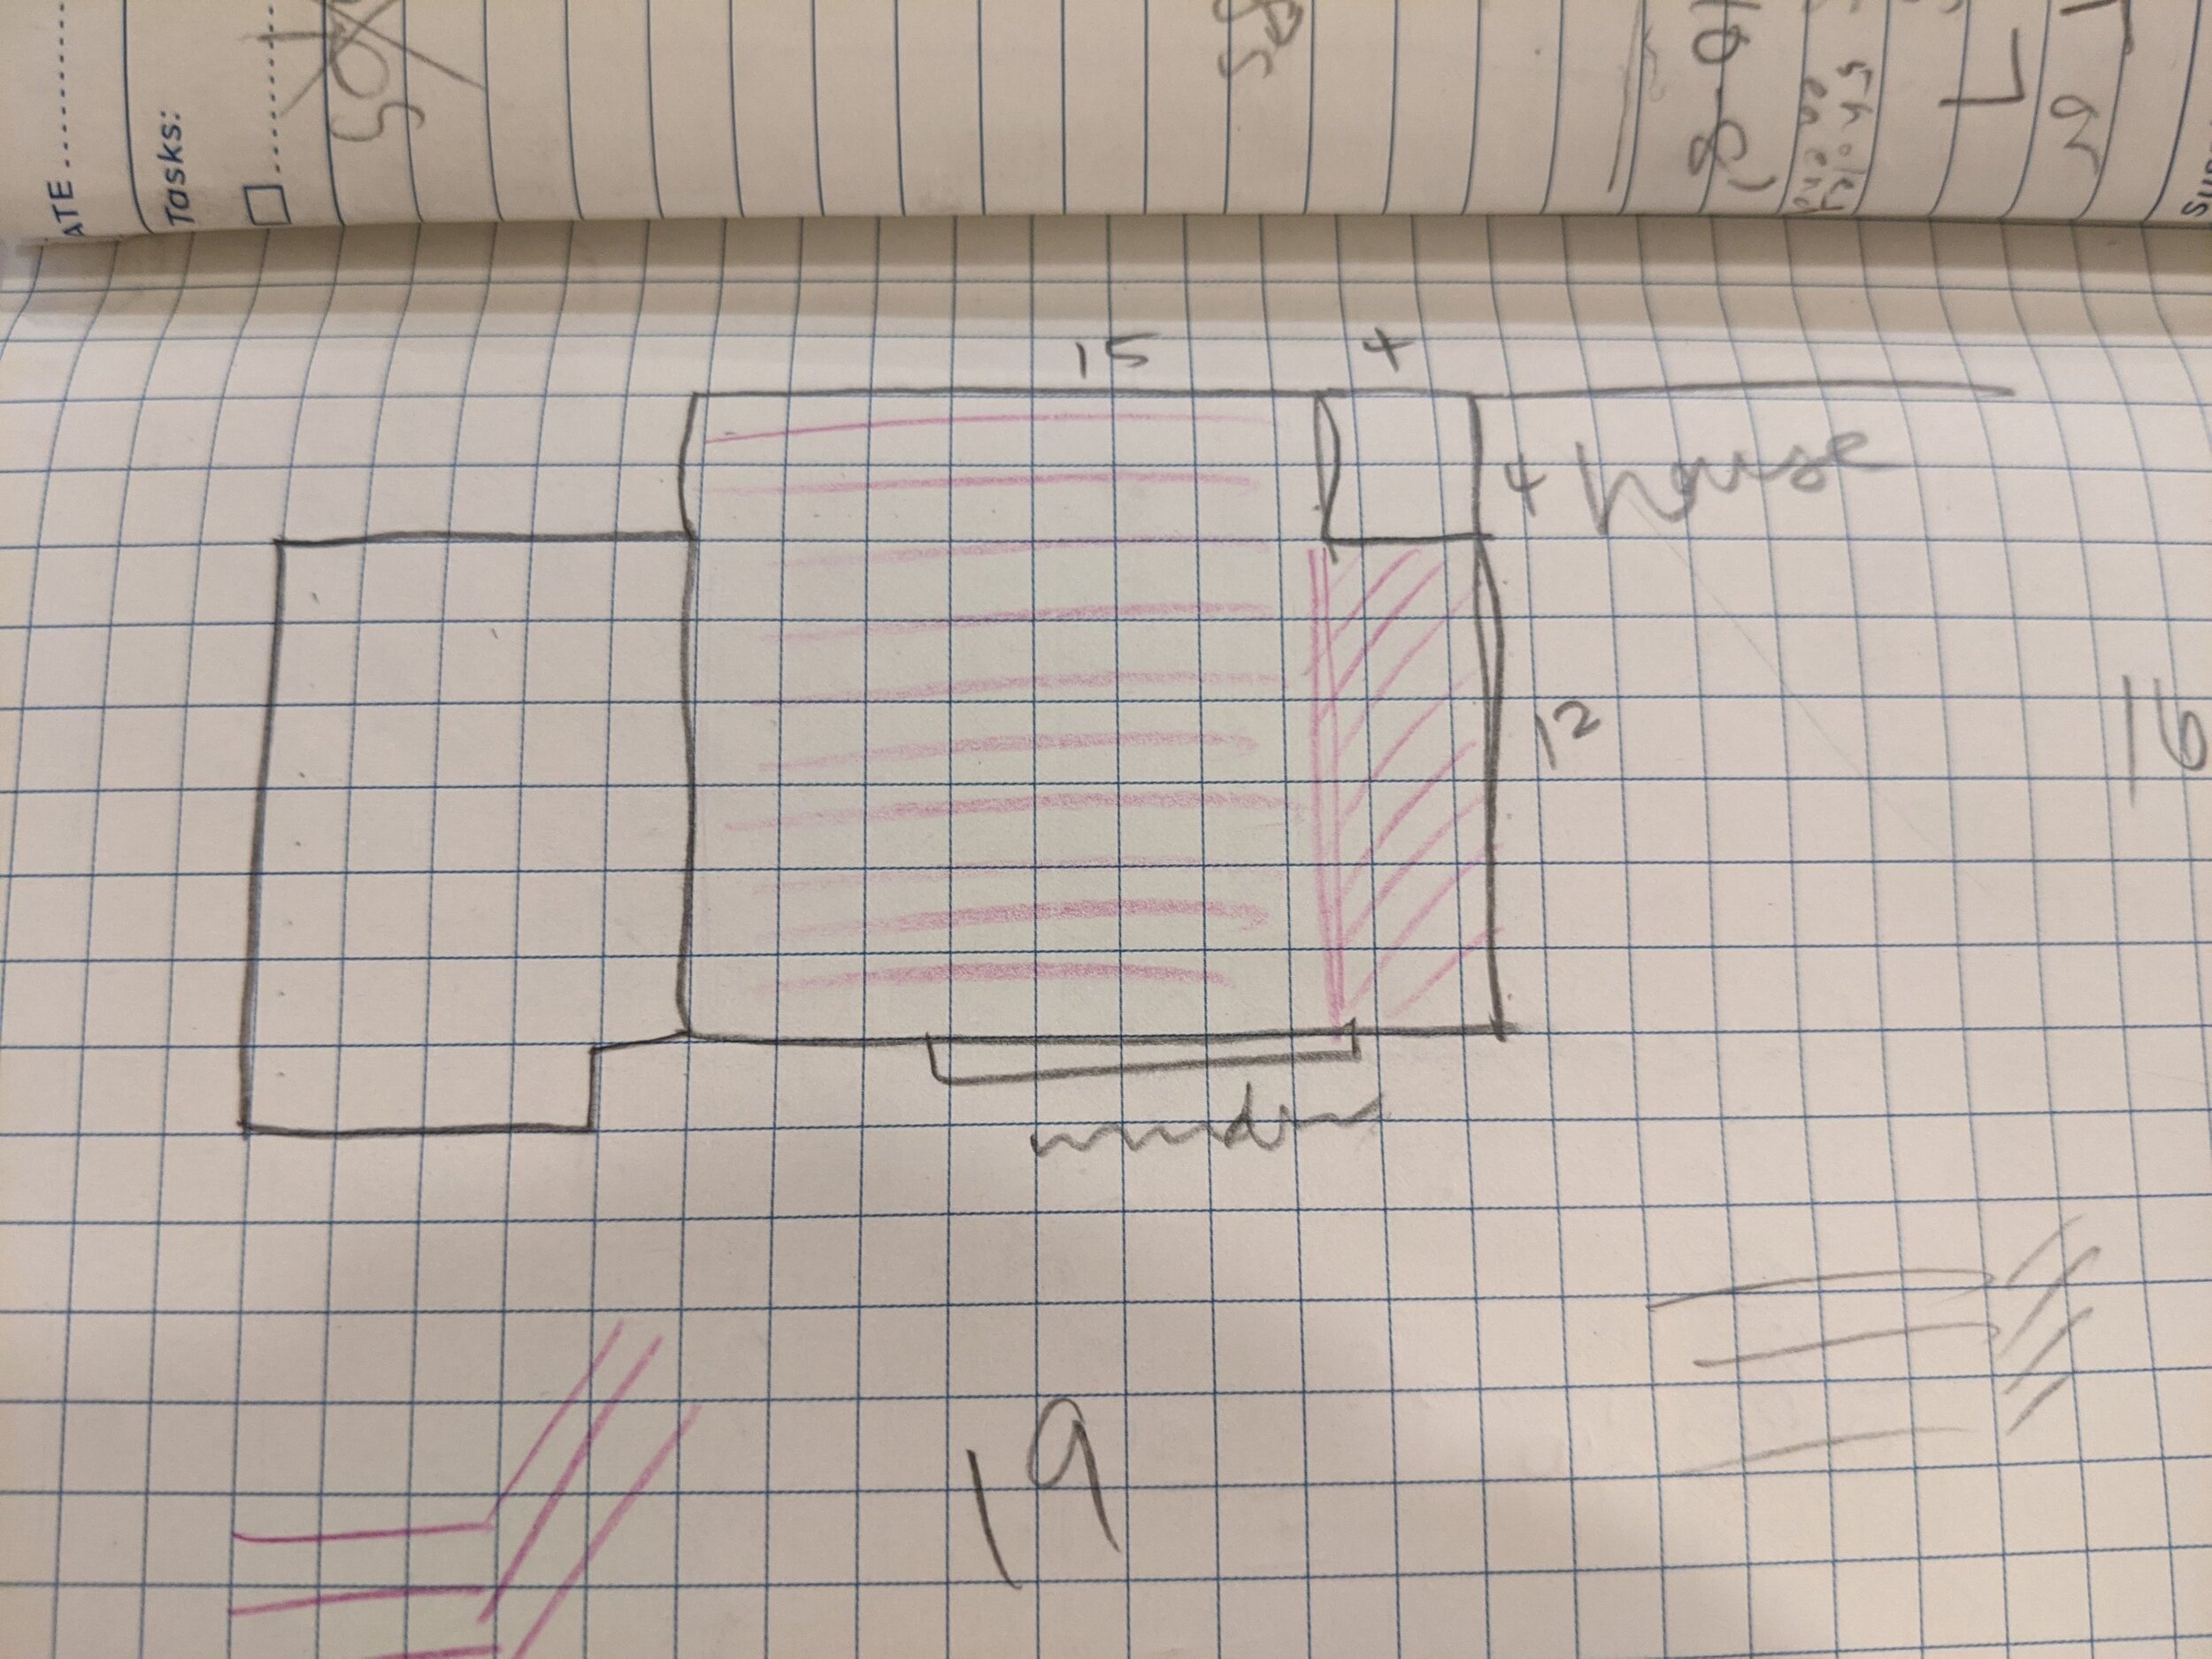
These pillars are all going to get white composite sleeves over them, and one’s going to get electric. But for now, the important thing was to make sure they’re stable since they are the base for the railing. And if the railing doesn’t support you, it’s more of a hazard than anything else!

Make SURE you check the level on both vertical directions (N/S and E/W) before you screw these in. Your eye might not notice a single pillar is off a smidge, but you will for sure notice if the entire railing wants to lift off the ground because it’s leaning out.

In these pictures, the two close together are for the end of the deck rail and the top of the stair rail.

Stay tuned because next time, we’re finally putting down the actual deck boards!

IMG_20200919_093149.jpg
 
upgrading-deck-stairs-pilla.png
 

Click Here to View the Full Blog Archive.      


UPGRADING THAT OLD, YUCKY DECK: Trusses and Supports

upgrading-your-deck-supports-trusses.jpg

Let’s take a look at my plan again:

  • We kept the skeleton of the old frame (purple lines)

  • We’ve done the footers (all the numbers)

  • We’ve expanded the frame (green line)

  • So now it’s time to move onto the orange support beams and the blue beams that support the actual flooring.

  • What I didn’t draw on here is all the cross-pieces that you always see in framing to keep anything from twisting. (I didn’t draw them on, but you’ll see them in the pictures)

PXL_20201023_230134784.jpg

Our three main support beams (marked in orange above) were doubled up/sandwiched 2 x8s.

You can see them here, so nice with the straight lines. Yes, that appeals to me visually so much. The steps in this process were:

  • Attach the top hardware to the 4 x 4s if you haven’t done that let. They look like little crowns.

  • A note: Make sure all your vertical 4 x 4s are attached at the bottom — this should have happened in the last step but trust me, you don’t want to march over this beam that weighs like three elephants and find out you missed something.

  • Get the beam in place. Attach it with hurricane ties (the silver twisty pieces you see)

  • We placed our end beam 1 foot from the edge of the deck, obviously right over the footers.

  • (Again, if you didn’t see my note before, we left some of the old vertical supports because it was more work to remove them.)

IMG_20200912_141143.jpg

Once those beams were in place, it was a whole new ballgame. The frame could support us and it was easier to move around.

We started putting in the next set of beams — blue on my drawing above.

This was A LOT of hardware. But I once again found my drawing helpful at the store because I could count the exact number of intersections and ended up with the right number of pieces.

For composite decking, you can go with gaps between 12 and 18 inches (otherwise the boards will sag) but our math worked out best with 12 inch gaps so that’s what we did (since we kept some of the old skeleton as you recall).

My dad was such a good sport and helped us day after day of hammering and cutting. Hi Dad! (waves)

Two things to point out here: hardware on all the intersections that bear weight, but we just nailed in the little studs to keep anything from twisting.

Second key thing — JOIST TAPE. To avoid the wood rotting when it rains, you have to cover all the sky-facing surfaces with joist tape. This stuff feels like something you’d use to roof (kind of tarry) and it serves that purpose. It comes in rolls with a peel-off part on the sticky side. This stuff is expensive but will increase the life of your deck.

Next steps are the stairs and pillars, so keep reading…

IMG_20200917_204959.jpg
 
upgrading-your-deck-supports-trusses-V.jpg
 

Click Here to View the Full Blog Archive.      


UPGRADING THAT OLD, YUCKY DECK: Expansion of Old Frame and Grading the Ground

upgrading-your-deck-framinggrading-hor.jpg

Our deck was transitioning from 12’ x 20’ to 16’ x 20’, and we were able to keep some of the frame. But we needed to add a new section out into the yard, bringing the deck 4’ past our sunroom and even with the house. This mean a little new framing. This was also the stage we carried load after load of stones, and Hubs has just informed me (two months later) that there are still more loads to be carried. EW.

EXPANDING THE FRAME

Using 2 x 6s, we expanded the frame with some temporary supports until we could get the footers underneath. Obviously, if you were building a deck from ‘scratch,’ you’d never put the supports UNDER the frame -- you’d build from the ground up. But in our case, we were keeping some of the old skeleton, so this is the way it worked out.

You can see how much smoother the ground is here, especially around the footers. We did a fair amount of re-grading to ensure no water was pooling against the side of the house foundation. (My poor pachysandra was much tromped-on during this reno but it’s a resilient plant!)

The stone is important because it will allow rainwater to run down and away from the house.

 
PXL_20201024_155154536.jpg
 

Hubs’ goal is to have all the dirt covered before winter, like a squirrel. Ok, that probably isn’t what squirrels think. But he wants more stones. More stones!

Our next step was all these trusses and supports, so keep reading…

 
upgrading-your-deck-framinggrading-vert.jpg


Click Here to View the Full Blog Archive.      


upgrading that old, yucky deck: demolition and footers

upgrading-your-deck-demofoot-hor.jpg

DEMOLITION

If you don’t have a deck already, then you get to skip demolition — unless maybe you have a tree stump or old car port you’re removing. Our demolition involved cutting out a (HEAVY) large (HEAVY) built-in (HEAVY) bench, then removing the front lattice, deck boards and stairs.

The far right picture above is where you can see the ridiculous support system that was hiding under this deck. It’s like an old shoe box stacked on a rotten board with two pieces of chewed gum to straighten it out. (Ok, it wasn’t that bad, but knowing I’d had everyone I love on that deck, I was very irritated.)

As we started to pull up the boards, my sons were impressed to see Daddy had hoed perfect rows underneath in the dirt — little did they know, it was just years of dirty water dripping between the boards. (I’m going to cover the ground prep in another blog but since you can see it here, I wanted to point it out.)

In our case, the first step was cutting out the (did I mention HEAVY?) benches that served primarily as the railings on our deck. Once again, I forgot to take a picture before BUT you can see we (with great struggle) carried them across the yard to use as sturdy seating around our firepit. We just used a sawzall to cut through on either side of the foot supports — so we threw away a small middle section of each that ended up with no feet.


DIGGING THE FOOTERS

As you saw on my extremely accurate and color-coded plan, we needed to dig 10 footers. This would eliminate the brick anchors into our house being forced to carry the weight of the deck and instead send it into the ground.

First step was to rent a huge digger auger. My sons literally sent out an APB into the neighborhood “MY DAD IS DIGGING HOLES” and allllll the neighborhood children showed up to watch. It was SO much fun!

We had some really great help at this stage which was much appreciated. And afterwards, Hubs got to dig a few holes that neighbors needed for other projects while we still had the auger.

A WORD ABOUT MEASURING

You aren’t going to be able to move the concrete, so get this right. Your support beams must go in a straight line. Measure the holes twice before you start and again as you’re going. The auger isn’t exact, but these footers are holding up the support beams — which you aren’t going to be able to just bend a little if you’re a half-inch off! Hang a string and make sure it’s perfect both vertically and horizontally using a level! You need the screws to be perfect, so if the tubes are off a bit that’s ok. Just line up the screws with your string.

Our vertical supports are ten 4 x 4s, so we dug two to three feet down for each 8-inch diameter concrete tube. We used 2-3 pieces of re-bar in each and left 6-12” of the tube above ground level. After the concrete settled for just a few minutes, we pushed in the screws to attach the hardware.

(Astute viewers will notice we did leave some of the old vertical supports, which aren’t weightbearing anymore, but it would have been unnecessary work to remove them.)

After everything is dried, you attach the hardware with a giant nut, then you can peel away the exposed part of the tube.

Here’s what the bottom of the footers look like at various stages:

Our next step was expanding the frame and grading the ground, so keep reading…

 
upgrading-your-deck-demofoot-vert.jpg


Click Here to View the Full Blog Archive.      


upgrading that old, yucky deck: Make a killer, to-scale, color-coded plan for your deck

(that impresses the guy at Home Depot)

upgrading-your-deck2-hor.jpg

I will say that I love Home Depot, and I’m not mocking them. But usually I’m in there with a kid or two, and I end up looking like I need a lot of help. But on the day I walked in with my graph paper, color coded, accurately scaled diagram of our new deck… I was impressive.

It was a good feeling.

Our besties have been slowly working our way through some at-home-Escape-Room style games like Hunt-a-Killer and one of the recent ones (Earthbreak) included a cool graph paper FIELD GUIDE. The thing is, the notebook itself wasn’t really needed for the game — just some clues on the covers. But I saved the book, and boy did it come in handy.

From the first conversation Hubs and I had (15 days before our event) to the actual ‘set this in concrete’, we did six drawings over two days. This is critical because Hubs and I have different style brains and can never understand something three-dimensional that the other is describing without a picture.

It was also necessary to estimate our costs on lumber, decking, concrete, hardware, and railings.

The final plan was a 1 square = 1 foot scale view from above. Our old, yucky deck was 12’ x 16’ feet, and now we expanded to 16’ x 16’. It’s not a huge gain but because there’s not a built-in bench that blocks us from pushing the grill into the corner, the arrangement is better and the result is a much larger-feeling space.

Here are a few versions of our plan:

Below is the final plan we ended up using for everything. Please note all the dirty fingerprints — I’m so proud of them. They are proof that this was a document we used every step of the way.

Colors represent:

  • Purple: the original deck framing that we kept

  • Orange: new 2 x 8 beams (you’ll see when we laid them, the long ones are doubled/sandwhiched to be 4 x 8)

  • Blue: new 2 x 6 beams

  • Green: new 2 x 6 frame for expansion

  • The numbers on the black dots are the new footers we dug (10)

  • Grey stipes in the top right are the stairs (they are now 1 foot wider than the old stairs)

  • Open grey circles are the pillars for the railings

You’ll see we did sketch out a bench, but once we got the railings up, I didn’t have the heart to hide their beauty behind furniture! Maybe next year once I’m accustomed to this and don’t still gasp and clap every time I open the door for the dog to weewee and catch a glimpse of the transformation.

PXL_20201023_230134784.jpg

We used this to do everything:

  • Count beams and total lumber for a shopping list

  • Do math to calculate costs (square footage, number of screws)

  • Determine the best railing to buy for the distance we had to cover

  • Bicker endlessly about why that one purple line I drew wasn’t straight

  • Show the team at Home Depot our plan (and receive much-needed accolades)

Our next step was demolition and digging/building the footers, so keep on reading…

 
upgrading-your-deck-2-v.jpg
 

Click Here to View the Full Blog Archive.      


make a plan to upgrade that old, yucky deck

10 (21).png
make-a-plan-to-update-old-deck-hor.jpg

If the hardest part of writing is getting past that first blank page, the hardest part of a home project is the same thing. (By the way—fun fact—when I write my books, I usually start with chapter 2 or even somewhere in the middle and then come back to the beginning later.)

WHERE WE STARTED

Our deck was old and prone to giving splinters. A few of the boards were going bad. There was a built-in bench around the whole front side and corner, which meant there was no place to put the grill without block a bench. The lattice was breaking. And once we got underneath, we found out it was borderline dangerous as many of the supports weren’t properly attached. (Oye.)

These pictures are from when we redid our roof a few years ago because I NEVER remember to take ‘before’ pictures.

WHY WE STARTED

We had a large family event coming up, and I suggested Hubs should replace “either that board or the whole deck.”

Don’t think I didn’t know which one he’d choose!

WHERE WE ARE NOW

I don’t blog as we go because I want to make sure if we mess something up, we have the benefit of hindsight to warn you. (You’re welcome.)

So NOW, we have a new deck… and Hubs has built it with plans for a Phase 2 pergola. But first — it’s going to be cold in PA soon, which probably means I get my next bathroom done. (YAY!)

For now, the deck was fantastically useable for our family event (celebrating my daughter’s baptism). We’ve also been grilling and playing on it. Mostly just walking on it in bare feet without getting splinters—that’s already a huge improvement.

Here’s an overview of our process, and as I blog each step over the weeks ahead, you’ll get to see how everything came together! We had so much help from my father, my father in law, and good friends. Thank you all!

THE PLAN TO UPDATE THAT OLD, YUCKY DECK

  1. Make a killer, to-scale, color-coded plan that impresses the guy at Home Depot

  2. Demolition (obviously) and Deck Support Footers (auger digging, concrete, connection hardware)

  3. Expansion of Old Frame (in our case, we could keep some of the skeleton) and Grading/Adding Stones to the Ground beneath

  4. Trusses and Supports (the pieces that go end-to-end, and the shorter pieces that go across to keep things from twisting)

  5. Stairs (if you don’t know what stairs are, you need more than this blog.)

  6. Pillars (the vertical pieces that you can lean on without falling off the deck)

  7. Deck Boards (the stuff you walk on and its invisible connectors)

  8. Electrical (to hang lights and a new security camera)

  9. Railings (what attaches to the pillars)

  10. Stair Fascia and Rail (because this is a little different than the other stuff since it’s all at angles) plus Fascia (the non-weight-bearing decorative covers for ugly things to add the finishing touches)

    Future Phase 2: Pergola Top (because Hubs says there’s too much light coming in our living room window)


Our first step was to make the plan, so click next to keep reading…

 
make-a-plan-to-update-old-deck.jpg
 

Click Here to View the Full Blog Archive.